Front seat bolster replacement
From THE Corrado Forum Knowledge Base
Part Number for the new foam is 535881378B and is called "Padding". Price each from VAG as at 20 Jan 06 is £25.03 + VAT (but don't forget to haggle for discount)
Firstly, you will need to remove the seat.
Once the seat is inside, remove these plugs from both hinge panels with a screwdriver.
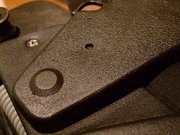
When all 3 plugs are removed from both, carefully remove the hinge covers, they break easily!

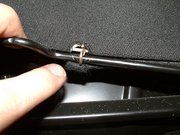
When the hinge covers are off, remove these retainer clips.
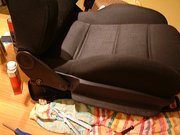
When both clips are off, pull the hinges off the spindles and put the back rest to one side.

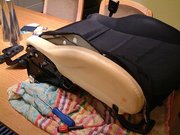
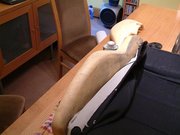
When the back rest is off, this is what you're left with. Mine may not appear to be too bad but the bolster is very soft, causing the cloth to crease and there were foam crumbs everywhere!

Now we need to remove the cloth covering the bolster. Remove these two screws.
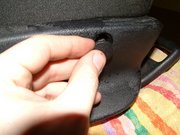
Pull this blanking plug out and remove the screw that's inside.
Unclip the side panel's clips from underneath the seat and remove the panel.

With the side panel removed, bend these cloth retaining hoops and remove them. There are two along the side of the seat and two at the front.

At the back of the seat, prize out the cardboard strip and drill out this rivet
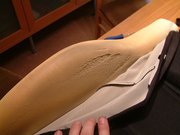
Now you're ready to ease the cloth off the foam. Be careful not to rip it!
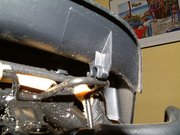
Again, appearances can be deceptive....this foam pad is worn, as we will see...
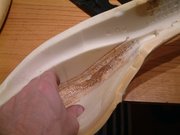
The foam behind the cords is non-existent. Moral of the story...don't sit on the bolster!

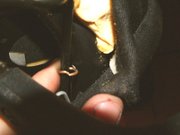
Pull the old foam off and this is what you're left with. Be warned it is glued front and back.
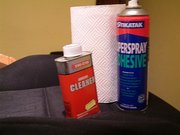
These choice products will be required to clean up the glue/foam remains and glue the new foam on.
Stick your new foam on and then lift up the front and rear edges and glue the foam to the frame.
After you have pulled the cloth over the foam again, get those retaining hoops out again.
The cloth will be very tight because of the new foam. Go easy and don't rip it!

Remember that rivet we drilled out? Get yourself a screw like this to replace it with.
Now this is the tricky part, you have to pull the cloth over so that the screw lines up with the rivet hole.
It will be pretty tight but once it's lined up, tighten the screw to rescure the cloth.
Tuck the excess cloth under the bum rest cloth and push the cardboard strip back in it's home again.
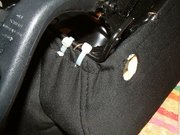
The front cloth needs resecuring to the frame again.
I struggled to get the old hooks back on, so used strong cable ties instead.
Make sure the rest of the cloth is aligned over the holes etc and you're ready to reassemble the seat.
Pop the side panel back on again.

Iron out any creases from the side bolster cloth. Pic is blurry but the creases came out OK.
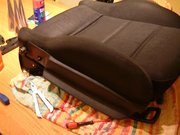
Final steps - Rebuild the seat, pop it back in the car and enjoy thigh gripping seats again :-)
A MUCH firmer side bolster, which you can really feel during hard cornering.