

C488ADO
-
Content Count
1,034 -
Joined
-
Days Won
1
Blog Comments posted by C488ADO
-
-
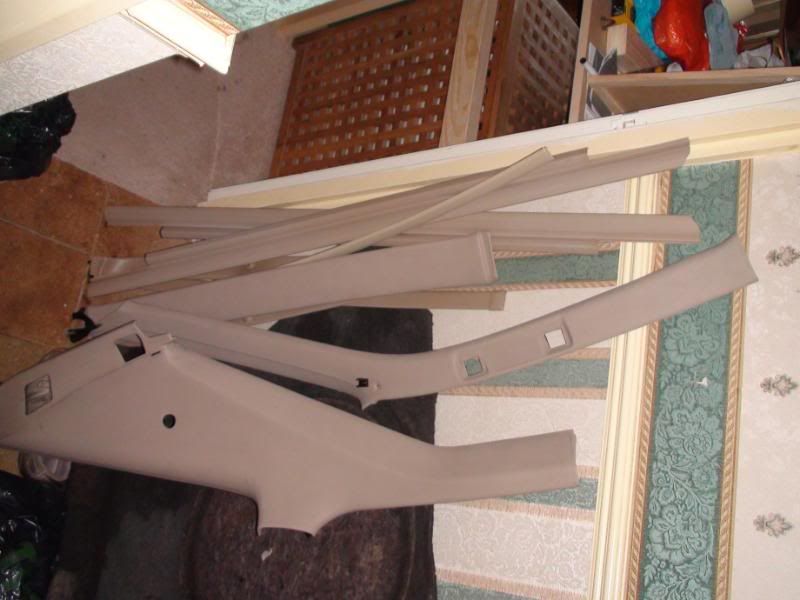
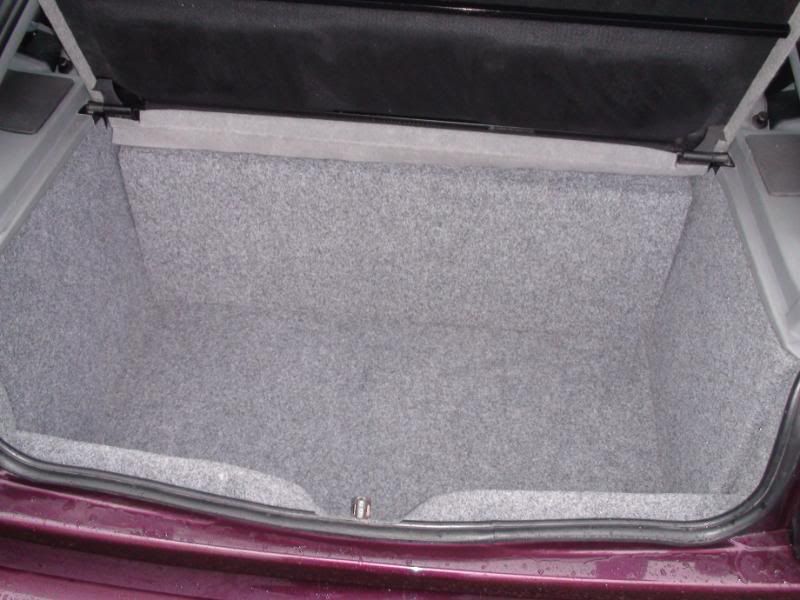
well started on some more interior plastics this morning took out all of the boot plastics i have prepped them and sprayed them all i need to do is put the satin top coat on then they are finished....
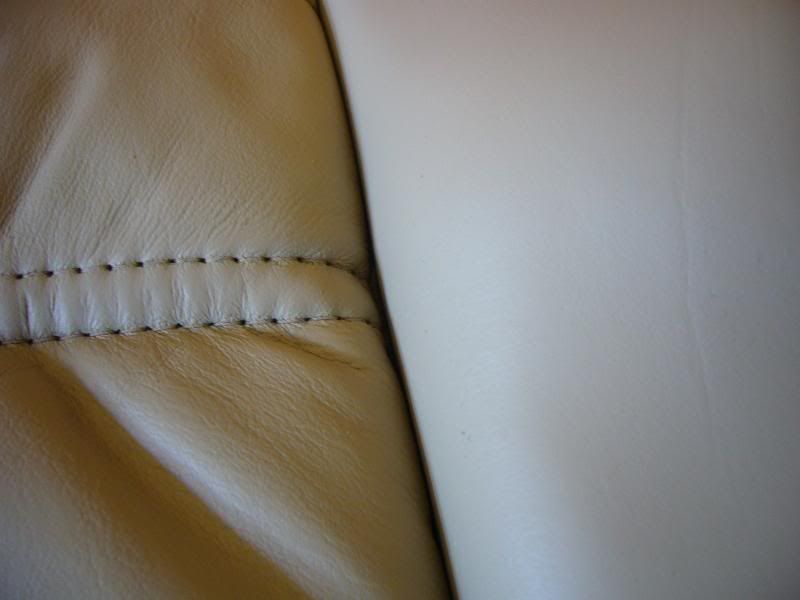
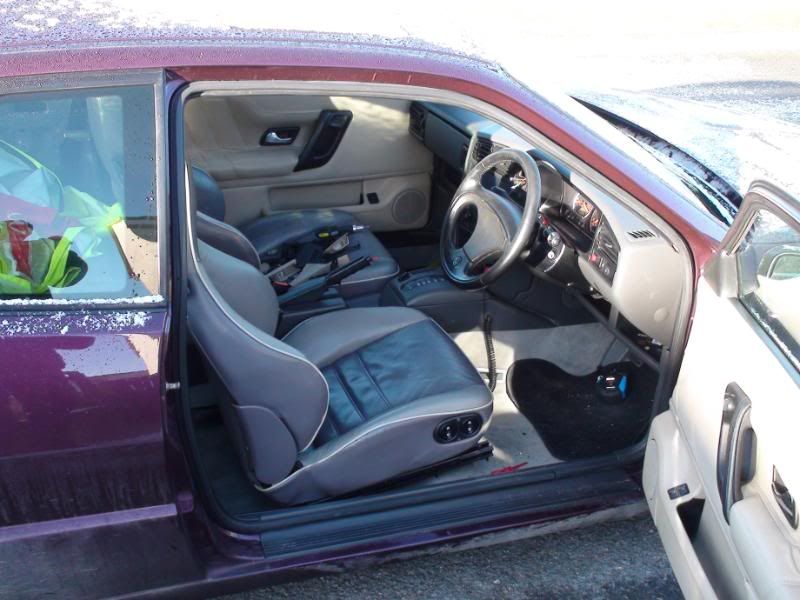
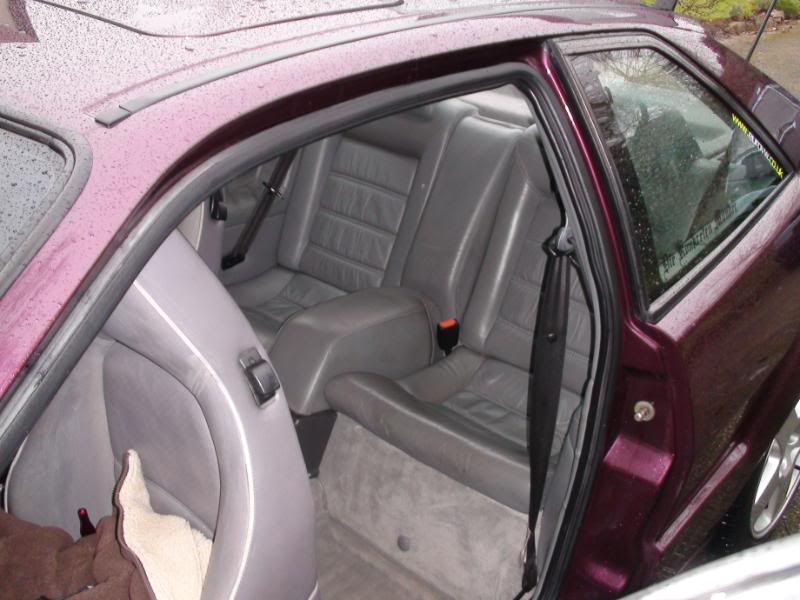
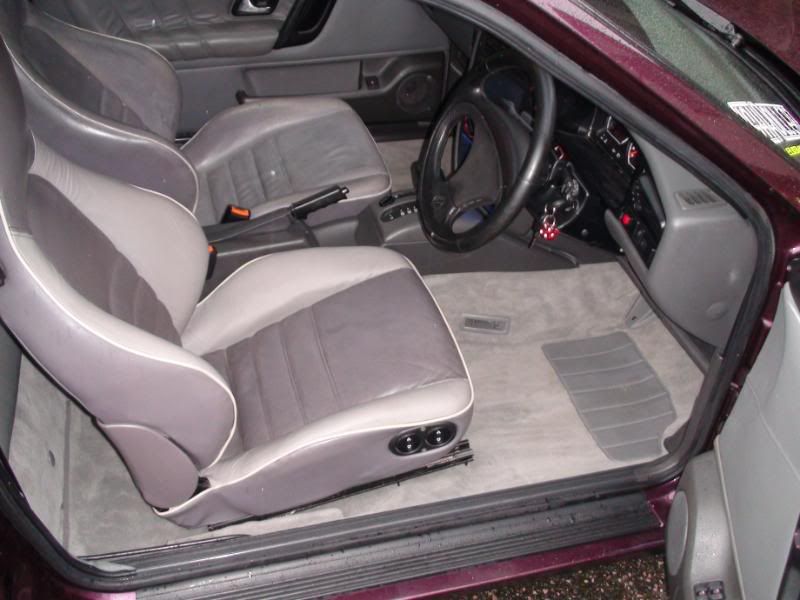
i took a chance and ripped out the passenger side recaro seat today and thought bugger it im gonna go for it and see what happens.... , now they look ok dont get me wrong they are clean is not tatty but the leather is good,
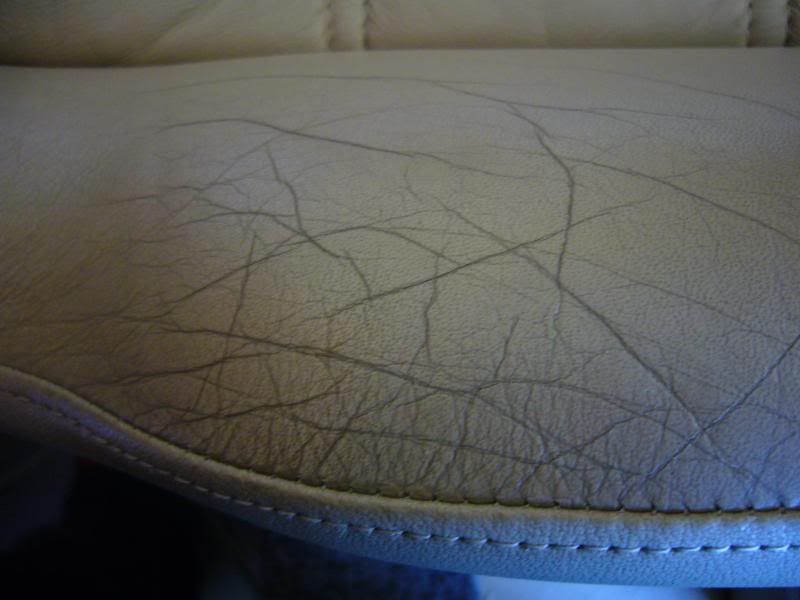
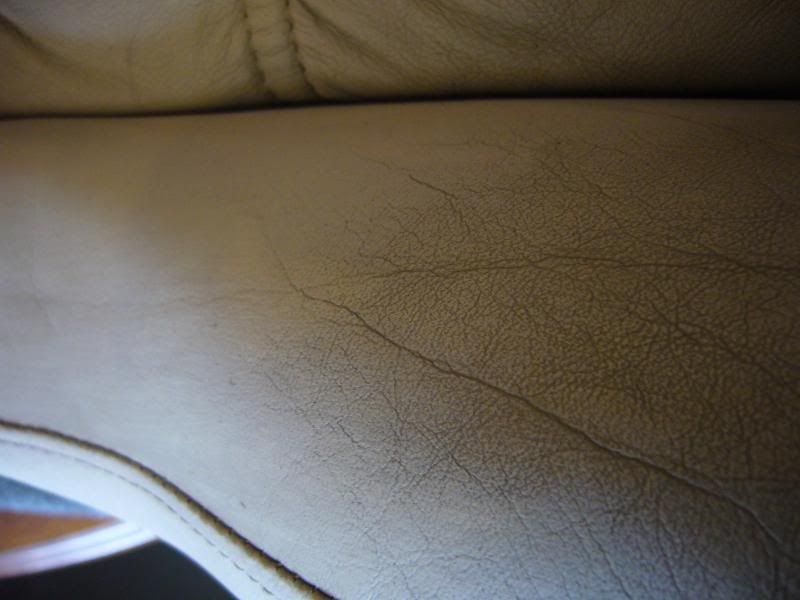
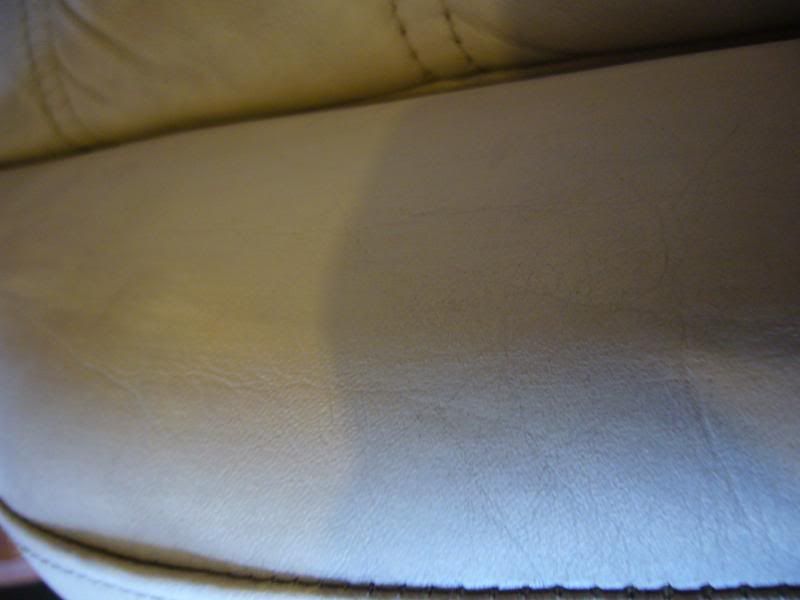
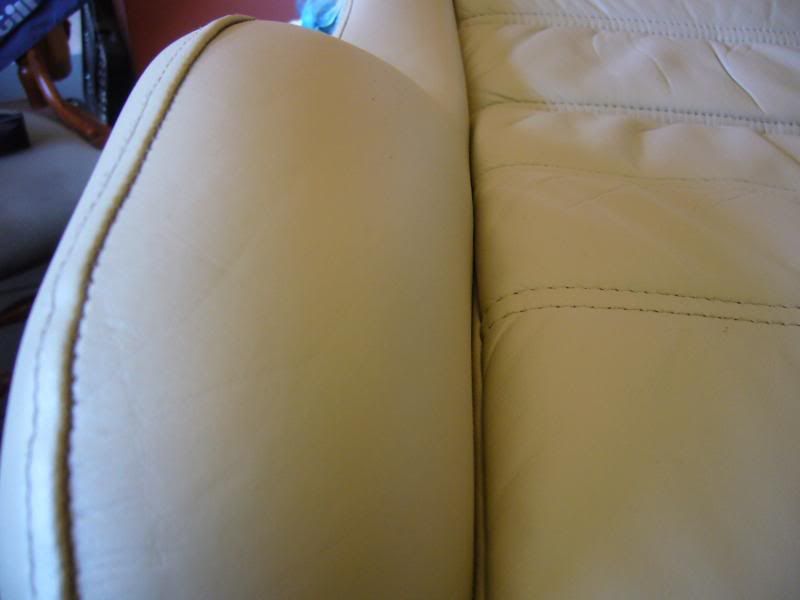
they have the useual bolster problems....

you can see hte ground in dirt you just cant get it out......
also in the above pics on the bolsters you can see the PAINT cracking i always used to think that this was the leather cracking and therefore shagged and need a re-trim, read on....................
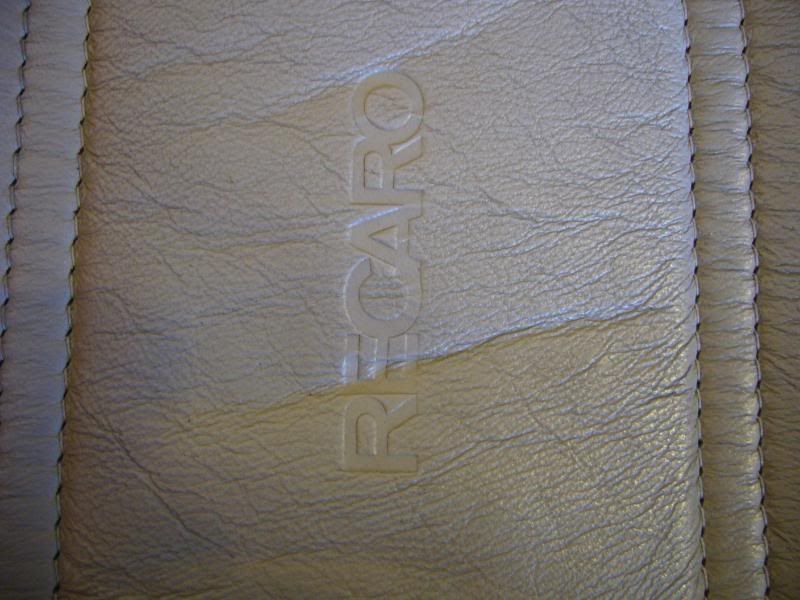
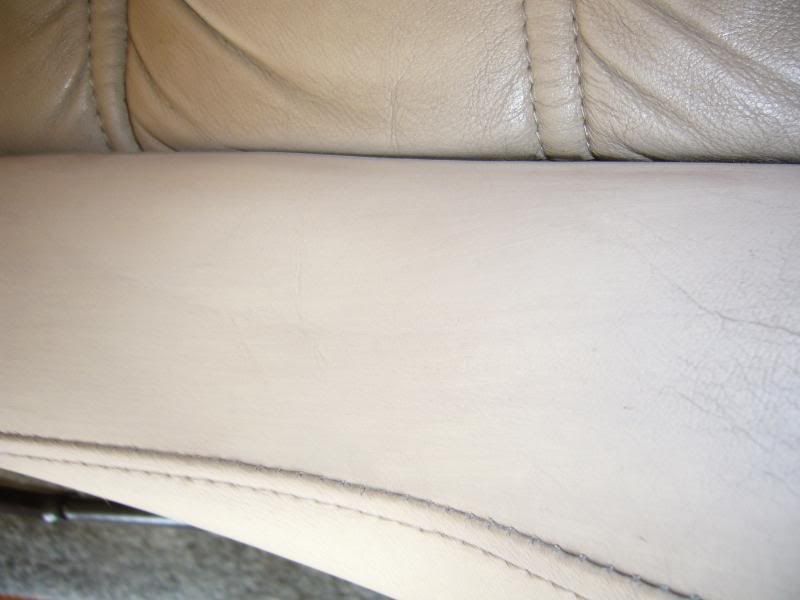
you will have to excuse some of the pics as i wanted to try and picture it in natural light no flash the flash just makes everything look white!! you might be able to see on the varying photographs the different stages of the leather being prepped, you will notice that the cracks have almost dissappeard and the leather looking a lot lighter, thats because when you prep it it takes all of the **** off the leather revealing the colour uinderneath, even after the prep they looked good, in some areas i took all the paint off (by accident ) but it doesnt matter, on the upper part of the seat bolsters on the left hand side the leather had cracked just a small crack about 5mm long i used the repair filler and now its gone totally!!!
i cannot stress enough how good this stuff is to use i really cant and easy wow ,so easy............
anyway the pics dont do it justice and it looks something like this....................
-
got the compressor this evening and wow what a difference... so much quicker.
got some more plastics done this evening
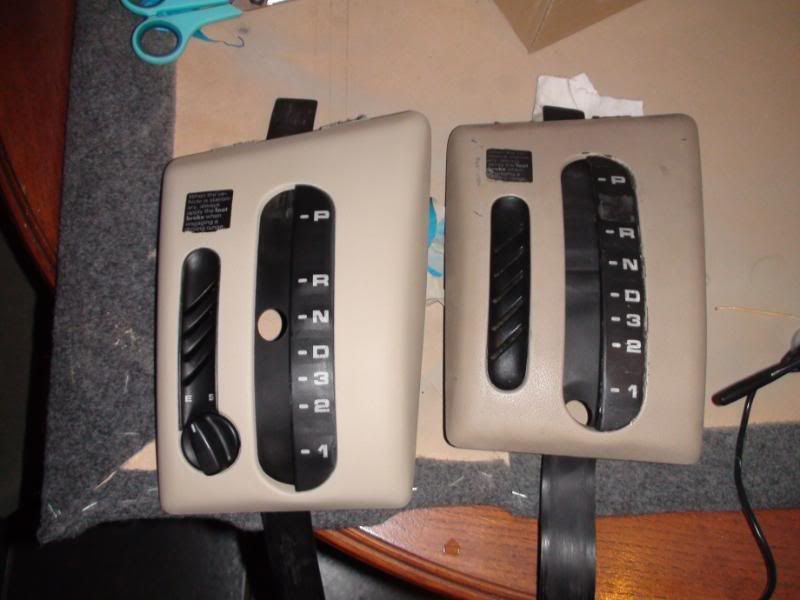
and this is for the possible non belivers... lol
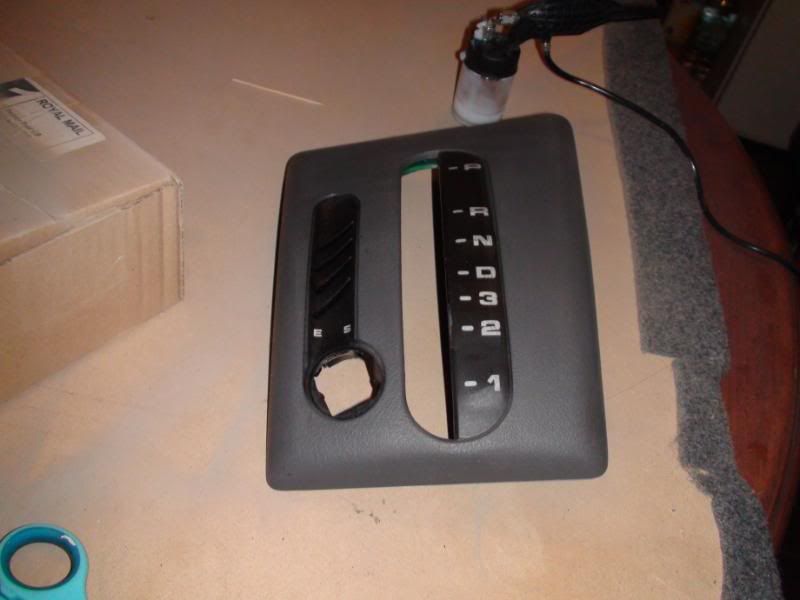
here we have my original GREY auto gear shift surround
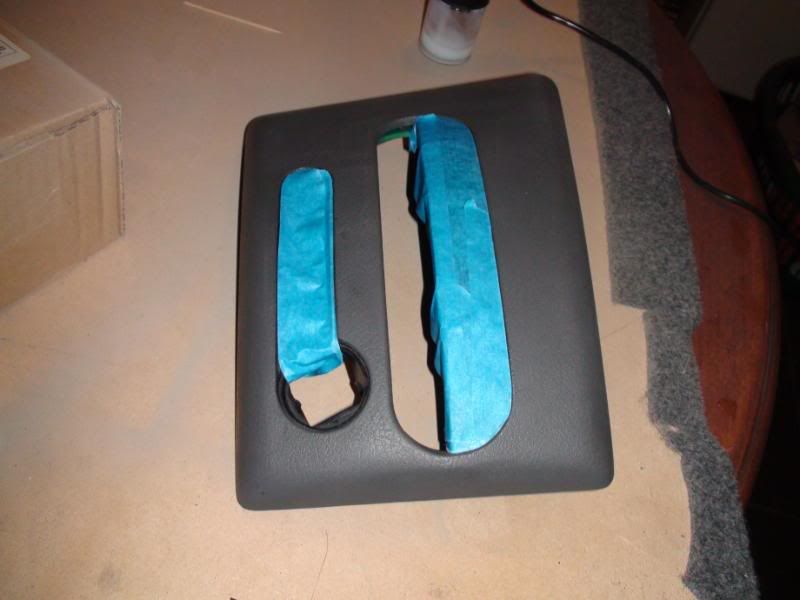
prepped and masked up
first coat of colour as a base coat
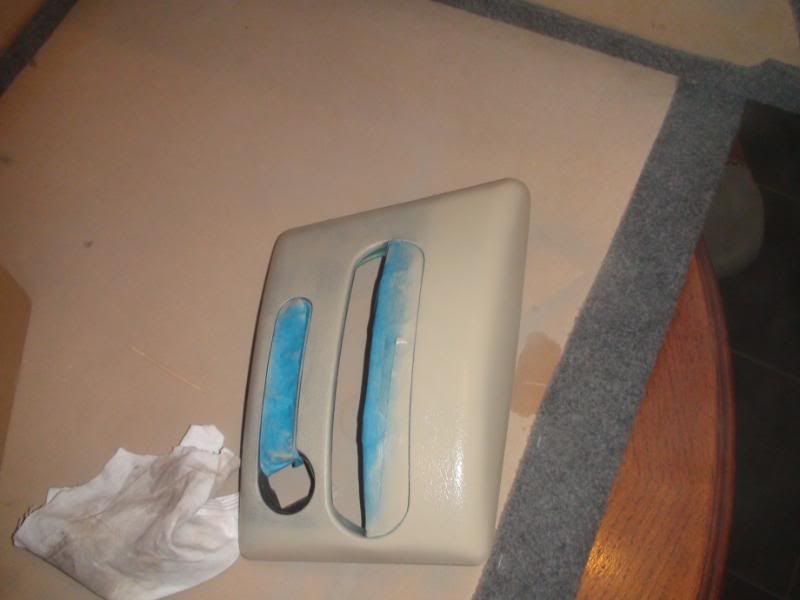
first spray coat
finished article..
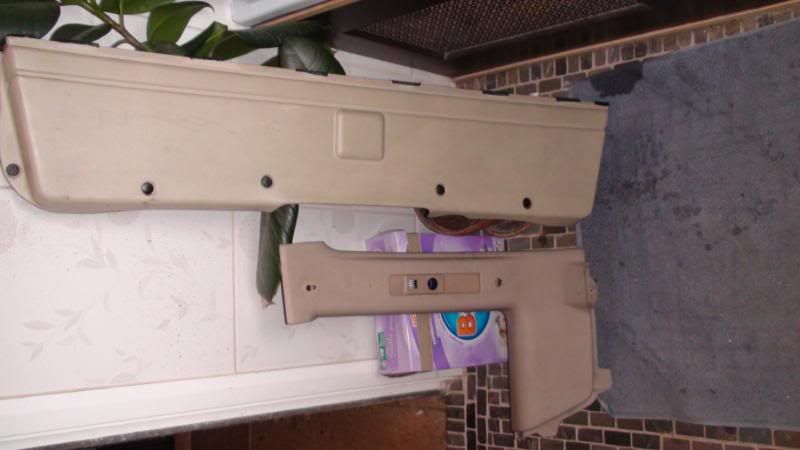
old beige surround just bought verses new colour changed one.
so there you have it possibvle to change any colour to any colour and in the flesh it looks just like new and extremly good...
-
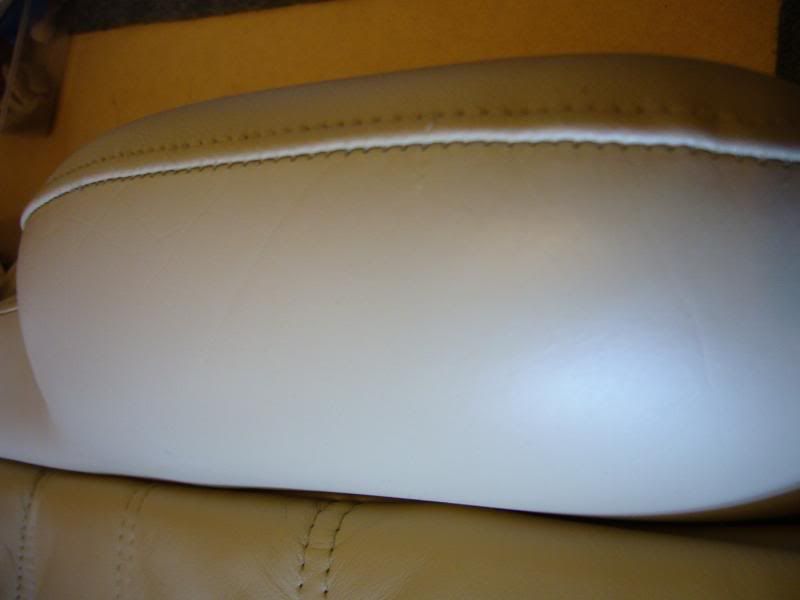
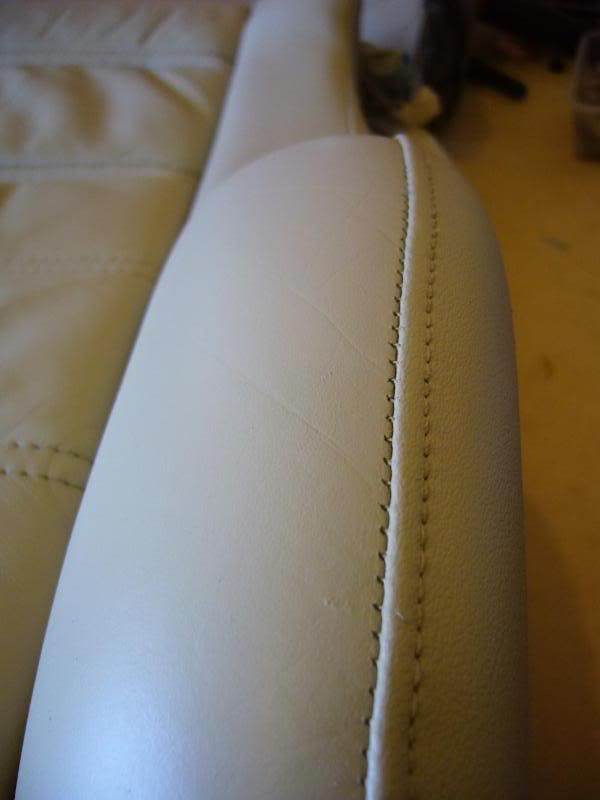
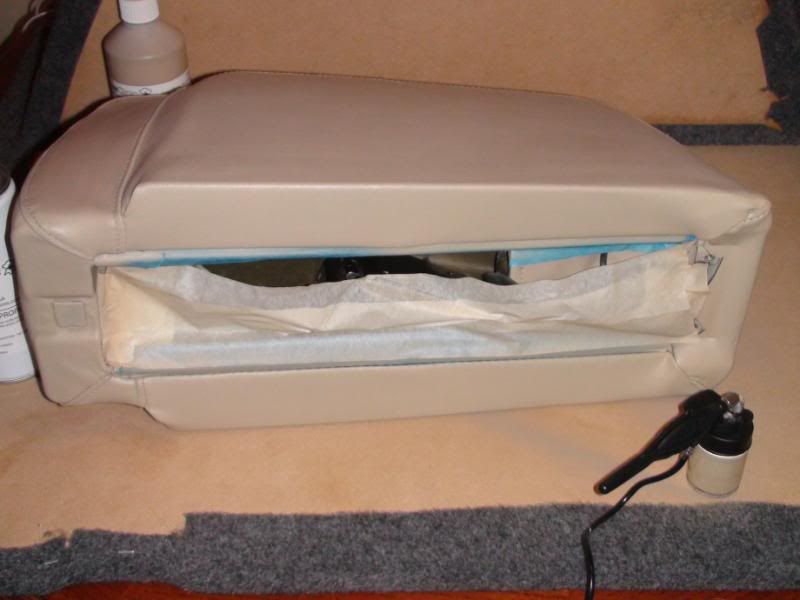
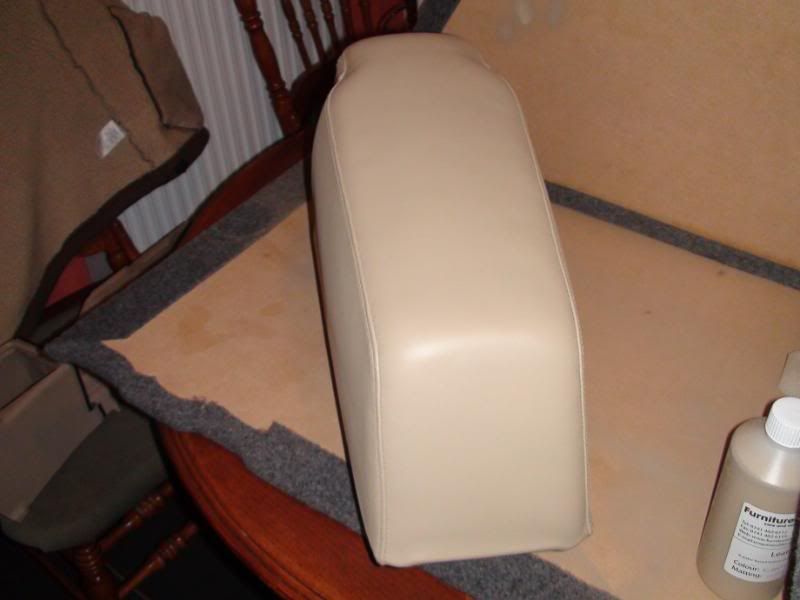
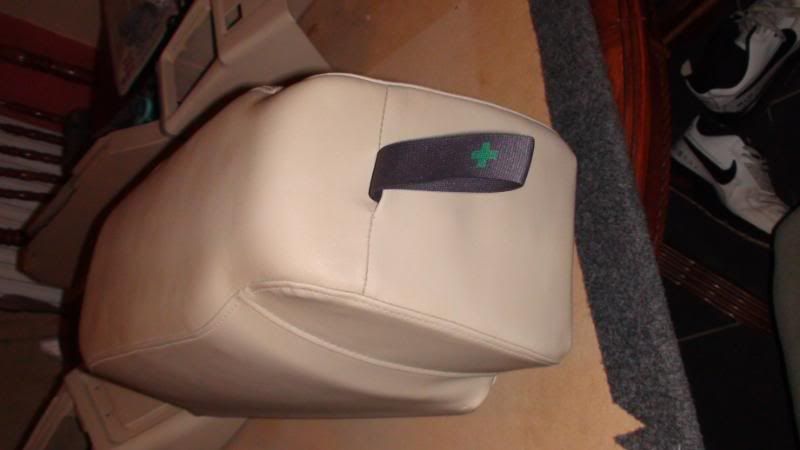
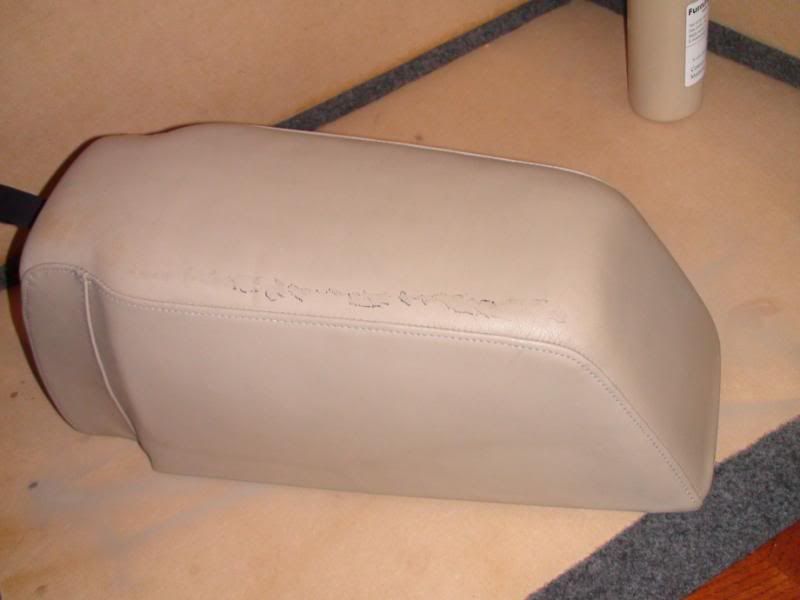
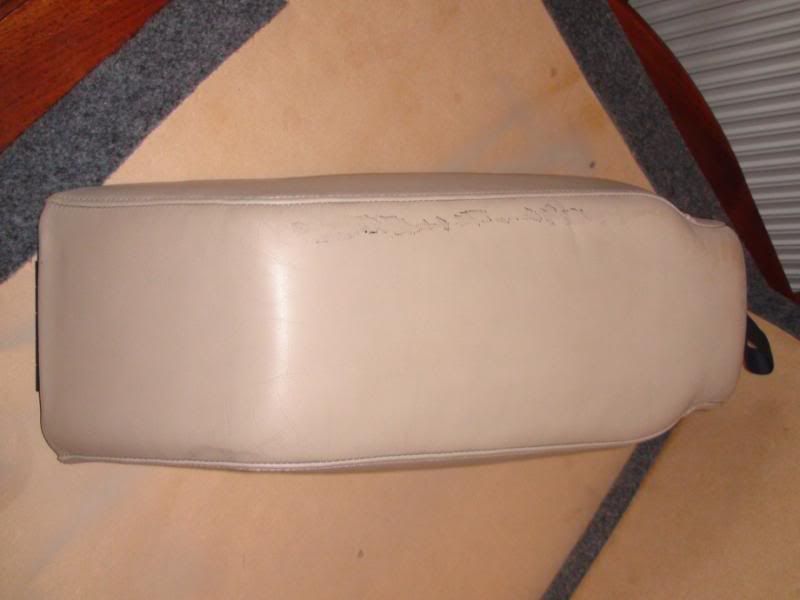
prepped the arm rest and then did the same process with the leather as i did with the plastics,its turned out very well but...............................
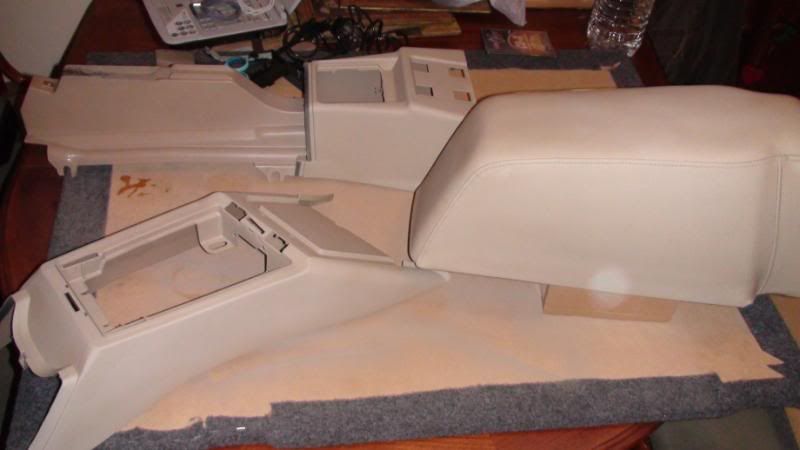
the colour is different!! lol not bad really in the flesh it is the same colour but its just a lot fresher obviously looks new and clean the only problem is it really shows how tierd the rest of the interior is so i kinda expected it realy im going to go the whole hog and do the rest.... bit of a mission i know but i have a week off next week and il give it a shot to complete it then!! fingers crossed....
bit gutted about this only becasue it means ive actually got to pull my finger out and get it sorted sooner rather than laer...
-
cheers guys yes they are the same as what i had before ..... but in beige...i always wanted the beige but they were either tooo much money or they never turned up , ive gone back to the recaros only becasue they are a more desirable seat , they are certinaly not as comfortable as the porsche recaros......
anyway ive got my kit to dye the leather and plastcis yesterday so today i thought id tackle a little bit1 as it happens i love doing it and its turning out absolutly amazing!!!
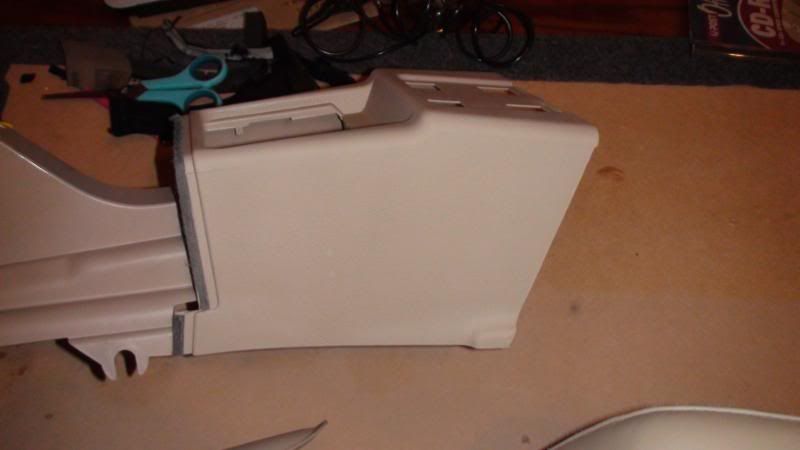
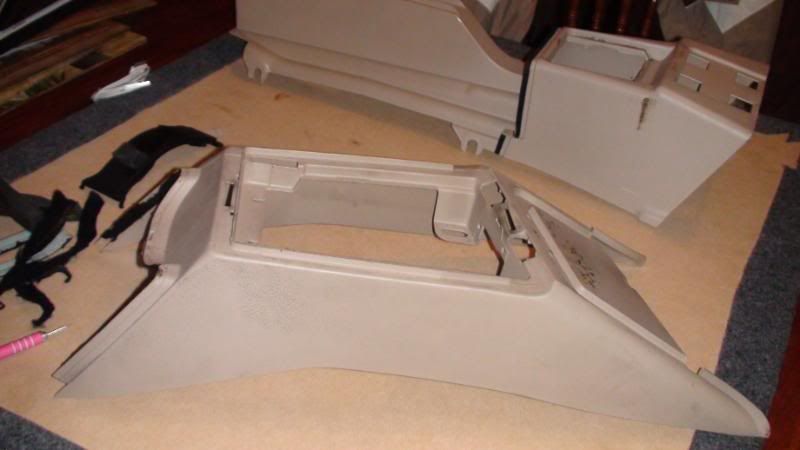
i thought id try my luck with the gear stick centre console bottom layer as it was quite grubby and i needed to practice on plastic first rather then staright into the leather.....
you will have to excuse the pics as they dont pic up just how dirty the plastics are even after the wash ive given them....
you might just see faintly top left of the plastic its a bit dark well it is and in the flesh a bit grubby looks tierd...
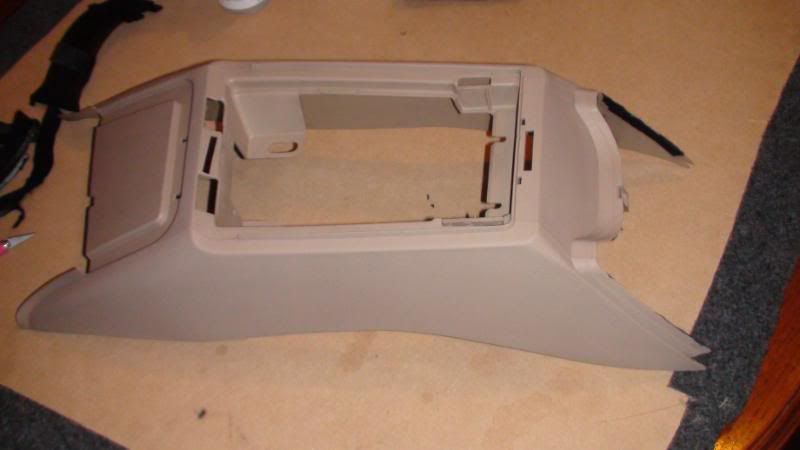
just stripped the black material off that stops the squeaks and the foam.
cleaned with leather prep, yes leather prep
cleaned with alcohol solution
painted leather finish high gloss
lol painted leather finish satin effect scratch resistant
as you can see (well maybe ) lol it looks fresher but theres not much telling between the pics not sure if its the light etc
to say im pleased with the result is an understaement....
i am attempting the centre arm rest next..............
i still have bits of the black fabric i took off but i would like to try and source a similar material so i can re trim the edges to reduce the squeeking...
i have some spray glue and some carpet tape im sure something can be made up...
il try and post up as and when
cheers
-
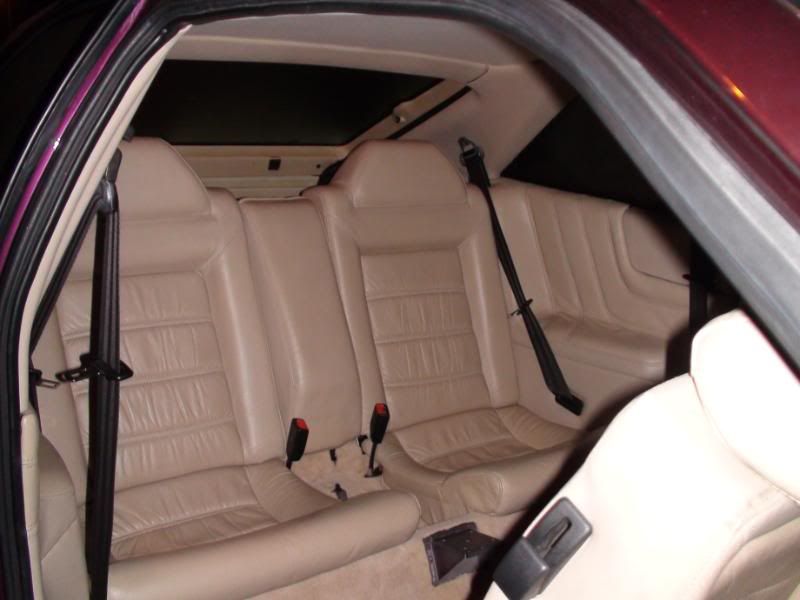
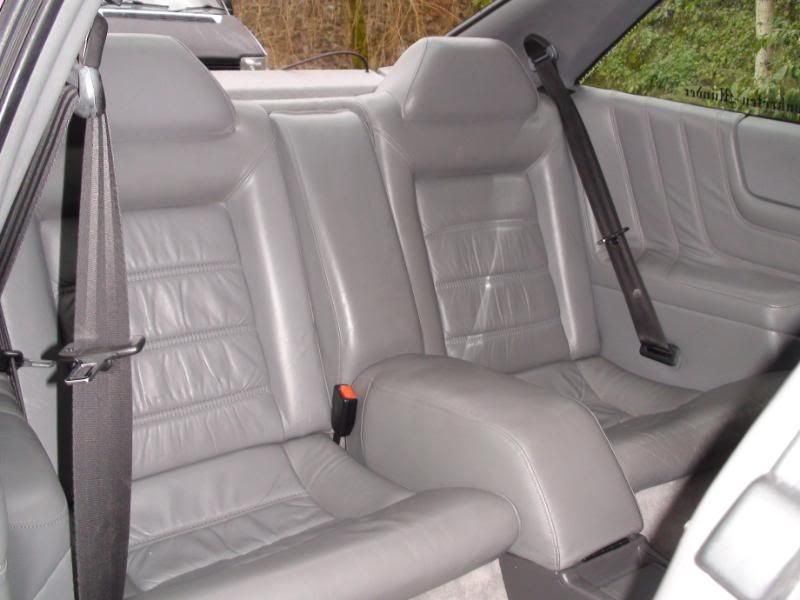
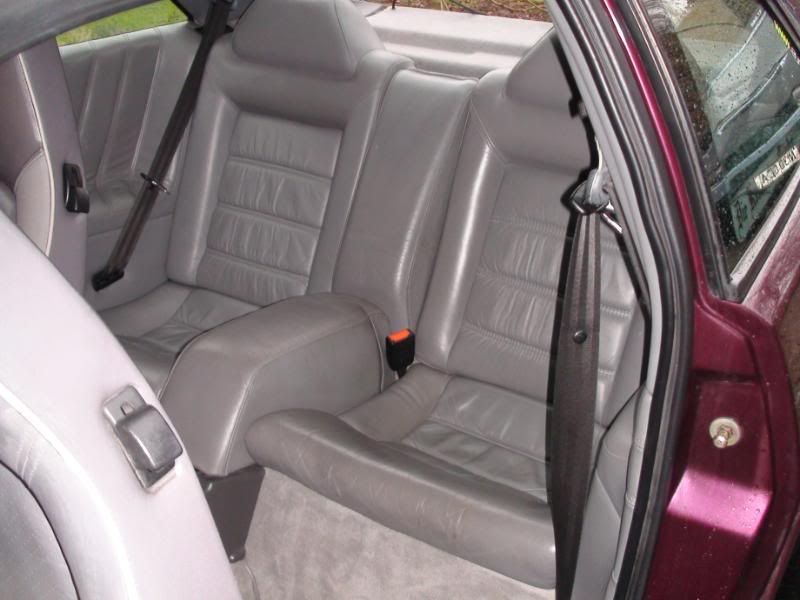
as i am online here are some of the pics of the rear seats ive fitted...
-
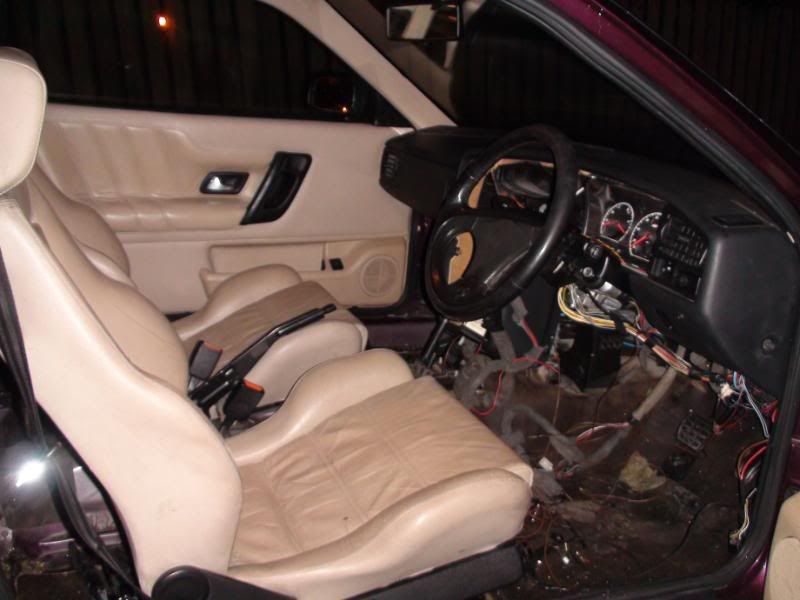
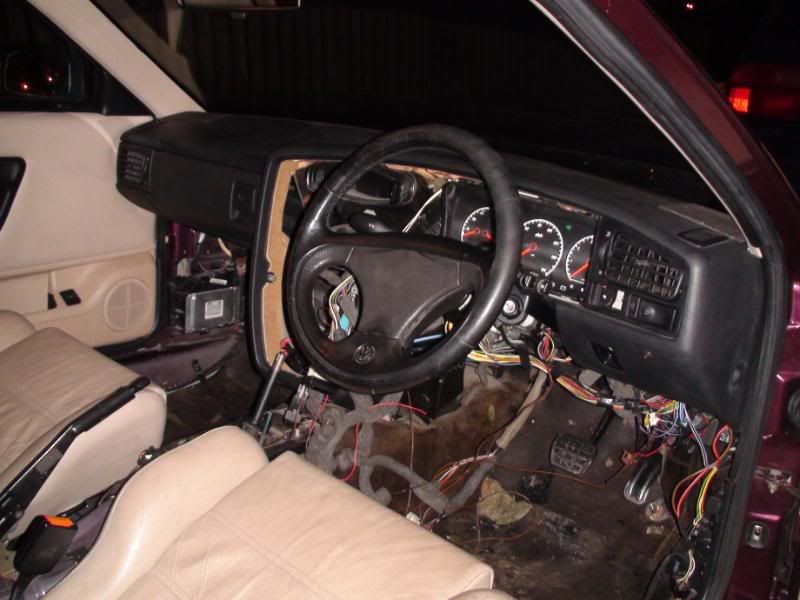
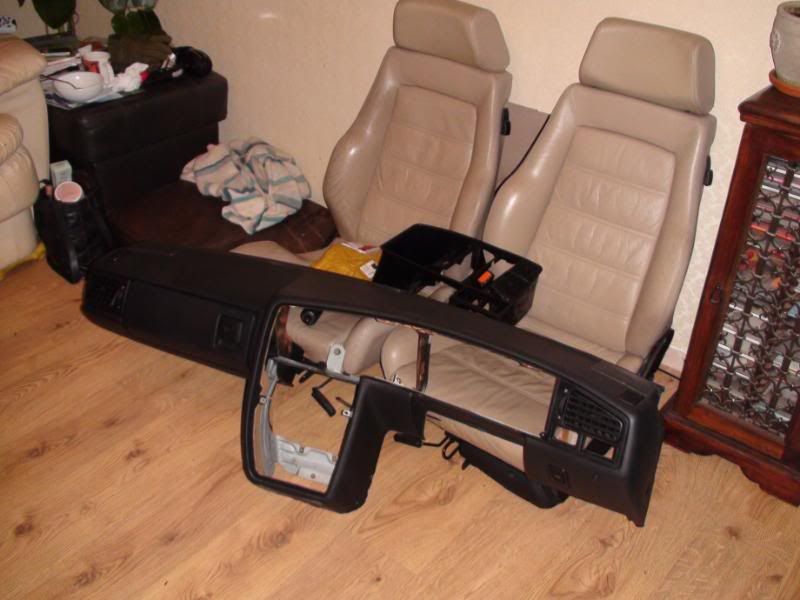
thank you to rob for coming and getting the old interior bits and pieces today and thank you to matt for helping t=with the dash etc
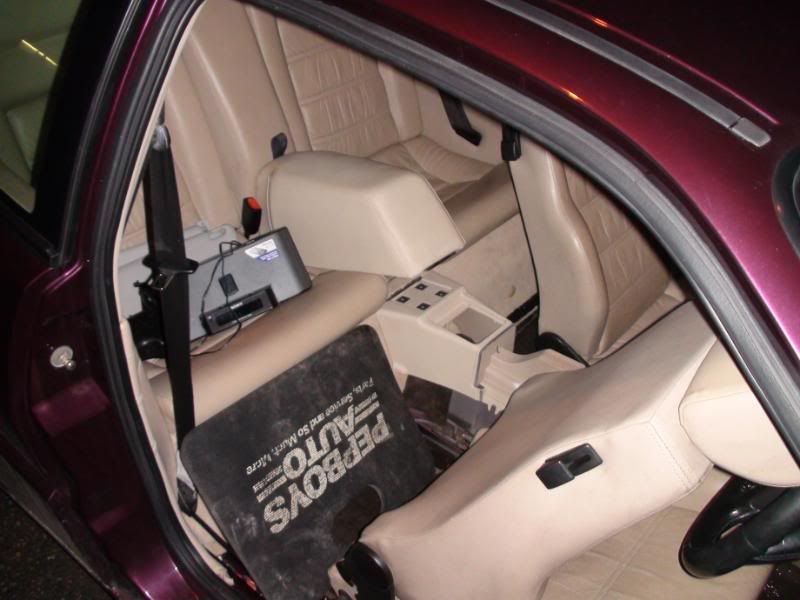
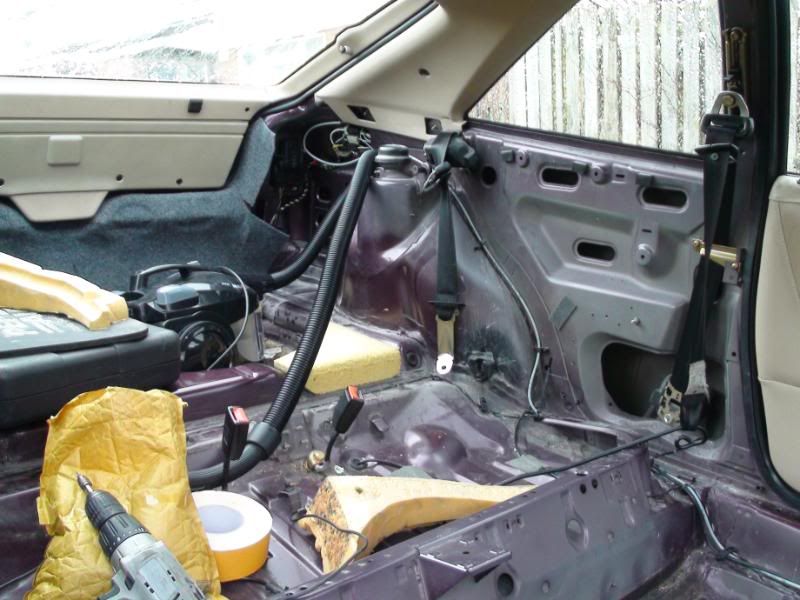
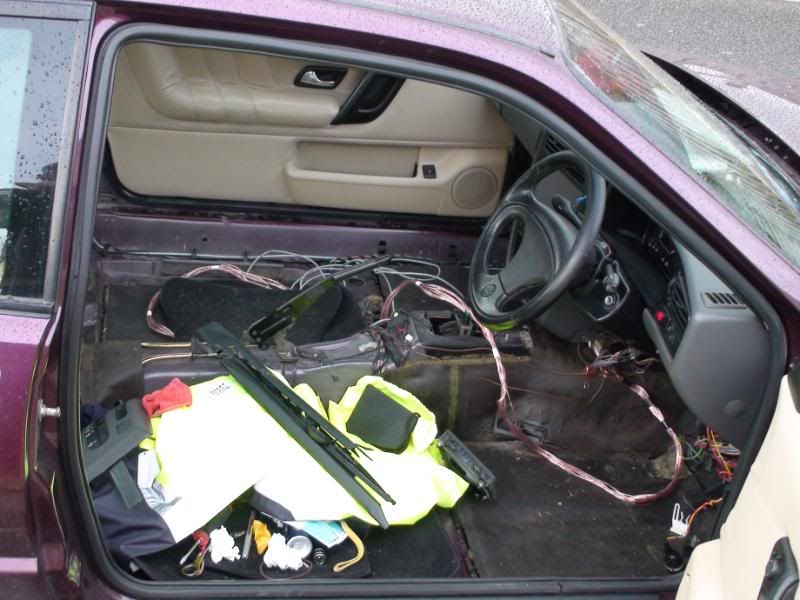
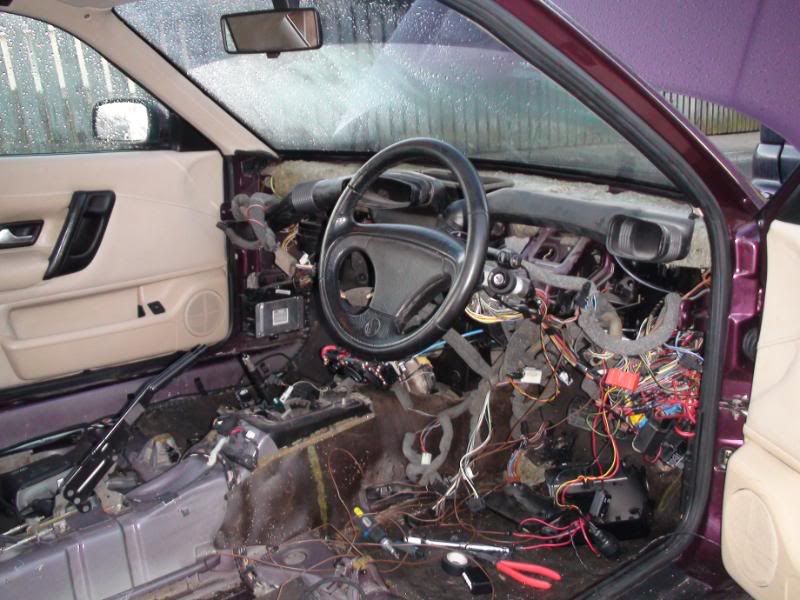
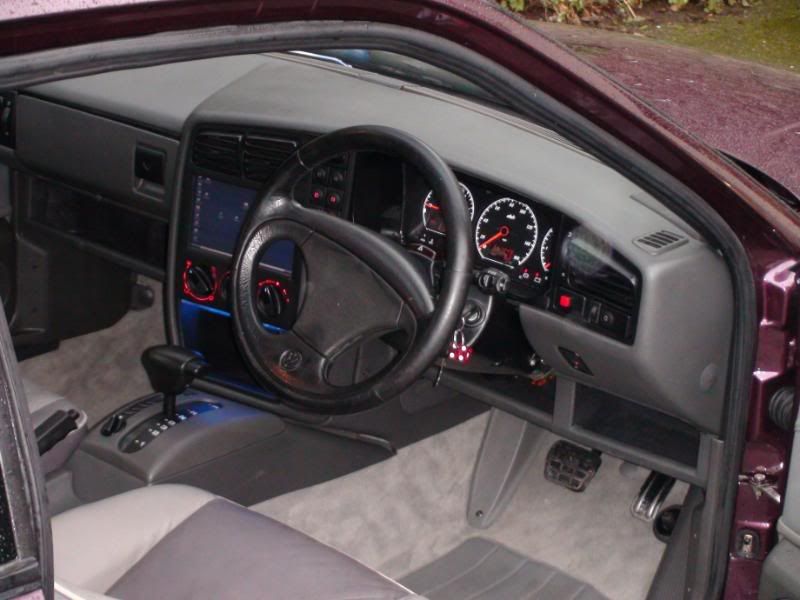
what a bloody day not really a good idea to strip the dash out on a late sunday afternoon.... done it though and got some of it back in!
i hate looking at this its just where the hell do i start now.... lol
removing the p.c
bllocks lets take the dash out ...............what a good idea that was..
rob are you scared yet! hahah
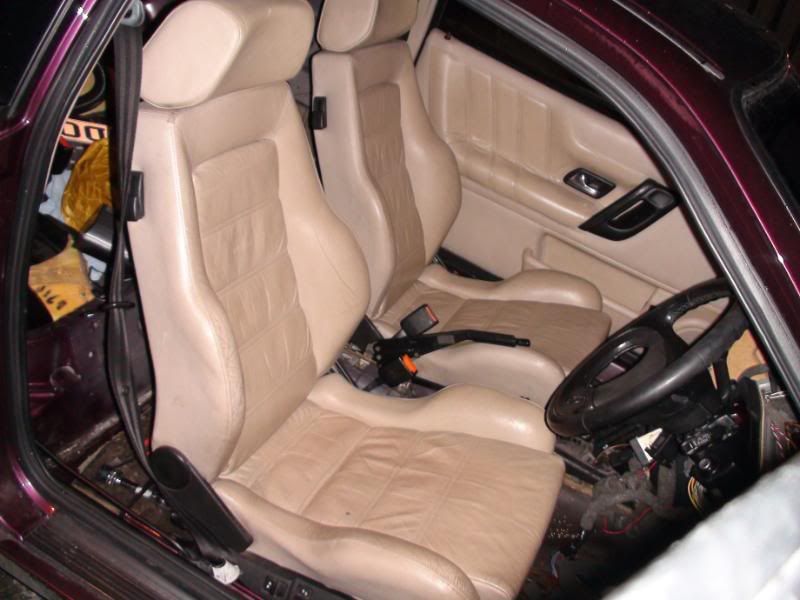
i had to pick the missus up so i chucked the seats in and off i went..
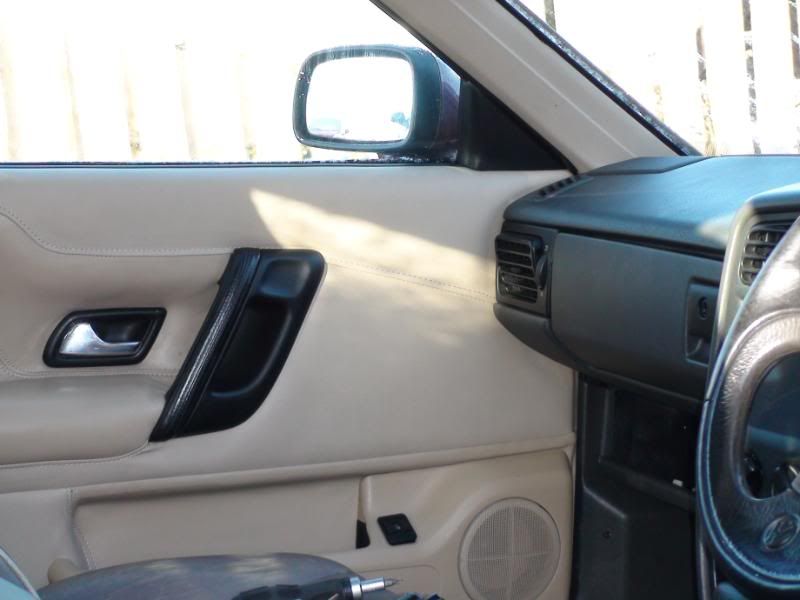
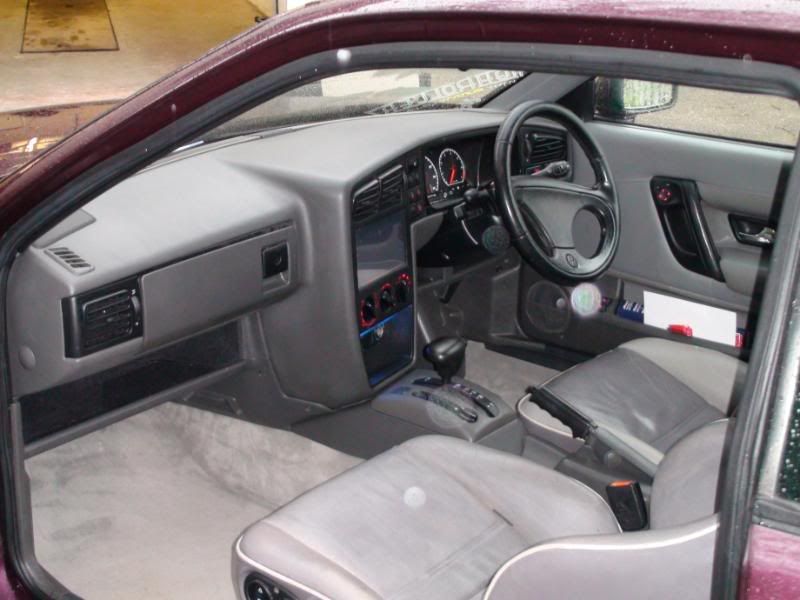
got the black dash in now so itl look better when finally converted all to beige
quick piccy of the seats before any cleaning commences..
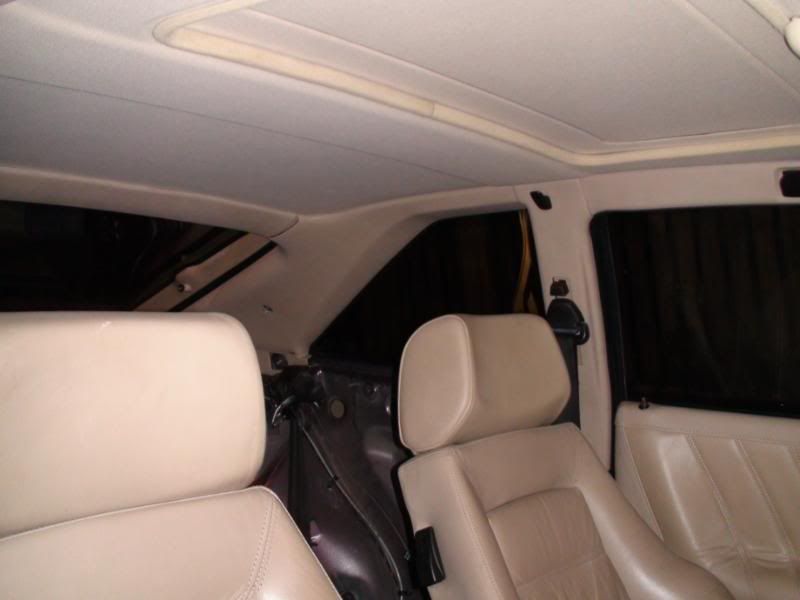
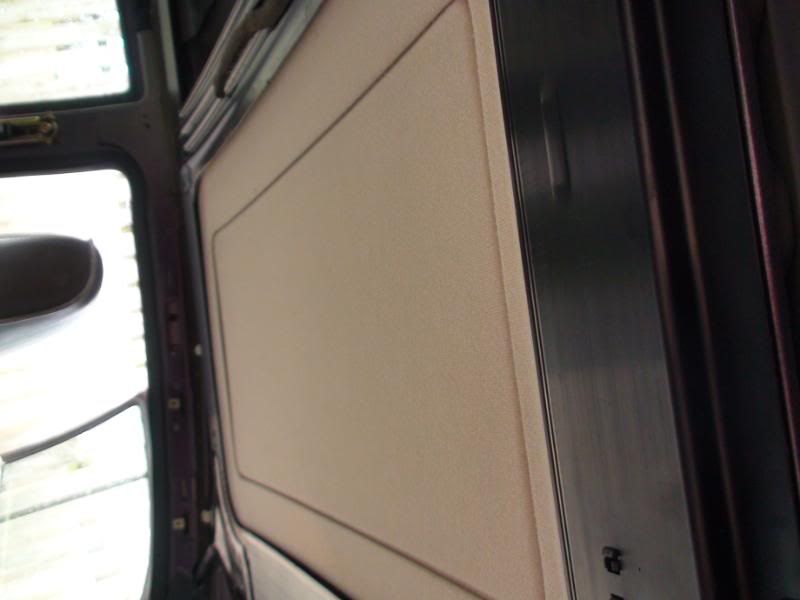
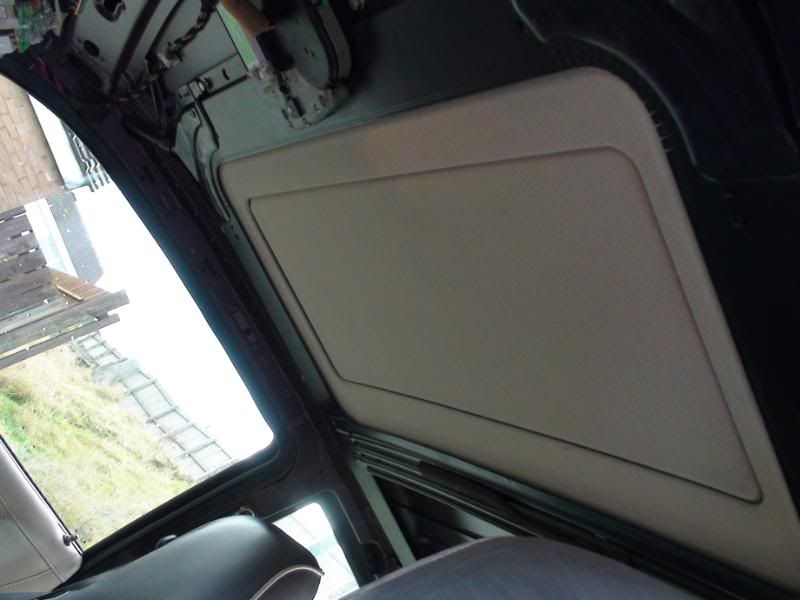
also got the b and c pillars in so the headlining etc all finished and looks very good...
-
didnt get chance to update before work this morning,
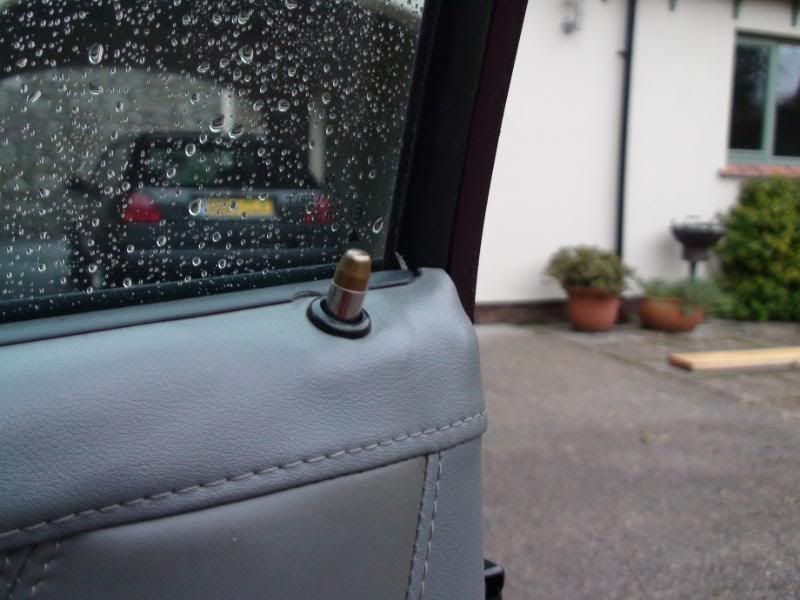
got the headlining in and the sunvisors..
im starting to see that it is going to look good!
it does look weird though seeing part grey and part beige in it lol
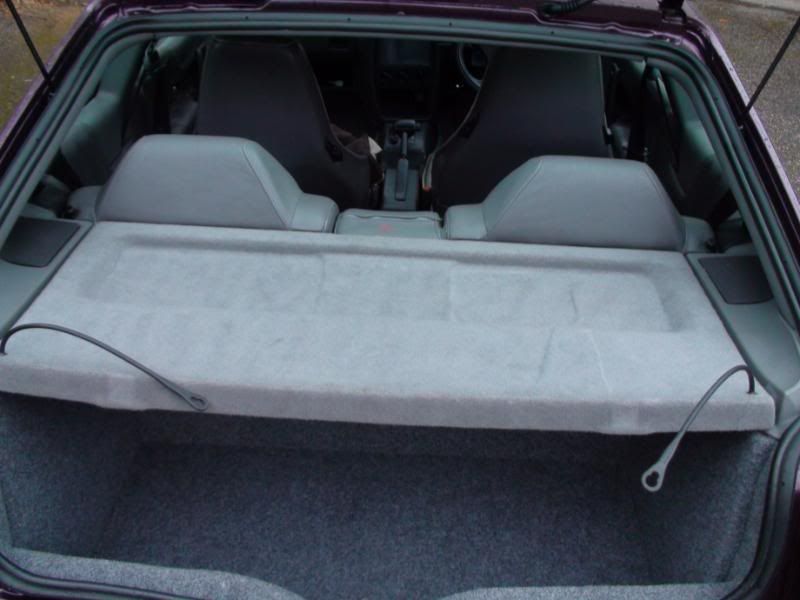
got all the rear boot plastics in
-
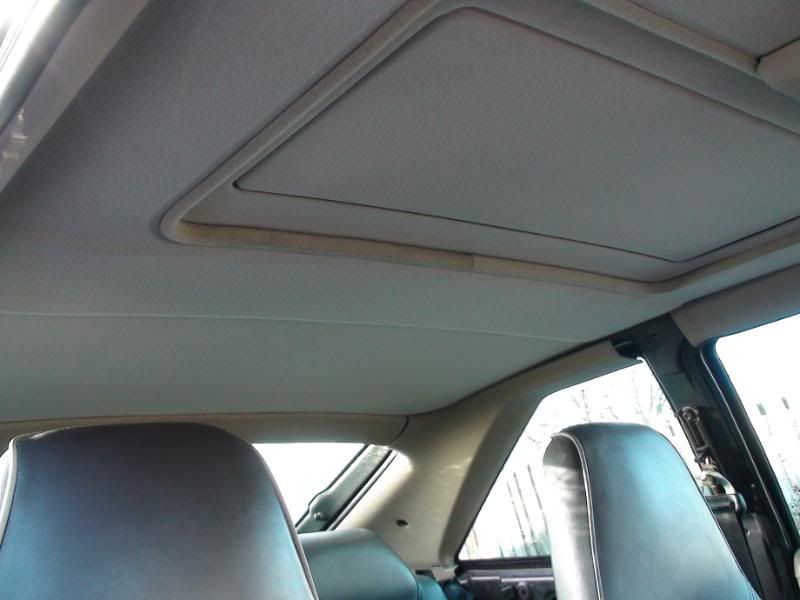
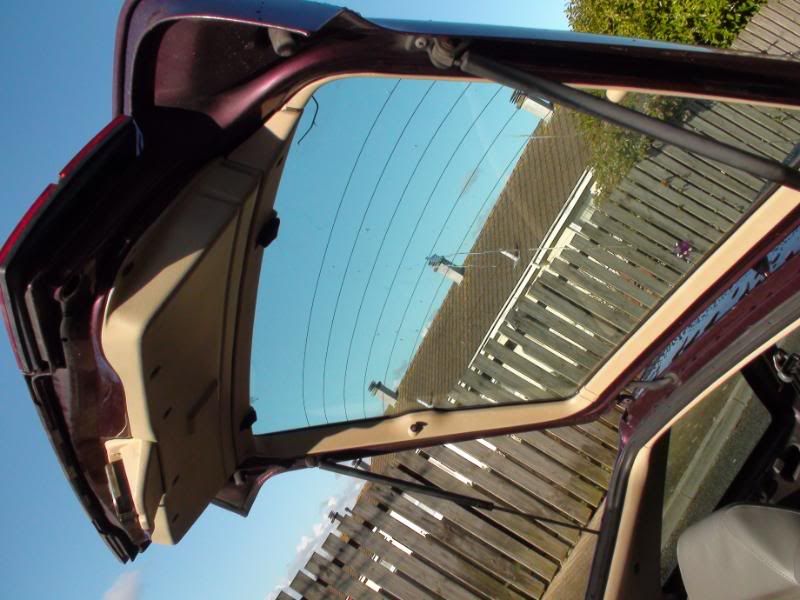
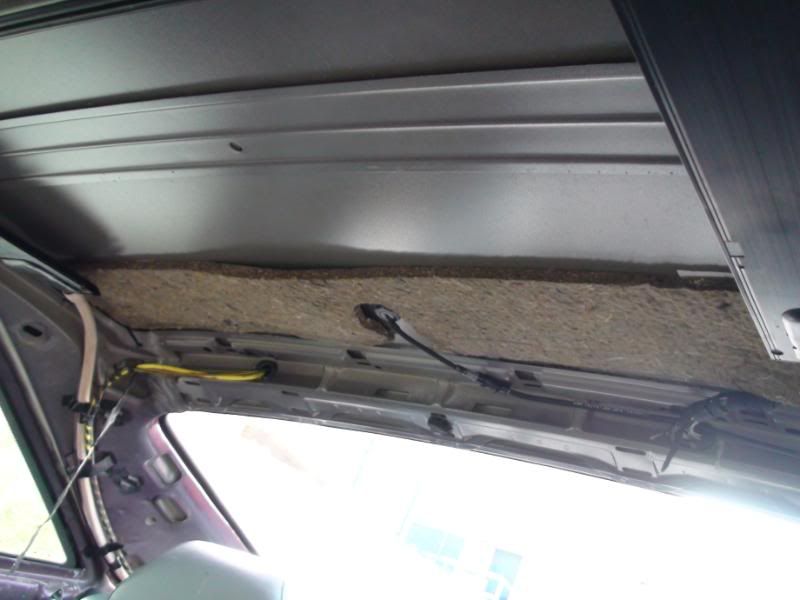
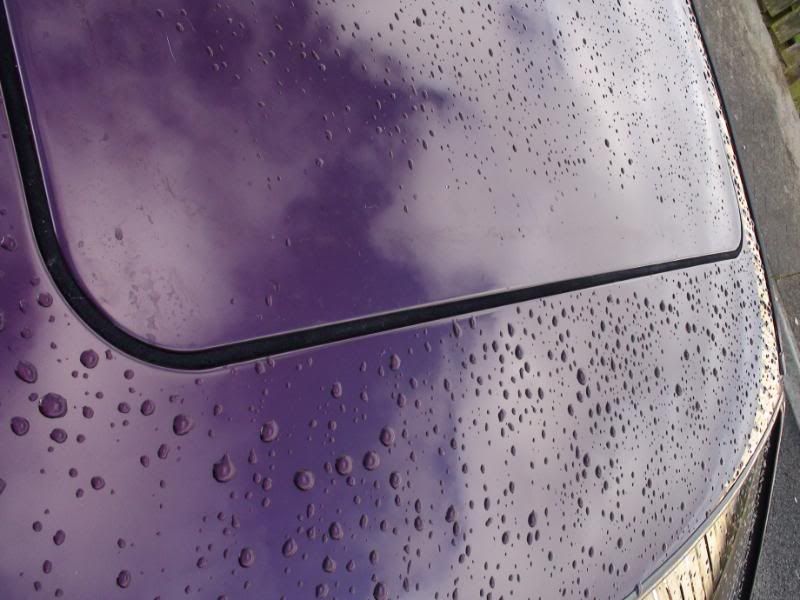
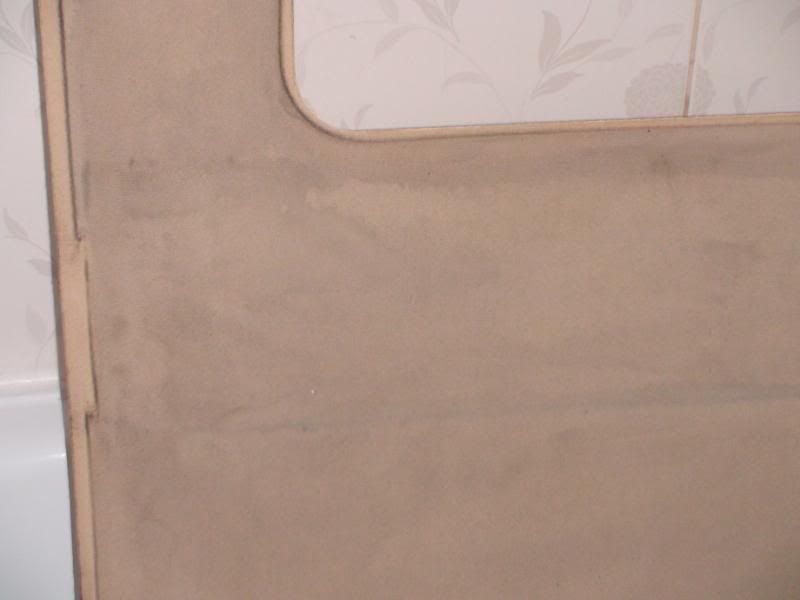
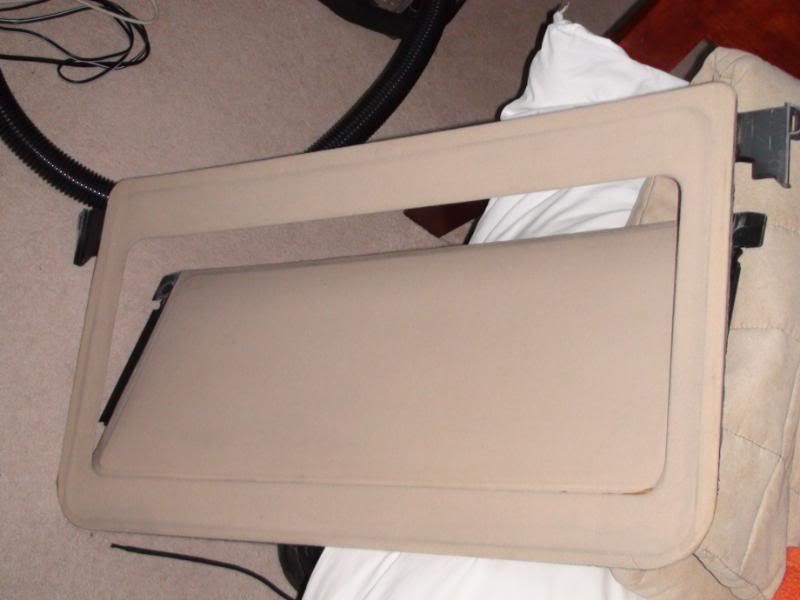
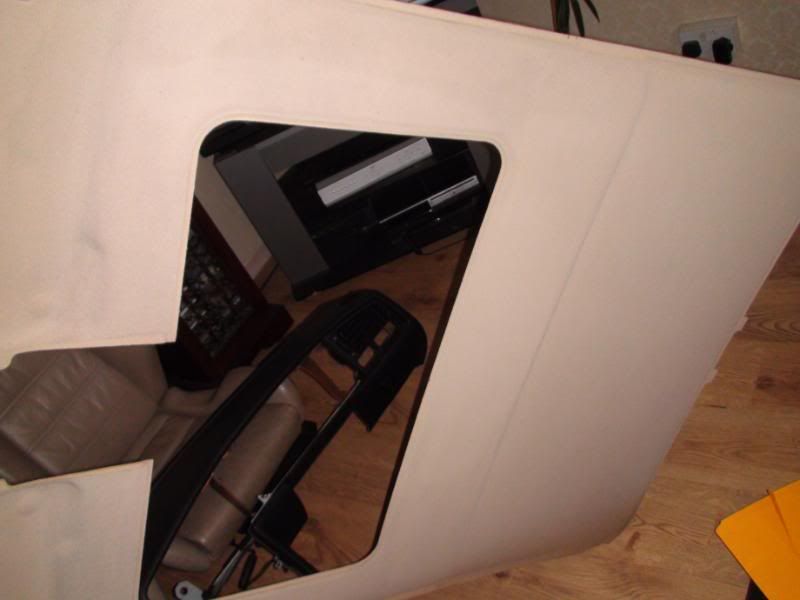
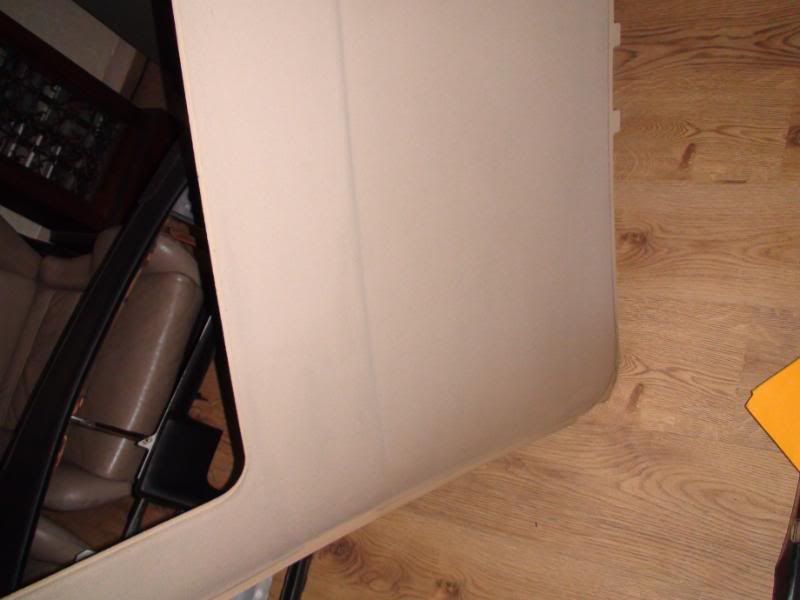
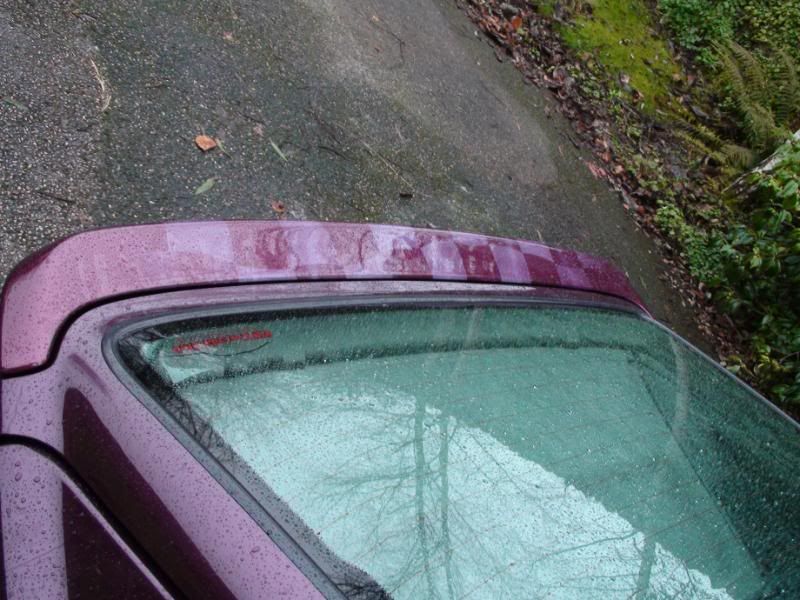
just a quickie before i leave for work got up early (ish) and thought id better strip the sunroof panel out now as it might turn into one of those 'il do it later' type jobs haha so out it came easy
old sunroof panel and this by the way looked mint in the car!! lol how wrong was i!
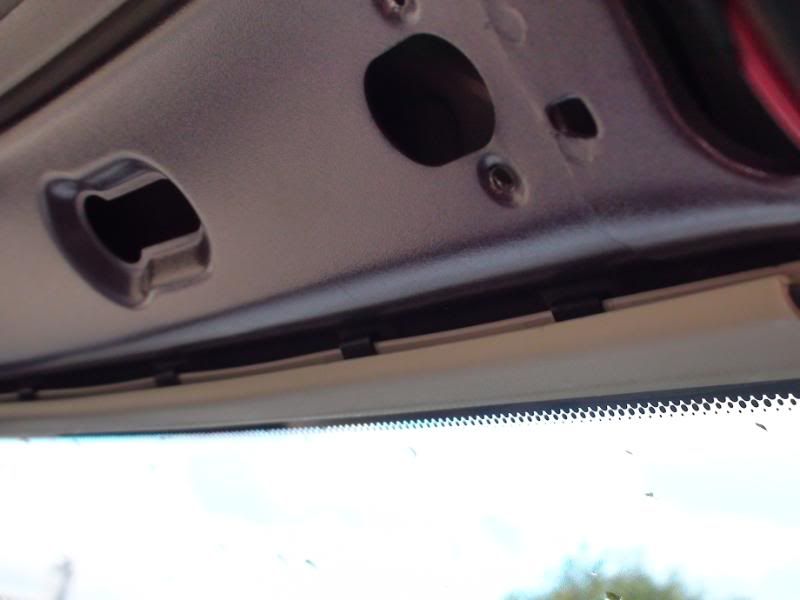
took out the headlining stip from the windscreen area i wanted to do the full conversion to beige so it looks factroy, and this piece was a ******* to remove...it was held in by metal spring clips and black window sealant!! thanks......
got a blade and cut it out gently not managing to damage it
put the new one in and yes its beige!
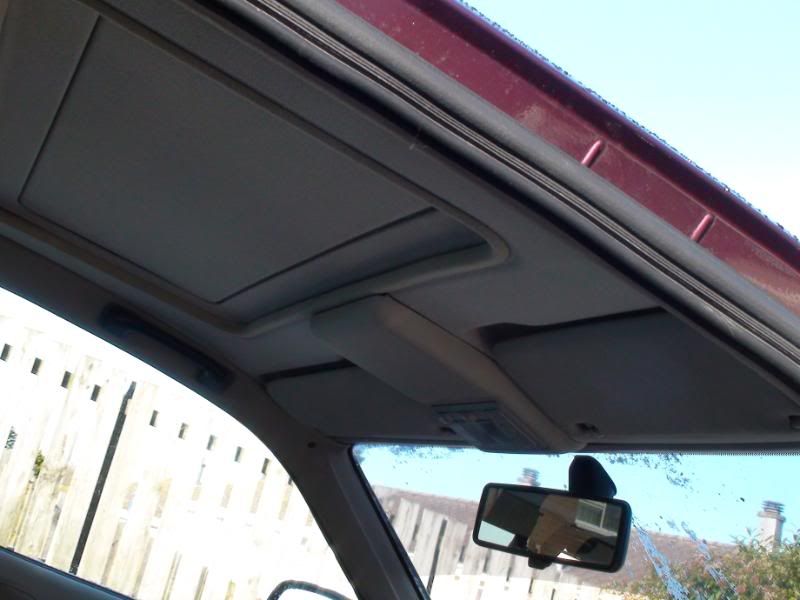
sunroof panel in had a good look round it to see how it works very simple bit of kit once you get inside it
re stuck this packing to the roof with carpet tape should hold nicely... im going to get some new black duck tape and place over all the clips etc to reduce rattles and hopefully make for slightly tighter fixings.. , plus going to tidy the cables up while im about it
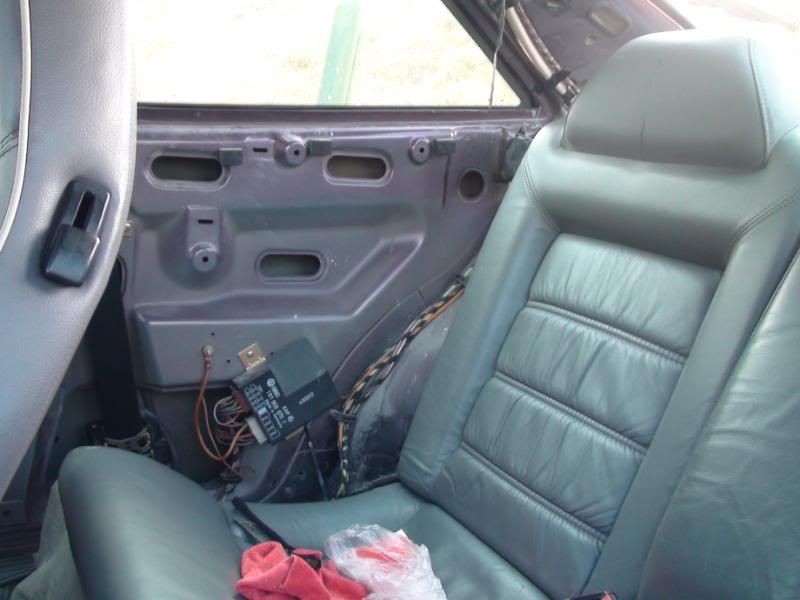
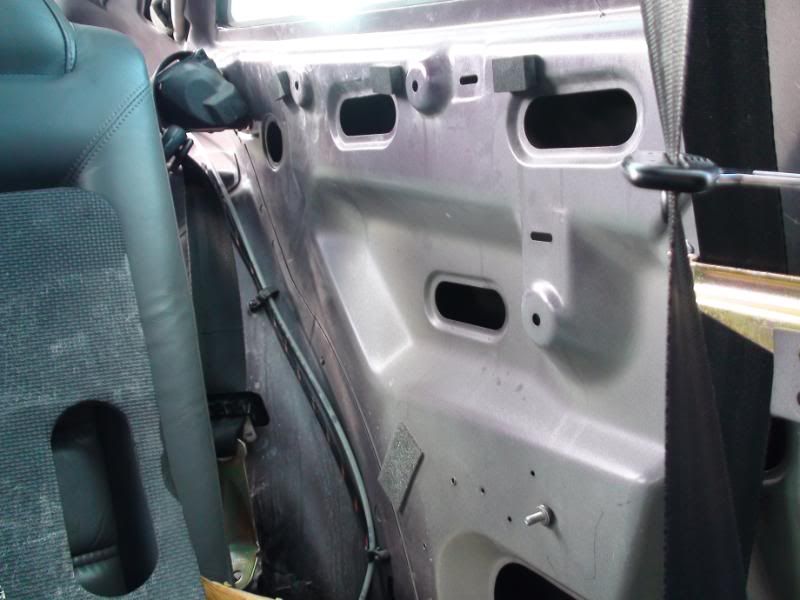
got the next panel stripped ready to take the original heater loom for hte seats the relays sit in here...
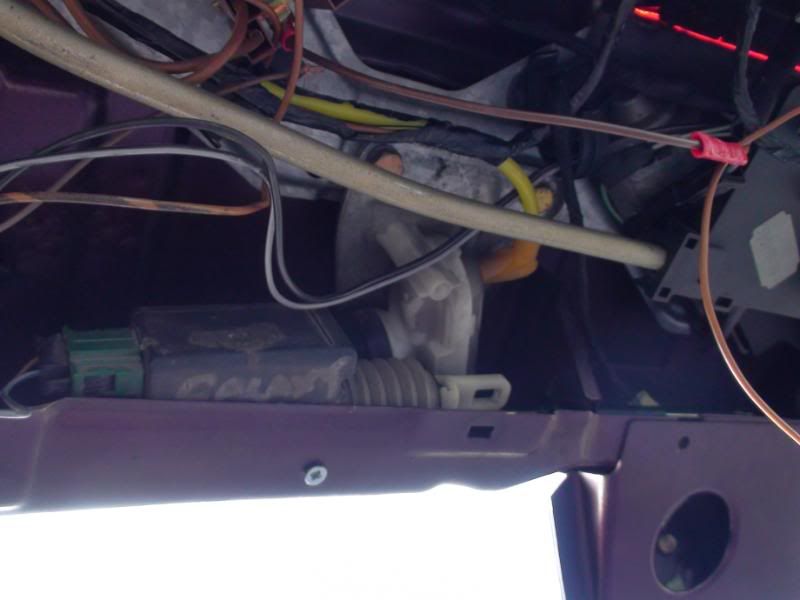
bought a new boot reaease and found a suitable location for it just need to make a braket up and wire it in and it should do nicely
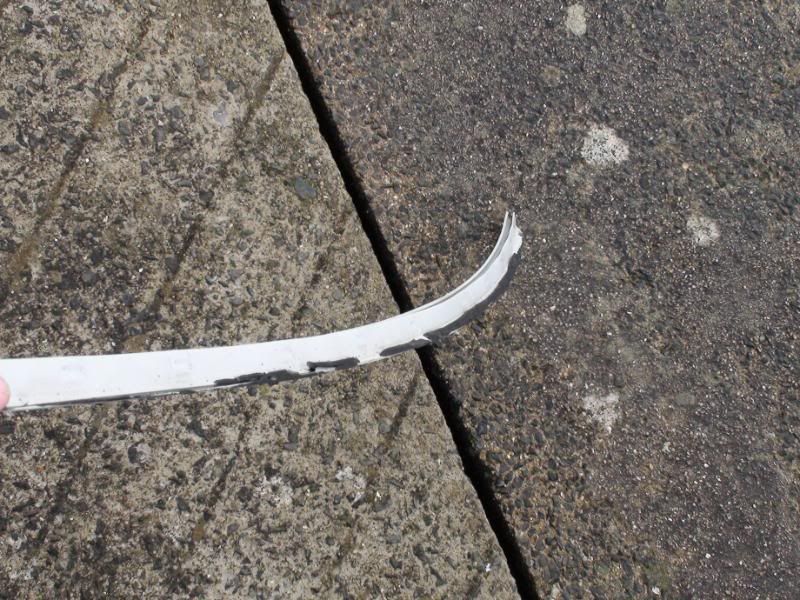
fixed the god damn annoying sunroof seal as it had dipped in both corners not fitted correctly after painting...
even out the car it was a bit of a pig the seal is so not flexible.....
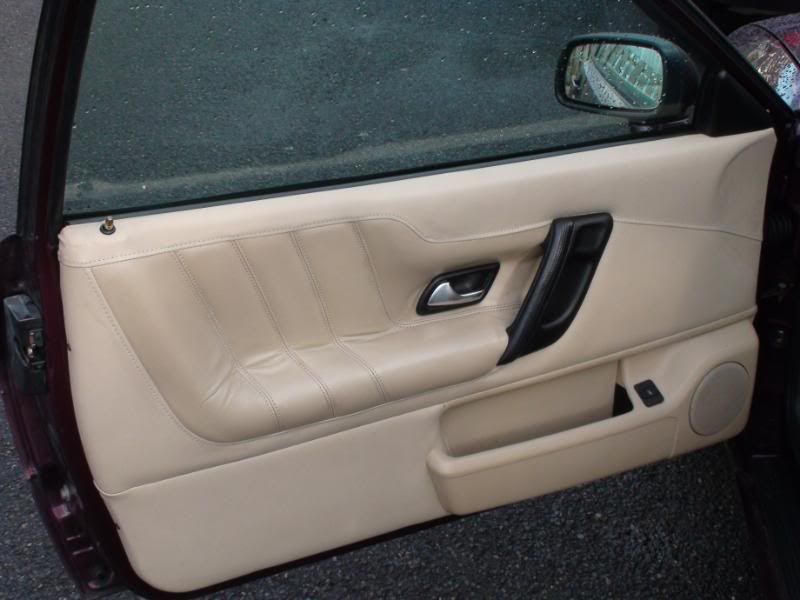
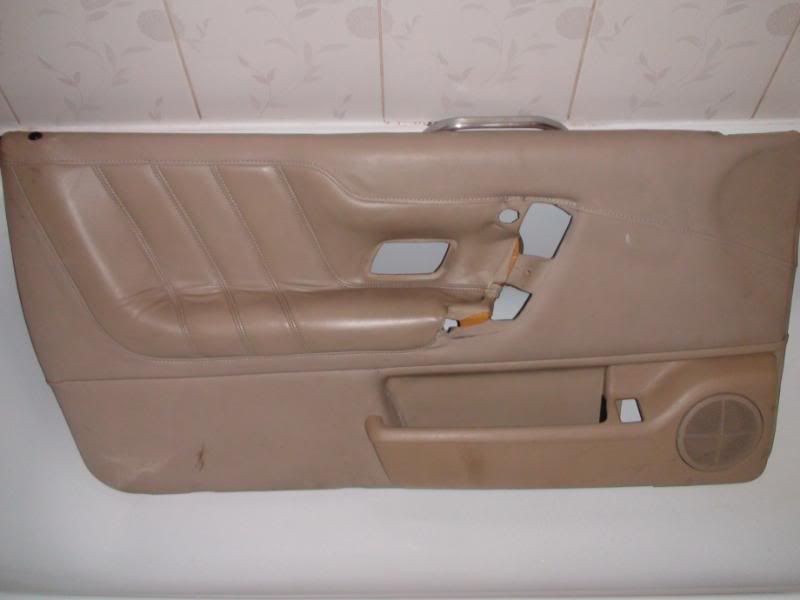
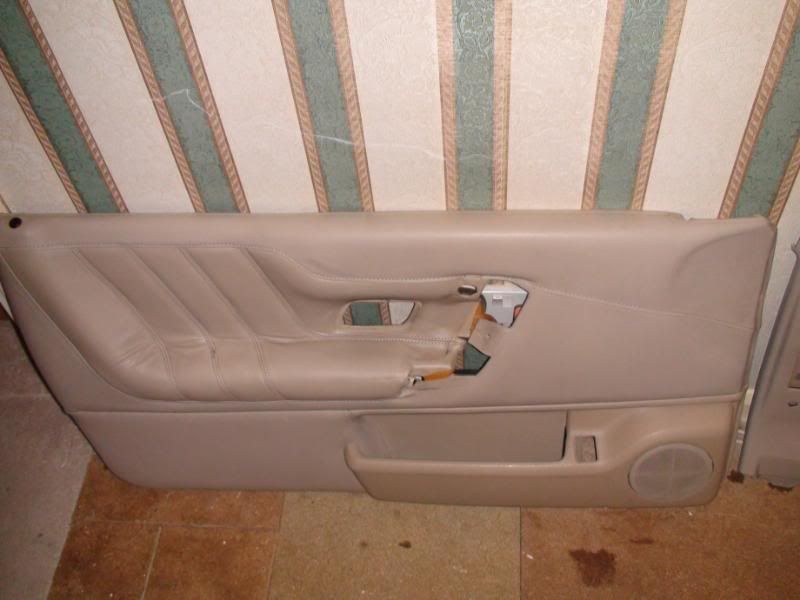
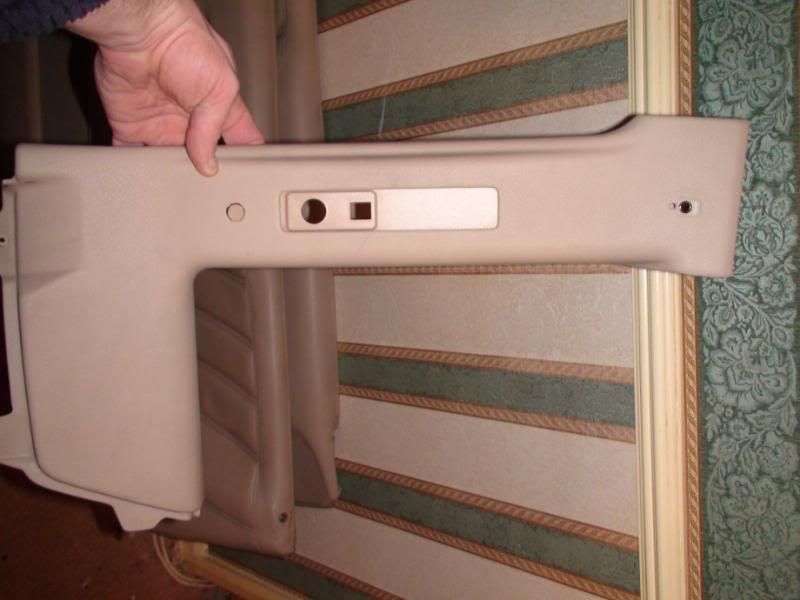
got the door cards fitted they look quite good actually...
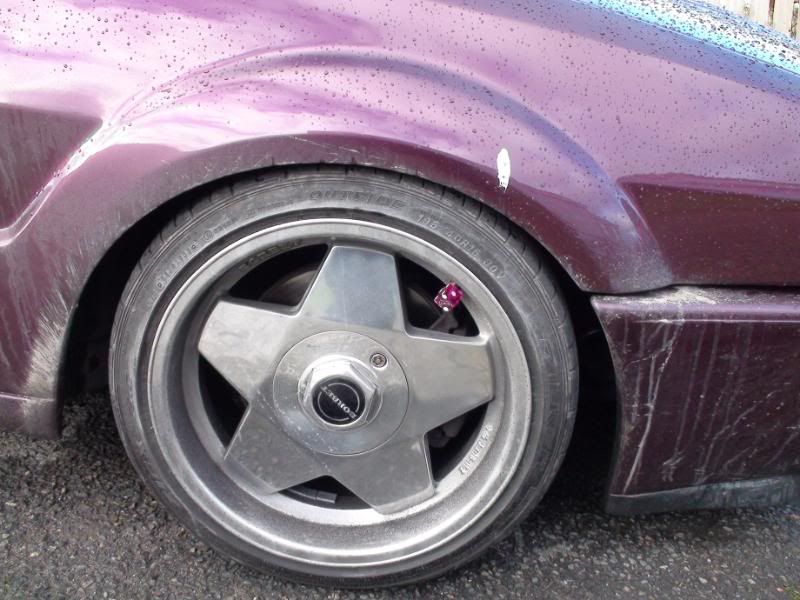
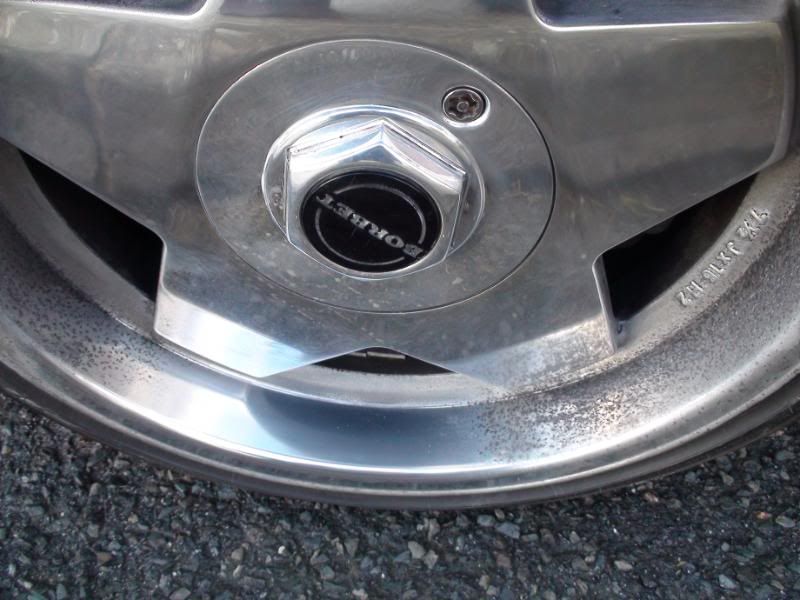
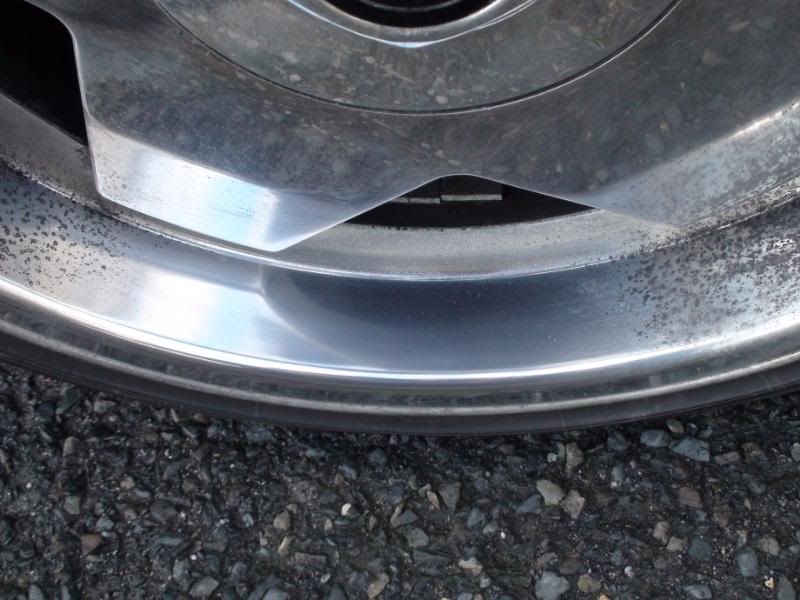
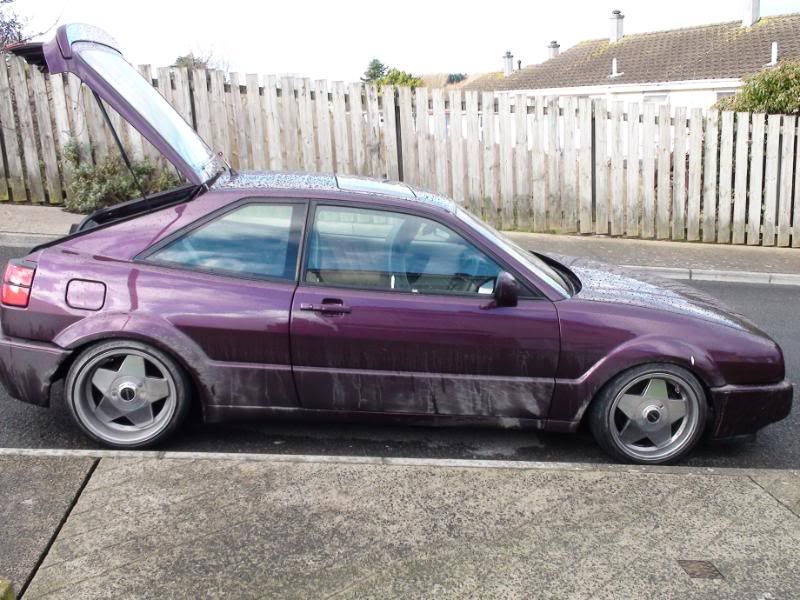
i noticed that using as a daily is killing my wheels...
so i had a quick go to see how bad they really are
i think they will come up fine..
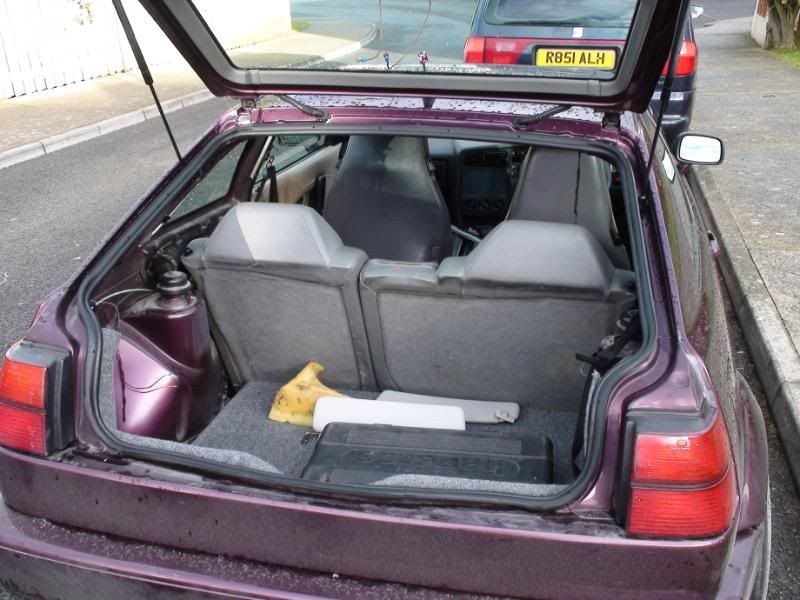
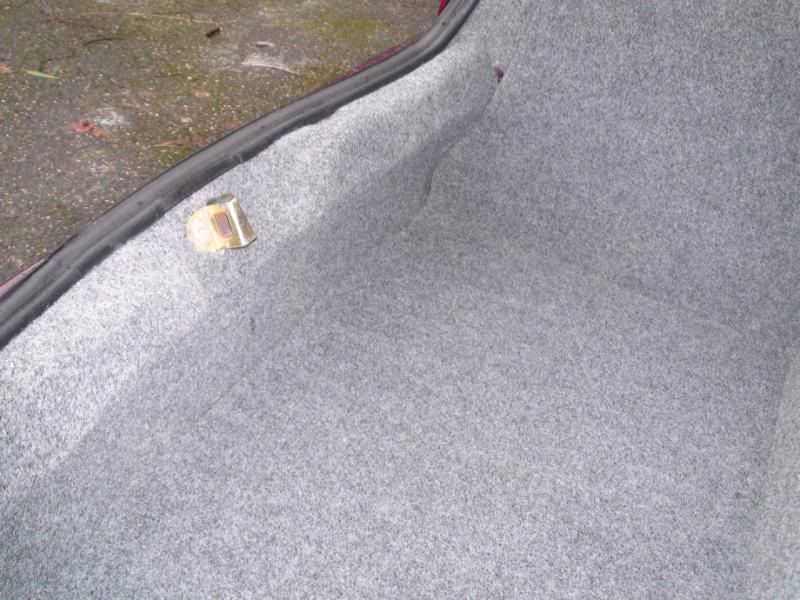
stipping all the boot carpets out going to rebuild the boot install and spend some time on it this time..
got my eye on some kicker 100 si amps old skool but i love them
cars looking a bit of a mess!
lol
-
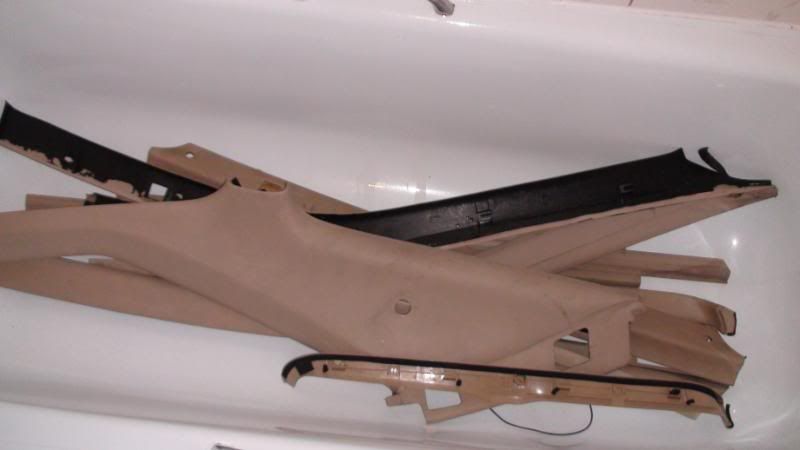
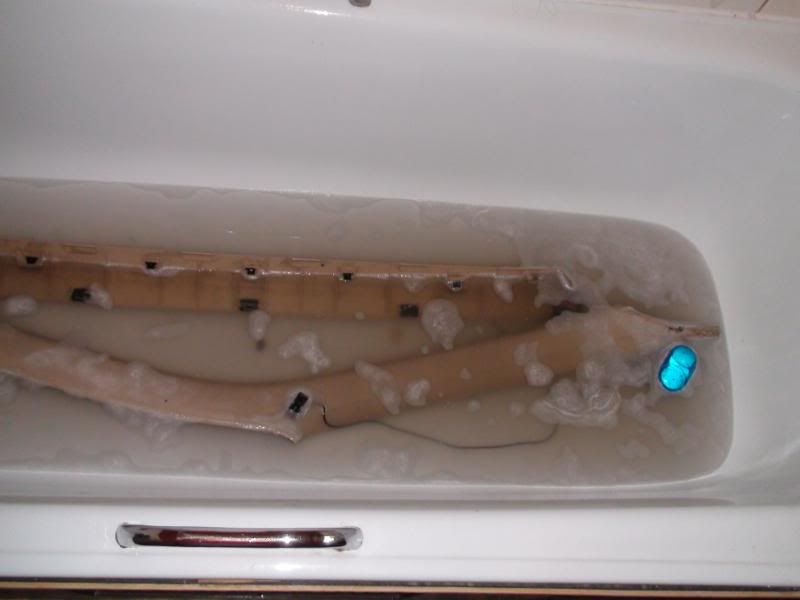
got a bit more done today...
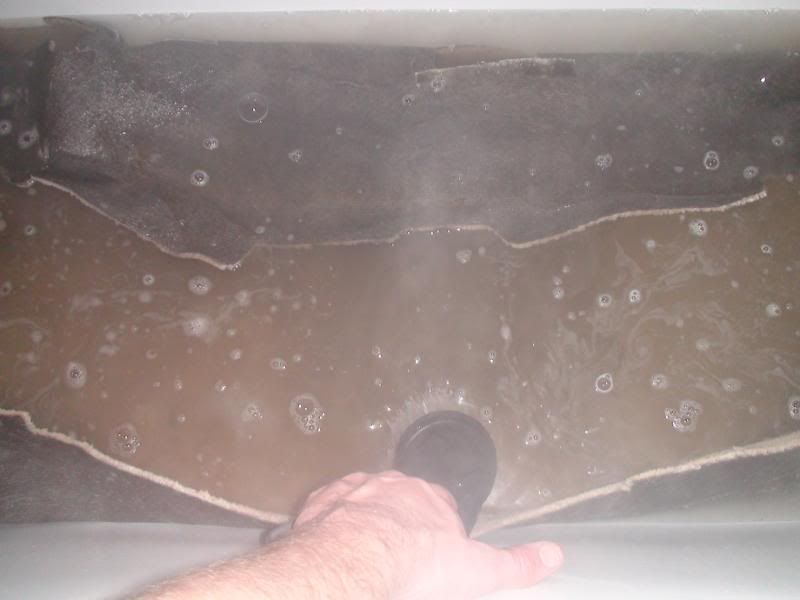
got all the interior plastics and chucked them in the bath and started scrubbing.....what a boring job that is doesnt look like it makes much difference until its dried but like i say itl do until i build a shed and the summer comes i can then colour match the whole lot so it looks fresh and spanking.....
plastics during...water is a much dirtier in the flesh
at least they have benifitted slightly
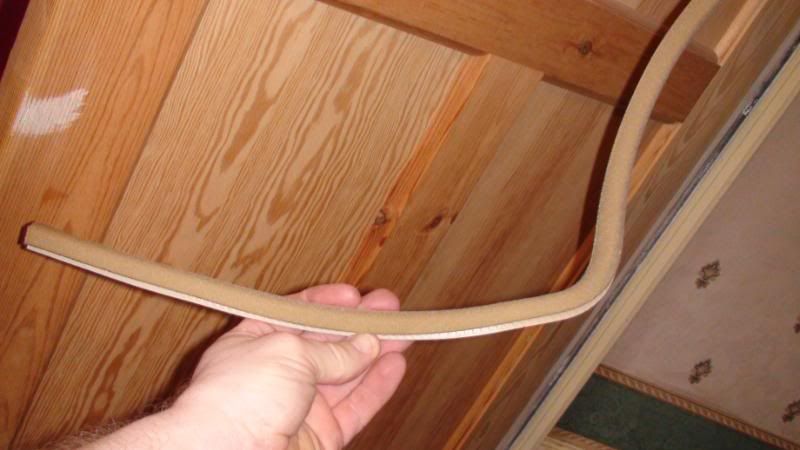
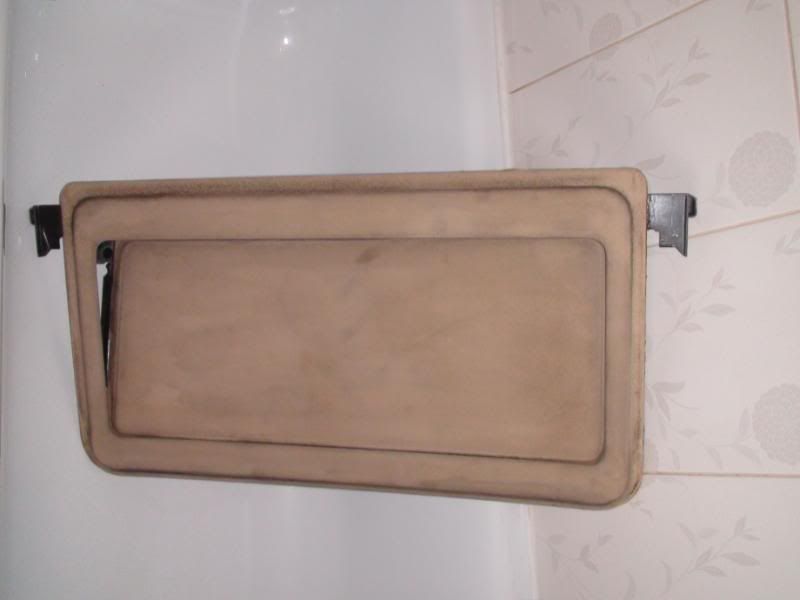
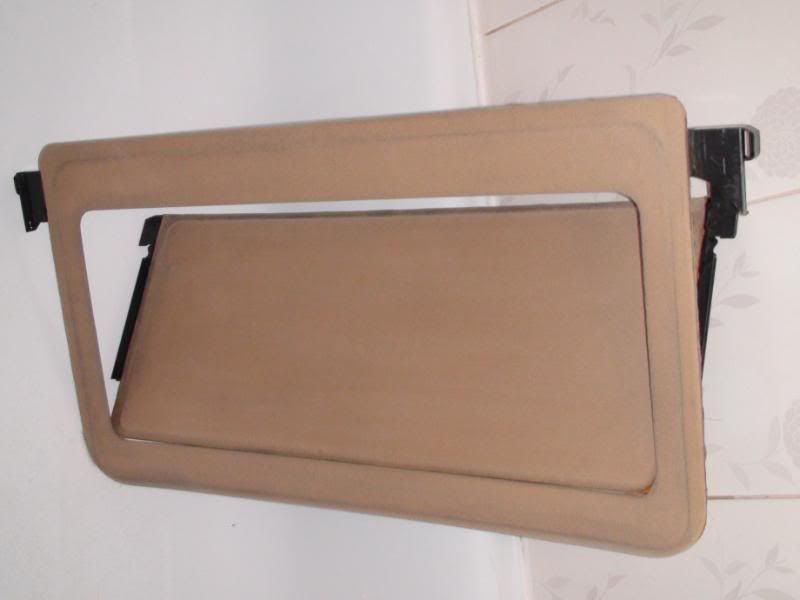
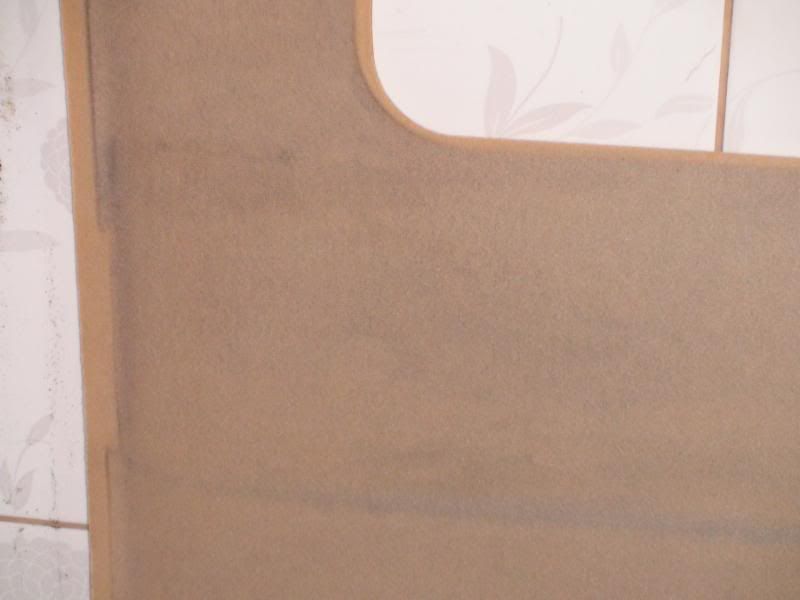
sunroof trim even had a go
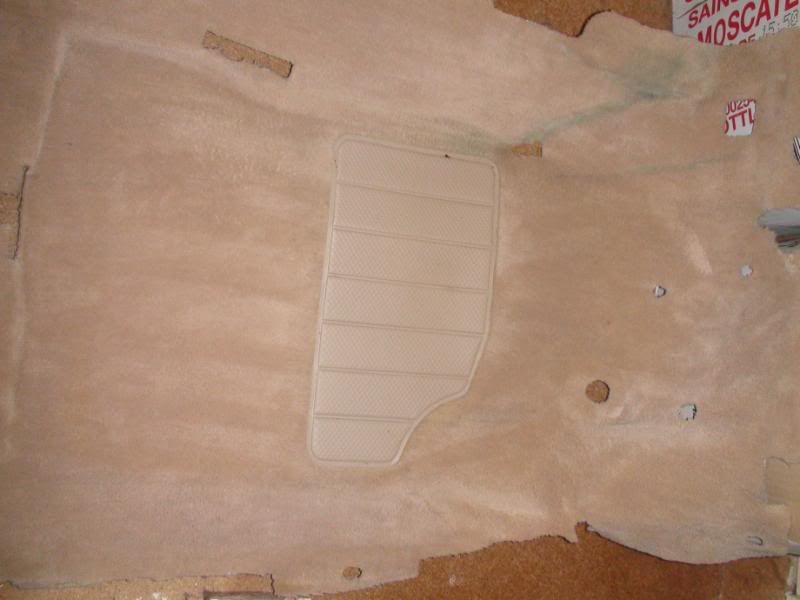
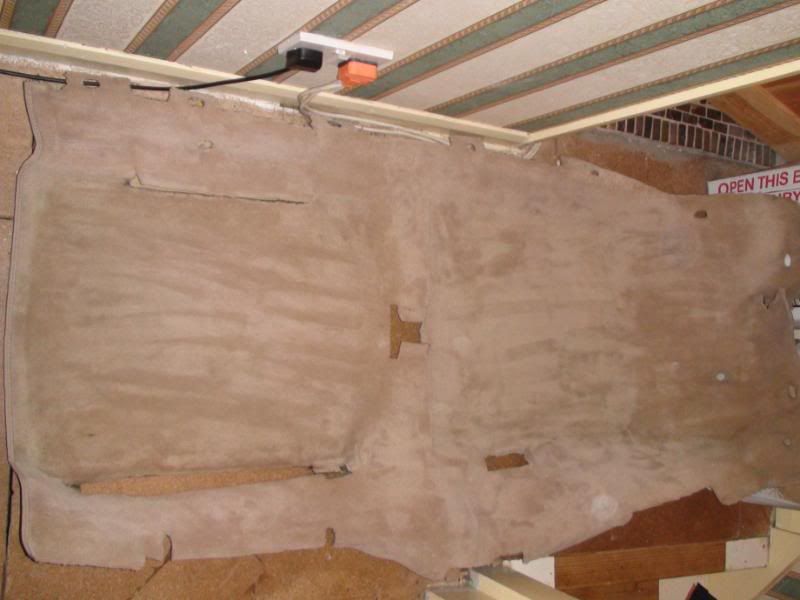
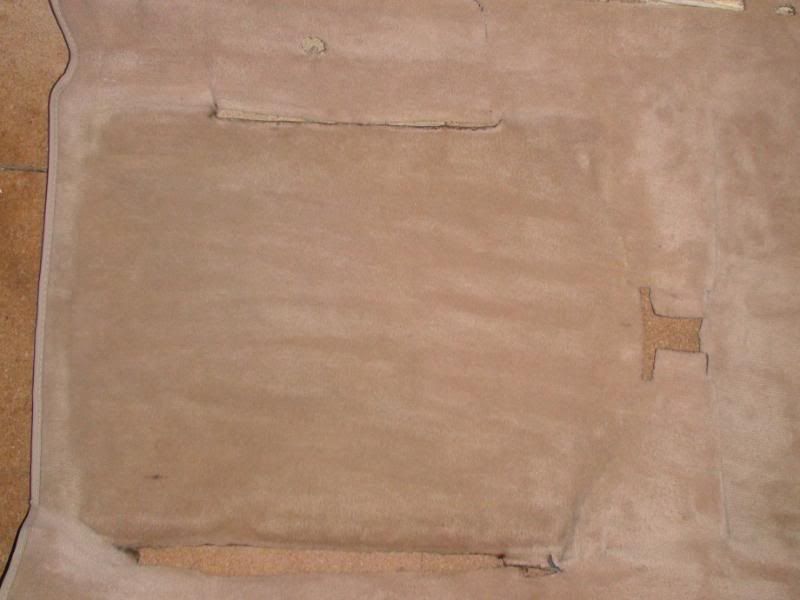
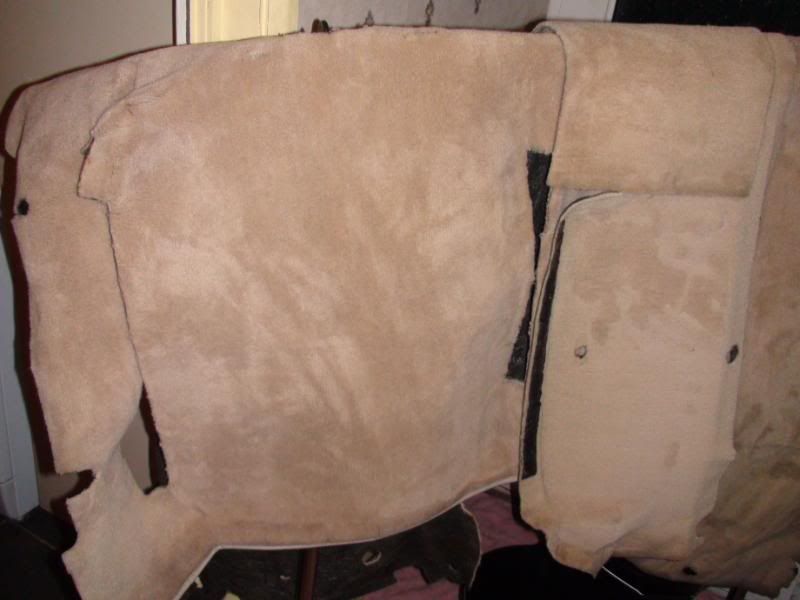
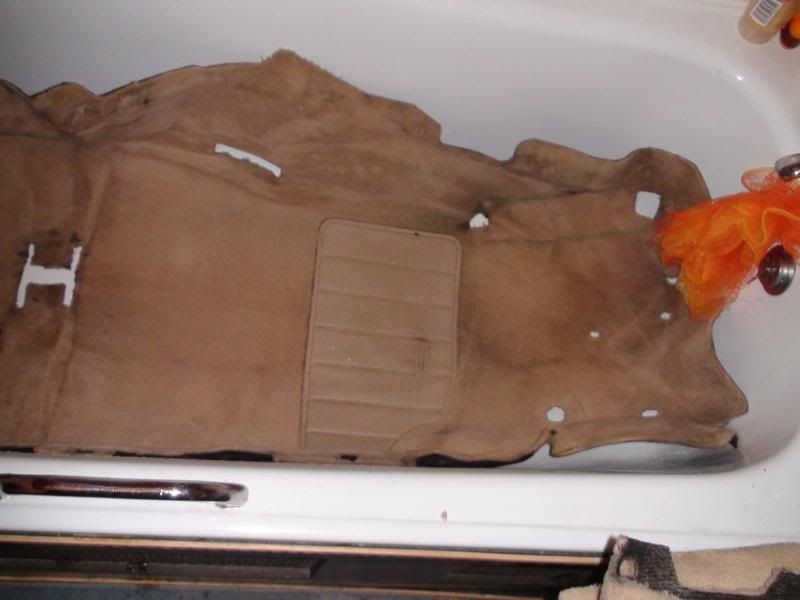
the carpets came up nicely here they are dry,
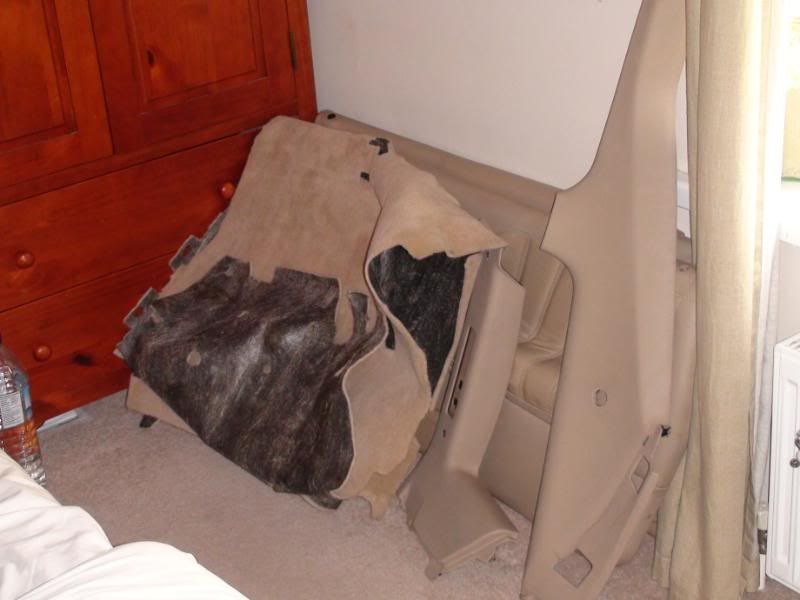
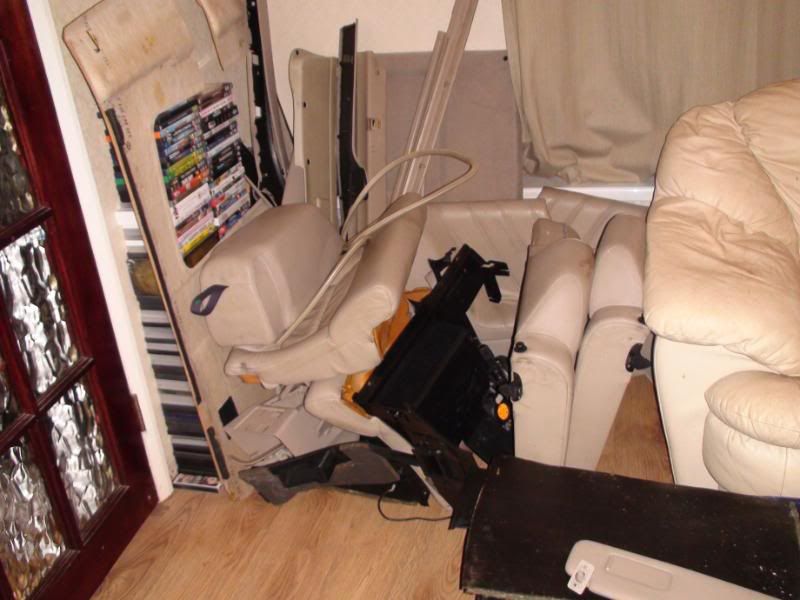
hmmm its like a disease the parts are now spreading to the bedroom....
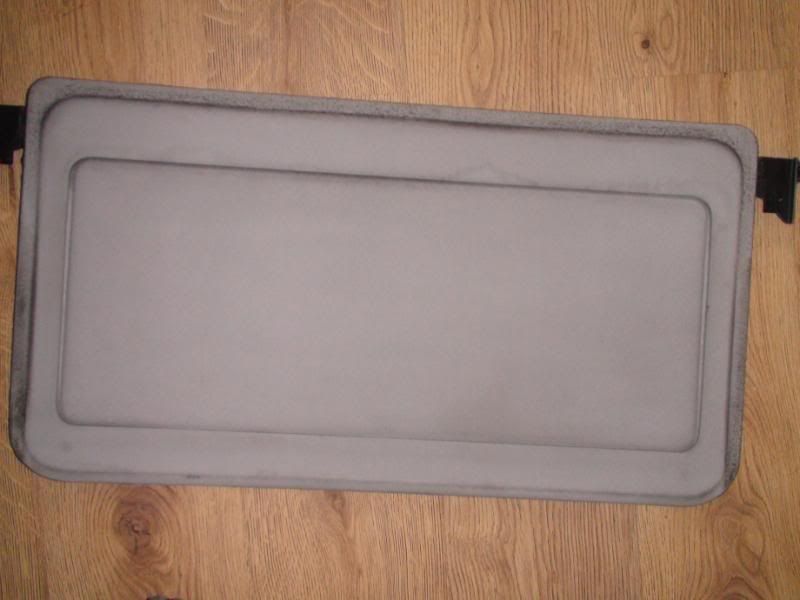
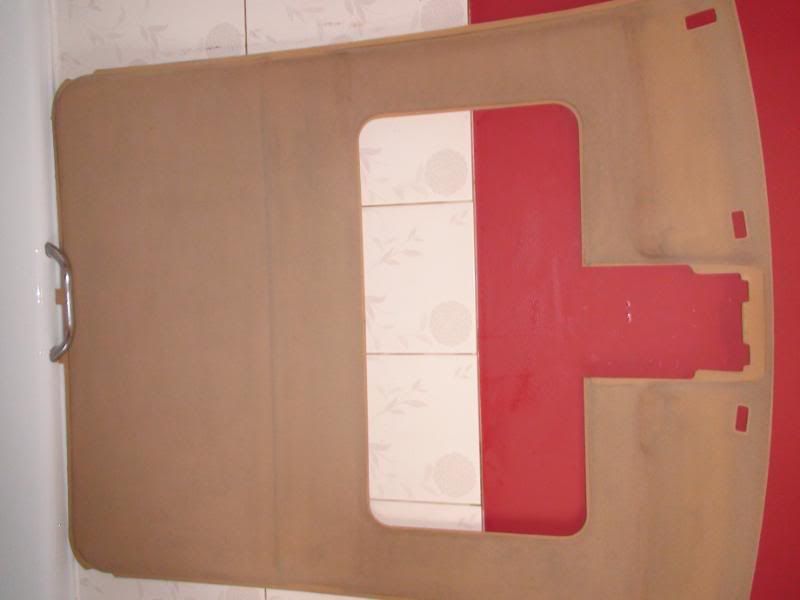
the sunroof panel on the beige interior is also beige i didnt know this so i thought id better fit it this one is minging....
so that went in the bath too..... lol
i **** myself a bit as i had no idea what would happen to it
this is during the washing by hand with bold again and a soft scrubbing brush...
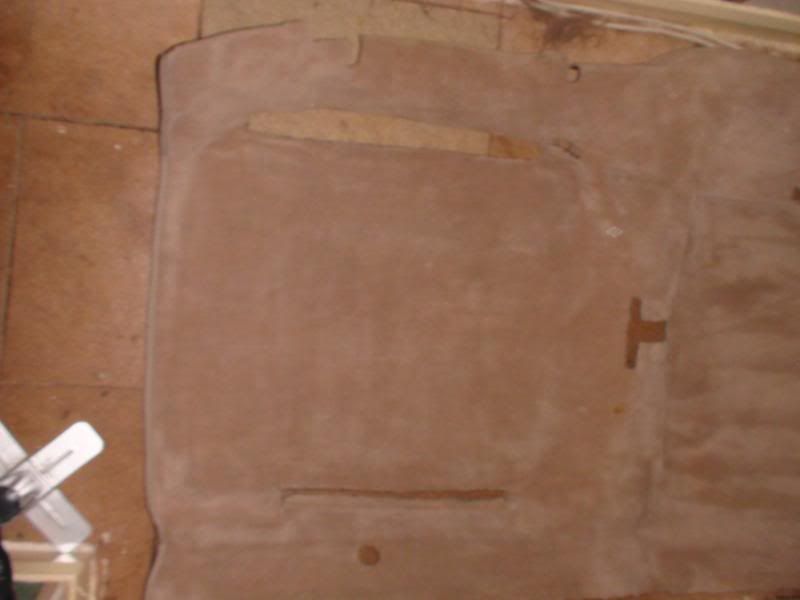
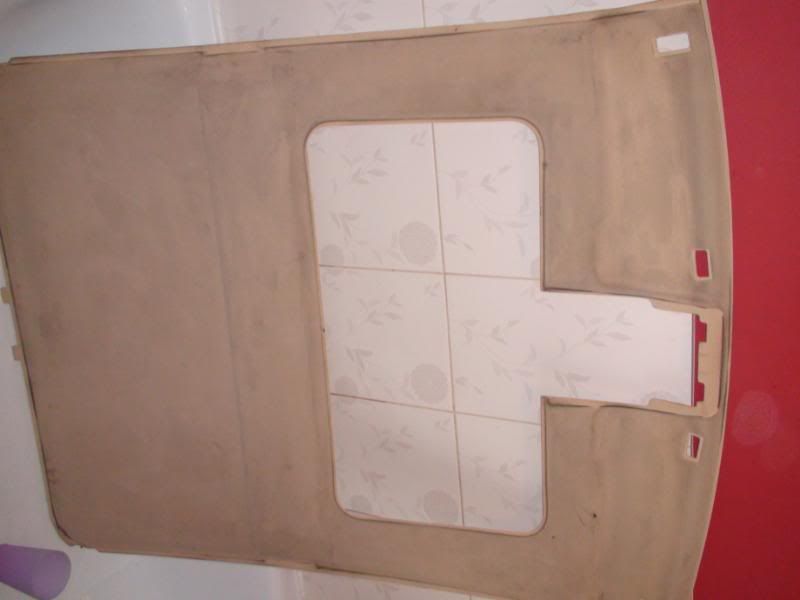
i then thought while im at it i might as well try the headlinging as that too is beige in colour... and very dirty
again during this time not using as much water as i didnt want to distort the backing card
back to the sunroof panel and this is it nearly dry
and a coule of the headlining you can see the water in the corner of it still dripping out..
as you can see been on a mission ive fitted the door cards but not taken any pics
-
Hi chris il pm ya!
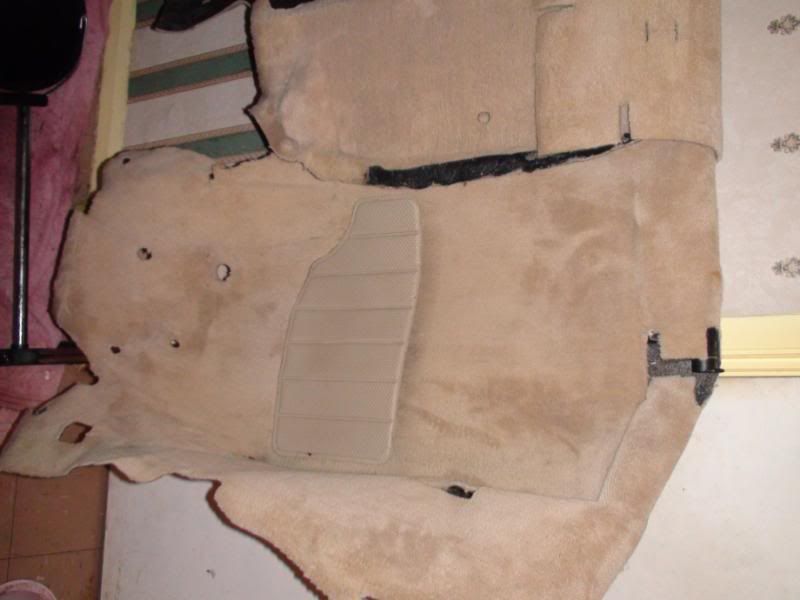
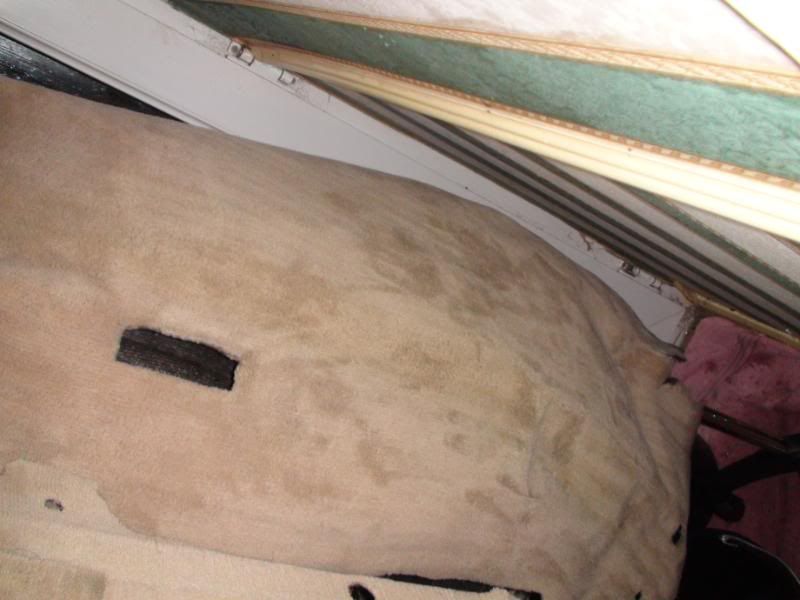
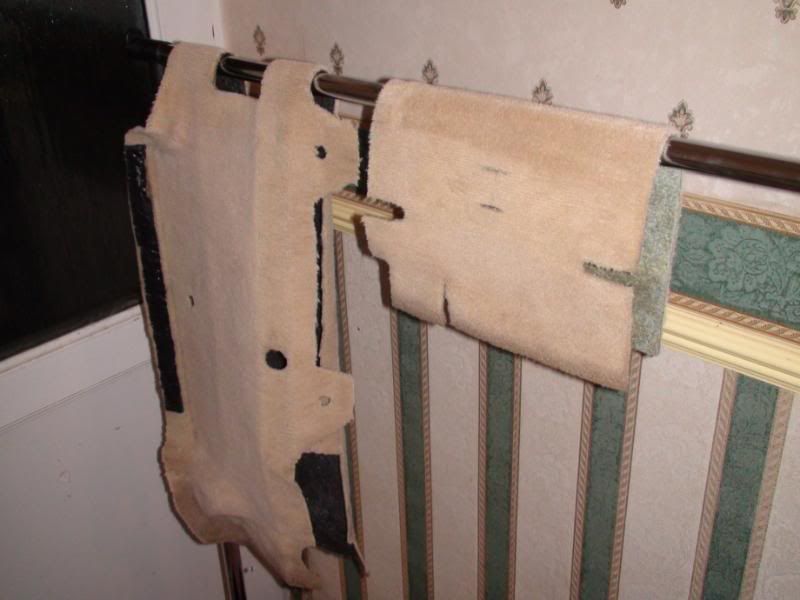
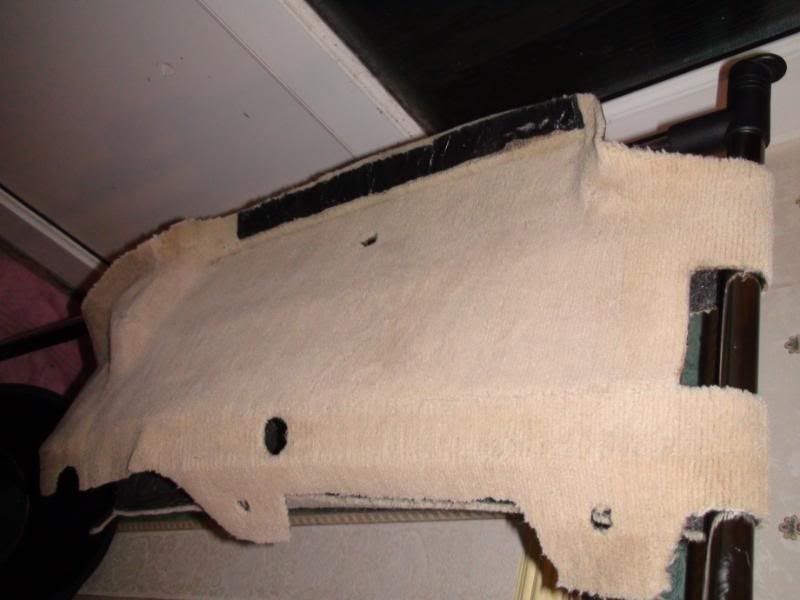
the main carpets are just hanging up to dry
there are a couple of dark lines on them but that is water , when you squeeze it down it goes light .....so when they are dry they will look 100% better....
there is 2maybe 3 little tiny grease marks the camrea hasnt picked up on but tar and glue will remove them ,
i used tar and glue during the washing process to remove the grease form the centre of the carpet from the seat runners and catch at the front where it must have rubbed etc
when they are hoovered up itl show all the pile and just look all fresh and nicey nicey
-
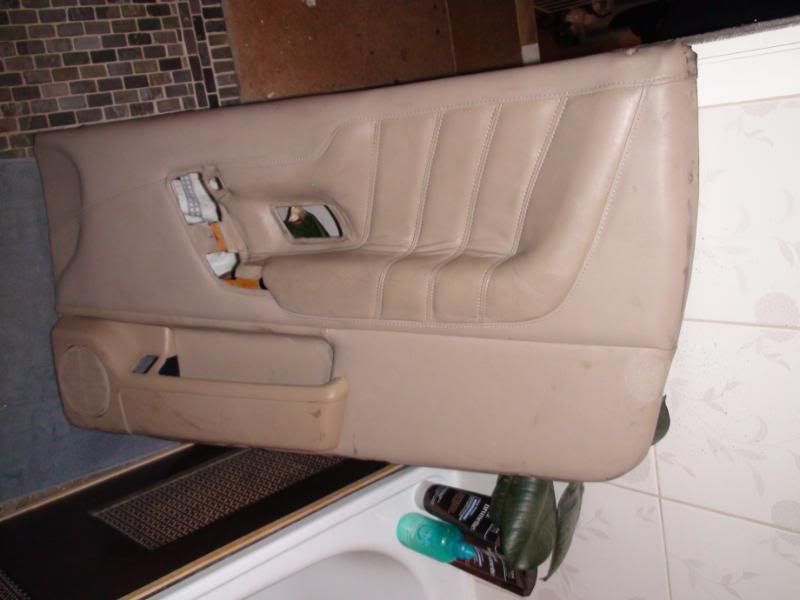
rado's been a very lucky lady this weekend..... picked up a genuine complete full beige leather electric recaro heated interior!!!
of course is grubby as fcuk but il do me best to clean it up and make it presentable....
made a start already as you do , but it is a massive job and im disliking it already!
got a couple of before and afters no particular order and only of a few bits i think il give it the once over then il spend time later perfecting the parts need a couple of localised areas sorting esp seats but il get round to that... all works so very happy...
just now as its beige its got to be clean....
thats it really those 3 items were a bitch to clean and the muck that came off was pretty believeable.... haha
going to go over the plastics a few times i think and if still not happy then il recolour them ...hmmmmm cant be arsed but i might have to but we will see, the door cards have a few marks on the edges looks like black oil type stuff il get the meths on very easy though just enough to take the crap off dont want to strip them back totally, plus it stinks real bad.....
cant even be botherd to look at the carpets they are shagged...
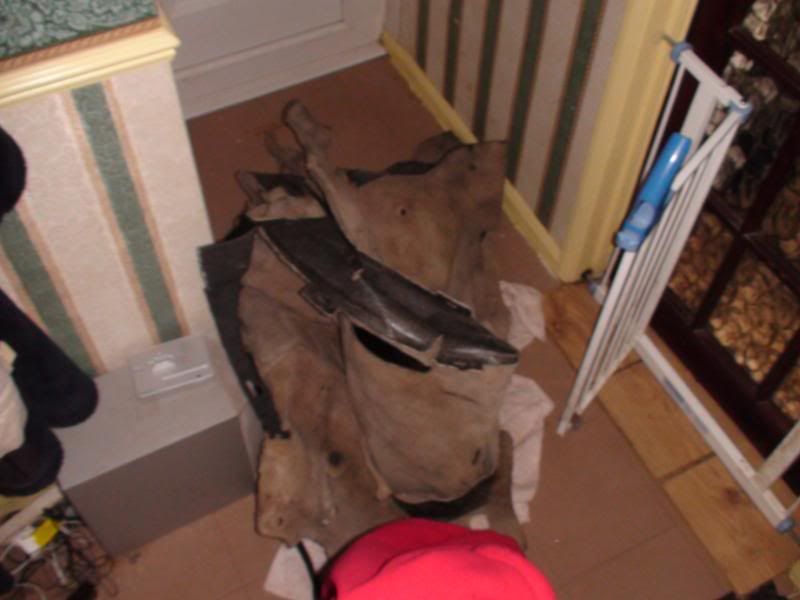
i have a pile of **** in the front room and im getting a little knawing in my ear......
well two piles of **** lol
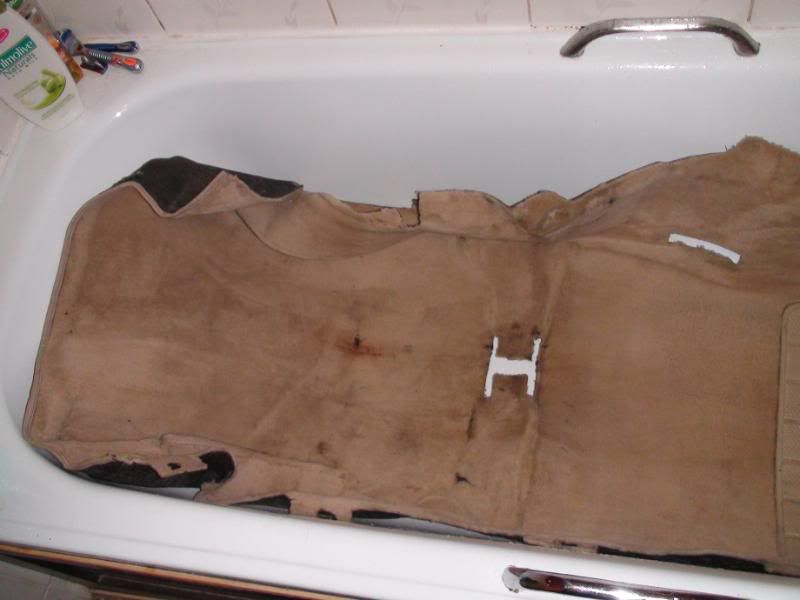
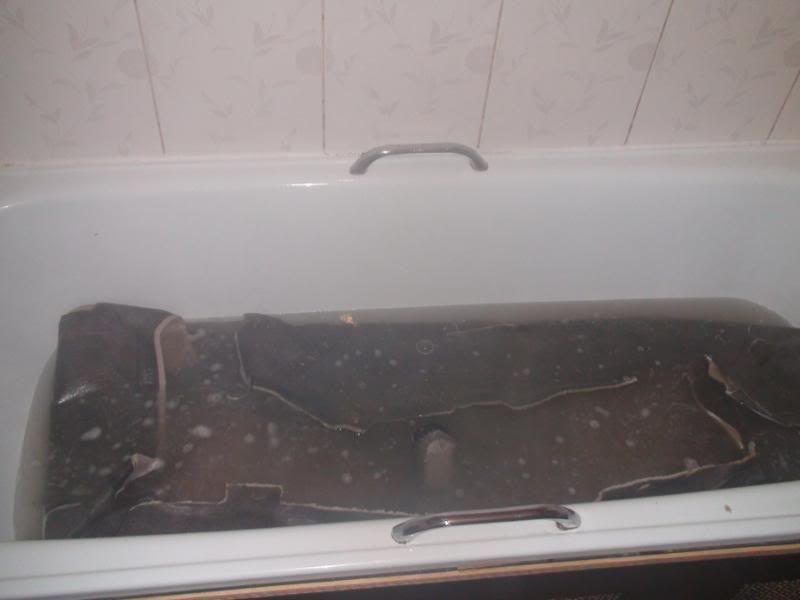
i took the carpets to the garage tonight and pressure washed them off..............
and this is how they came out bearing in ind they were completly minging before.... lol
as you can see they are really dirty still so ive put them in the bath and washed them by hand as im not allowed to use the machine anymore....
so bold and lenor and a scrubbing brush it was rinse was rinse i left the spin bit out as that would have really ****ed her off ,
ummm yeah the bath water is dirty..
got the little ones hanging up drying now as i havent got a wet vac anymore!!! arghhhh
very pleased with the above , now if the main carpets come out as good as that il be very pleased indeed!!
il update soon......
-
my pictures are just as ****e as bens they were taken in johns garage so ****e light ****e photographer etc etc
i will get some in daylight ,.....just when is the problem...
lol
-
lol just re reading some of this im sat at home watching the first startwars digitally remasterd i love it, upping the hen right now so feeling a bit ****shed!!
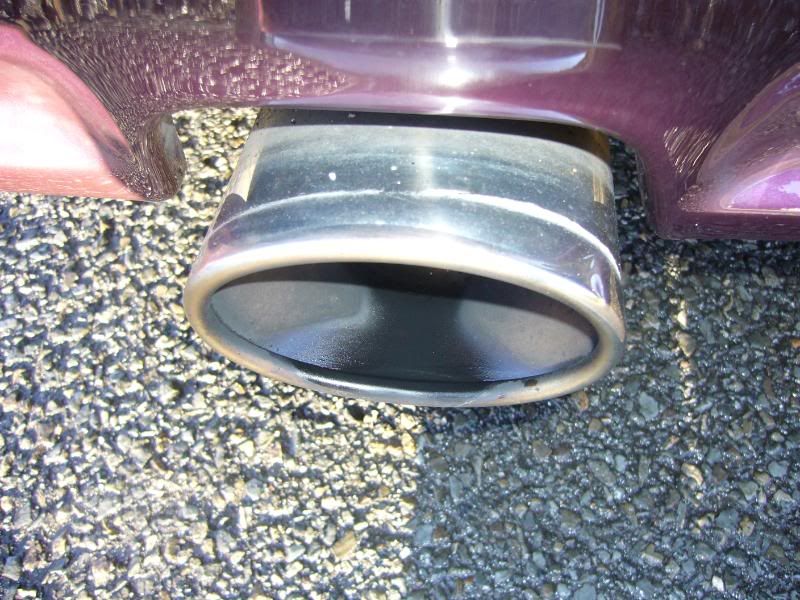
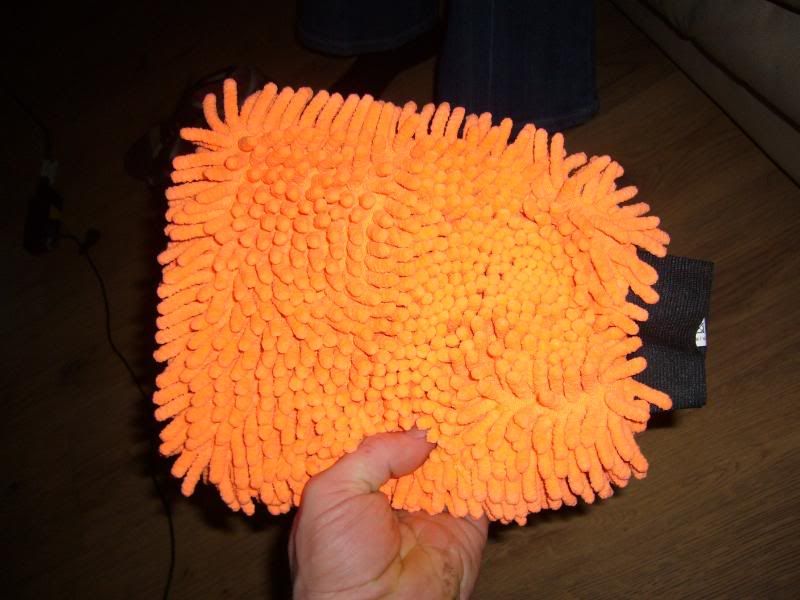
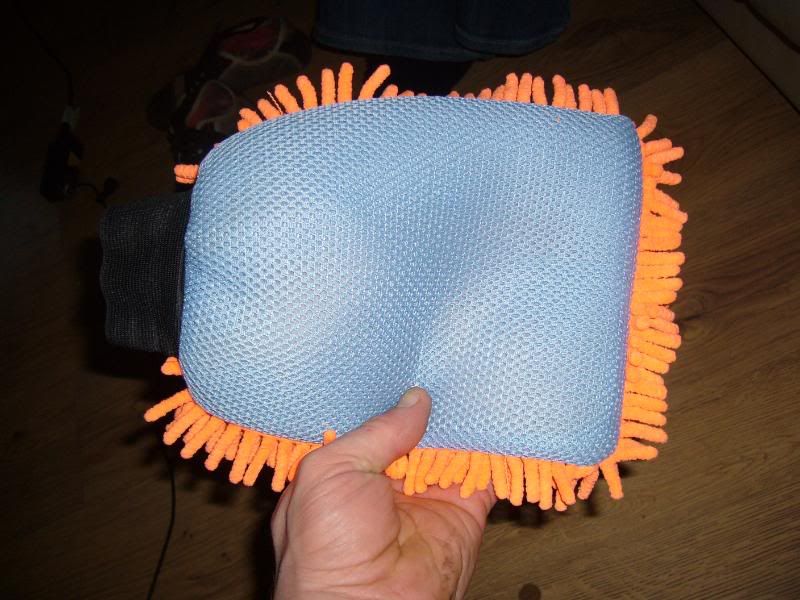
no one likes a dirty end piece
i use a wash mitt and i love it you can pick them up from asda for £1.99 so i bought 3!! you can get them in all the lush colours of the 80's flourescent green , orange, blue, yellow......
-
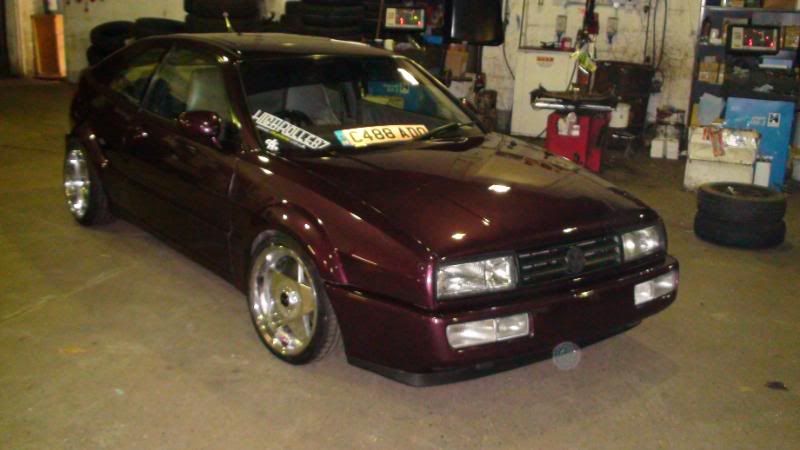
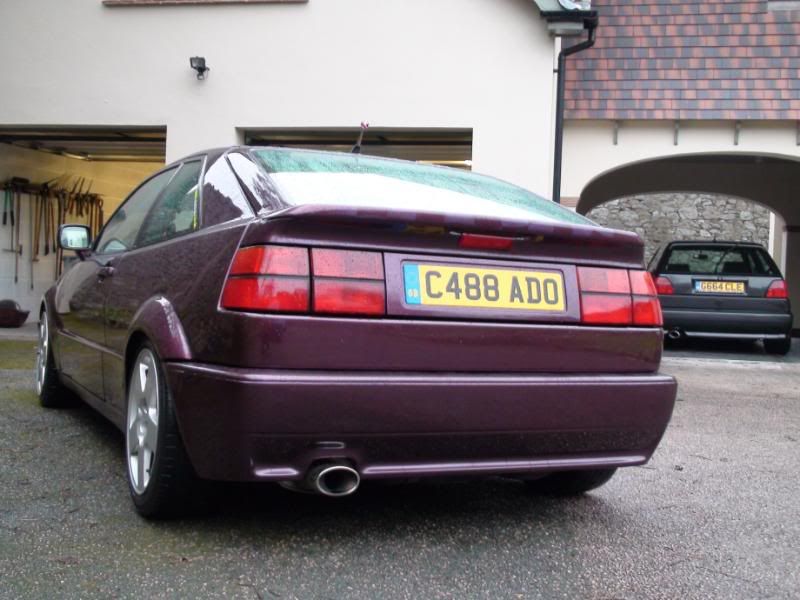
riiiiiiggghhhhhttt so it started like this , this is how it looked 3 days after it was last cleaned :shock: ,
pretty god damn filthy as said before lost the love but getting it back not getting it back getting it , you get the idea,
this is how it looked after the forst wash asa laways the 2 bucket method....
-
-
-
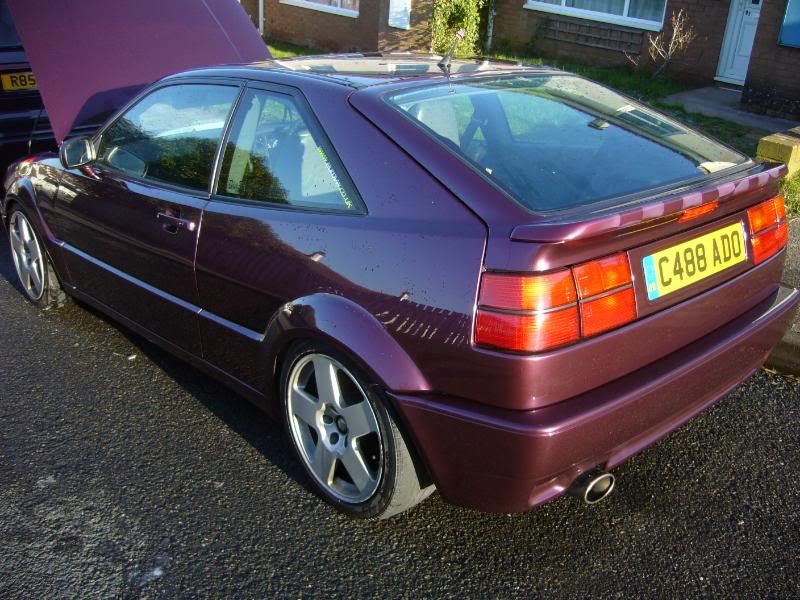
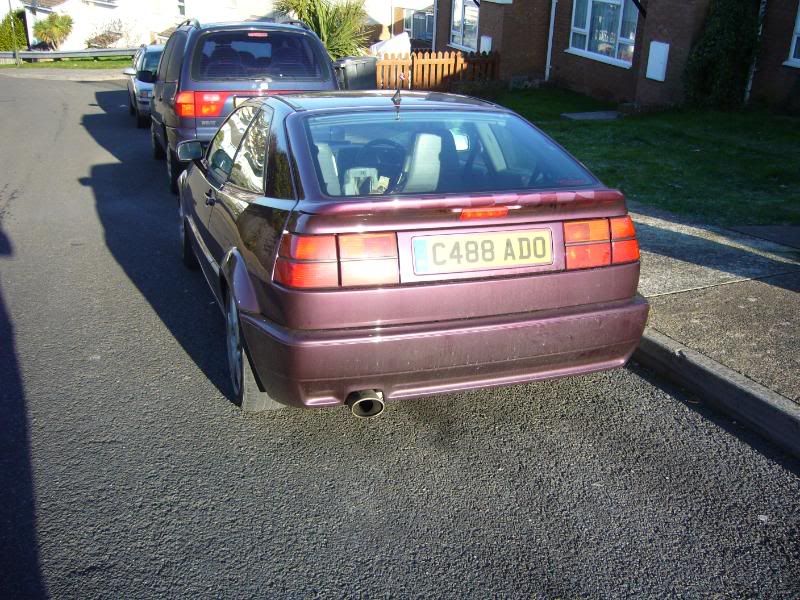
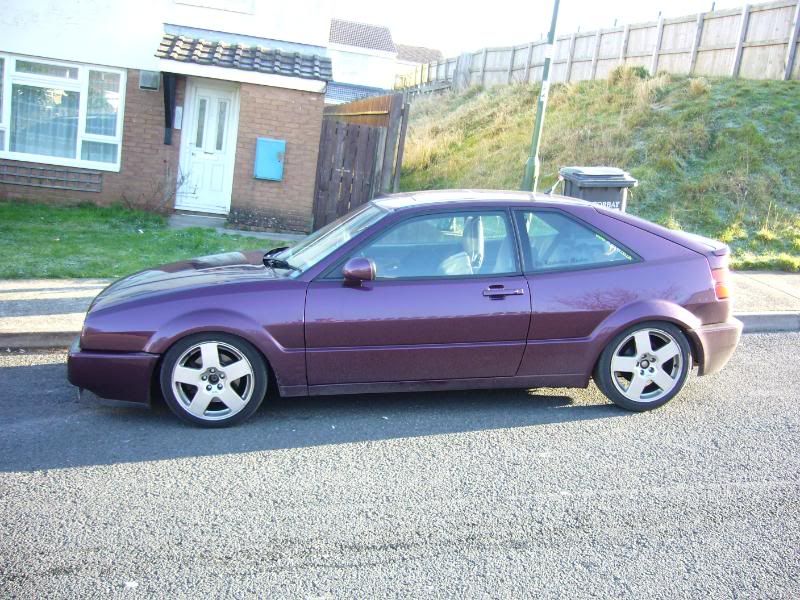
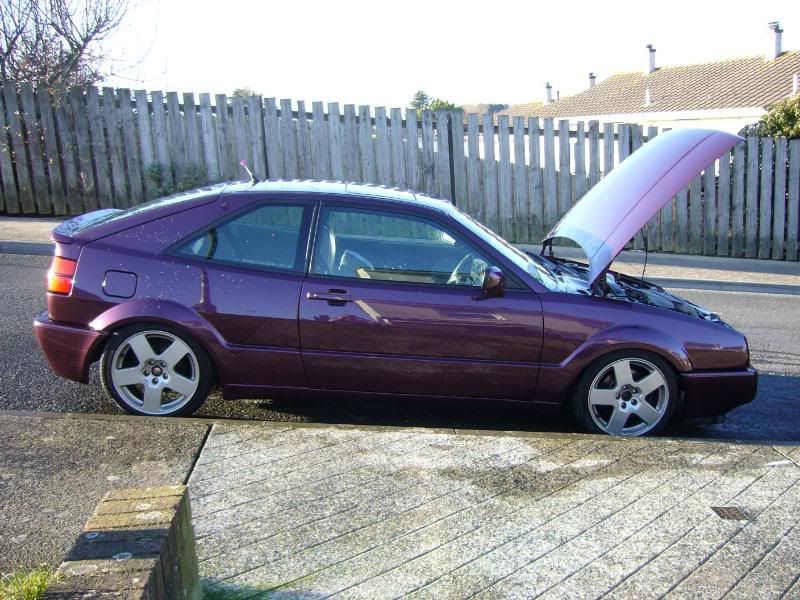
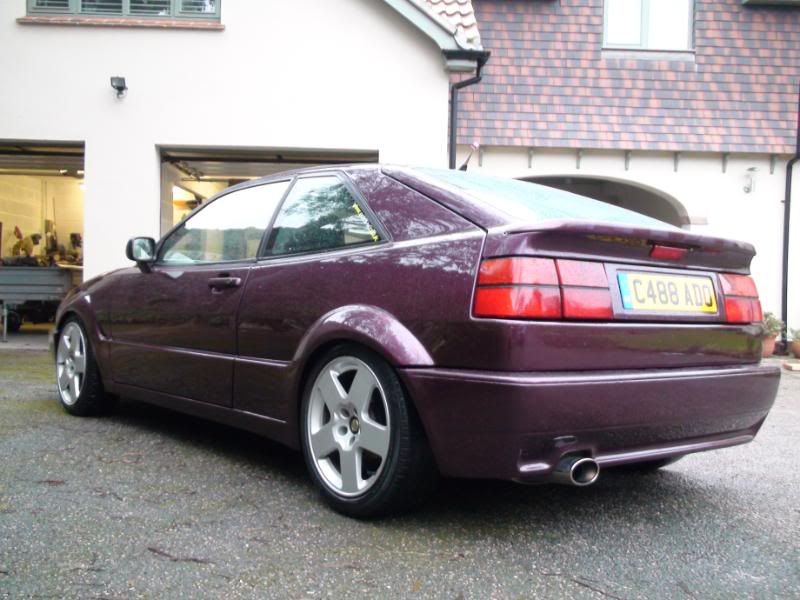
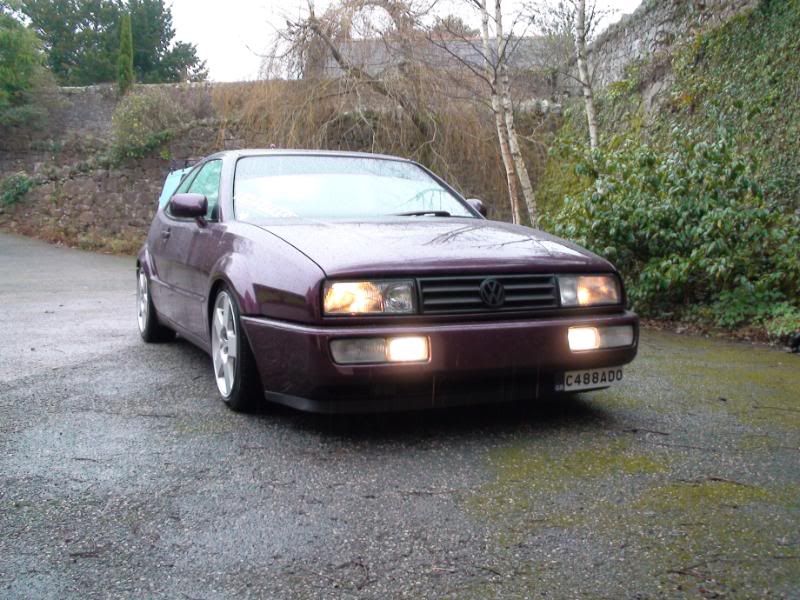
gave it a clean....
washed it as always the 2 bucket method didnt have chance to polish it today though too damn cold.....
whe we get a space heater or something that keeps us warm il have a go then it doesnt look too bad at the moment but you can tell when washing it the wax is wearing off not bad at all though been on there since the end of the summer!!!
-
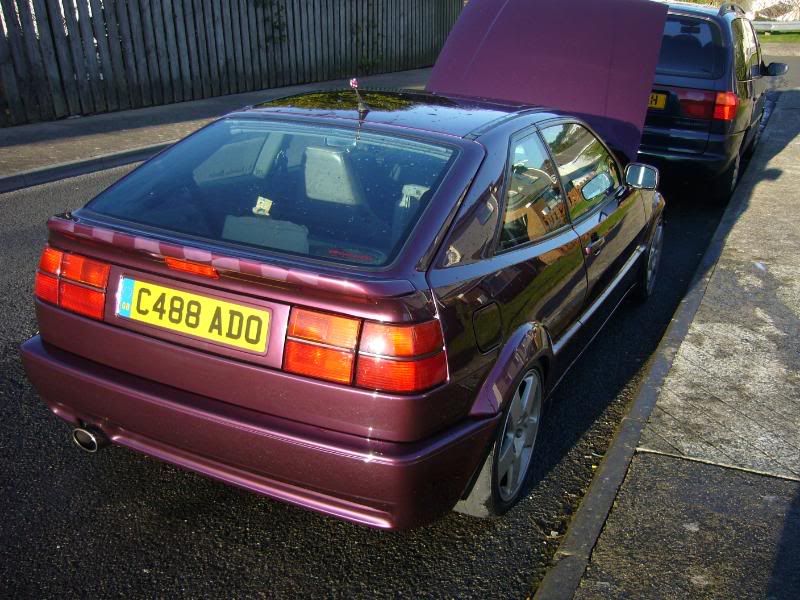
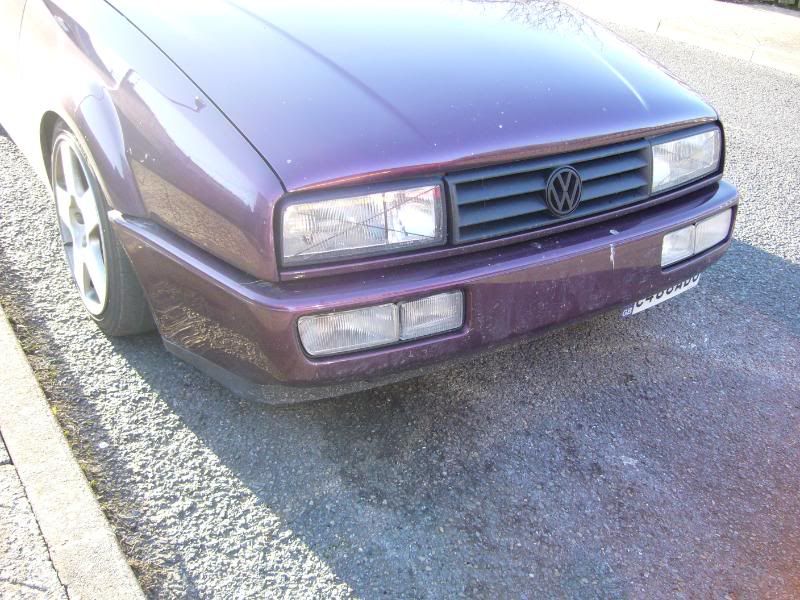
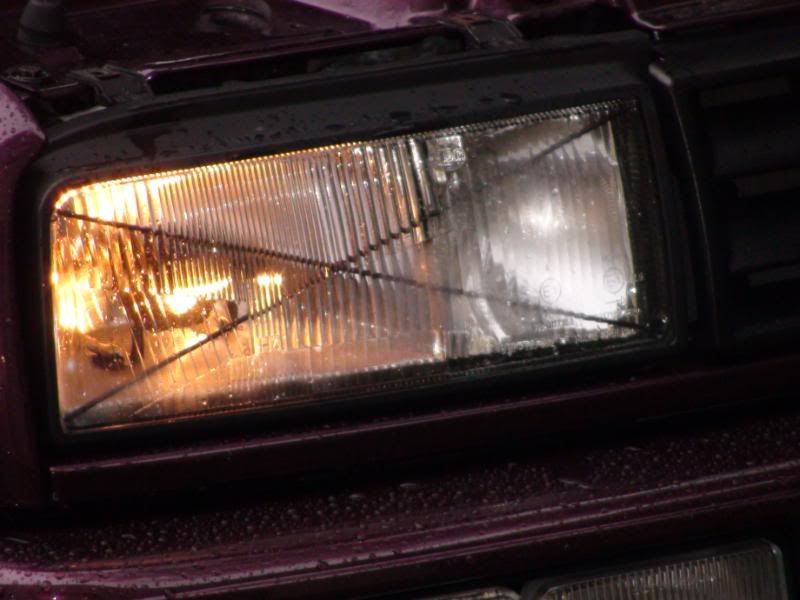
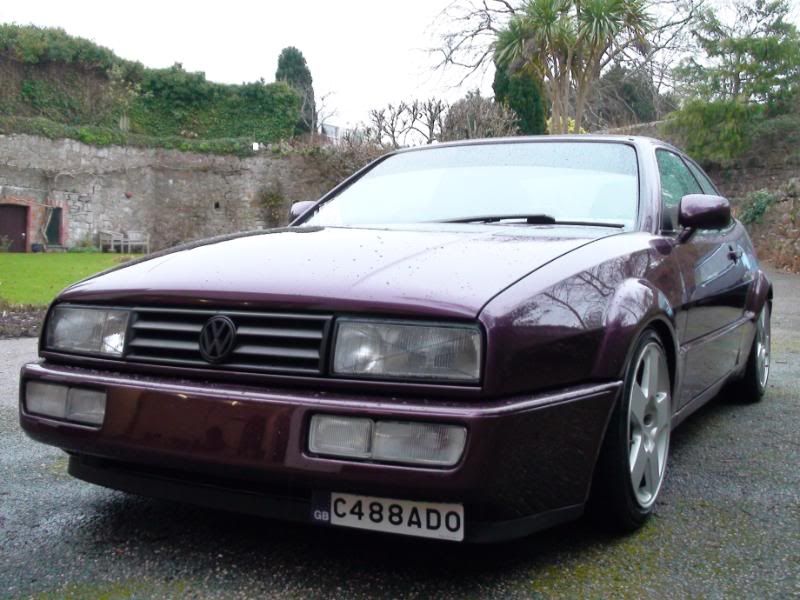
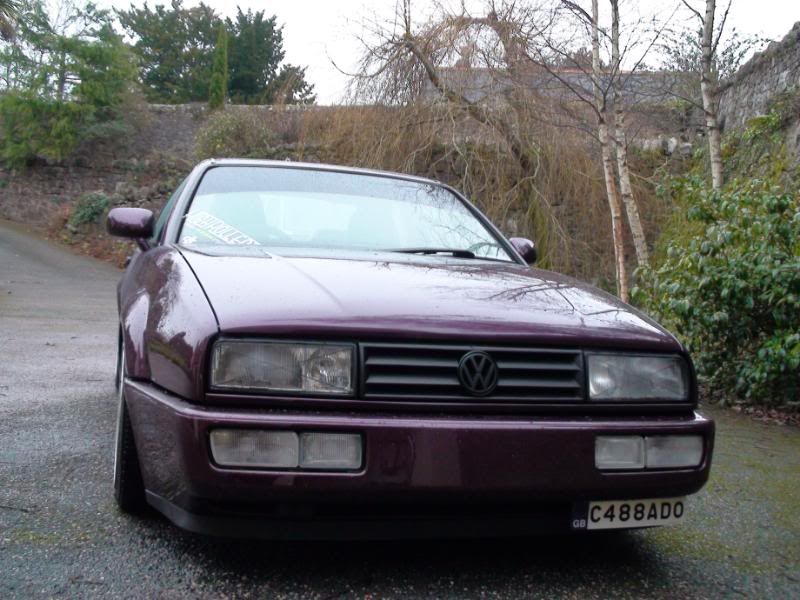
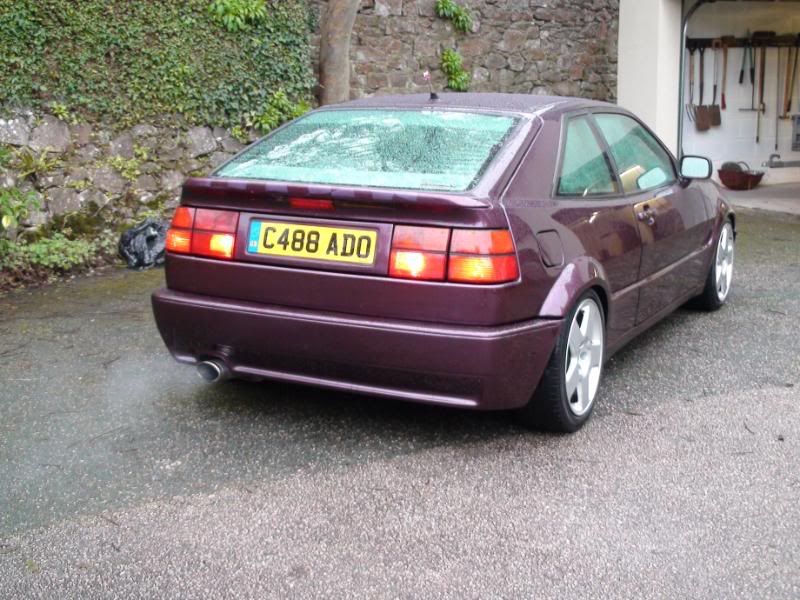
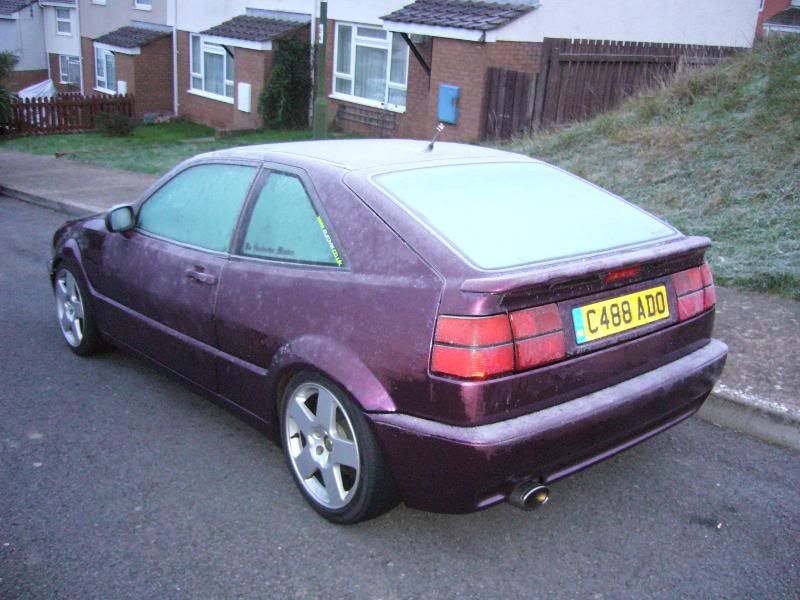
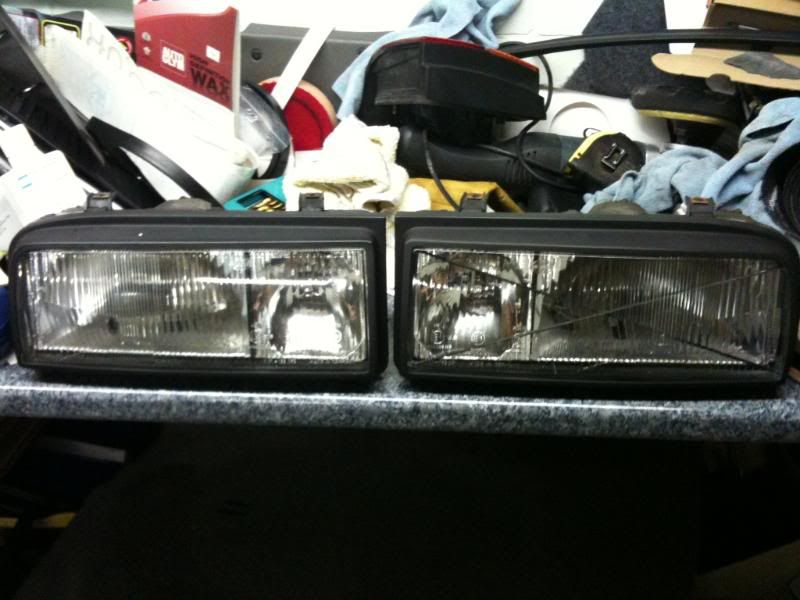
got the fogs and indicators in now looks so much better
got the small plate on but the big one on tap just in case...
seat dye is next on the cards made some enquirys today just waiting to hear back from an old friend on the saab forum (he deals with this stuff everyday)
wheels have been removed and im borrowing some 16" from john just to keep the car rolling the borbets have gone in for a complete polish will be interesting to see what they look like when i get them back so gone are the colour coded rims and bling bling is the new way ahead thought id brighten it up a bit...
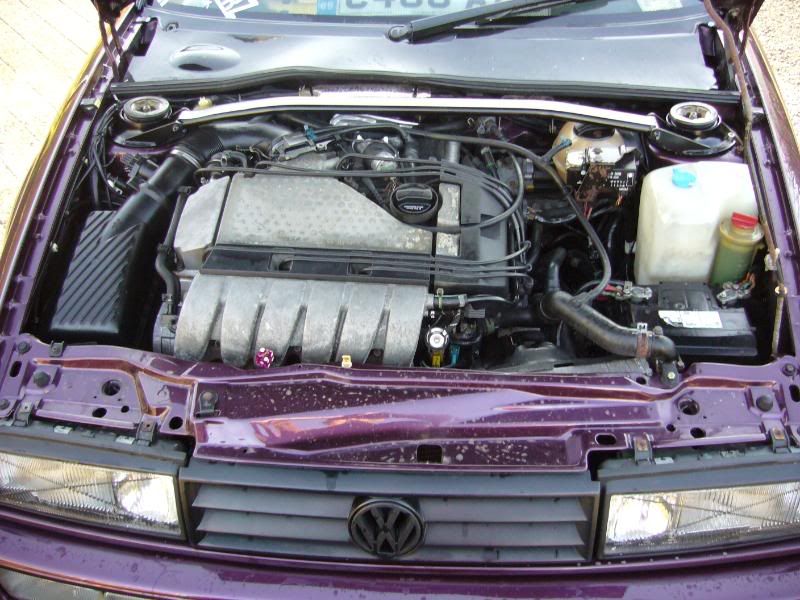
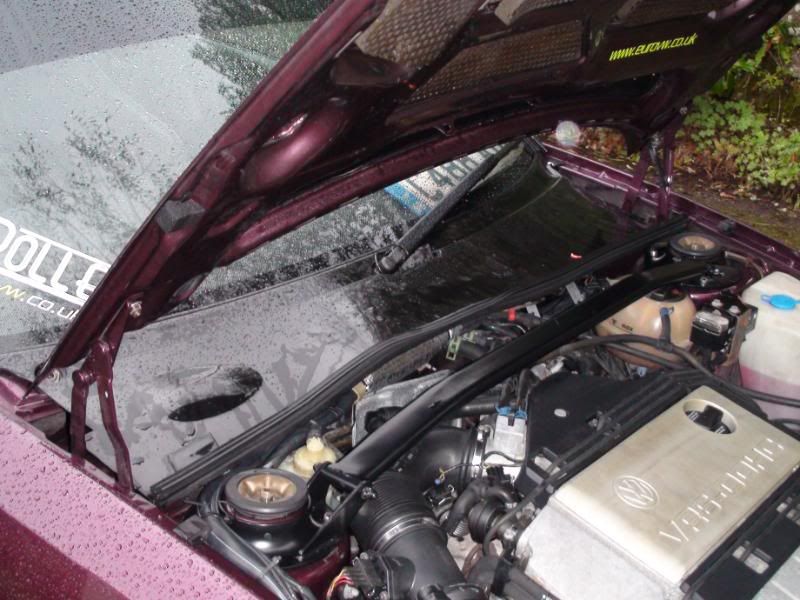
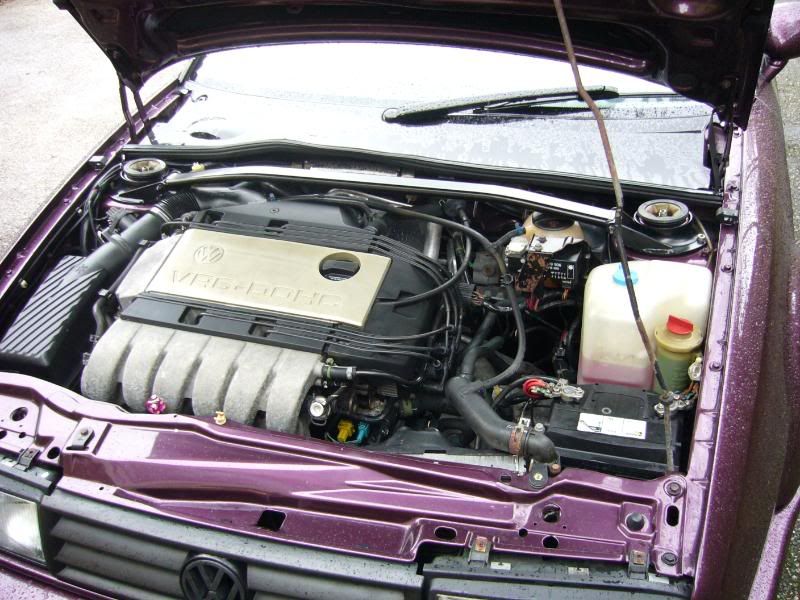
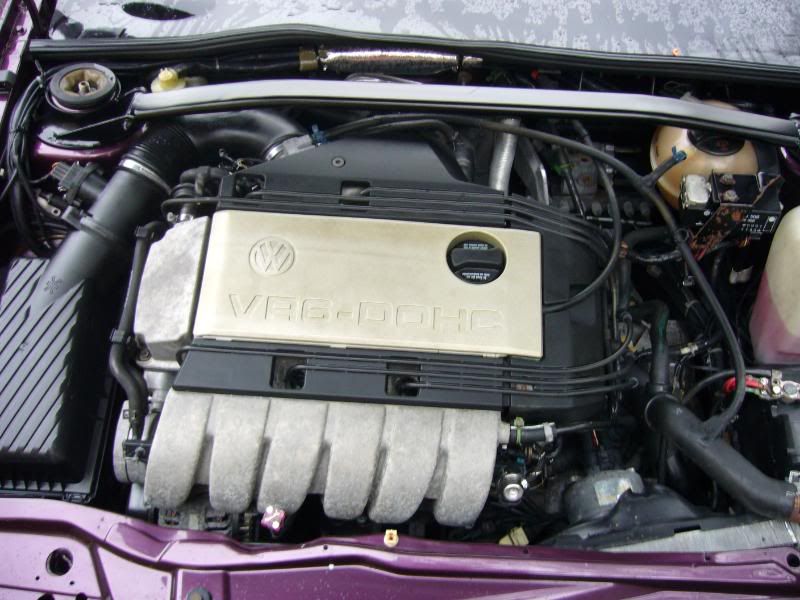
engine bay clean up is starting soon maybe before christmas depending on 2nd car situation.....
so thats all the updates for now
still need a p.c guru to come sort out my wifi connection and my vag com port settings!!!!!
-
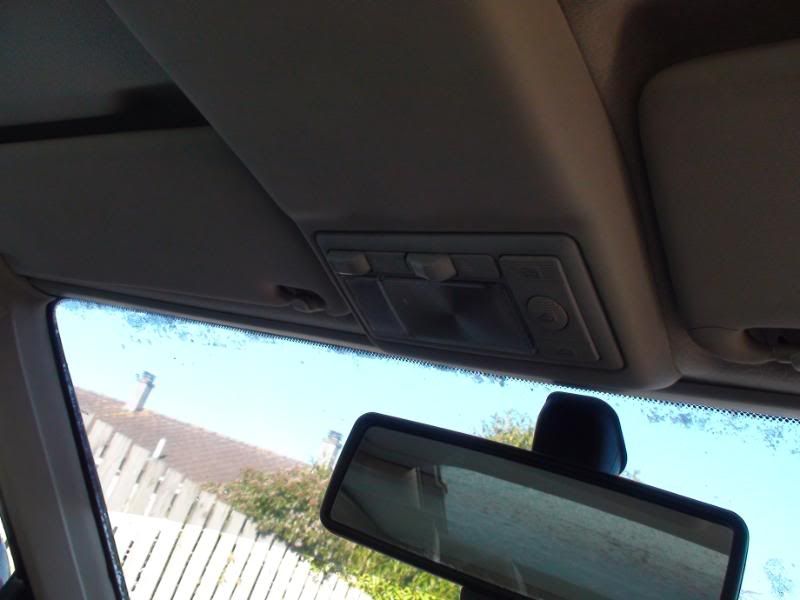
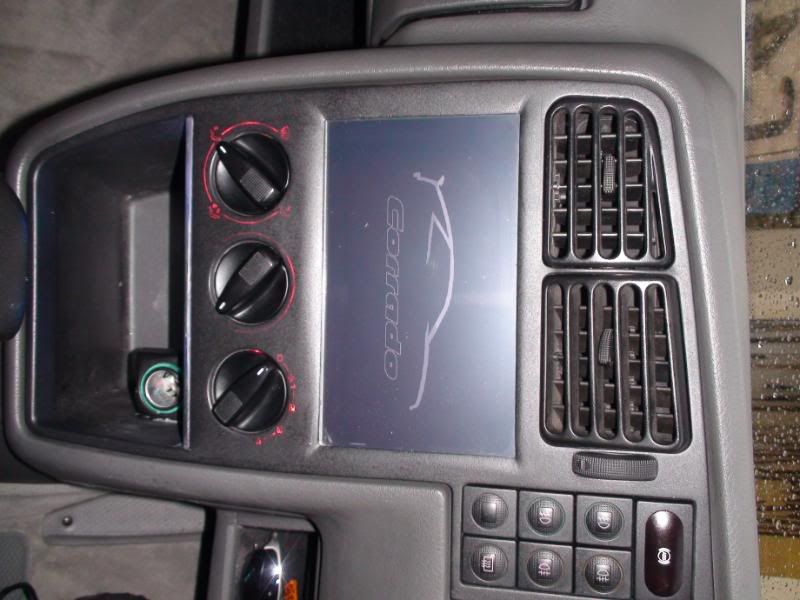
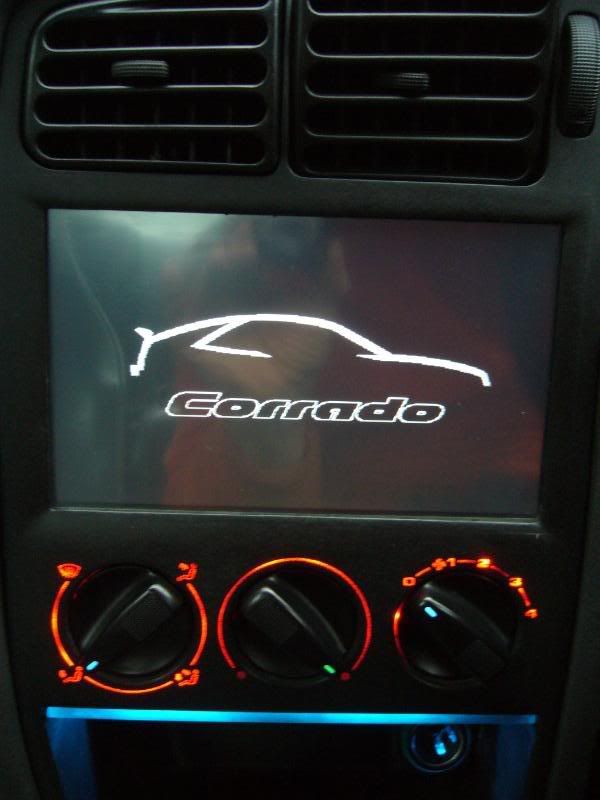
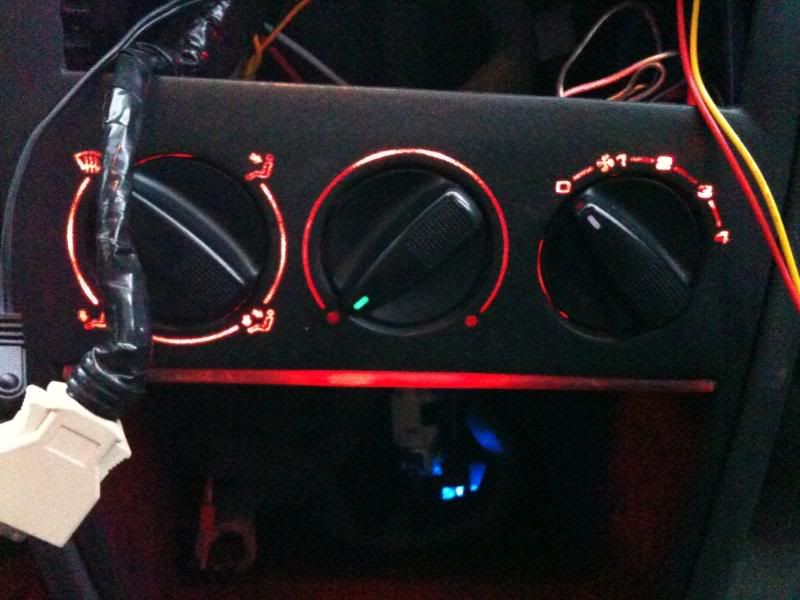
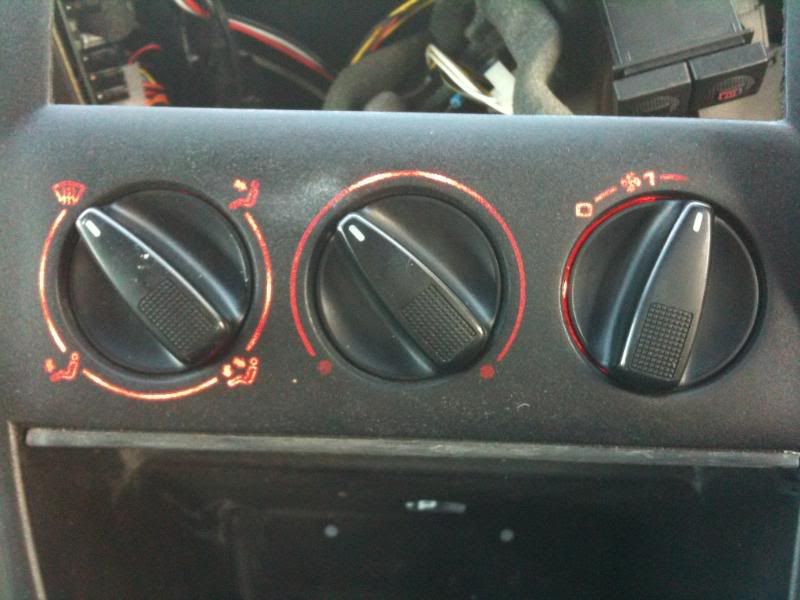
finally at long last i have got the fan lights on the console working!!!! yahoo!!!
what a god damn mission that was just an all round ****ty crappy job i kept on putting off but now has finally been sorted, not been doing much really just tidying up odds and sods silly things like fitting the centre console back in making sure the dash surround is fixed in position etc etc got the screen in properly now got the wifi hooked up but not working!!!!!!!! another headache got vag com installed but not working!!!!! got bluetooth in but not working and got a wifi mouse installed and it works!!!!
been messing around with robs angel eyes in out in out etc etc fitted cross hairs to my standard headlights tonight, doesnt look to bad couldnt get a decent pic so thisl have to do!!!!!!
-
the cubby hole only has 3 led's in it!! im not sure about it all yet..
ive also started work on the boot install i started but never finished..
im going to just whack it in and later when im happy with the tunes set up and speakers i will re cut/trim it so it looks awesome.
couple of pics as it is now..
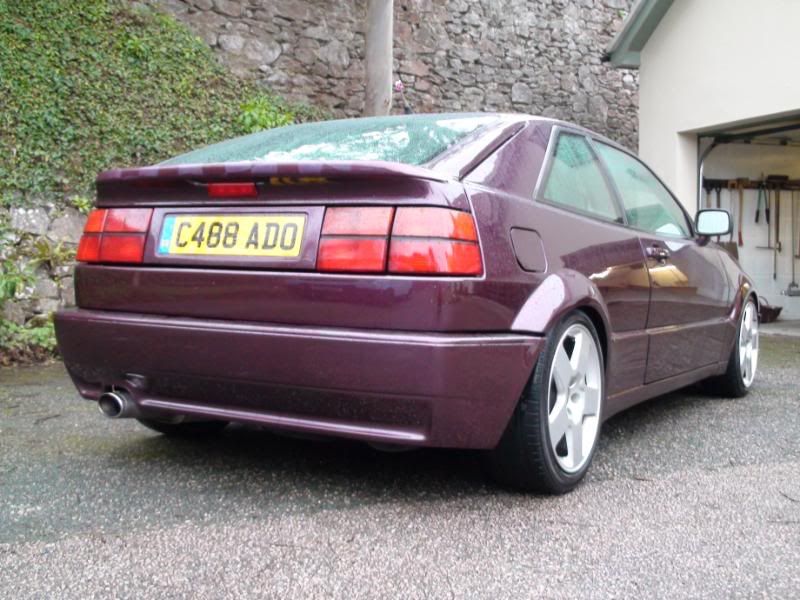
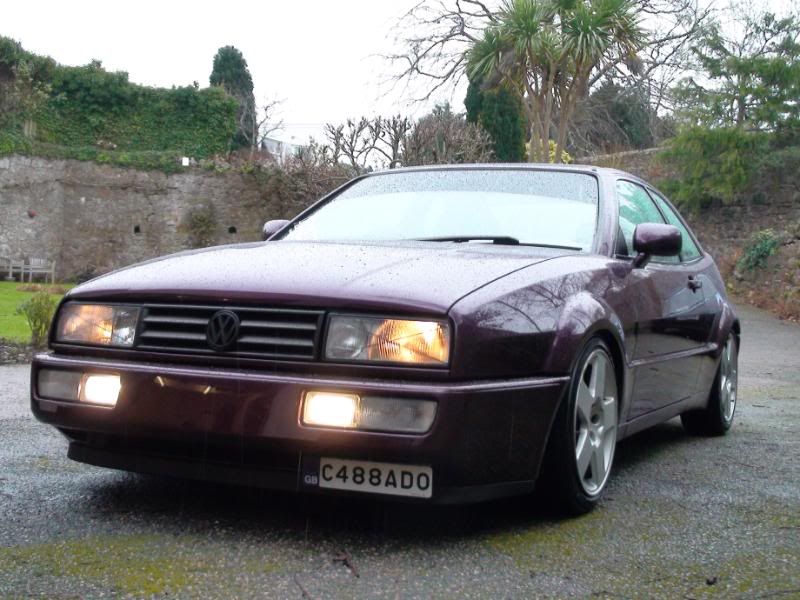
after seeing my cuz's rallye again it made me think id better polish my car (his anal retentivness is very catching)
i invited him over hopeing he would be suckerd into polishing it , but the little **** had other plans so i bummed out and had to do it myself (just as well as id do it properly)
it now has a shine
reflections arnt bad
after a few trips to the garage id noticed that something had and kept ****ting on my car , it turns out these little ****ers are to blame
total pain in the arse but i wont touch them as it is kinda nice they wanted to bring thier children up in the presence of greatness....
a lame attempt of trying to recreat the sun to show swirls... didnt work (or i dont have any?!)
been working on this site and had some stickers made ~(i like them )
blatent plug
also working on these to add to the folio
now im just whoring myself out
anyway back to the console this is how i left it as i got cold tierd and my back was aching
in light
im going to have to add the other led's some how...
-
cheers bud no where near finished yet ....unforunatly.......
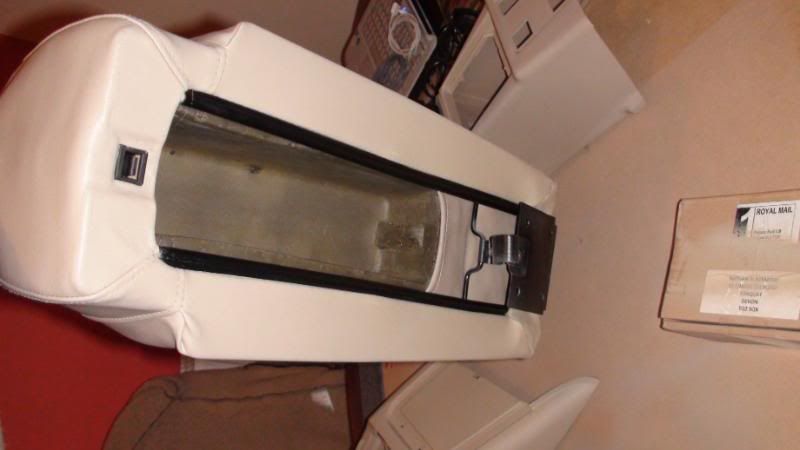
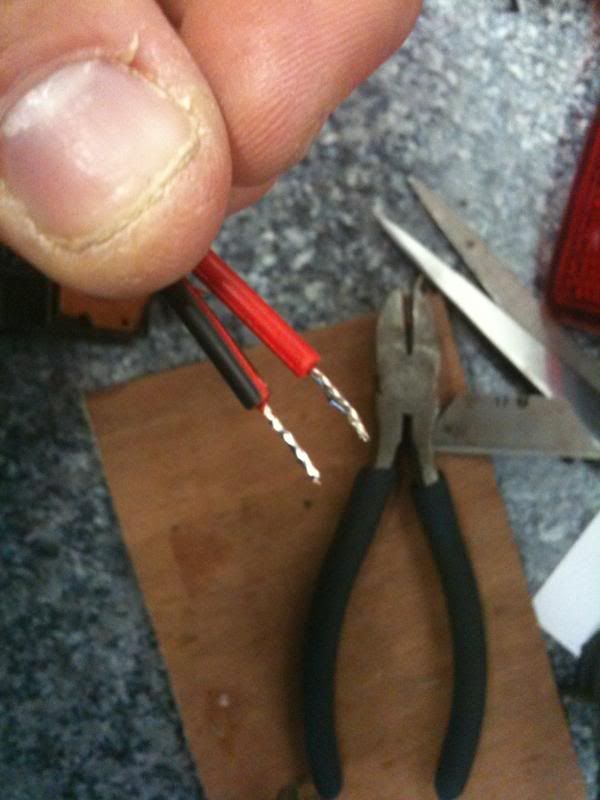
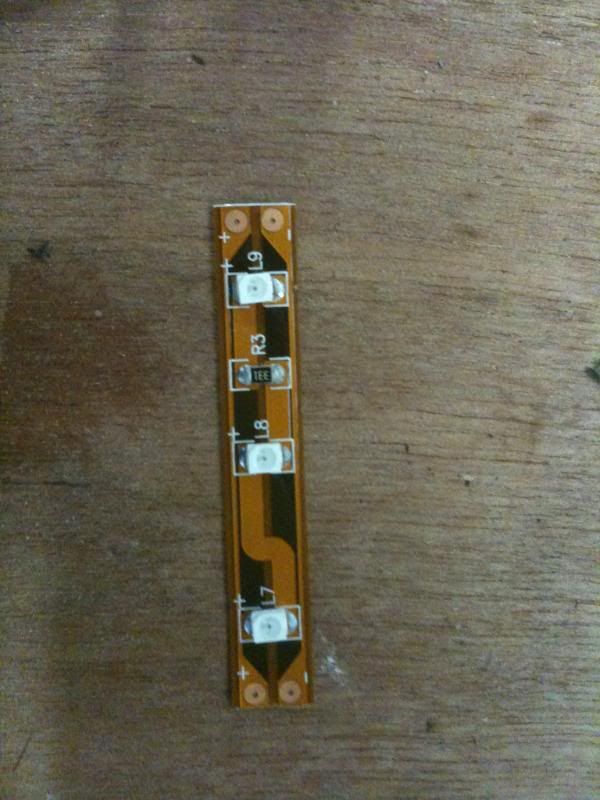
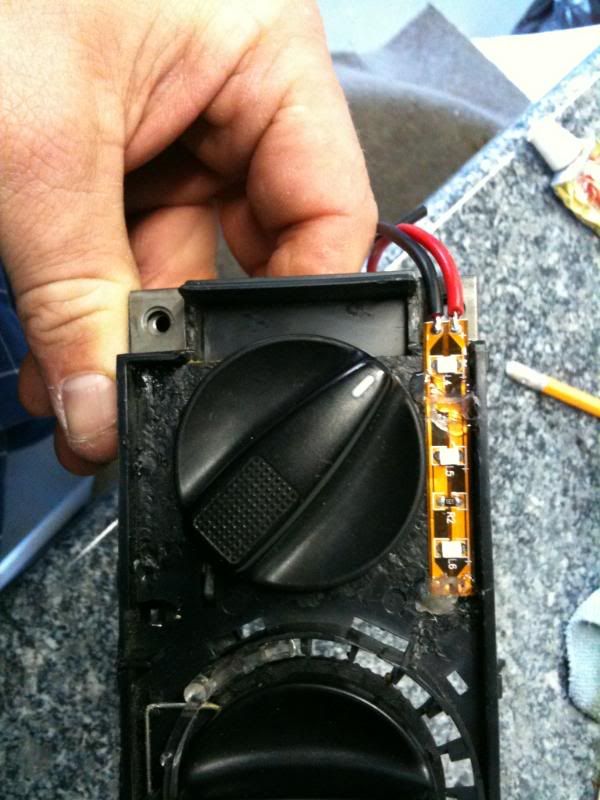
heres a clearer shot of the webbing i had to get rid of,
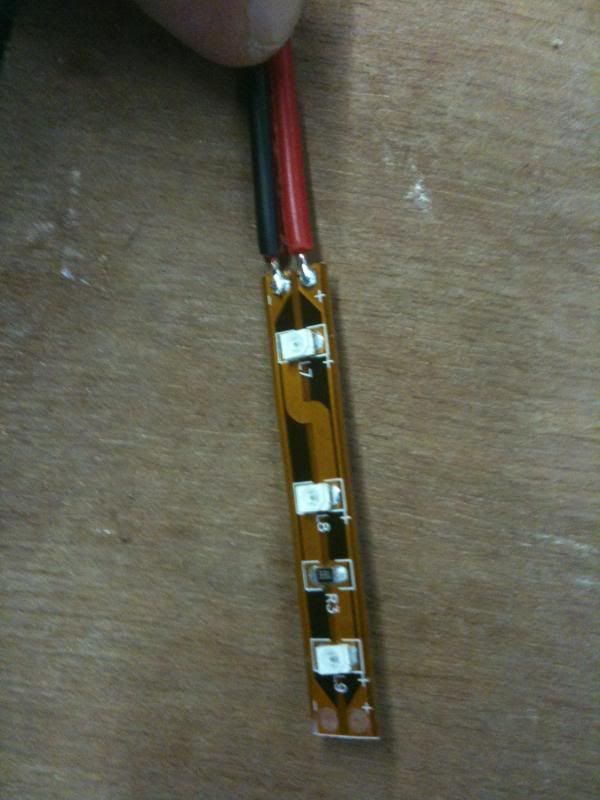
tin all the wires then attach to the led strips
real pain in the ass they dont come any smaller than this!!!
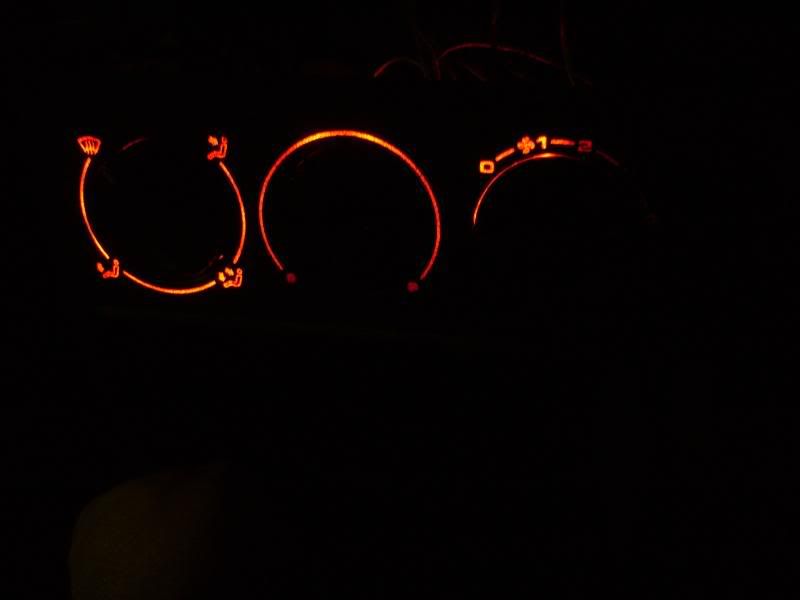
just a quick trial run
numbers 234 are a pain to light up as there is hardly any room due to the way that side is built in side...
its not too bad though i might have to stick a single led if i can cut one short enough and it still works!!
i am also thinking that i should have used white led's??? maybe i dunno yet would match the ddi dials i guess but all the dash switches are red hmmmmmmm
any thoughts anyone??
-
so i havent updated for a while!!
i havent had time to do anything to the car plus i just havent had the interest i should have...
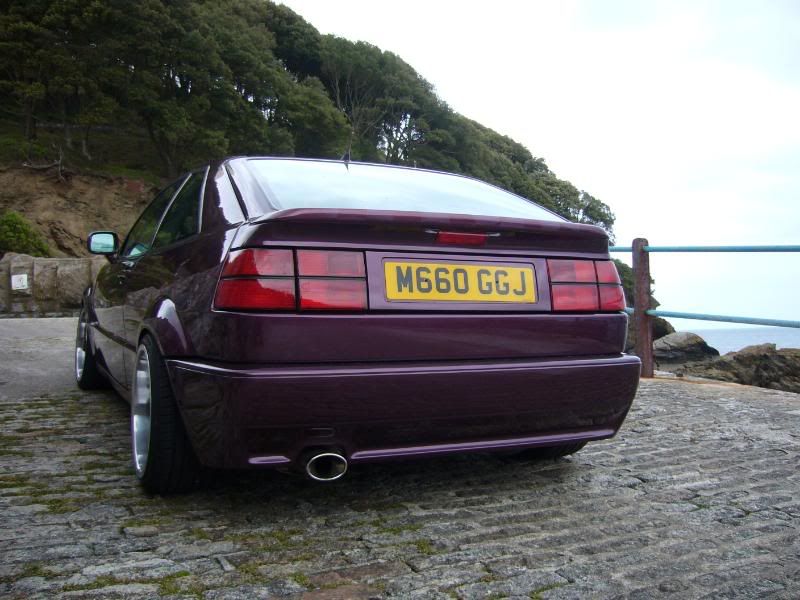
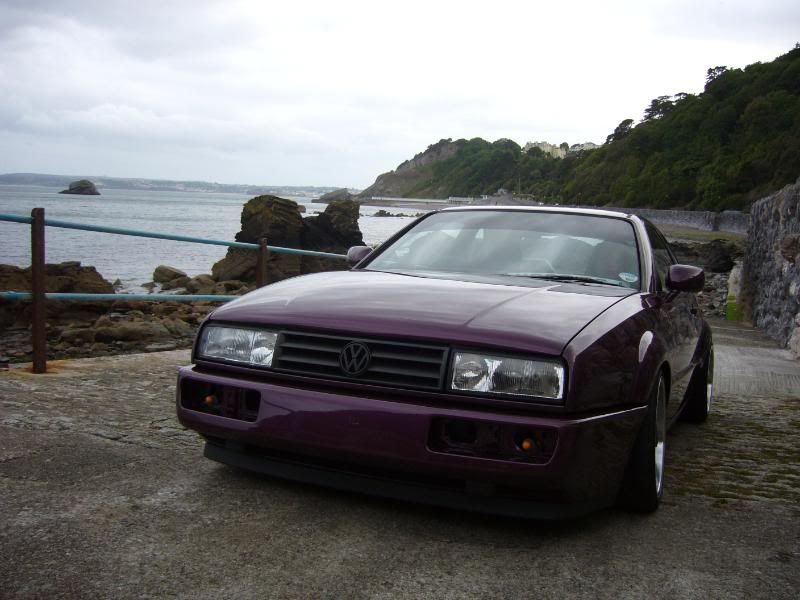
not sure if ive posted these but this is the last pics i took before going back in the garage for storage and more work....
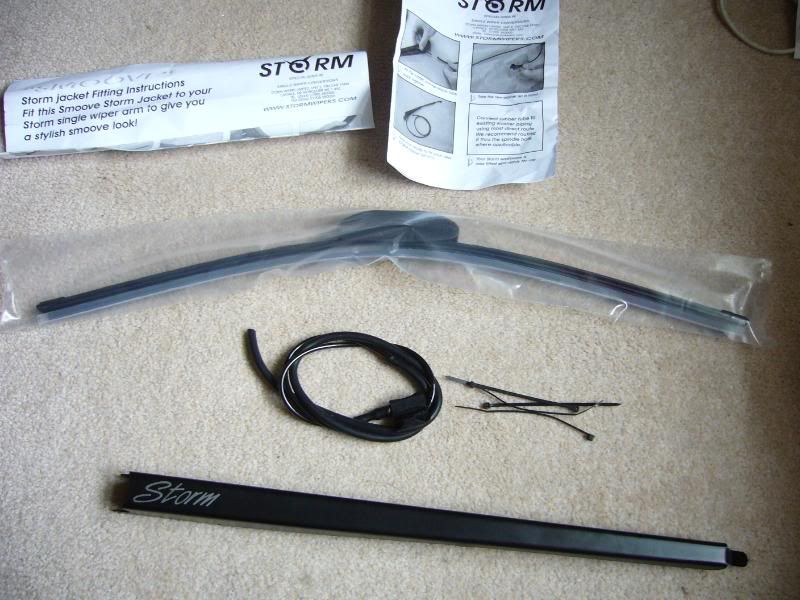
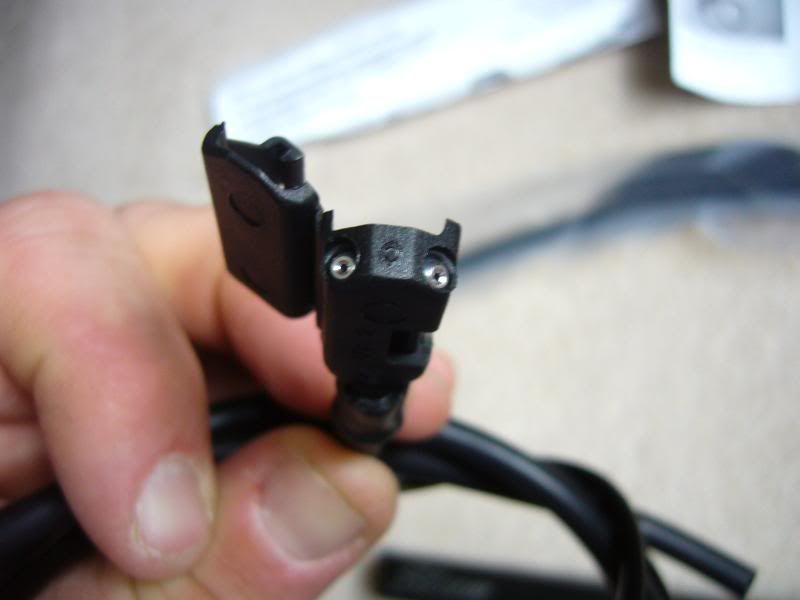
i bought a new storm wiper cover ,aero blade and storm wash wipe kit on monday it turned up next day so i need to get this fitted it is gonna look so good once fitted they are awesome and well priced too!!
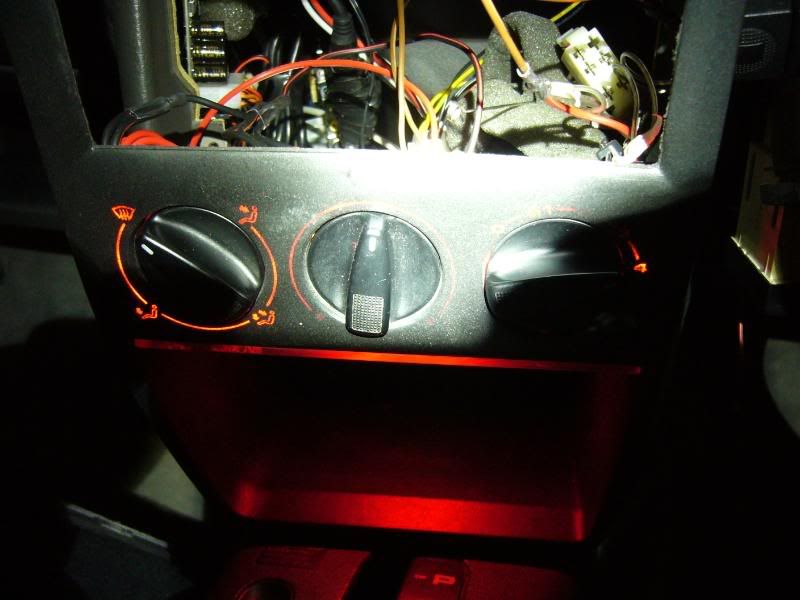
i thought it about time i had another go at doing the heater illumination (i really needed to get this nailed) after i had finished refitting the centre console last timei forgot to do the illumination!! so i ripped it out and never got round to it , but not anymore i started on this on tuesday night and had another go tonight its almost there...
i had to get the control backing panel and remove all of the webbing i could, to get a nice flat plain surfacce so i could mounty the led's
-
media
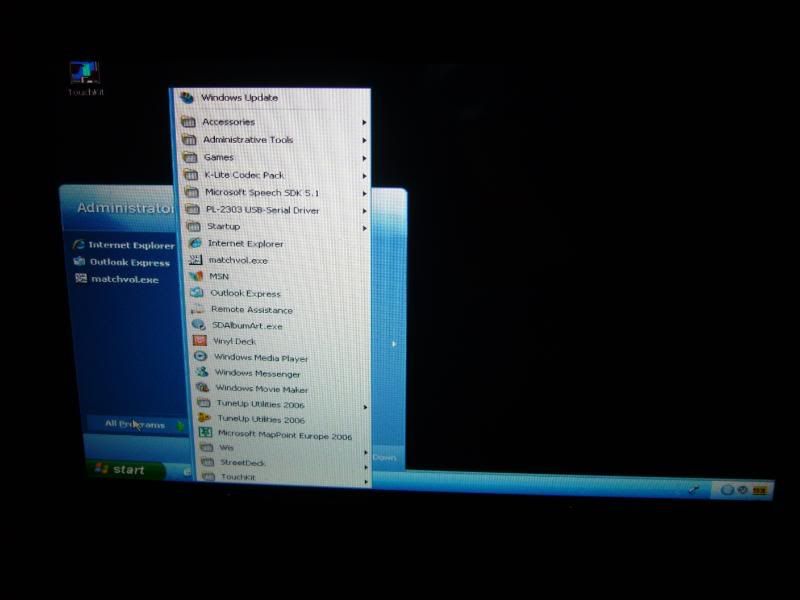
well thats about it really i need to load all of the rest of the gear to get the other screens working...
-
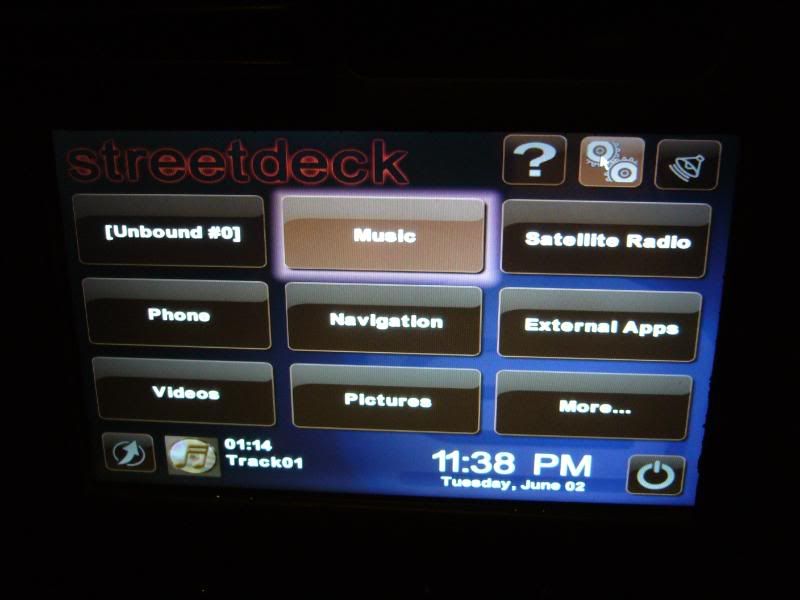
fixed the screen myself and got it in the car!!
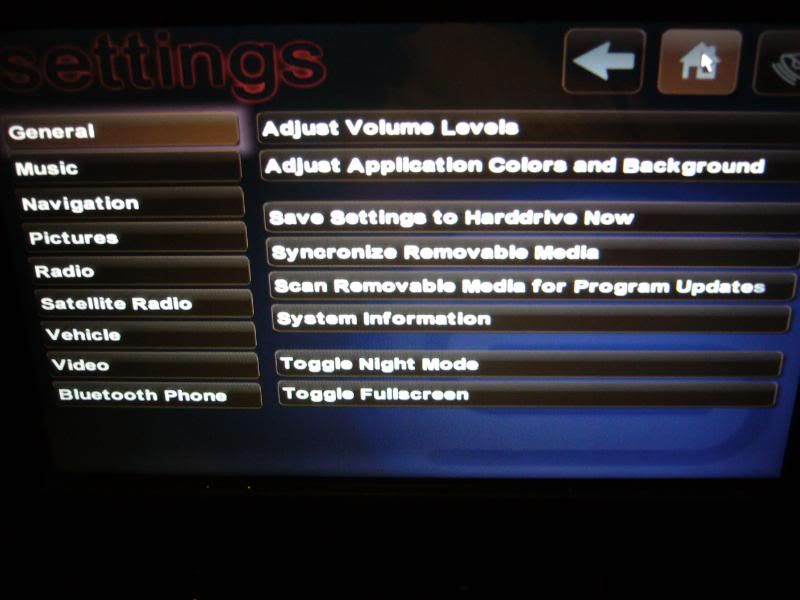
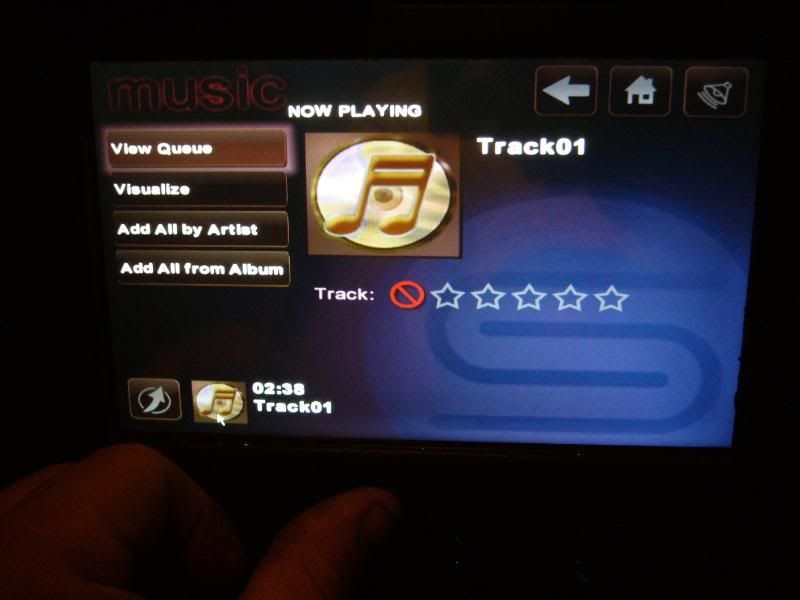
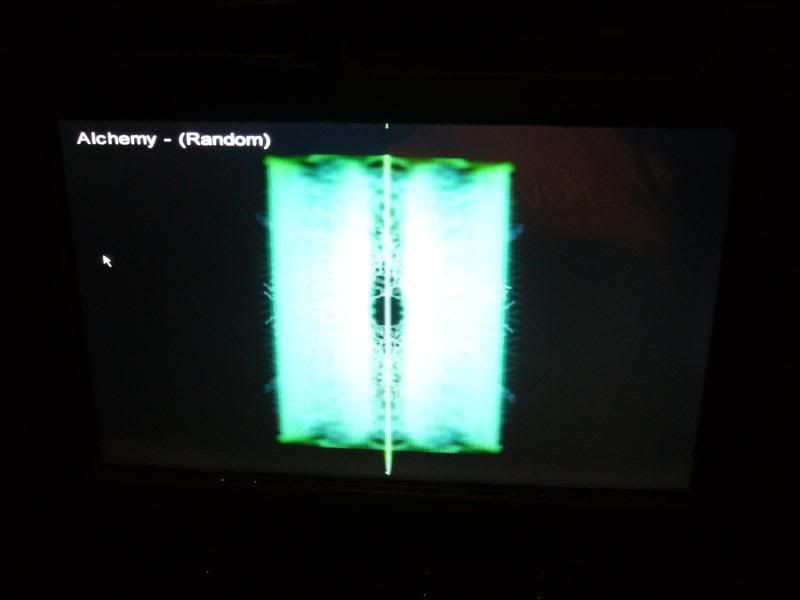
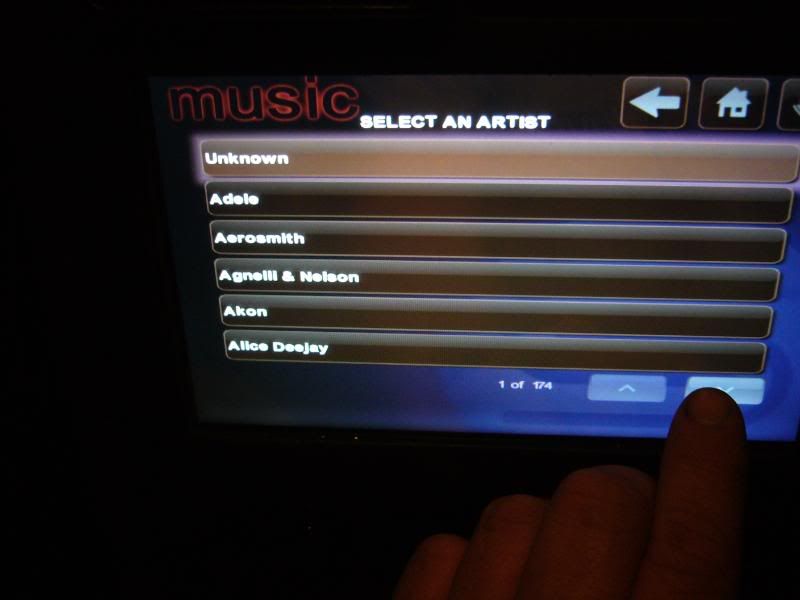
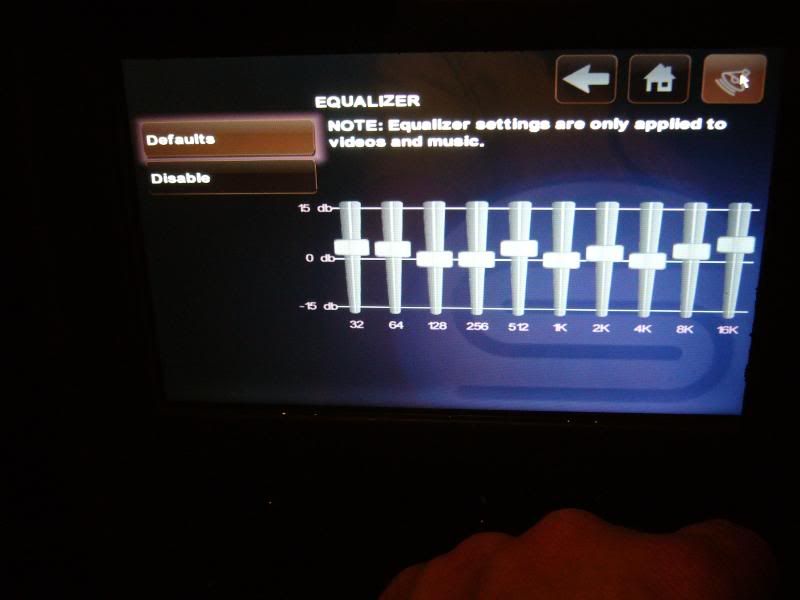
so here are a few screen shots so you get the idea of what it can do?? some of the features dont work as i havent got the hardware for them yet....
start up screen..
main menu
GPS


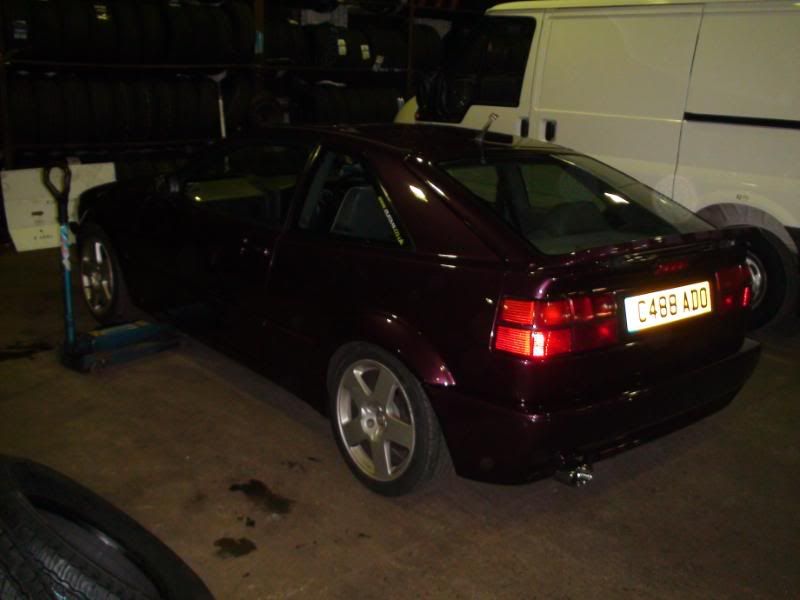

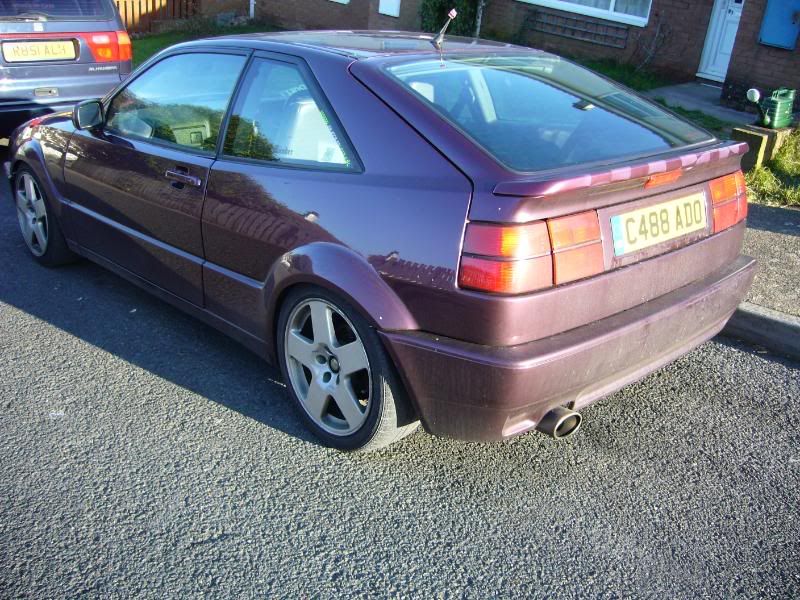


That Rado...........
in C488ADO's Blog
A blog by C488ADO
Posted
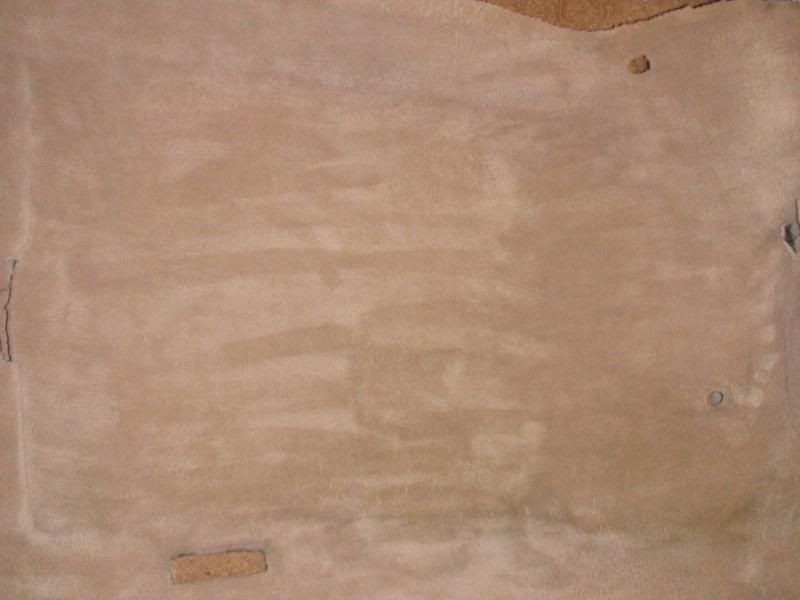
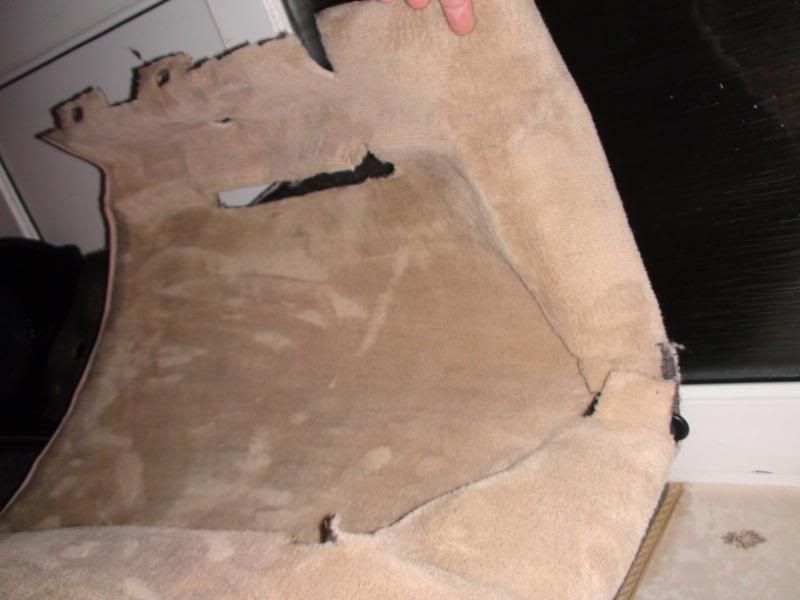
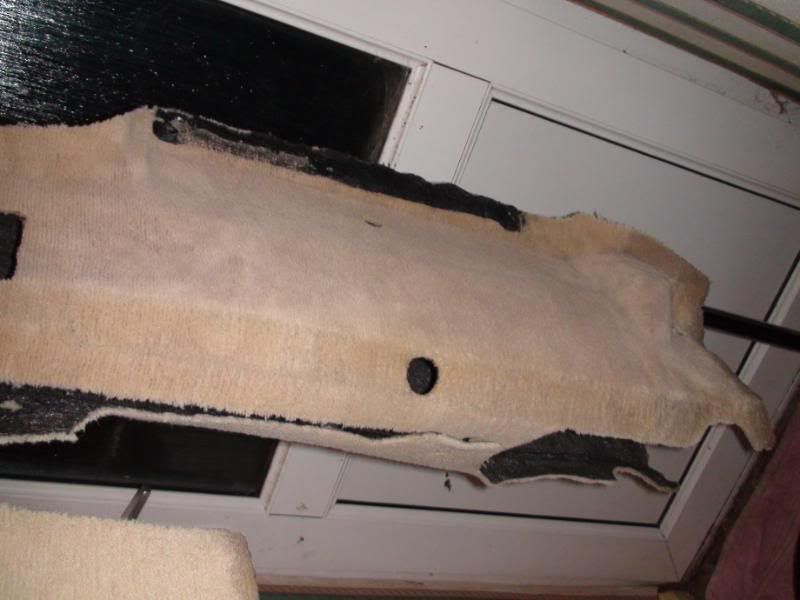
even the back after cleaning is still grubby so i did the back as well!
before
il stick the after ones up when i find the lead!!