

C488ADO
-
Content Count
1,034 -
Joined
-
Days Won
1
Blog Comments posted by C488ADO
-
-
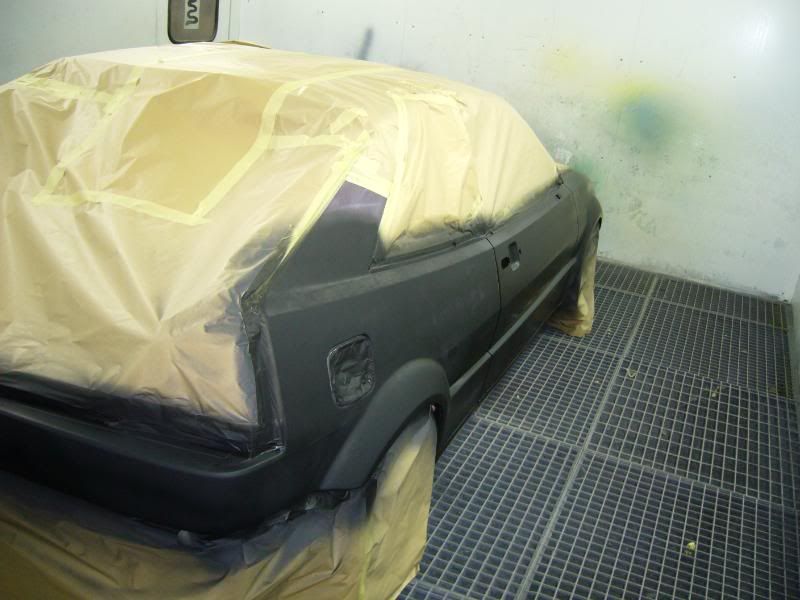
car entres booth, gets wiped down with thinners i think and final finishing touches are taken care of ready for masking...

-
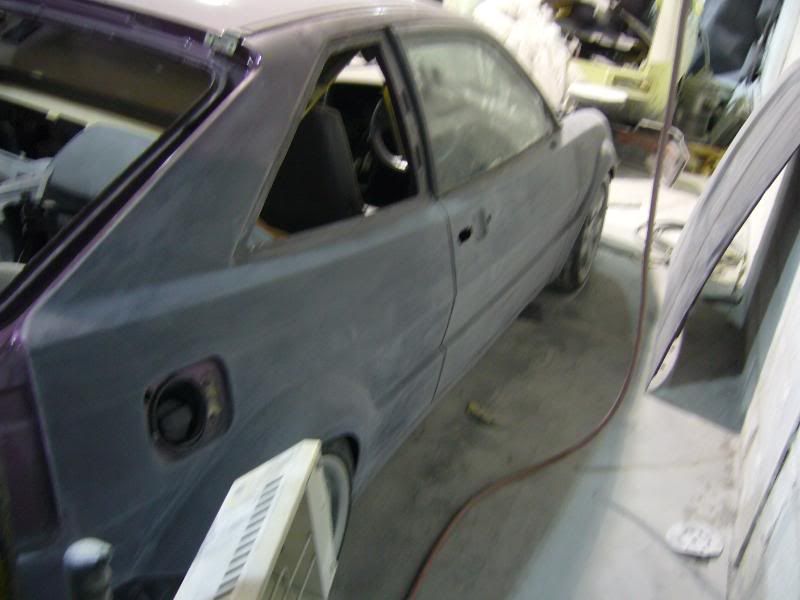
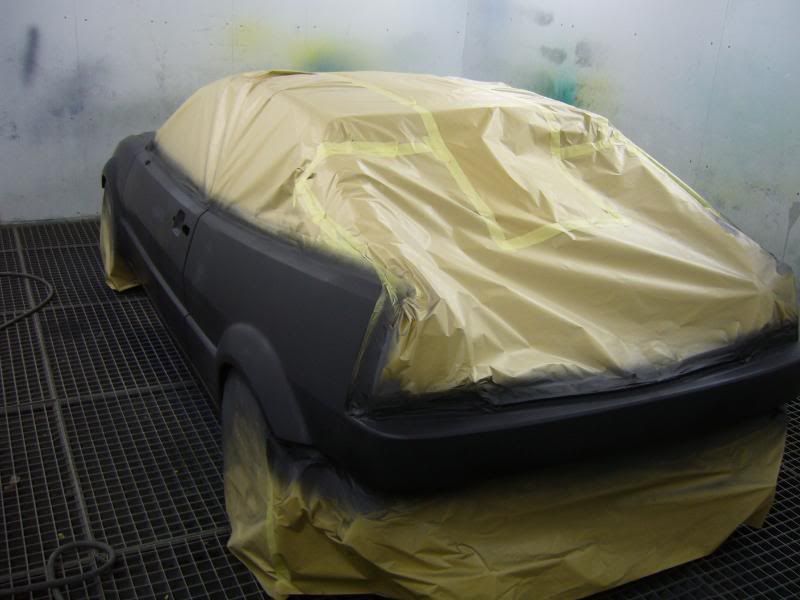
went there again today and jow was getting on with the final prep.. the car is going to be in the oven at around midday tommorrow!!! this is getting close the doors will be foff tomorrow and the slam panel should be prepped... anyway the last few pics before the colour is on!!
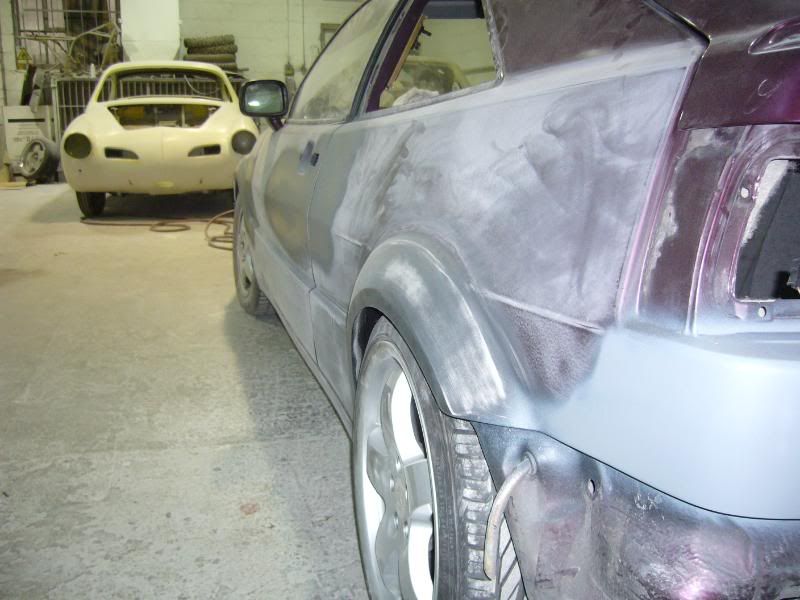
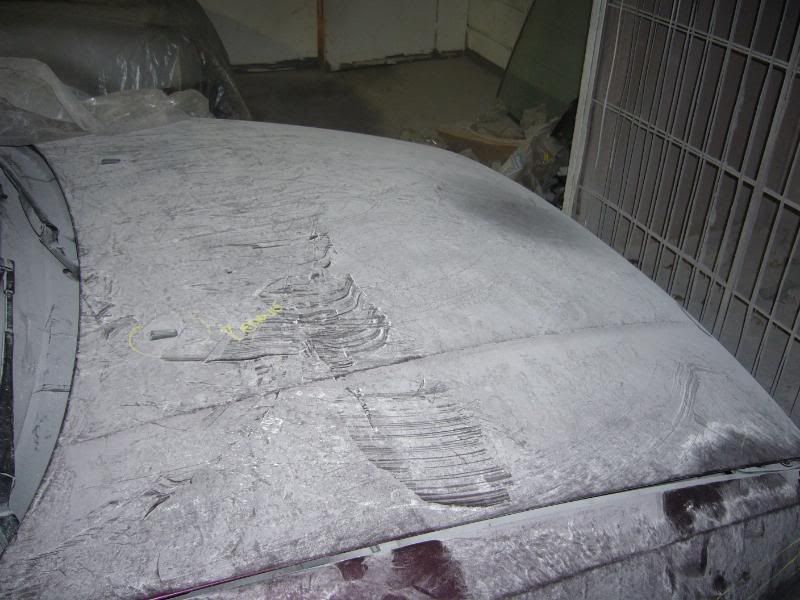
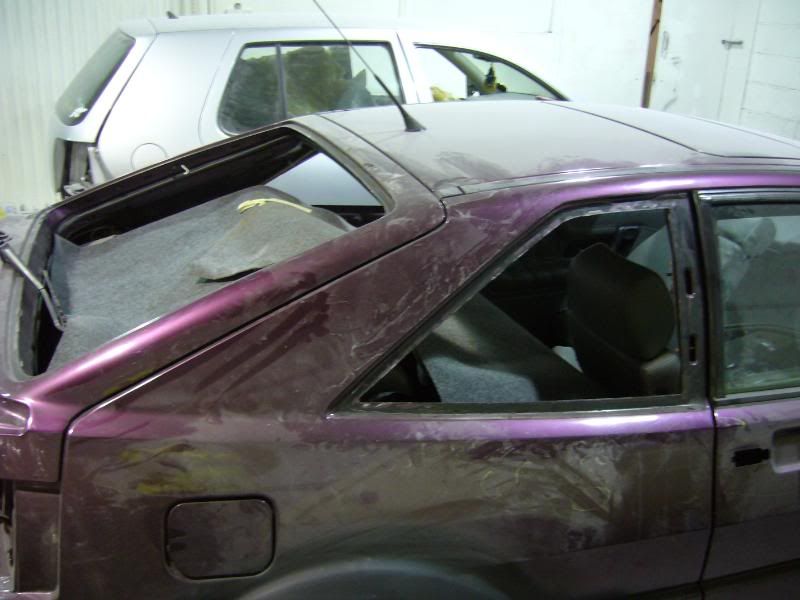
this is the car after it has been wet flatted all over...
tail gate hinges removed...
need to replace the clear sticker that goes around the door shut to stop the rubber taking the paint off....
also need to get hold of sharon@motormugs so they can duplicate these stickers....
useually if you produce a good enough image and dimensions they will make up any car sticker for you to look like the original and normally only charge £1.00 per sticker..... cool eh??!!
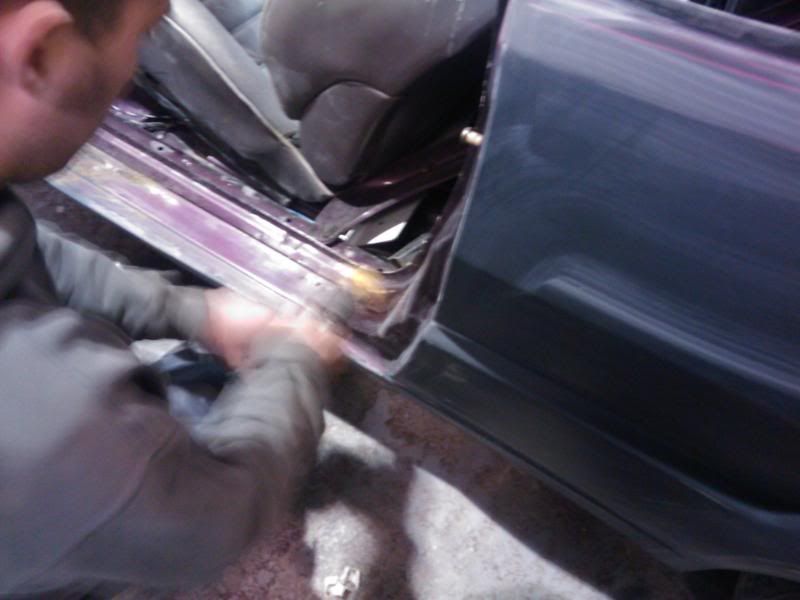
look at him go!!!
need to get some of these too....
-
yep little by little we edge closer to completion!! :roll:
so the car has been blocked (start of the final preparation) and is just waiting to be gone over with 400 grit and then peopl ethen its going in the oven.....
who knows by saturday evening i might even be able to put up some pics of a shell that has got paint on it other than primer!!!!!
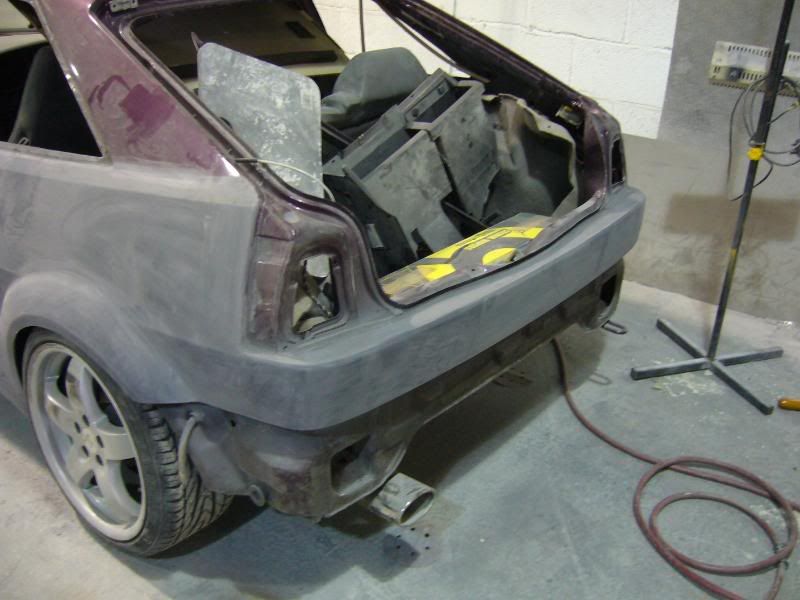
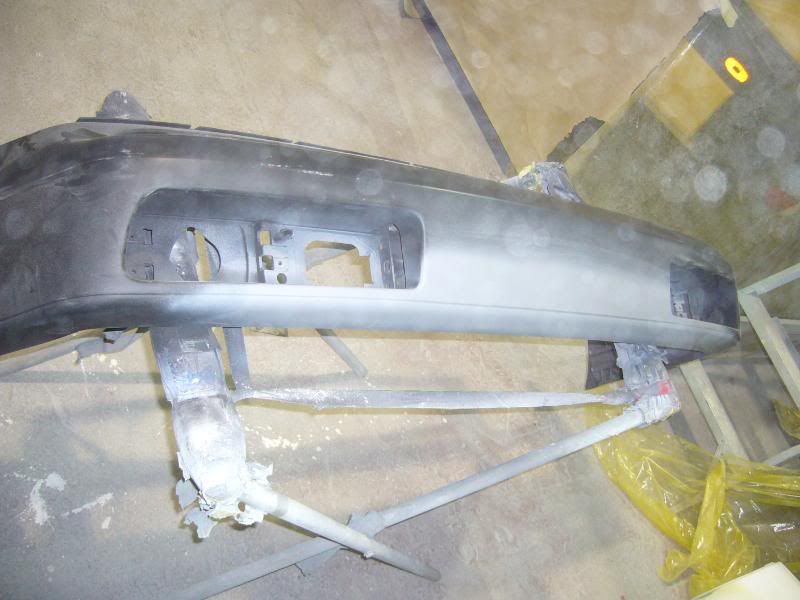
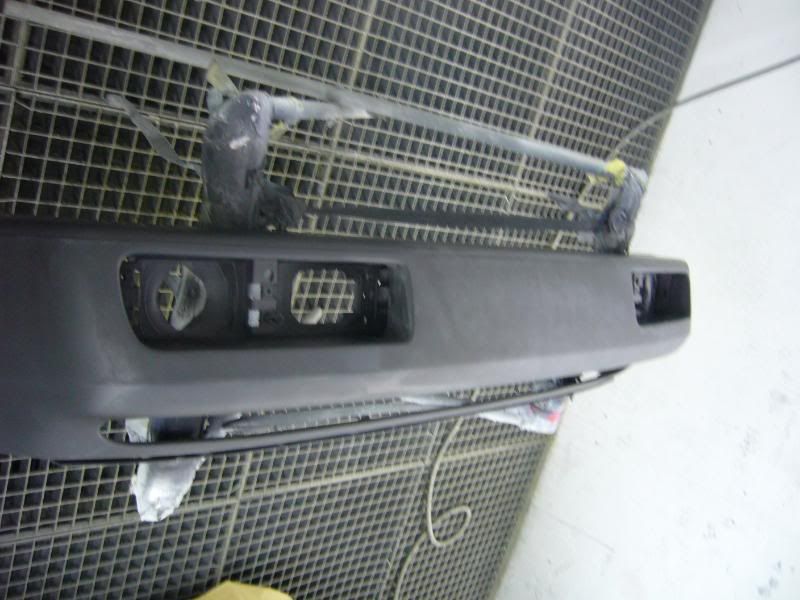
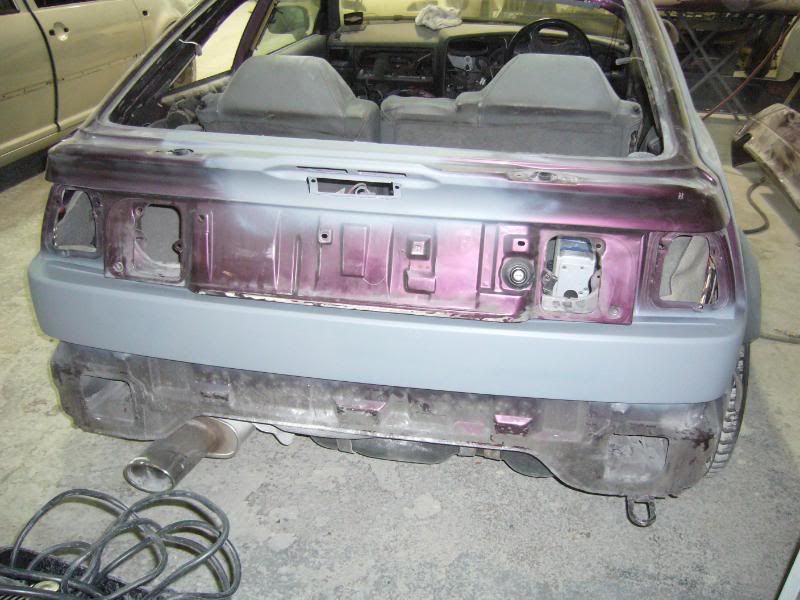
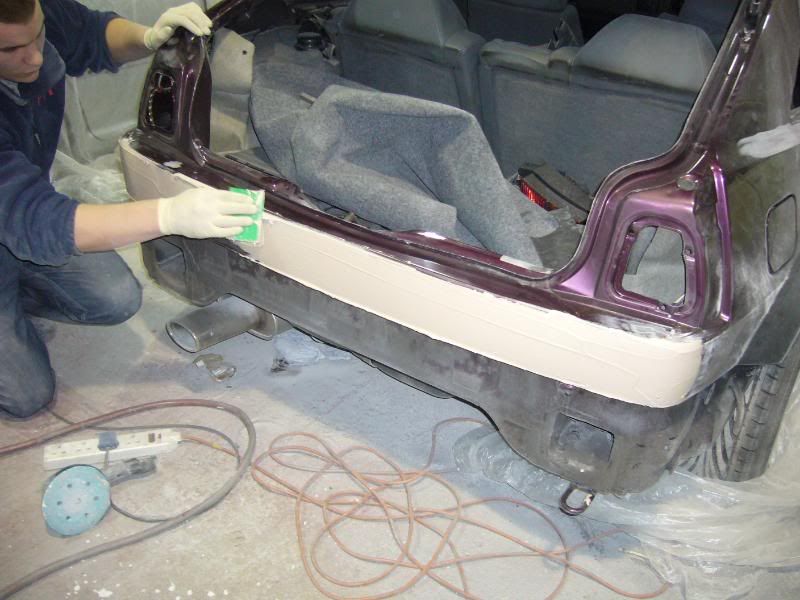
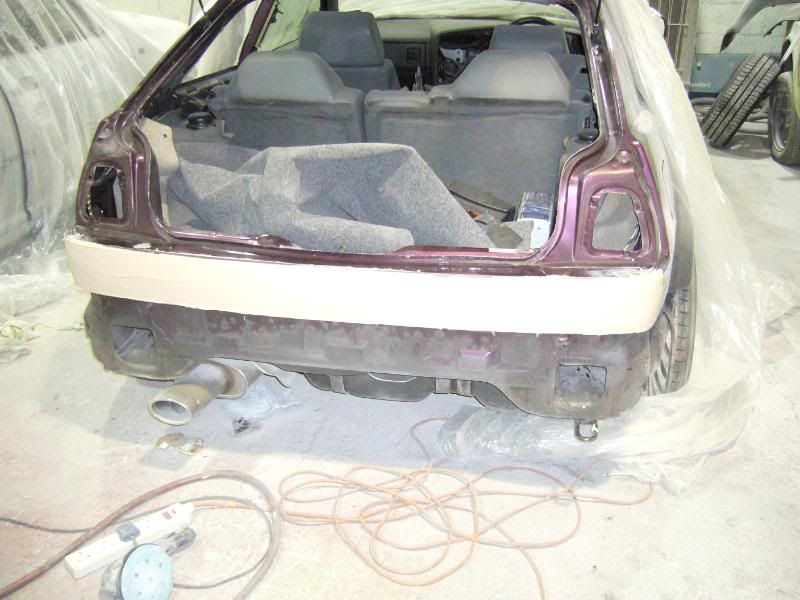
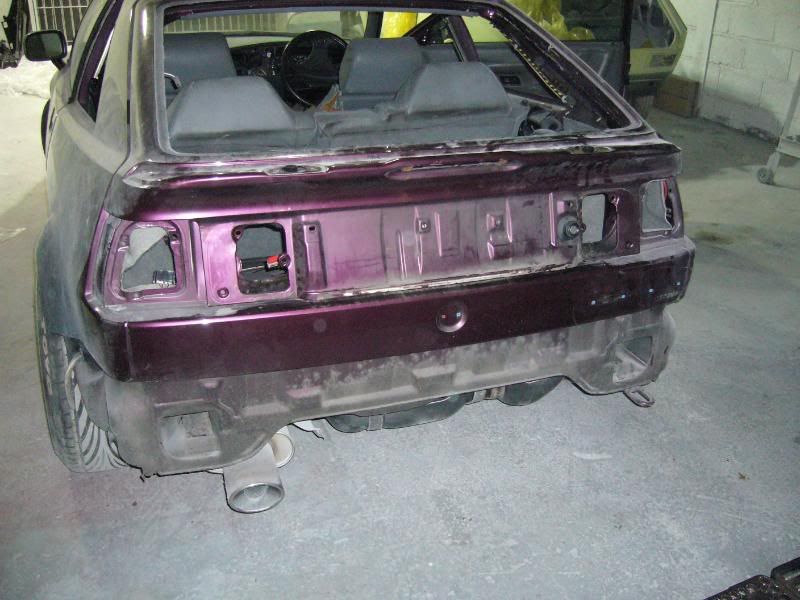
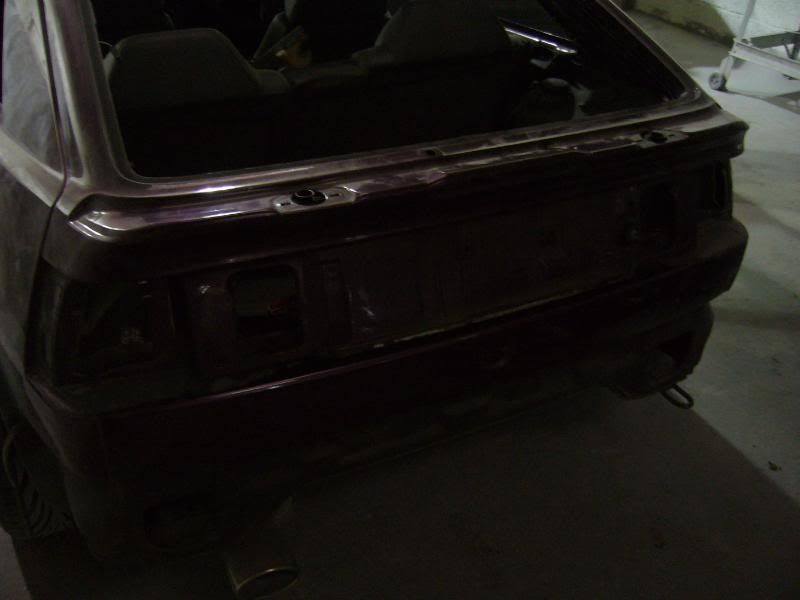
rear bumper being worked on
and the tail gate....
-
almost forgot...
got the rears back from polishing today i didnt get them totally stripped as ppi said they didnt need it they can make good whats there....
so what ya think he has done an awesome job yet again and the pair...£30.00
cany go wrong eh!
car now out of the oven and ready for final prepping... that will start monday i think?!
-
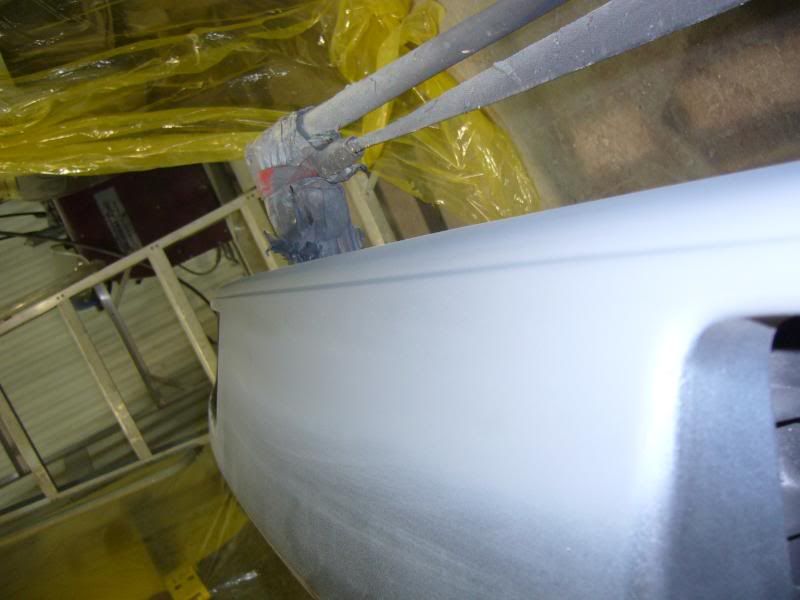
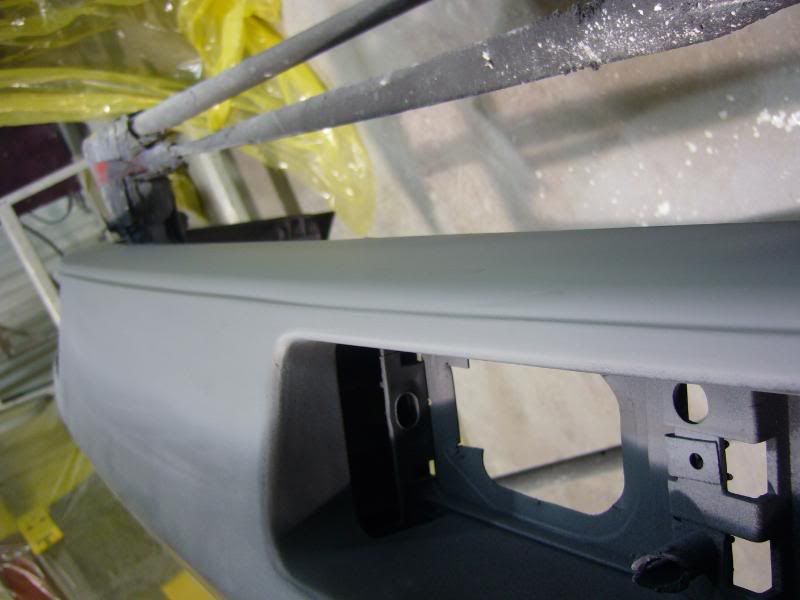
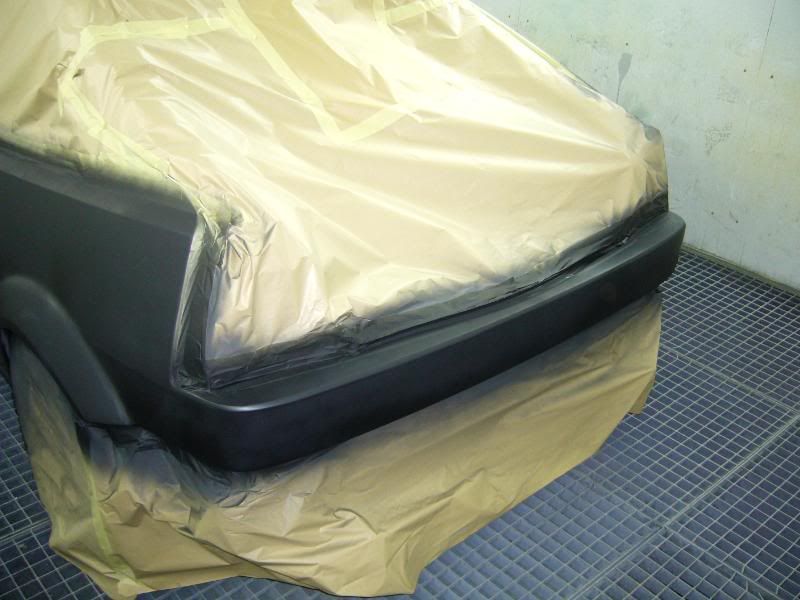
couple more of the front and rear bumpers being prepped
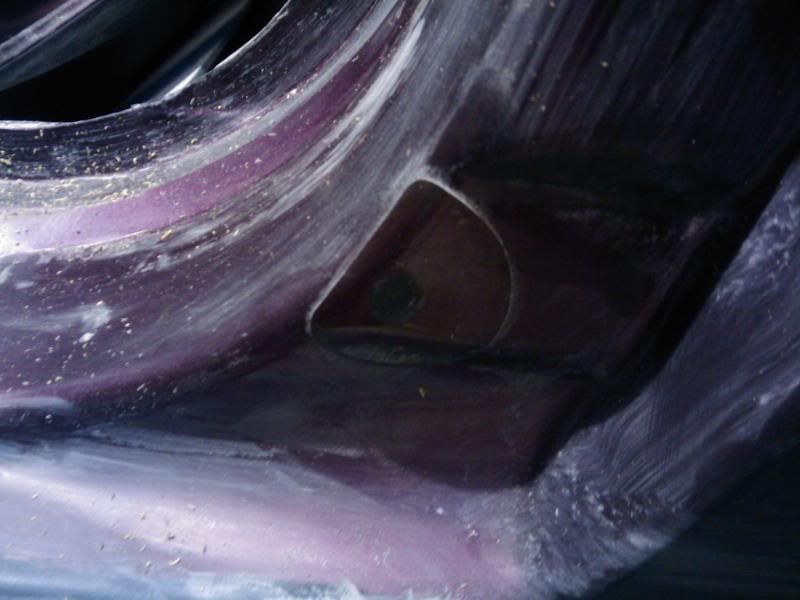
towing eye cover gone...
-
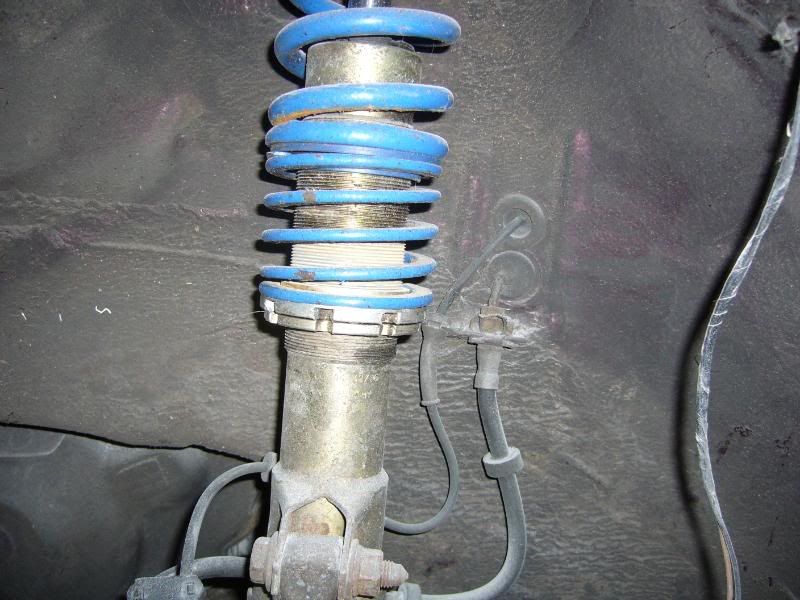
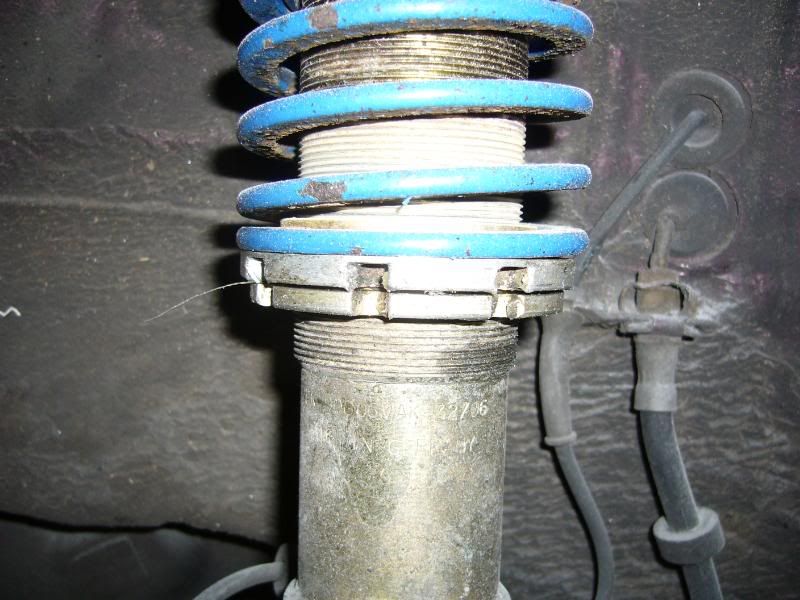
this is where the threads are on the front....
why am i showing you this i have no idea???
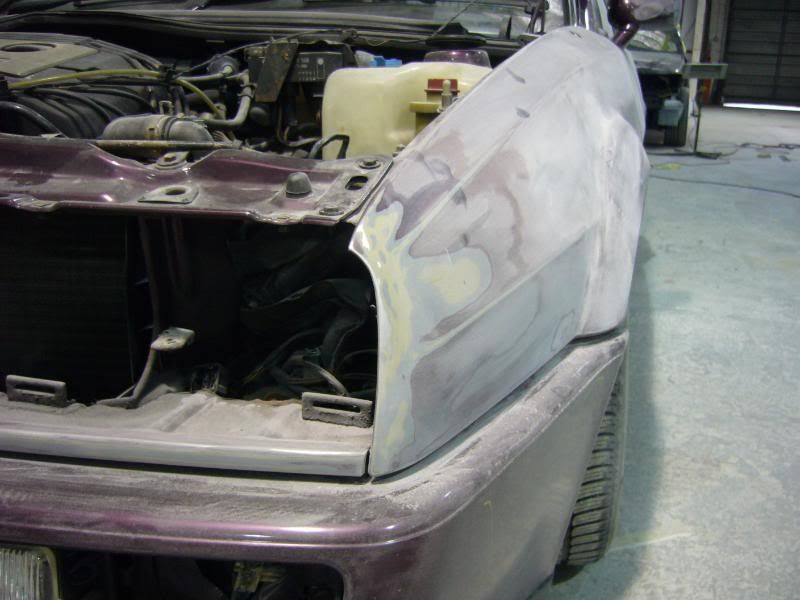
ben as promised sorted the front arches this morning...
he also started work on the front bumper..
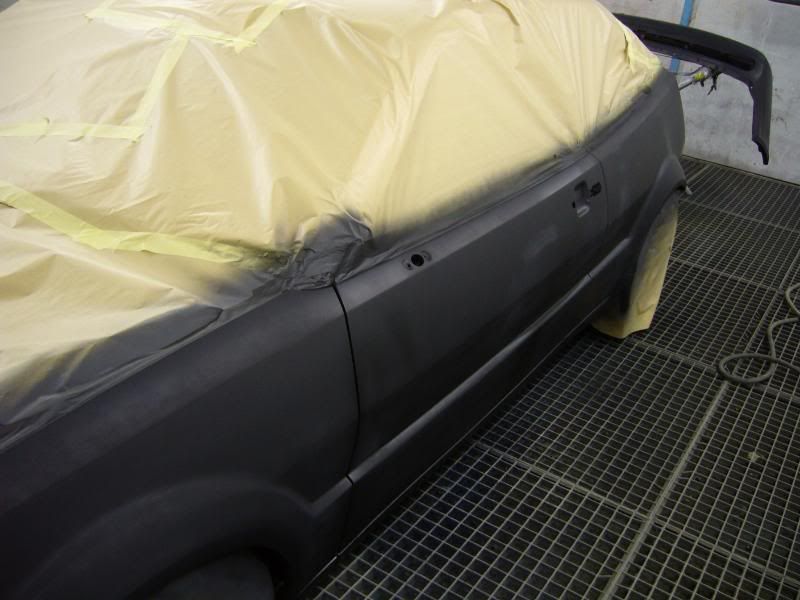
car also went in for its primer today!! at last we here you cry....
apparently the roof doesnt need primer as there are no repairs needed to the roof so i guess that just gets keyed up and blasted??
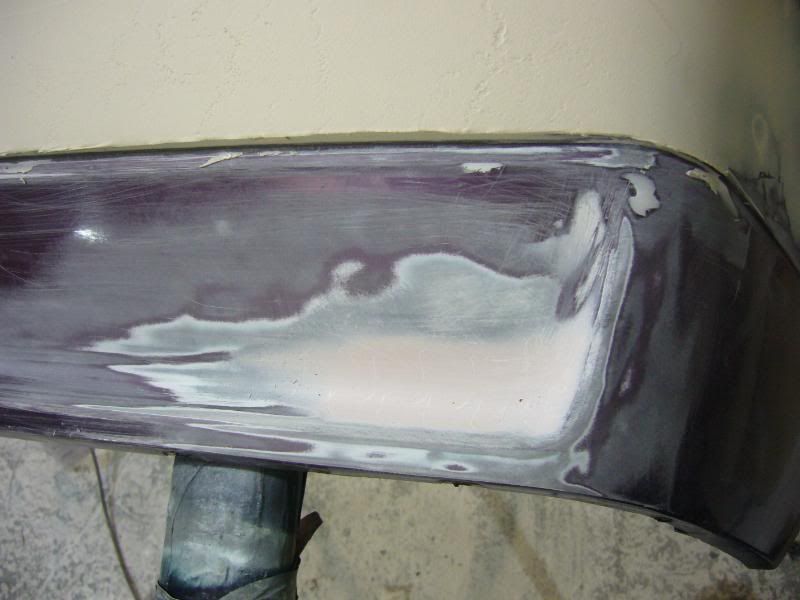
the bonnet has already been primed and the tail gate will be done next... rear bumper is having some smoothing work done and then its in ...really looking like it will be painted next week now!!!!!
-
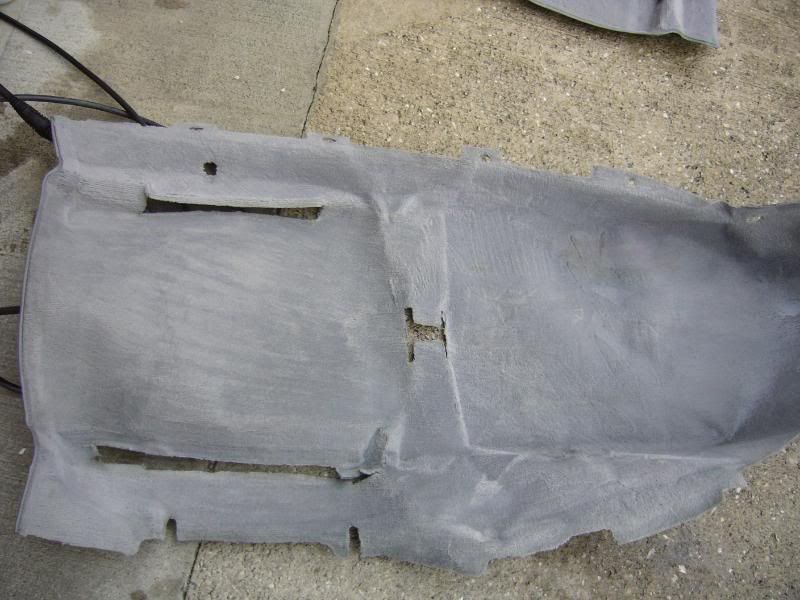
the carpets just need a good wet vacing off now and the pile will be restored to its former glory!!
so on the way home i popped into ppi and got the sunroof trim off and aerial
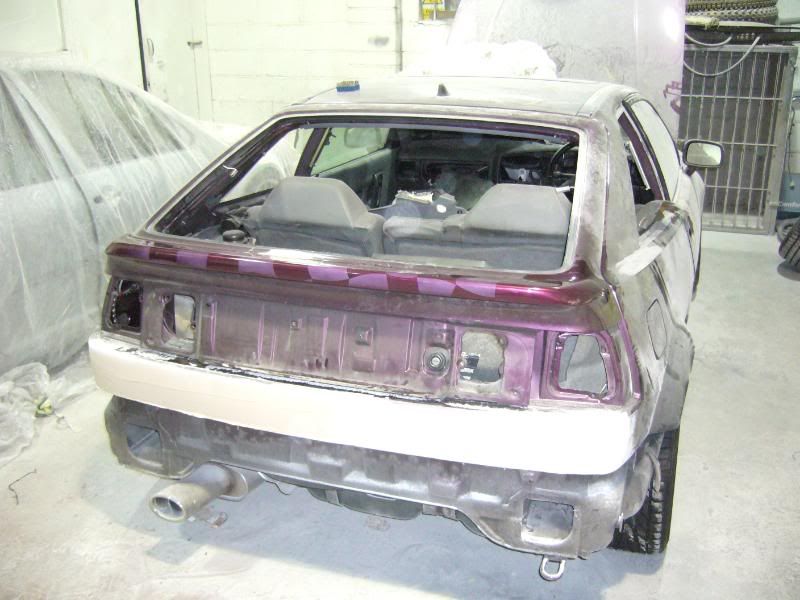
car has moved and is nearing the door!!! gonna be soon now!!
bonnet with first coat of primer
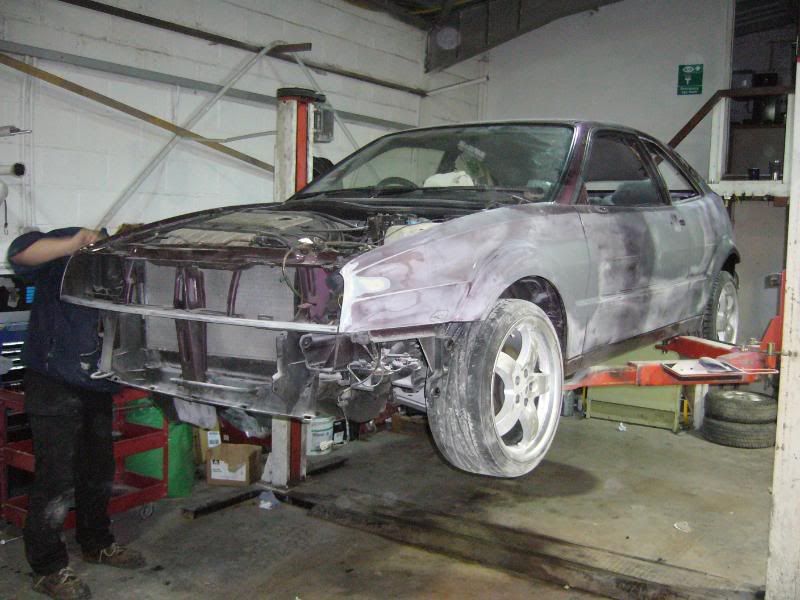
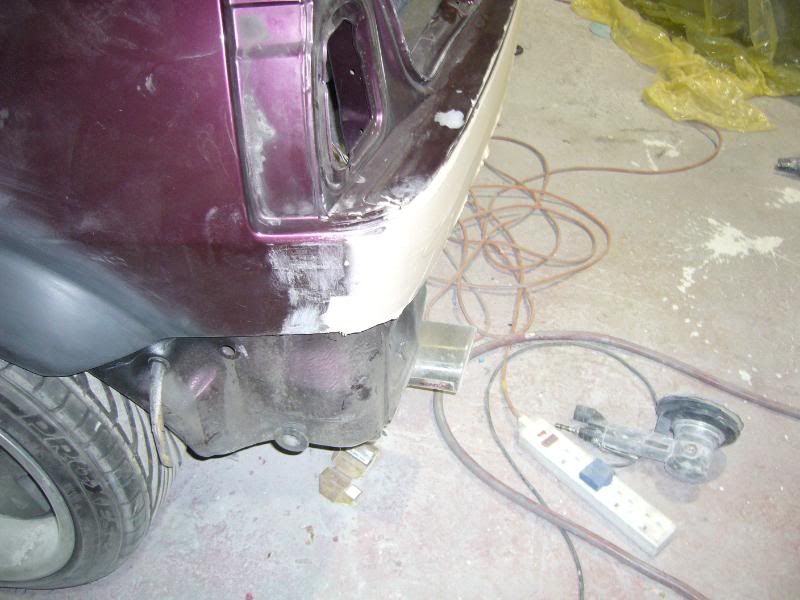
we finally managed to get the bumper off!!!
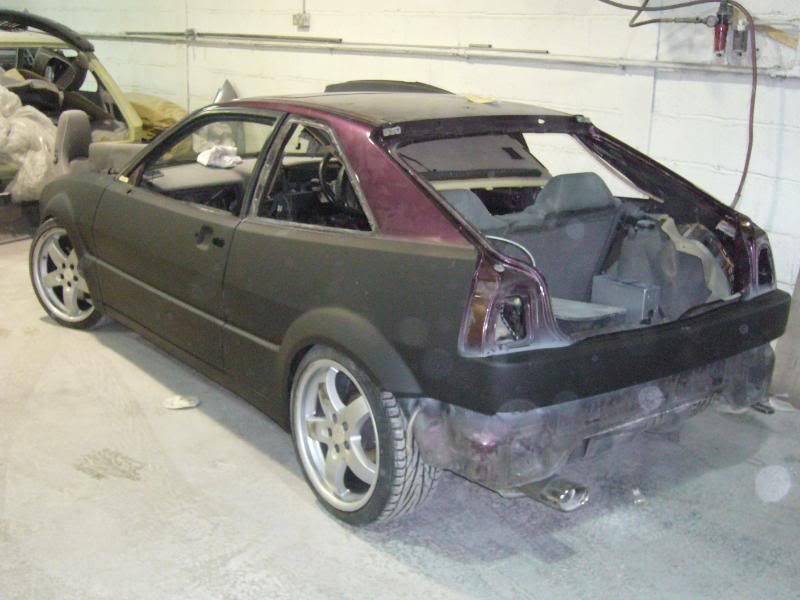
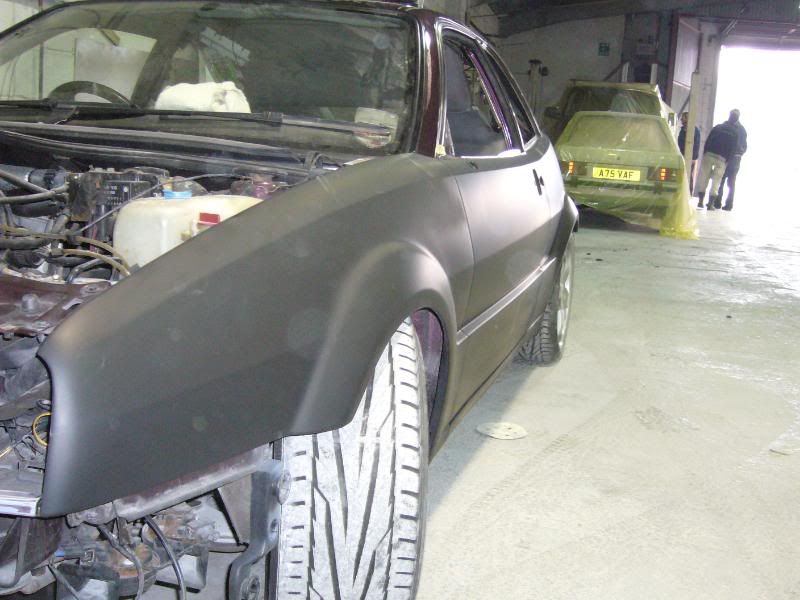
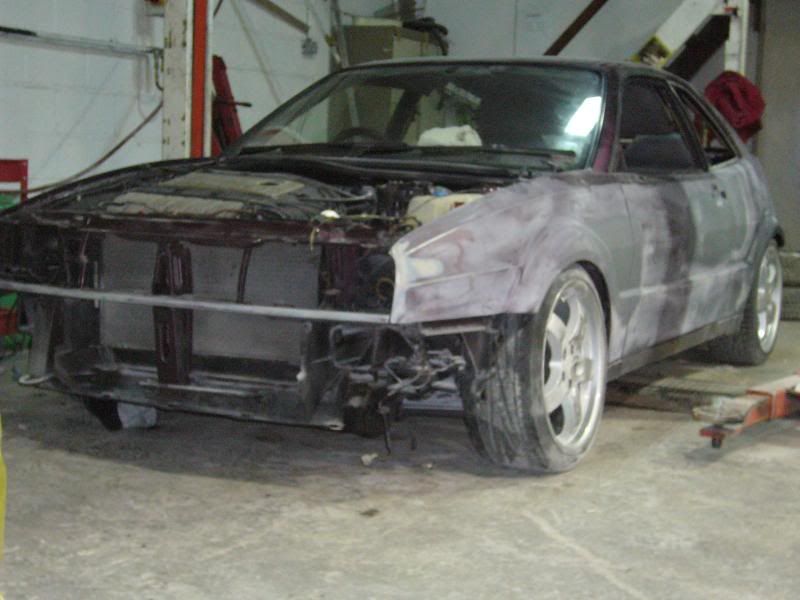
front end now looks like this
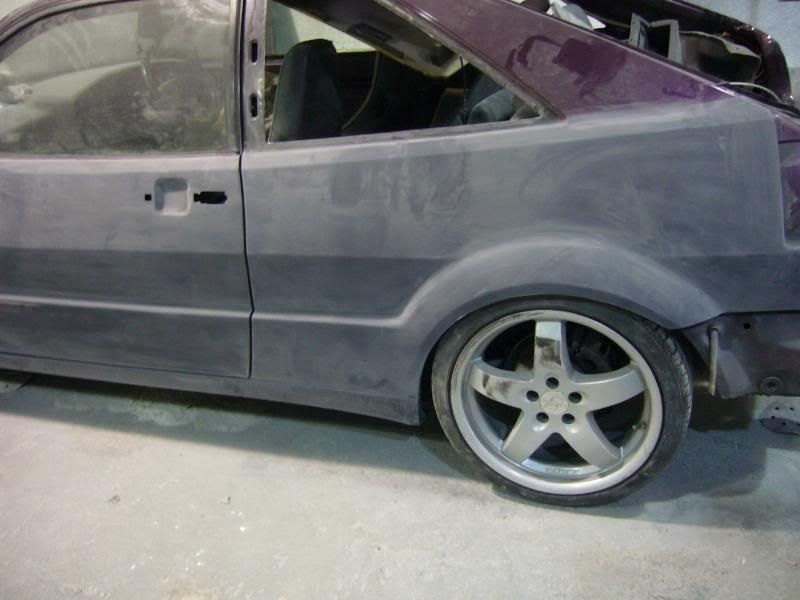
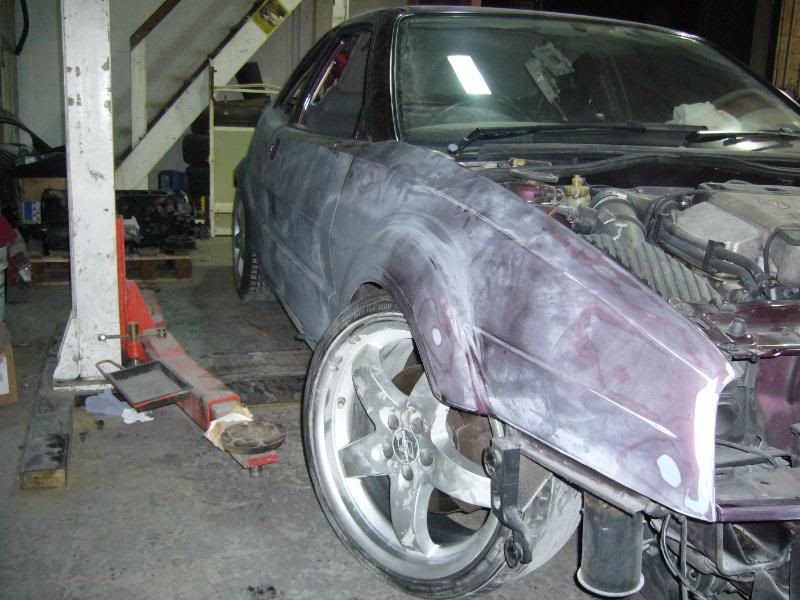
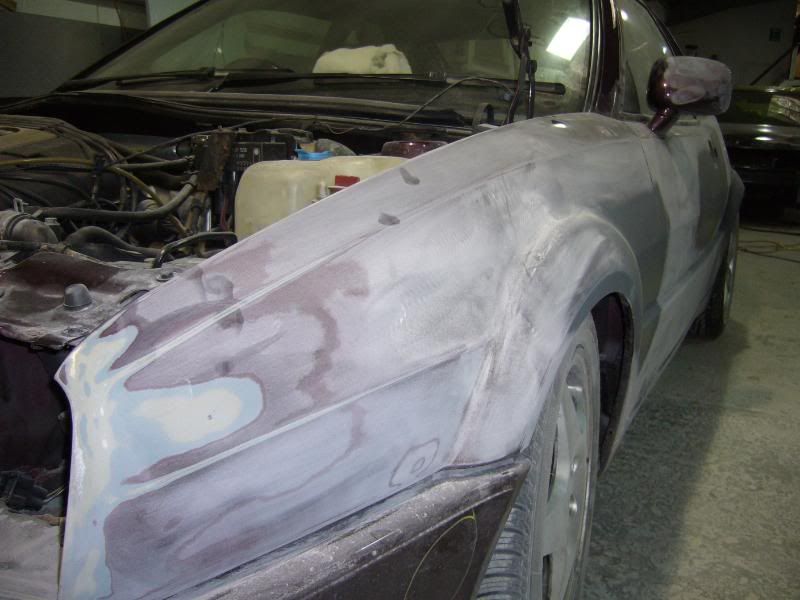
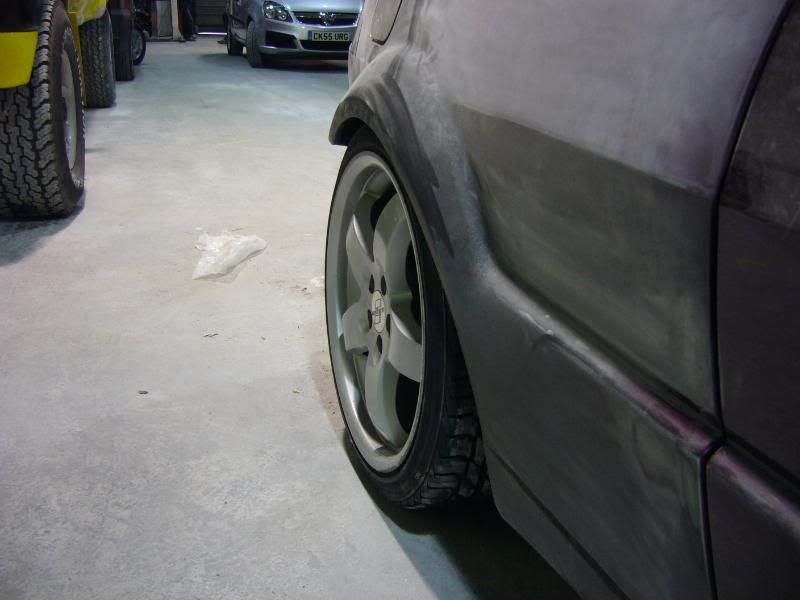
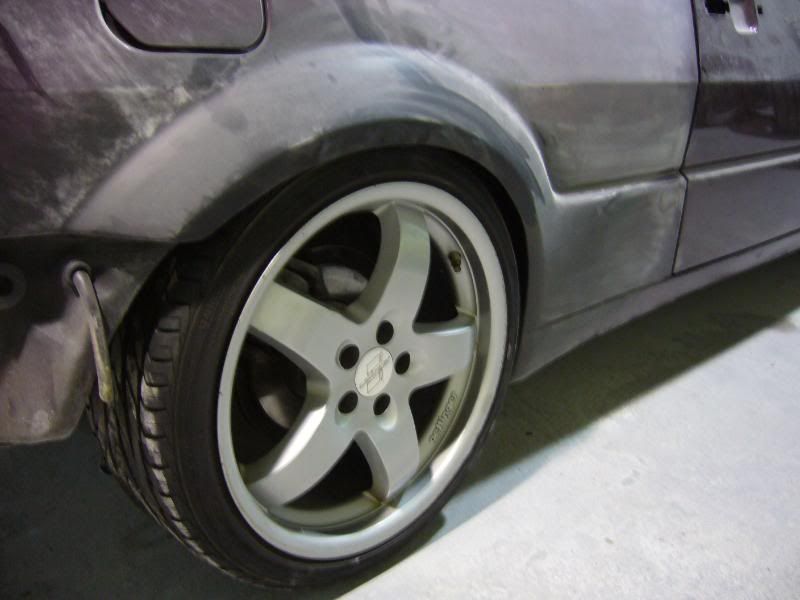
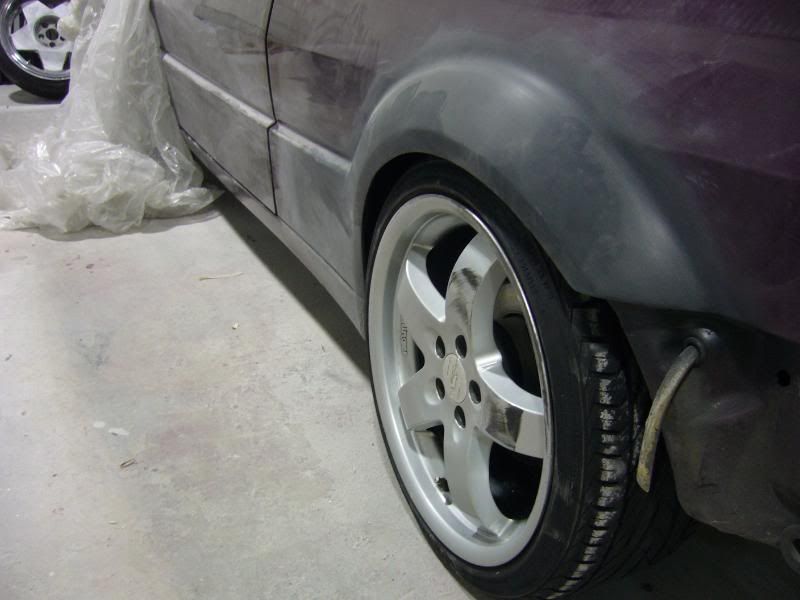
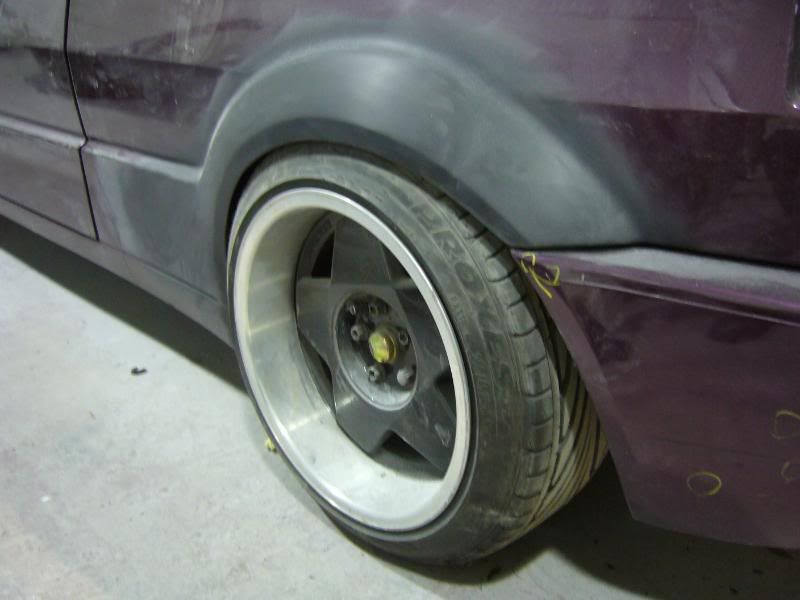
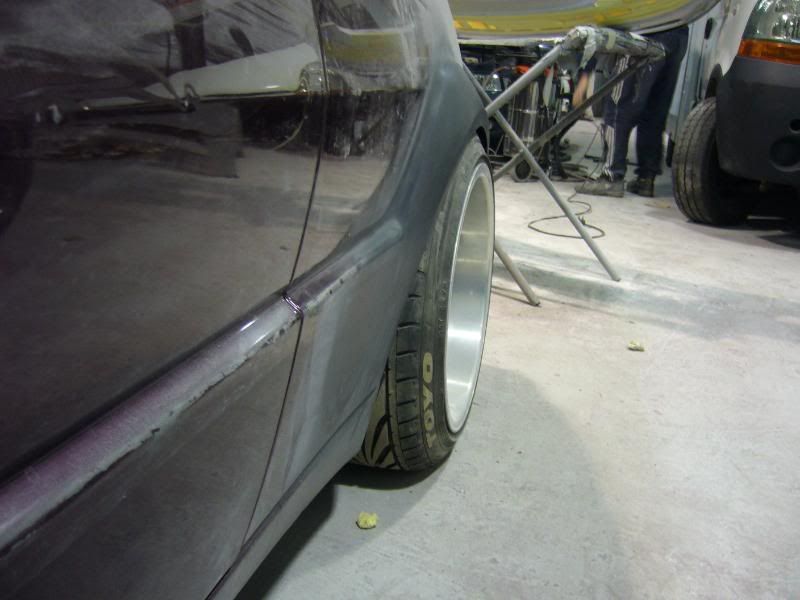
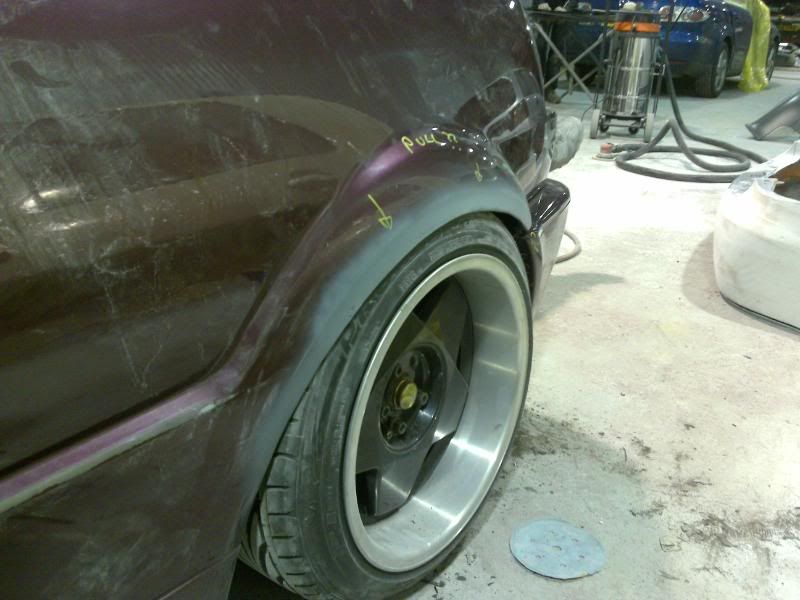
fitted the oettys to the front firstly to see how much room there is on the front arch and secondly had to see the 'stance'.....
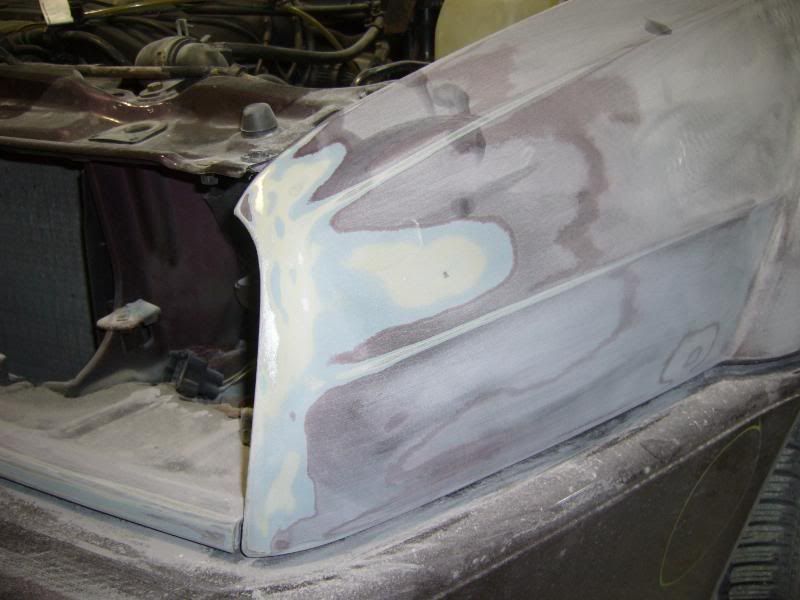
so with the thougth of fitting porsche brakes in the near future i had better take care of the front arches now while its in this stage...got to allow for maybe 10mm spacers.. to fit the calipers so panel berating the arches back is a good move i feel...
also took the opertunity to lower the car at the front some more....
starting to look right now peoples opinions please...
ben is going to sort the front arches out in the morning i.e filler shaping etc and then................yes then it is going into primer tomorrow after noon!!!!!
this means it will be painted by this time next week ?? hopefully!!!!
-
got a bit done today!!
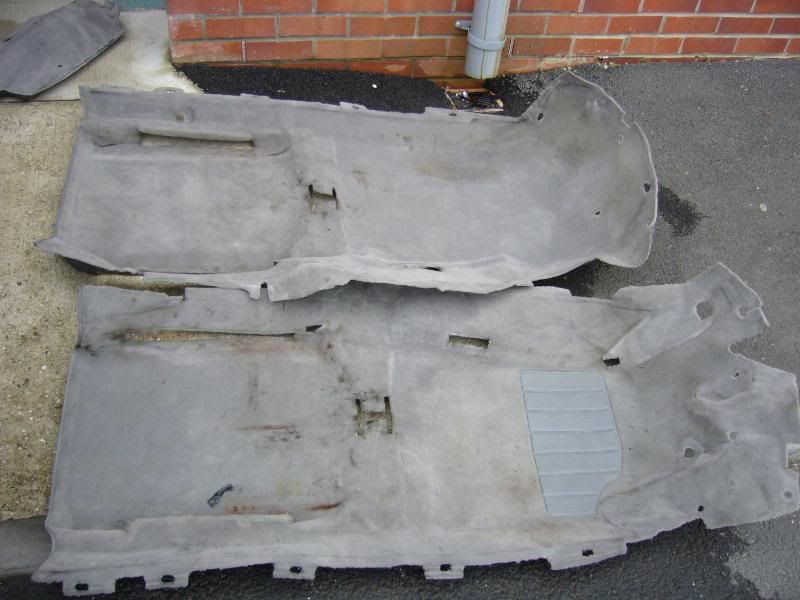
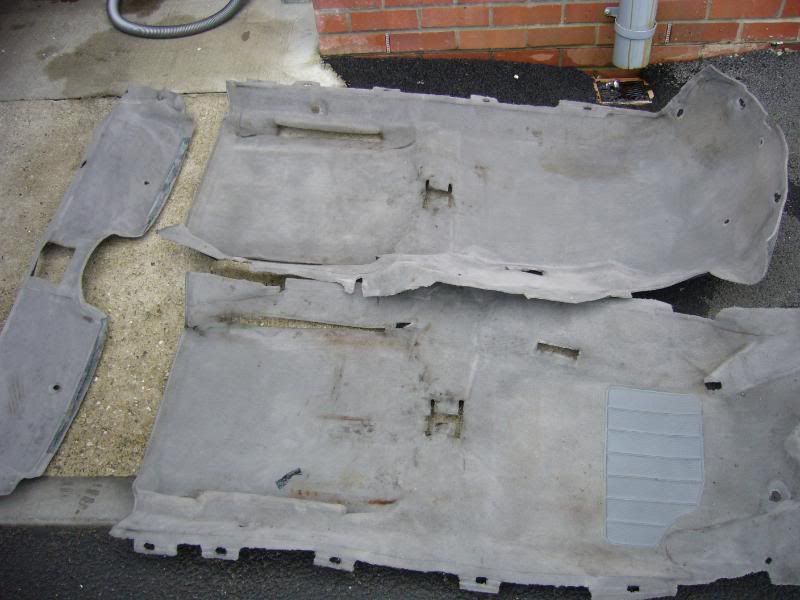
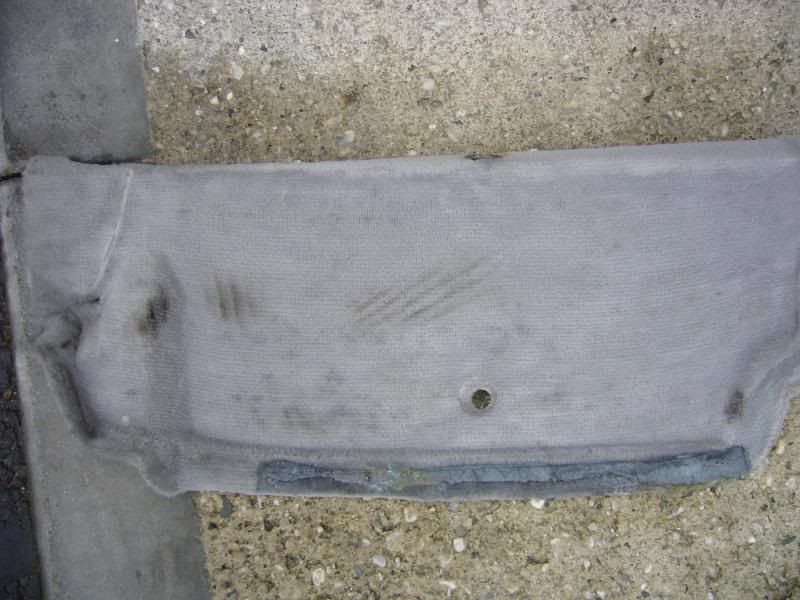
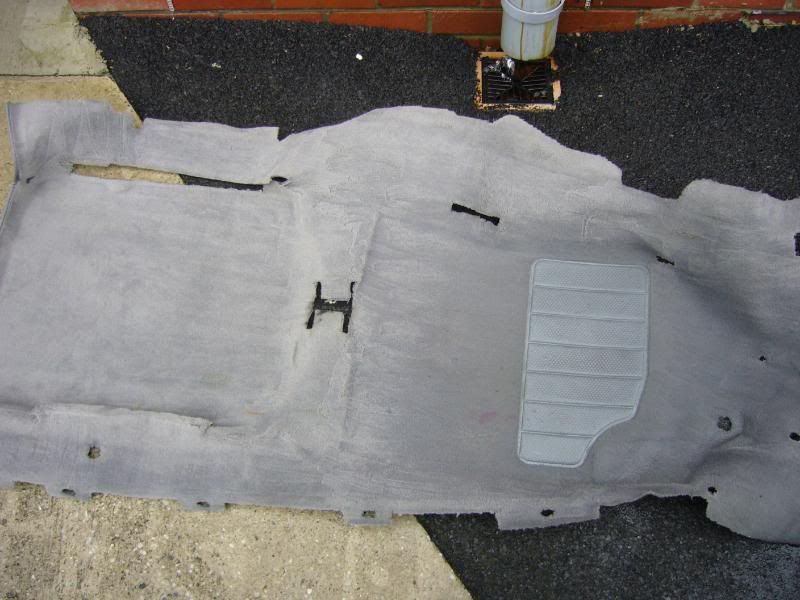
got the carpets and took them to work they are minging, at one point i thought i need to source some new ones, but i thought id give what i always do a go and TFR them then pressure wash them here are the carpets...
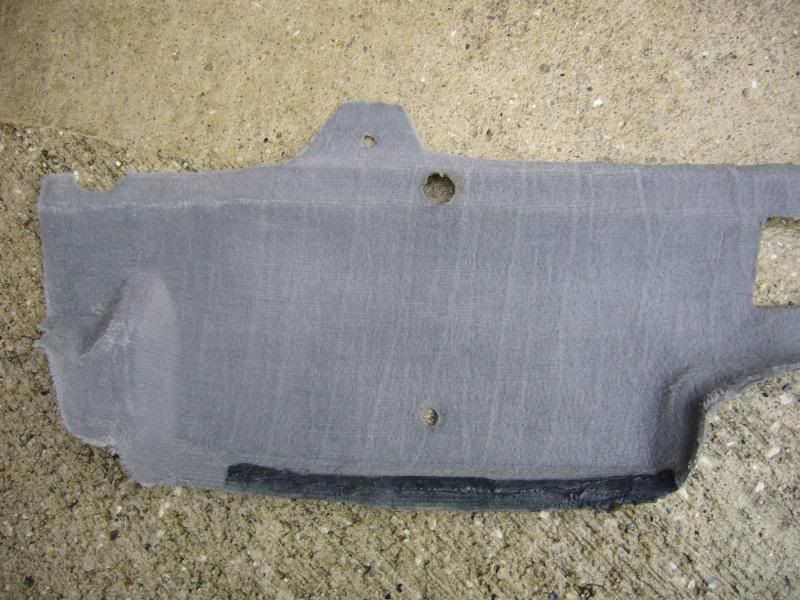
closer pic of the rear section
closer pic of front section
note the black marks...
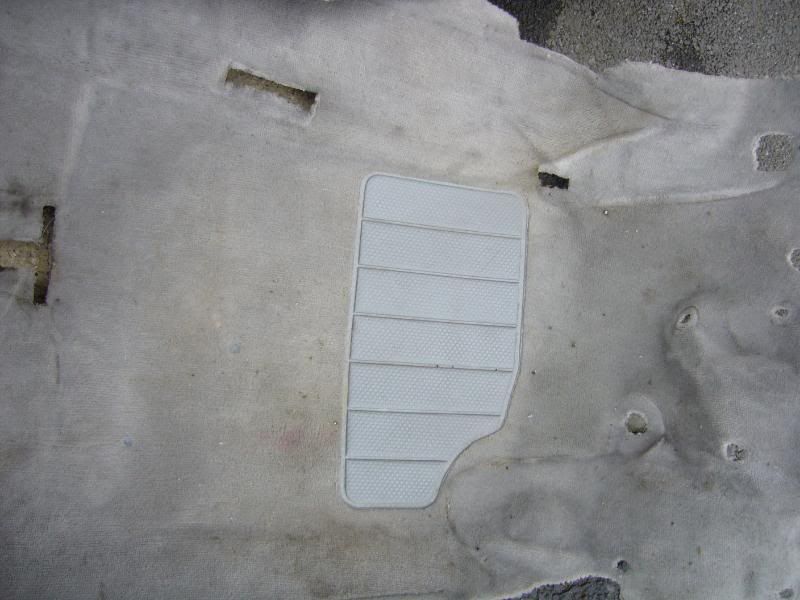
i started with the smallest bit of carpet first, i sprayed on the tfr let it soak just a little then i just pressure washed them off throurghly, i didnt even scrub them
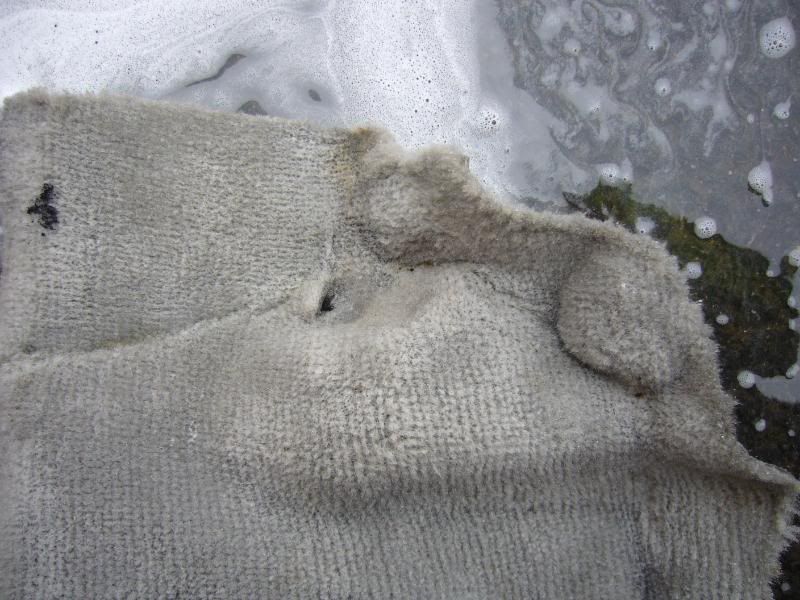
its starting to look clean already!!
this bit is just dirty
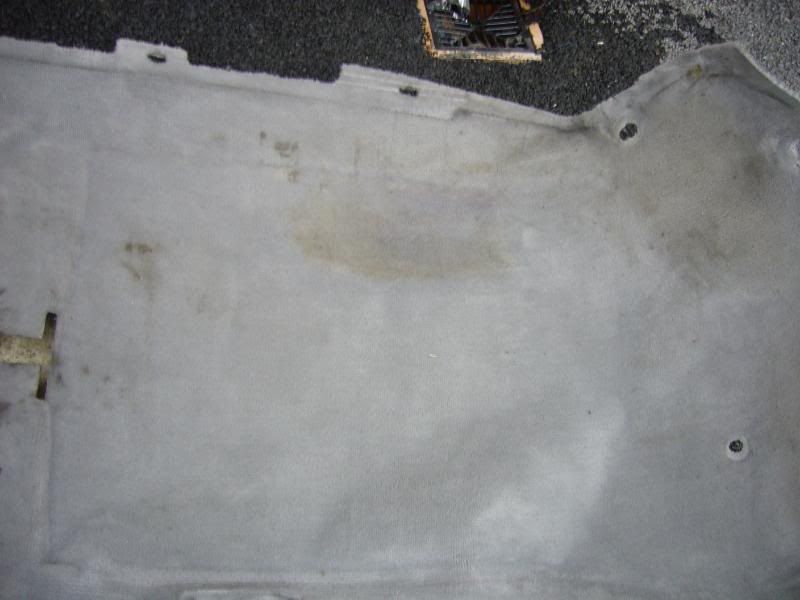
all done!
the fronts you can just about see the brown water coming off them!!
very happy with these results.. there are a couple of what looks like pink permanent marker stains which wont budge but i will get some grey mats to cover them up!!
-
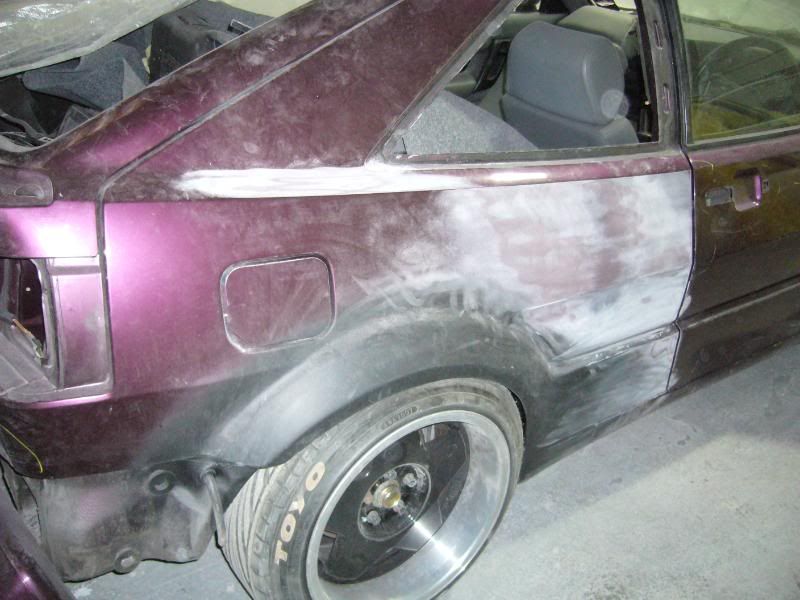
few more updates not very interesting but its getting there...
drivers front wing no more stone chips!!! (no more paint....)
passenger rear quarter
dents in quarter and door removed...
rear wiper removed
only got a pic of the one seat as the drivers one has gone for some new panels to be put in...
-
:thankyousign: -
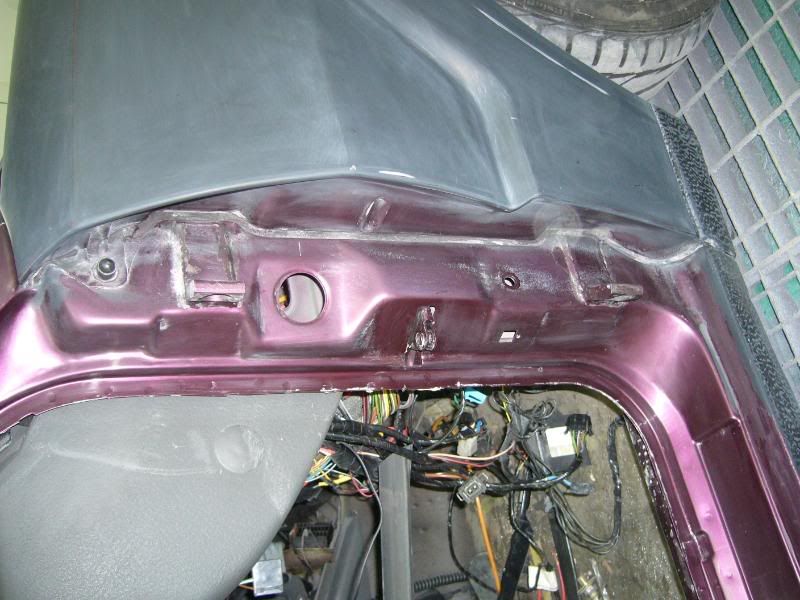
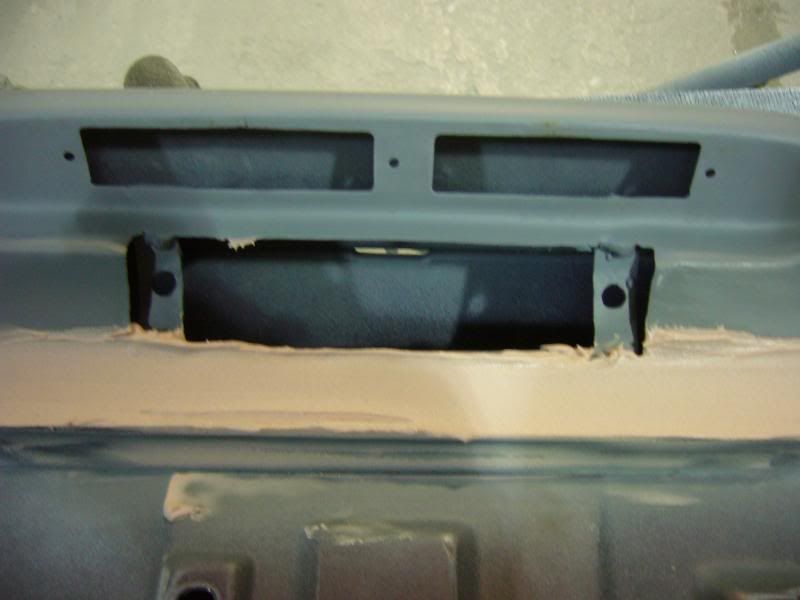
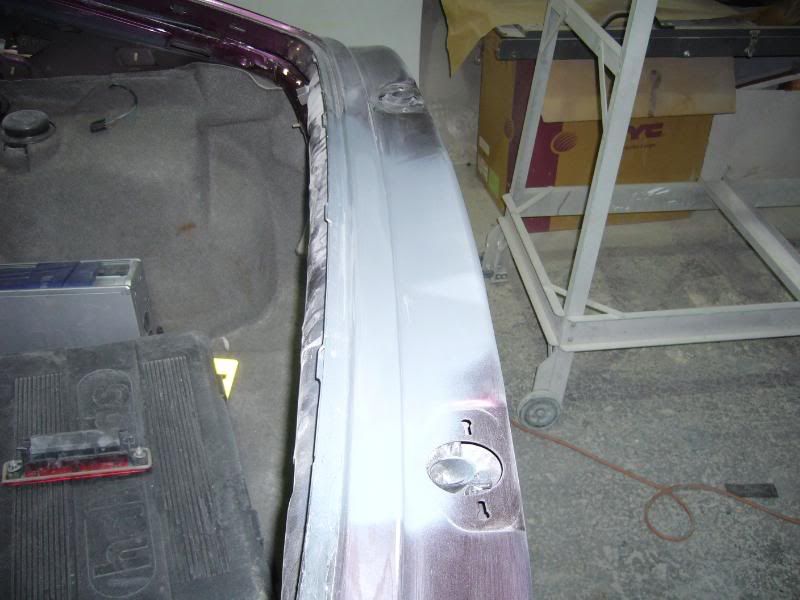
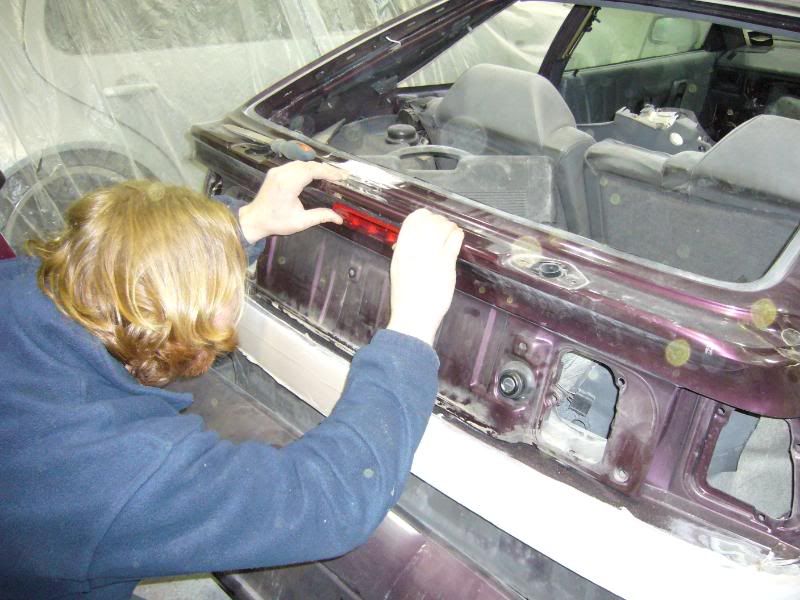
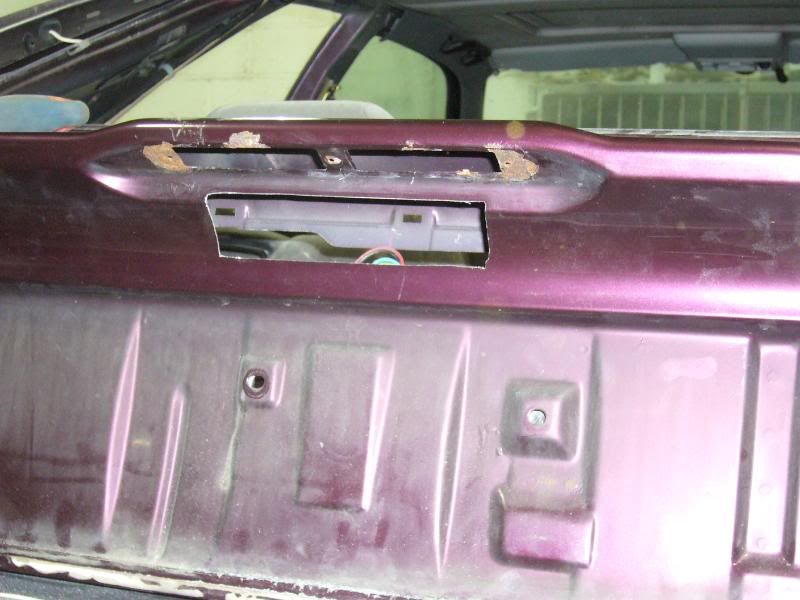
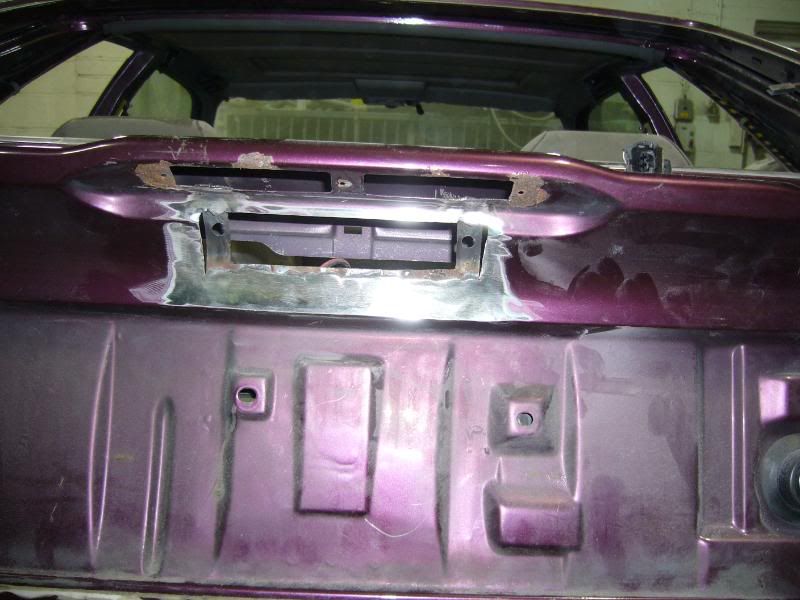
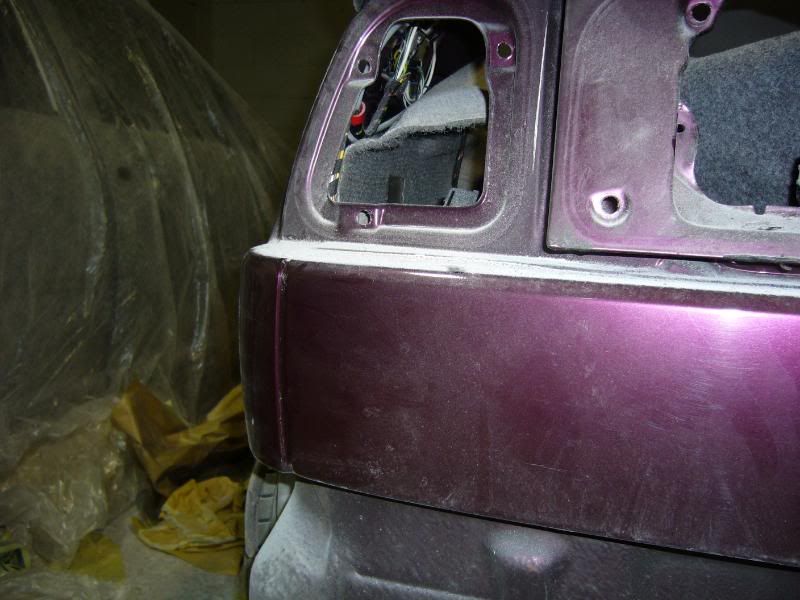
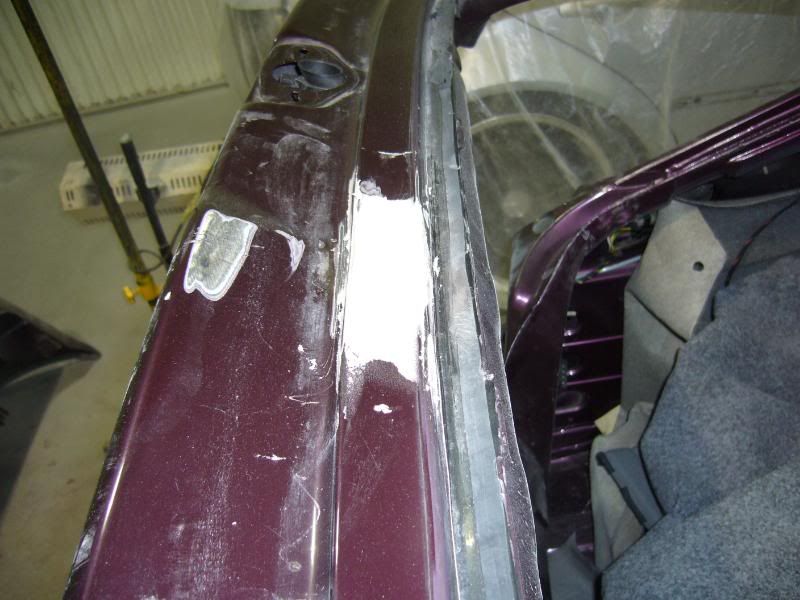
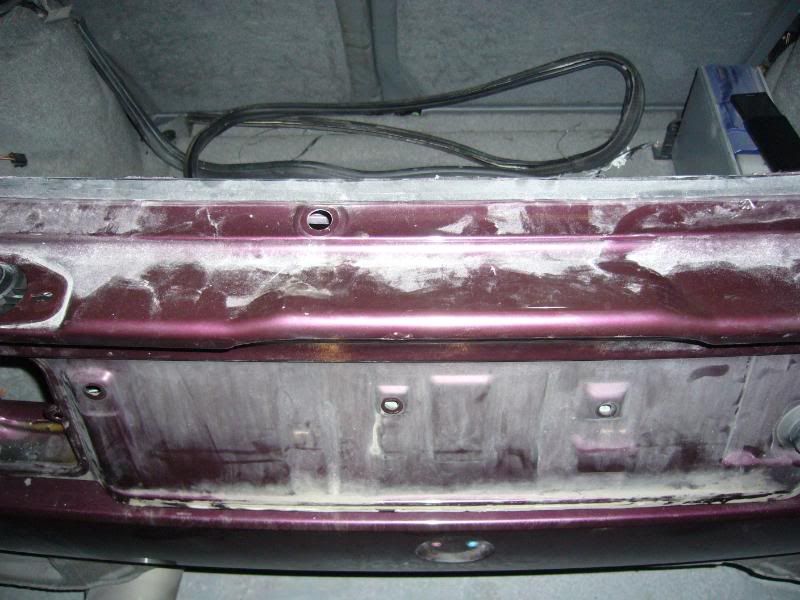
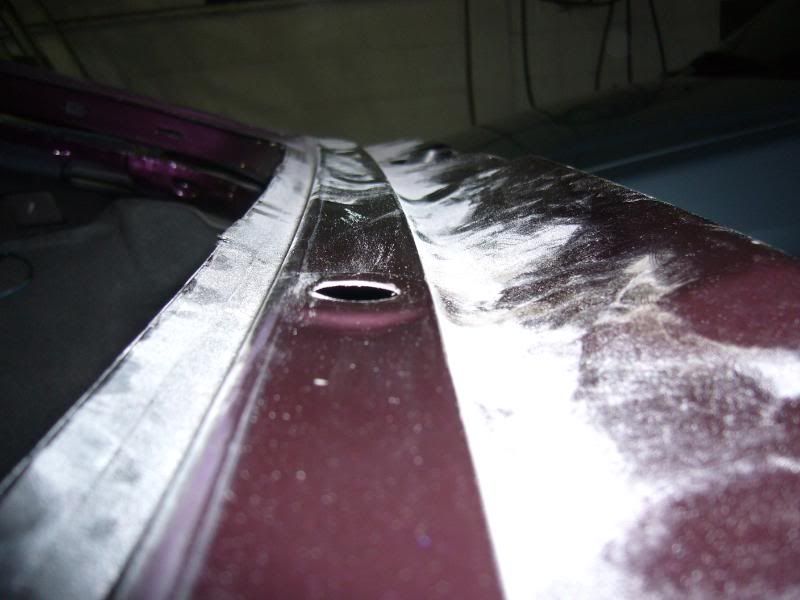
here is the hole in the tail gate ...
bonnet washers welded up...
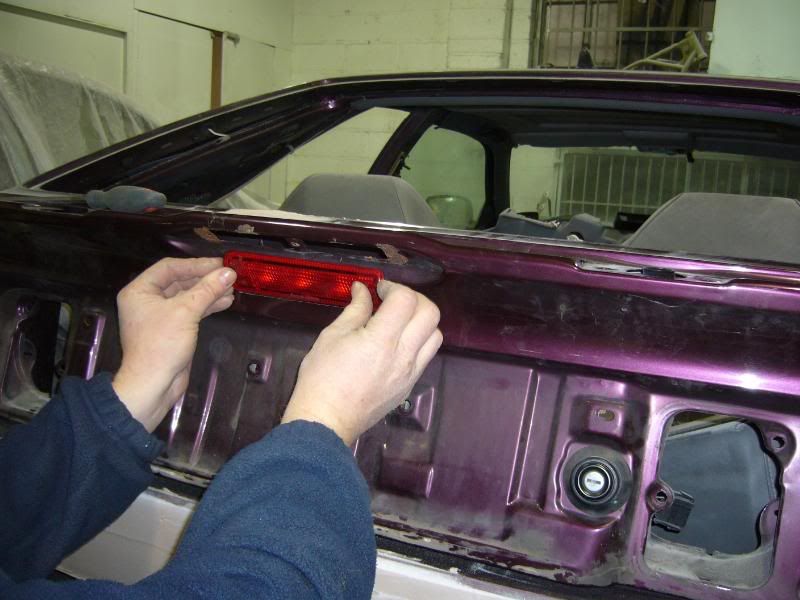
trial run.............
note the bracket inside for the light cluster.............
darren showing nigel his ninja death moves............
-
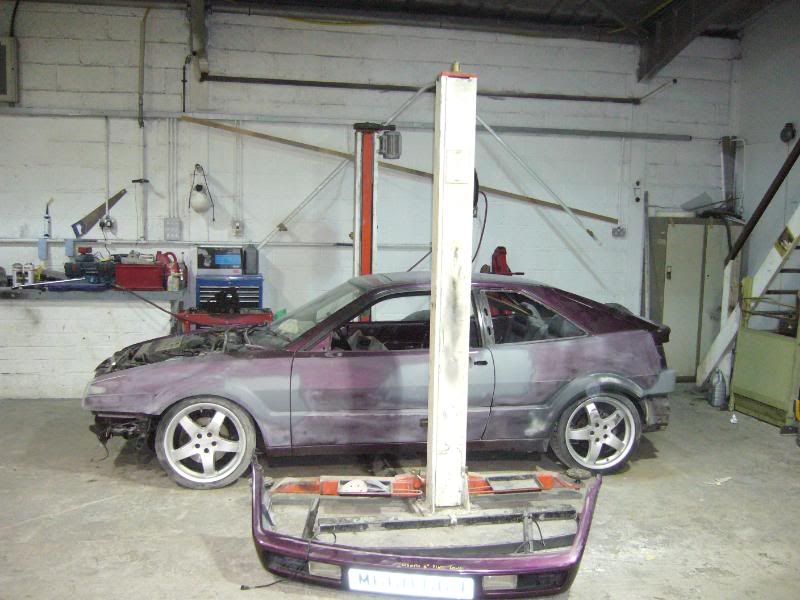
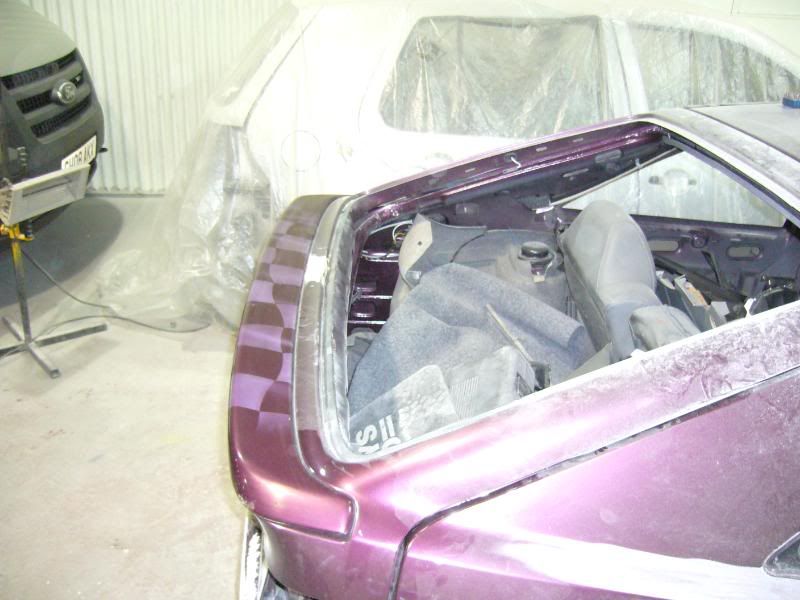
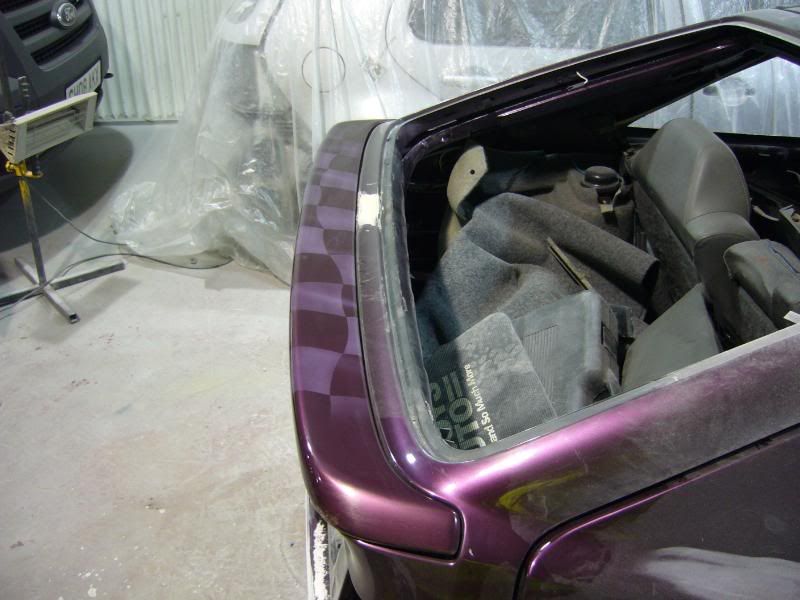
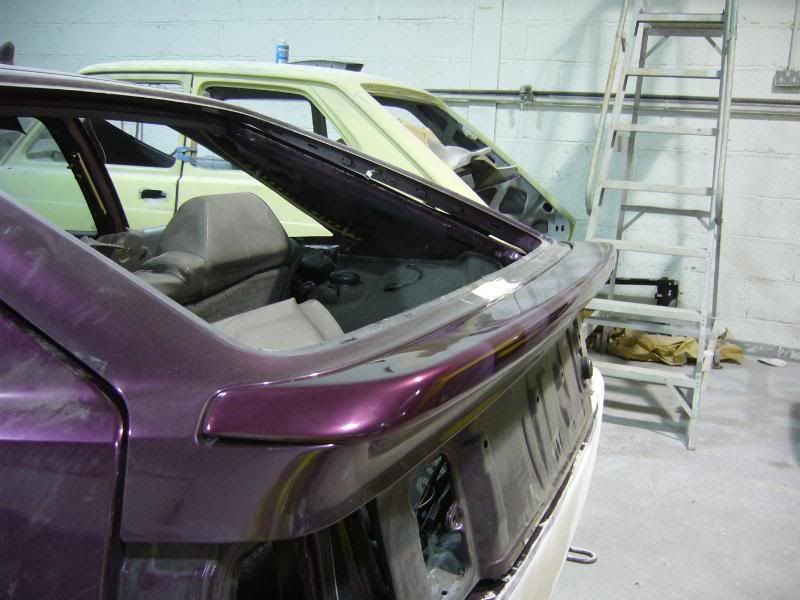
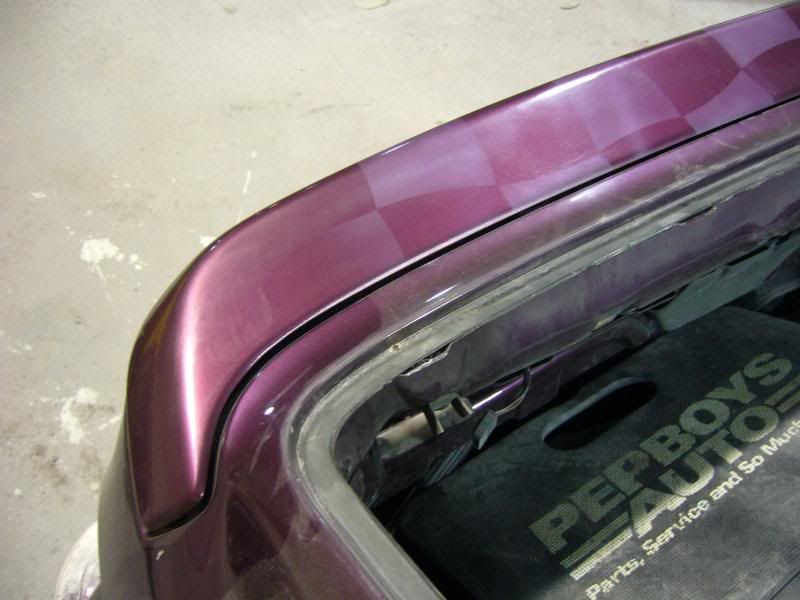
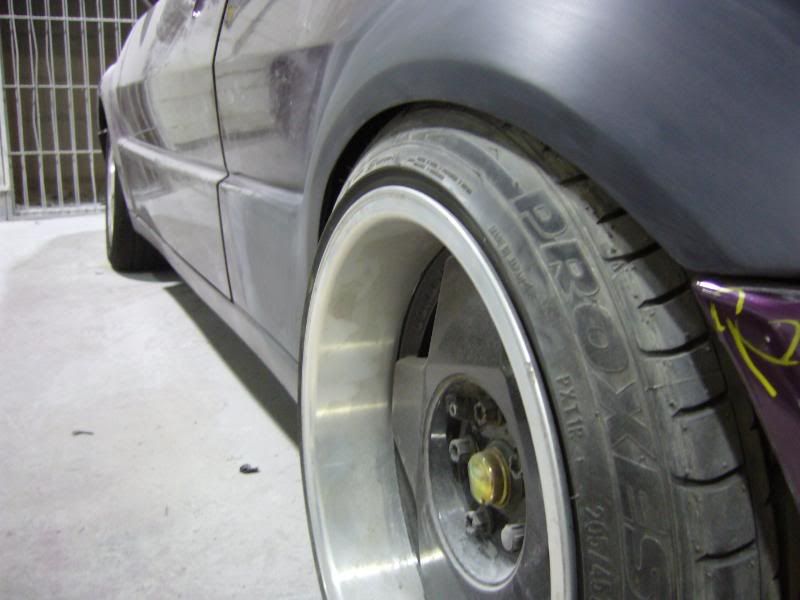
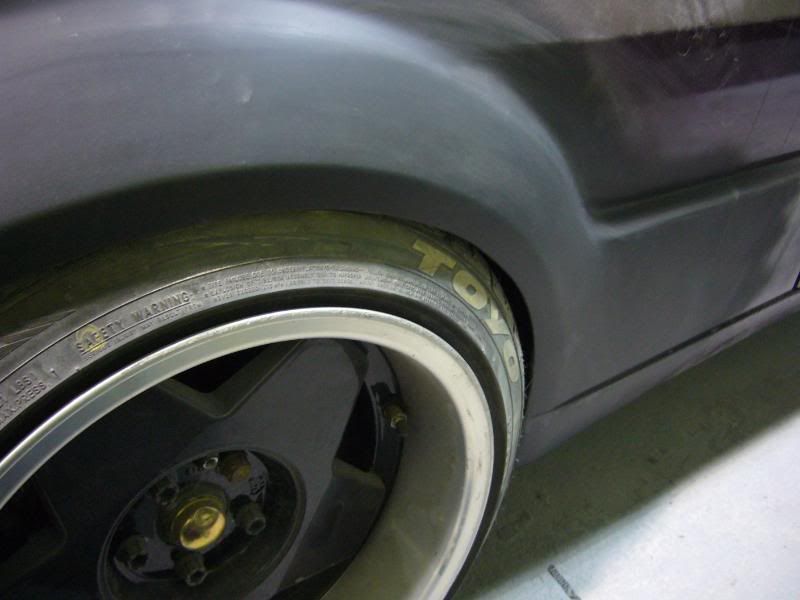
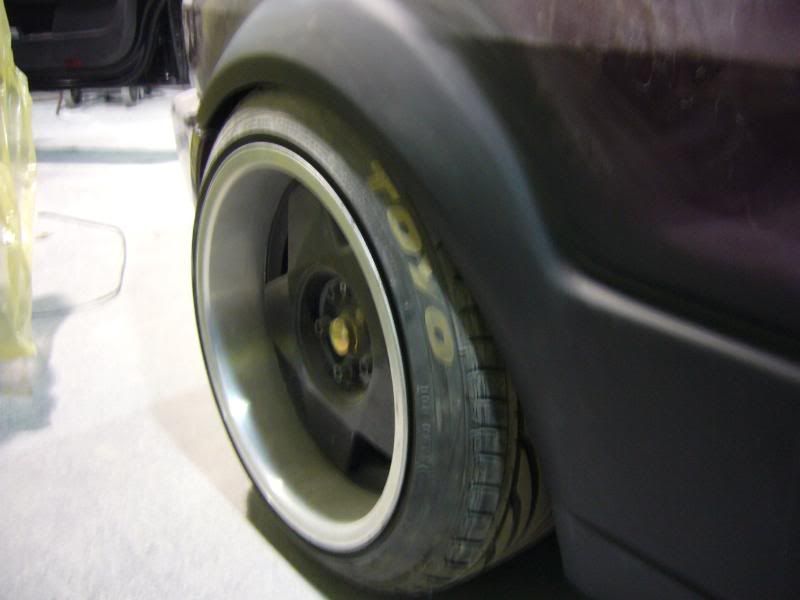
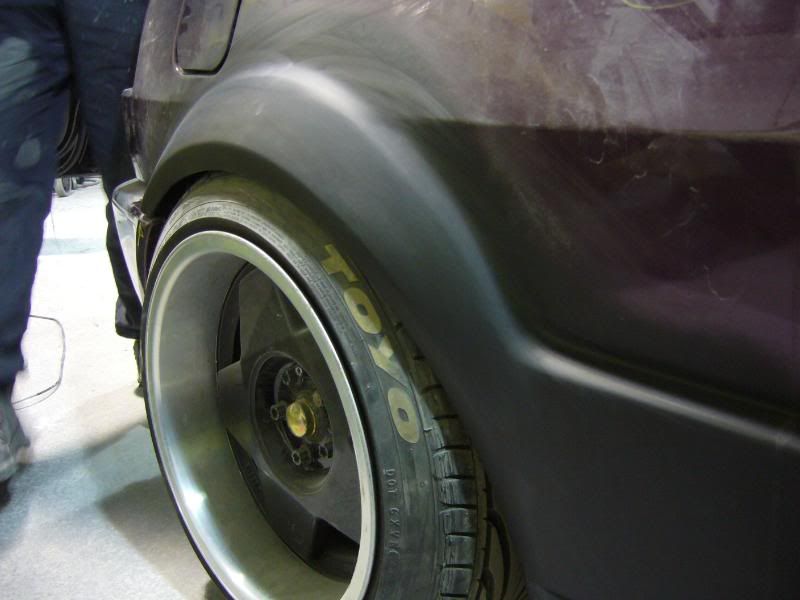
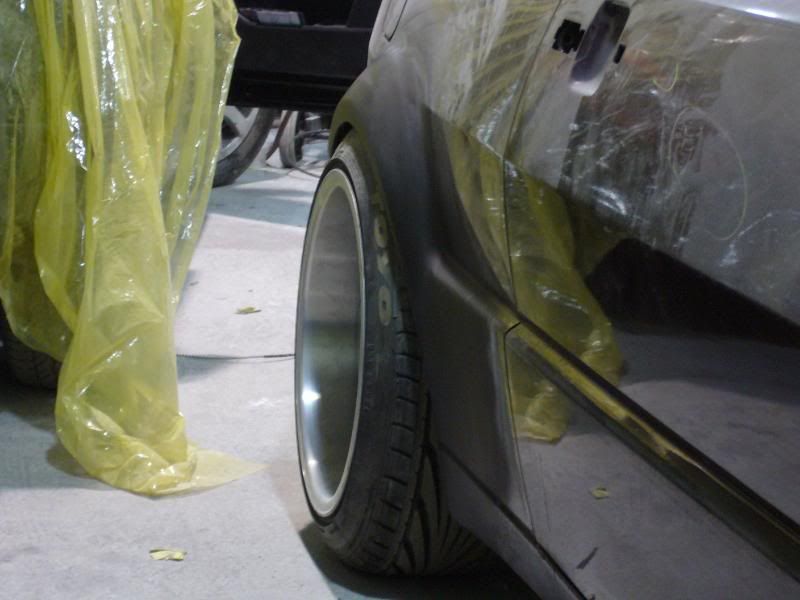
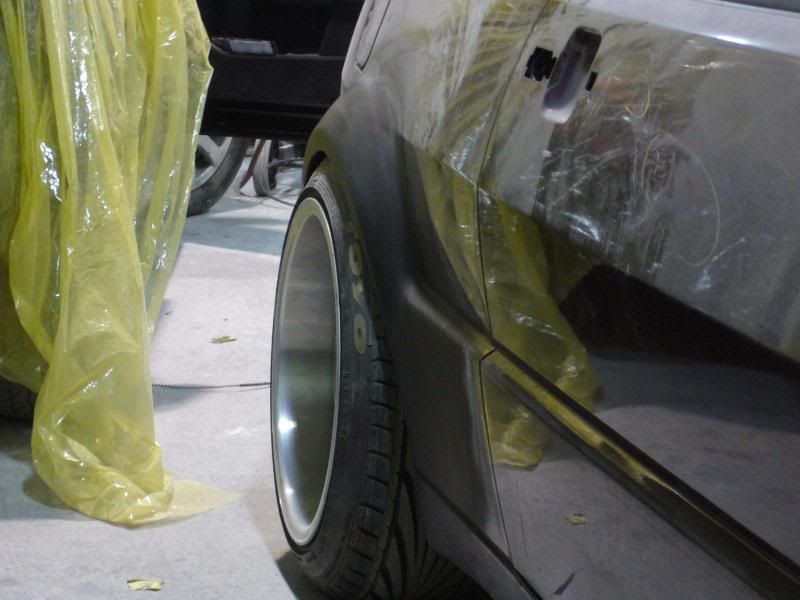
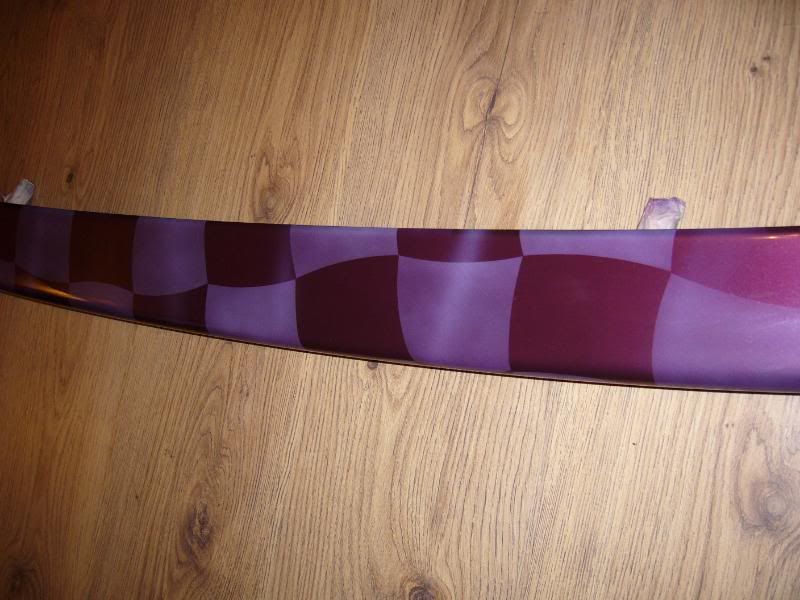
got a couple pics of the chequred spoiler today in a better light and a couple of the oettys on the rear... tucked....
i actually cannot go any lower with these rims as the tyre would bottom out on the actual arch in side!!
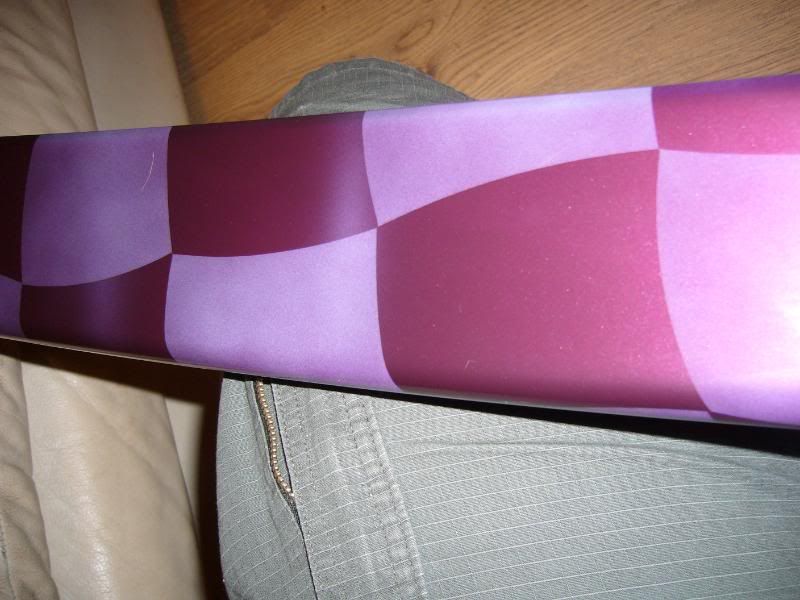
i really like this spoiler but it is so god damn hard to photograph....
in the light in the shop and the flash it make sit look whiter than it actually is ... weird....
anyway the oettys
-
ok a little update the ball is rolling now and come monday there should be some more updates!!
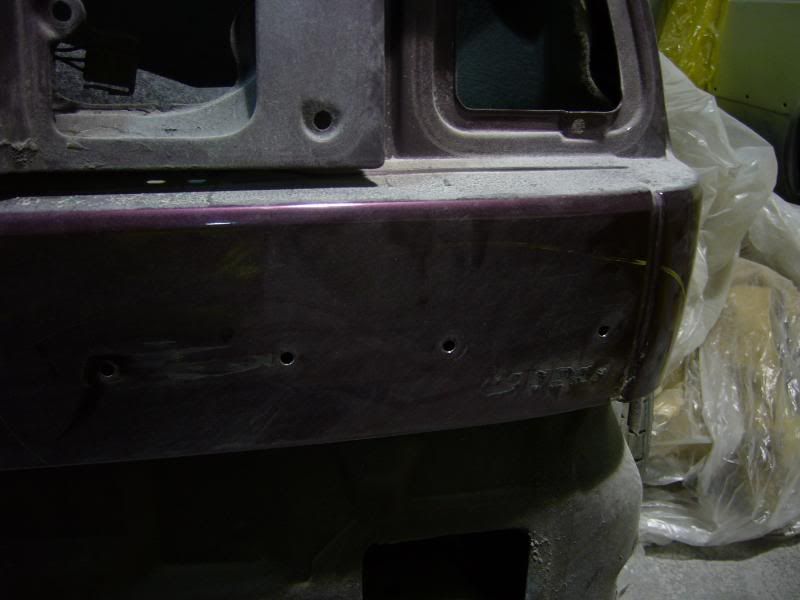
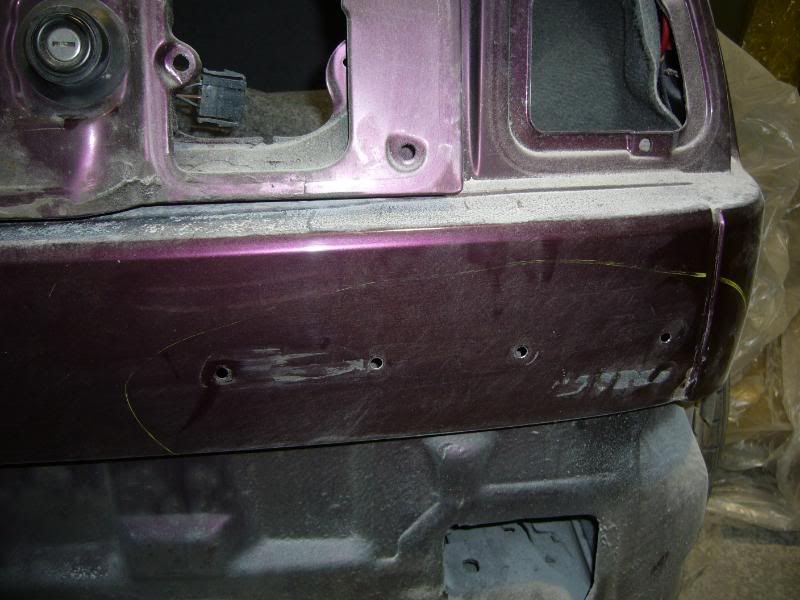
say goodbye to the nasty vw badge
and the corrado badges
and the swage lines..
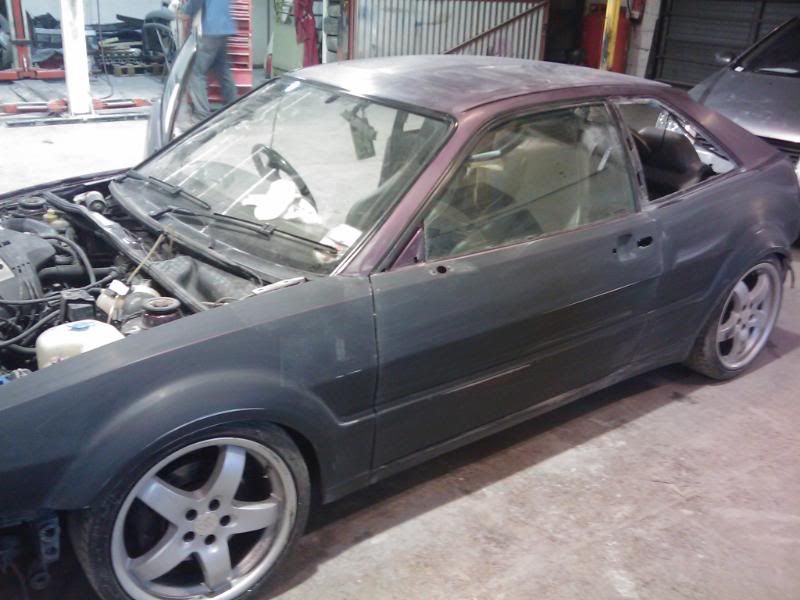
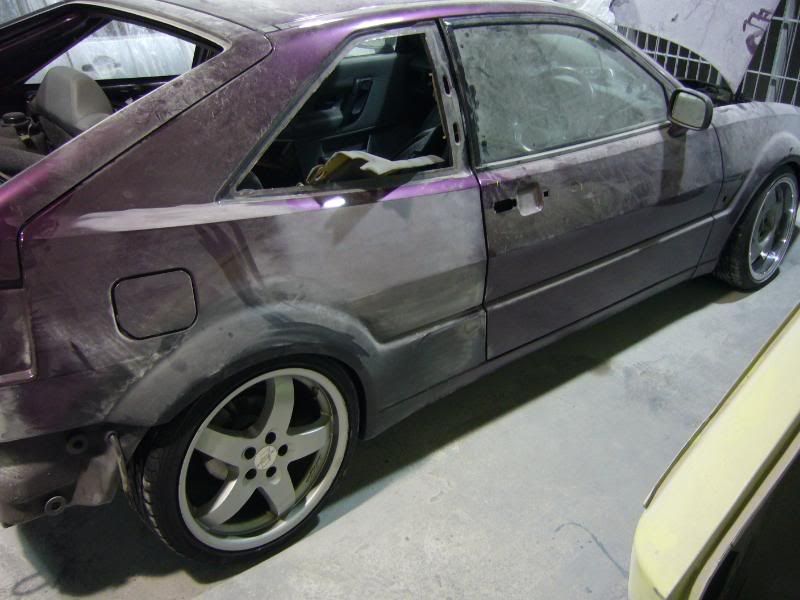
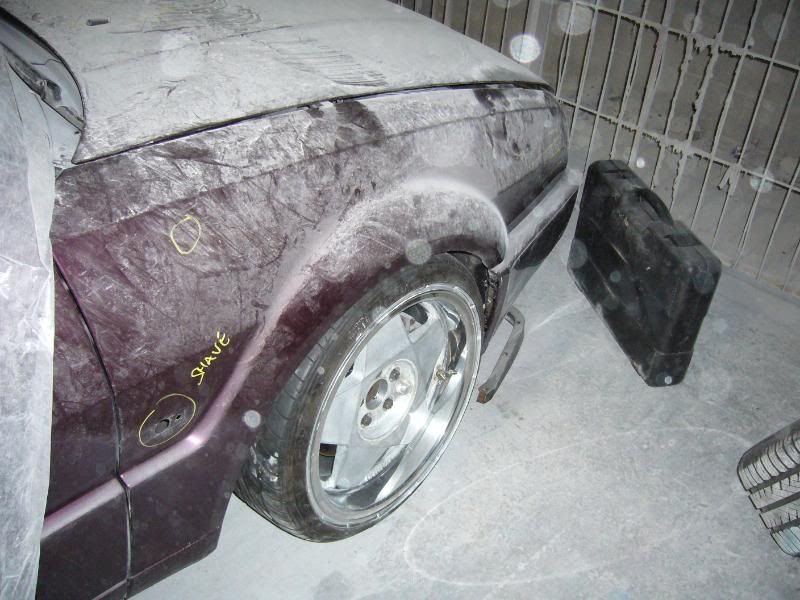
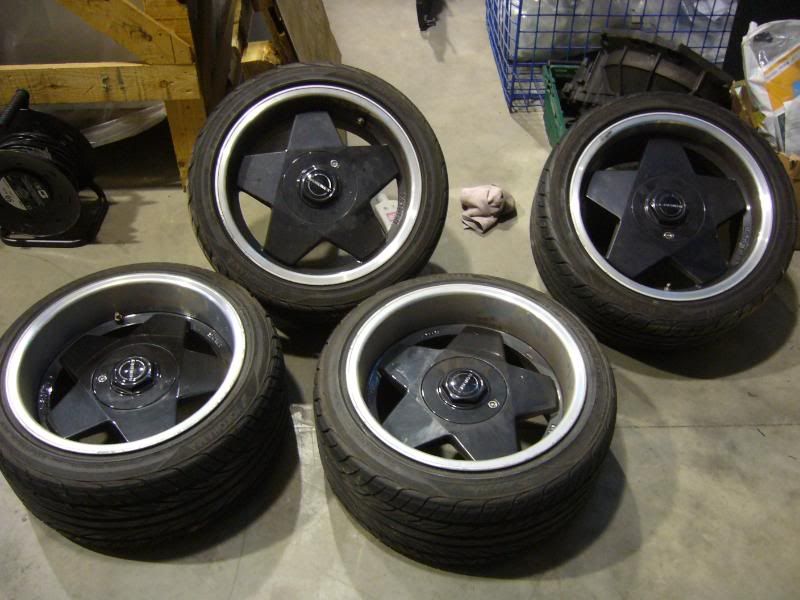
fitted one of the rims..... what colour shall i do them??
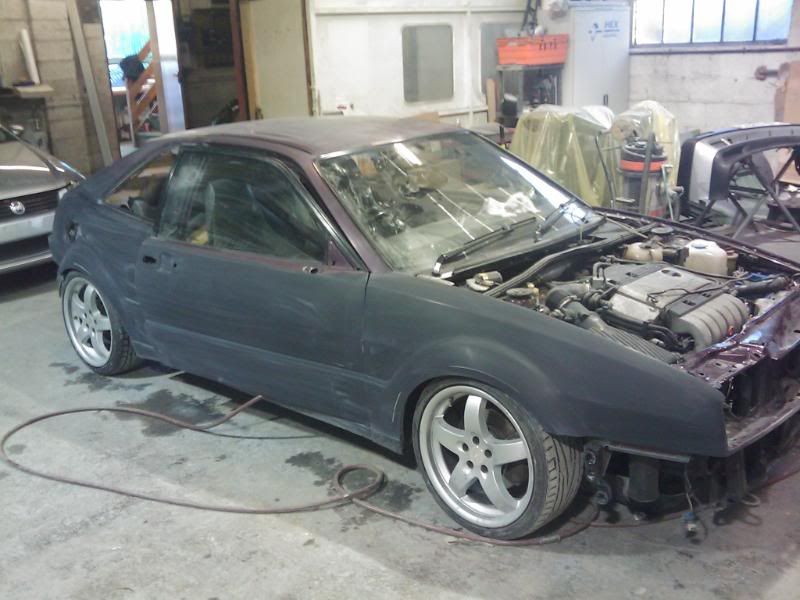
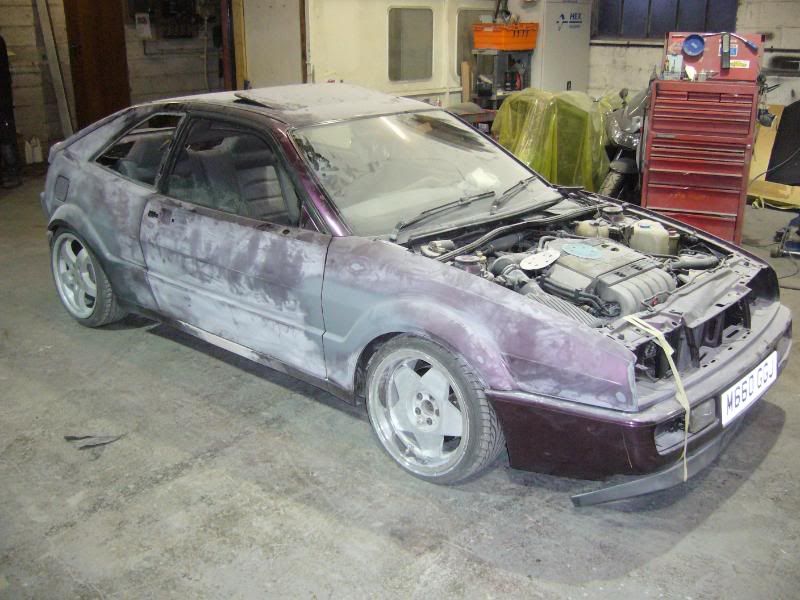
looks like a barn find!!
-
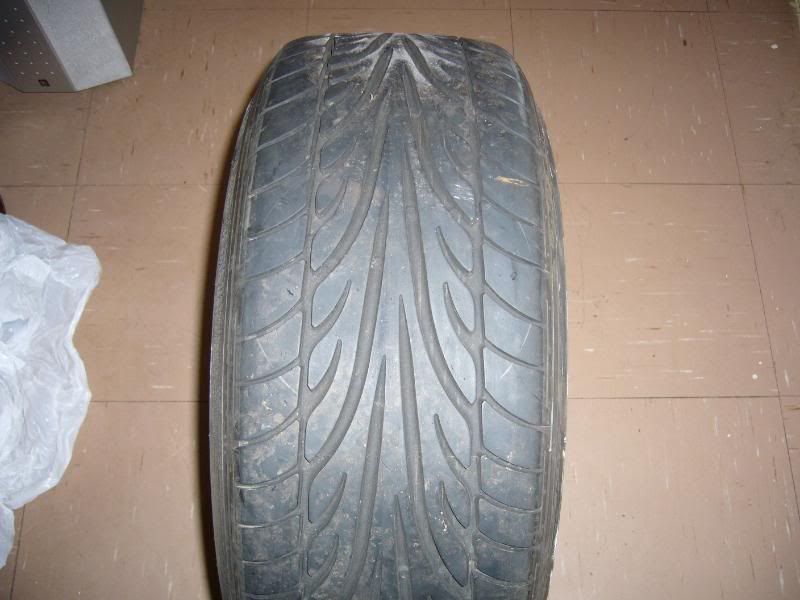
had to have the tyres fitted today ,as i need to get the wheels back on the car asap so i can get the ride height dialled in just right, got to do this before any other body work commences just in case of the front arches might need some mods as the car is going to sit quite low i think........
the tyre i have gone for this time are 195/40/16 they are dunlop sp9000 look so much better than the toyo's....
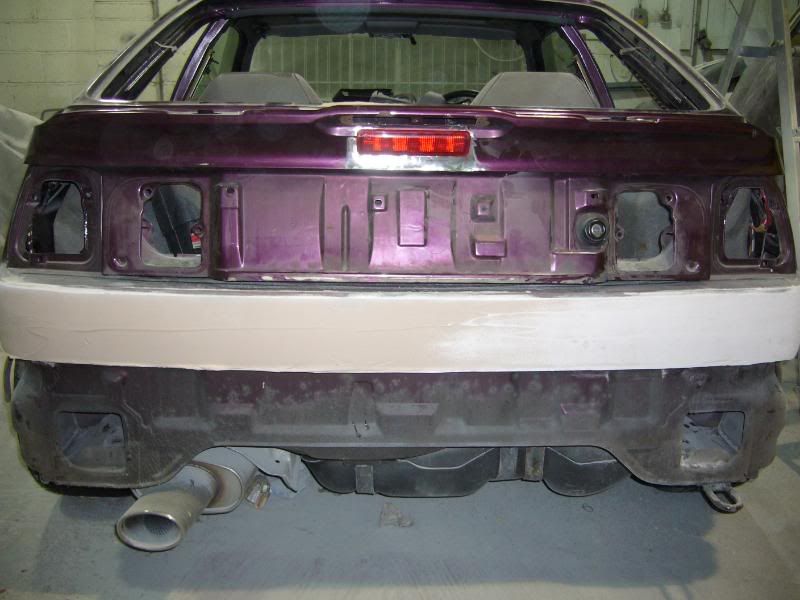
also the american spec third brake light turned up today so that will be fitted at some stage soon!!!
-
ok so my car hasnt been touched this week so i fed the meter some more money and hopefully all will be well underway soon............... :sad:
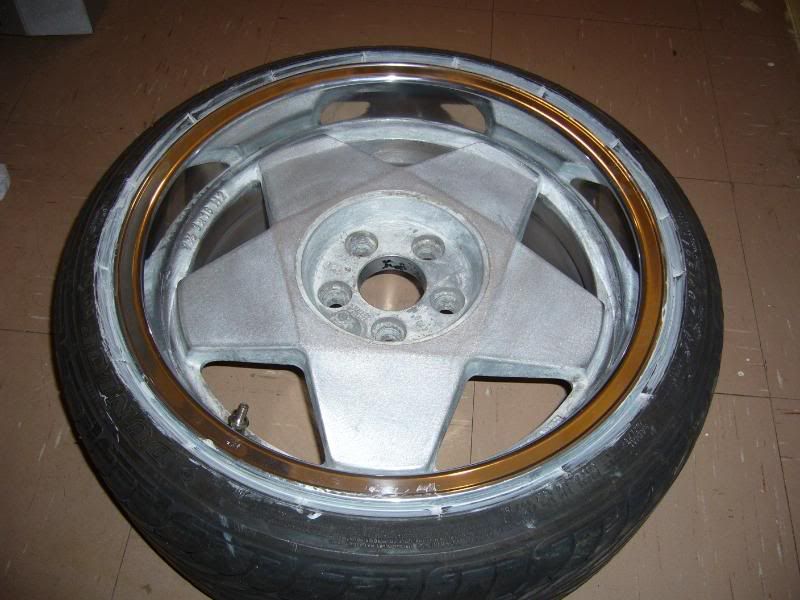
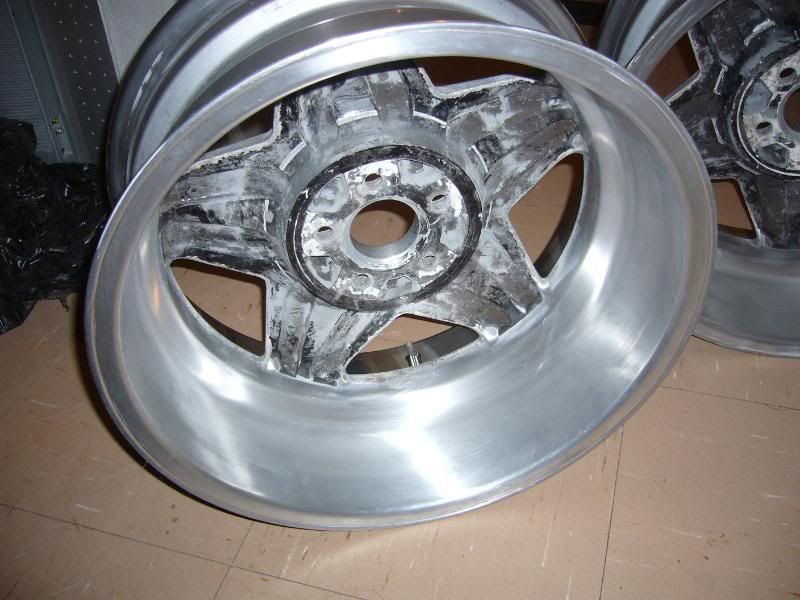
bit gutted as i had been really looking forward to some more updates..anyway i did get two of my wheels back today from having the lips polished...
i had this great idea of stripping the wheels back to bare metal
1)to help the painter out
2)to help the polisher out
3)to get a better finish
this didnt go to plan.... i used niotromorse and it really didnt have any effect on my rims it did however leave them very flacky and looking as though they should be binned and not refurbed.... it really was that bad..the alloy etching primer didnt want to budge and it looked awful.............
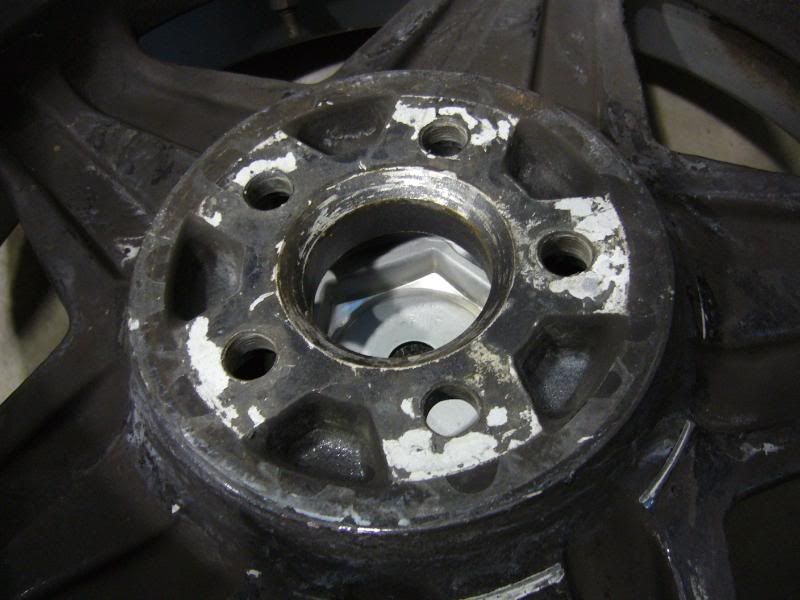
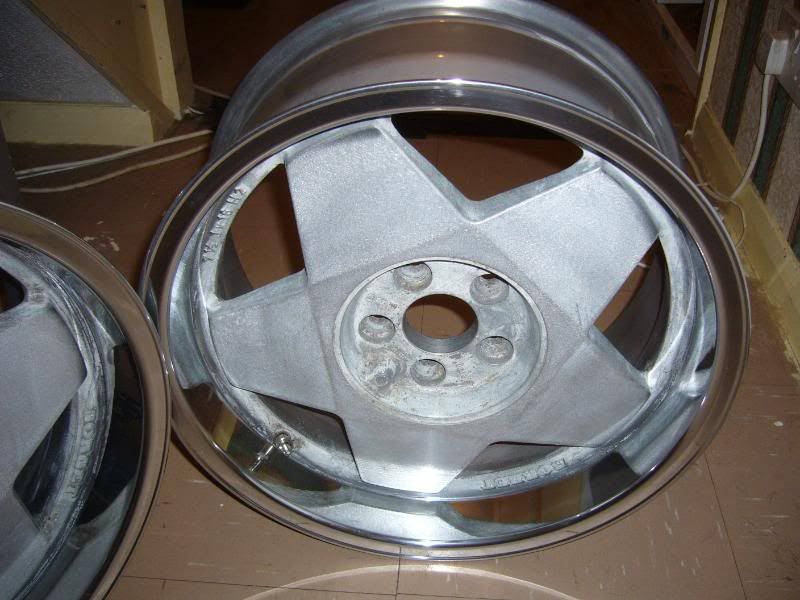
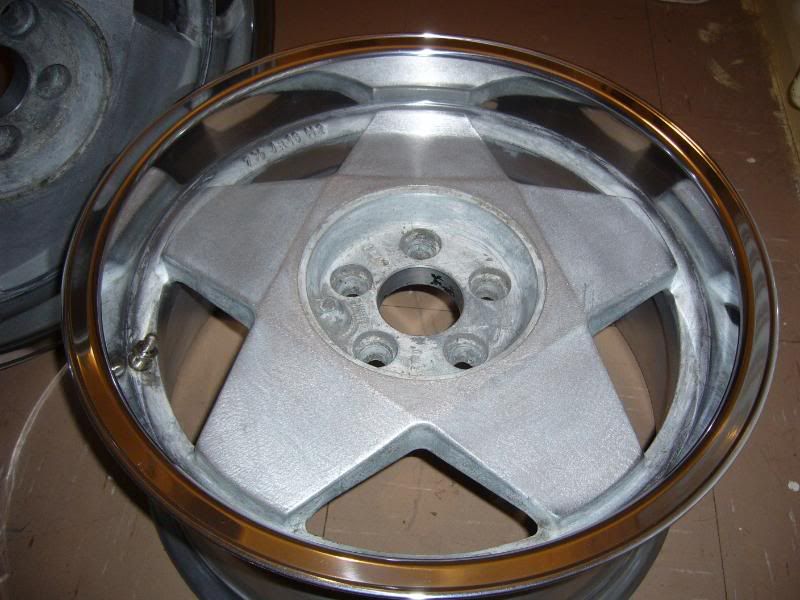
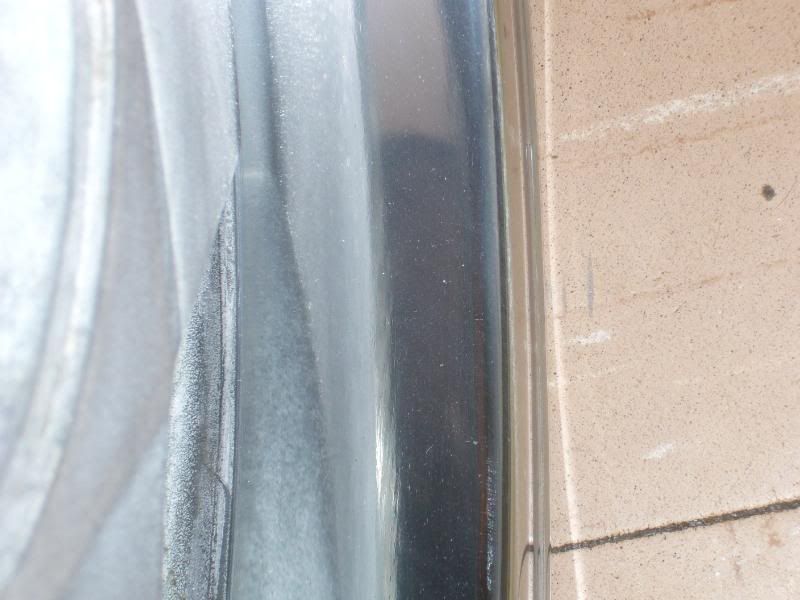
so ni went to Andy handshw polishing in Brixham and he is an absolute ledgend!!!!!!!!!!!!!
quote £20 per lip for the polishing £10-£20 per whell to strip back and make good ready for painting..
so got my cousin to pick them up for me today as i was real busy and Andy decided £50 all will cover the bill!!!
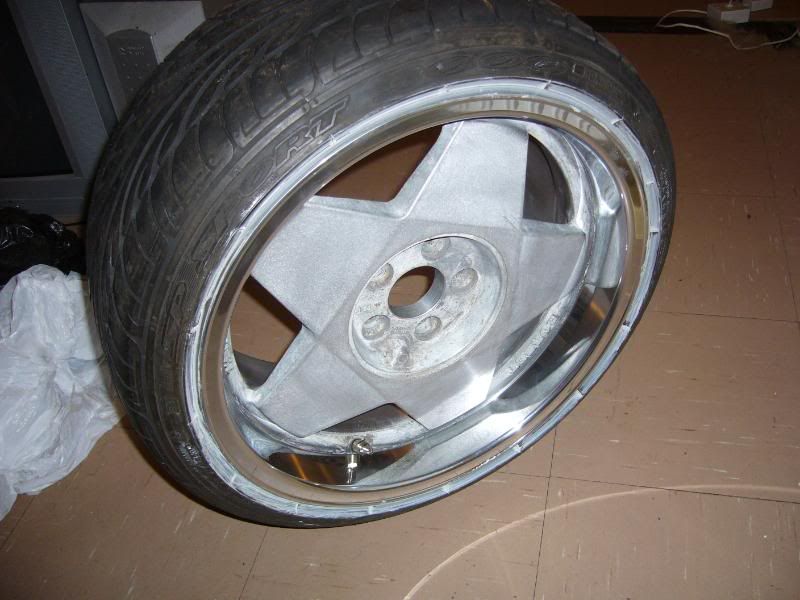
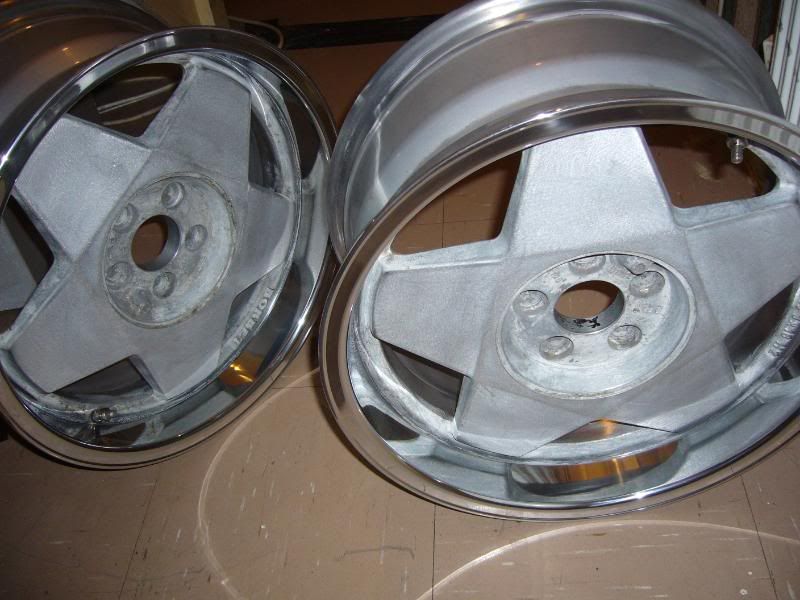
here are the results.........
before
after.....
the rears will be making there way back to Andy as soon as i have my new tyres.... to get the same treatment
-
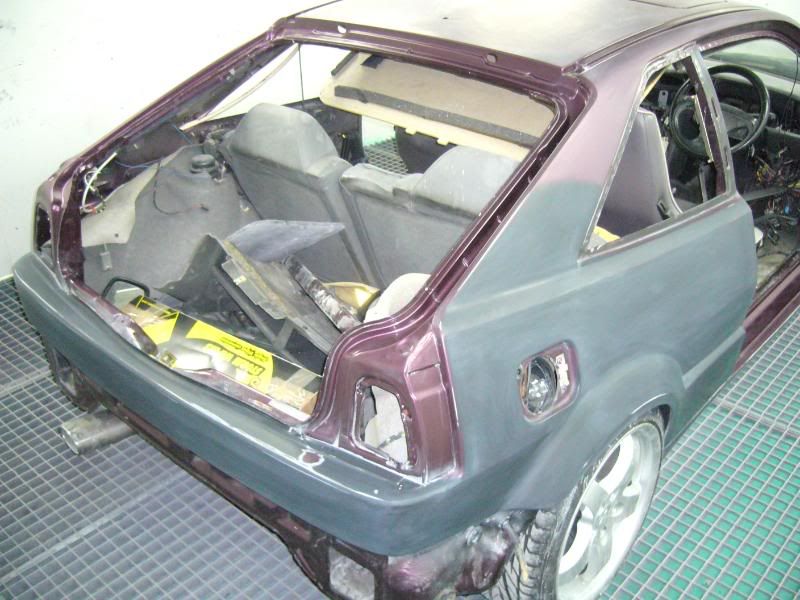
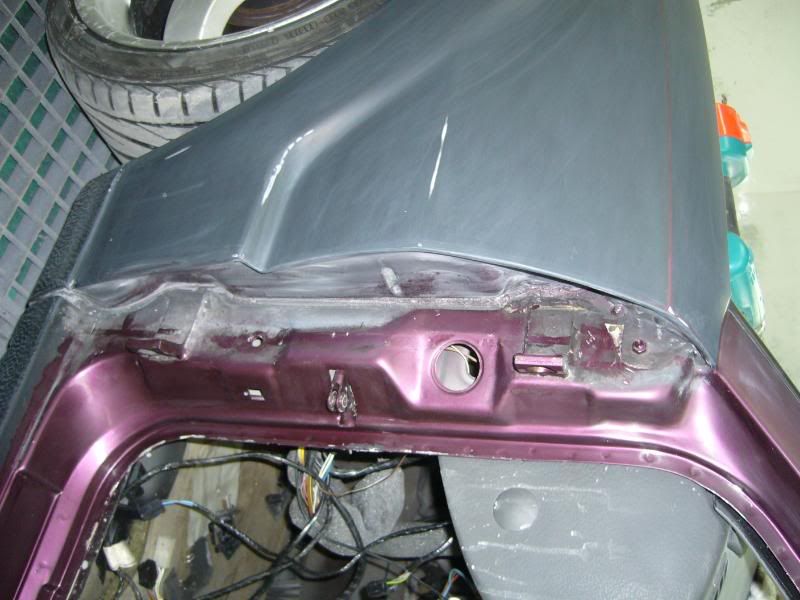
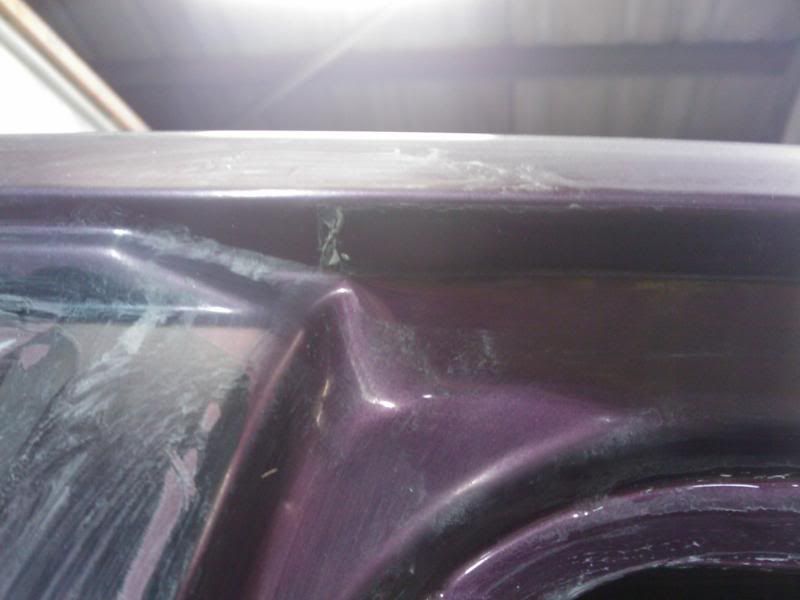
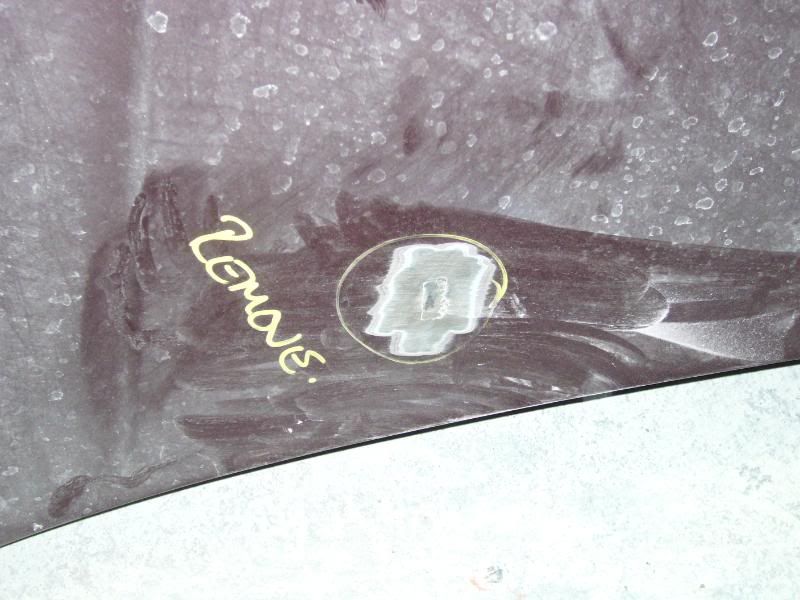
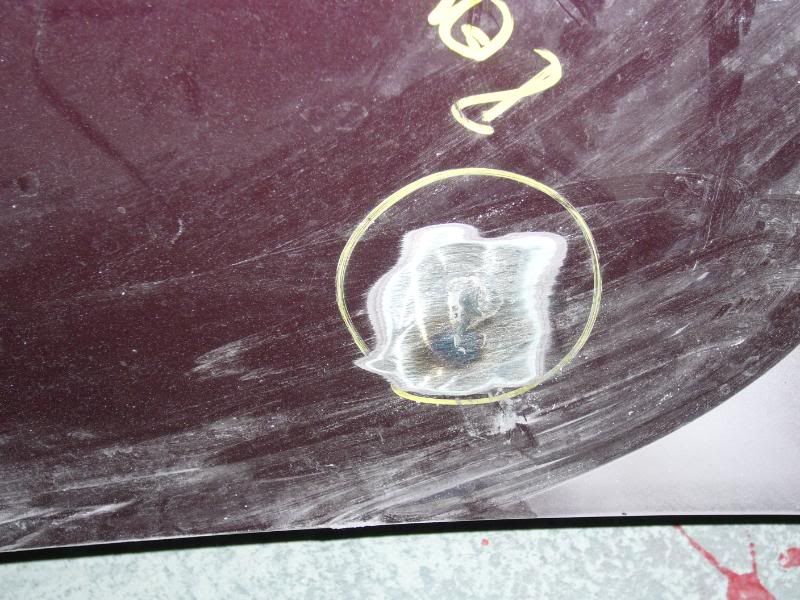
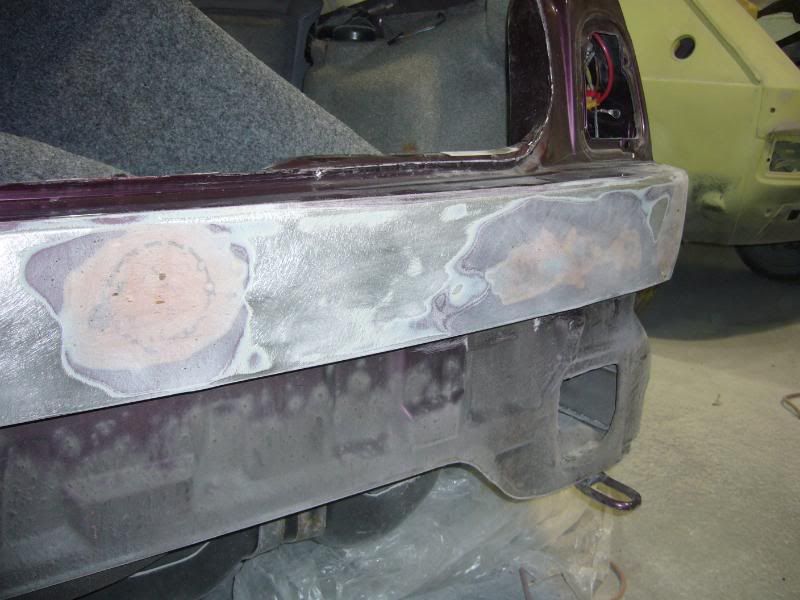
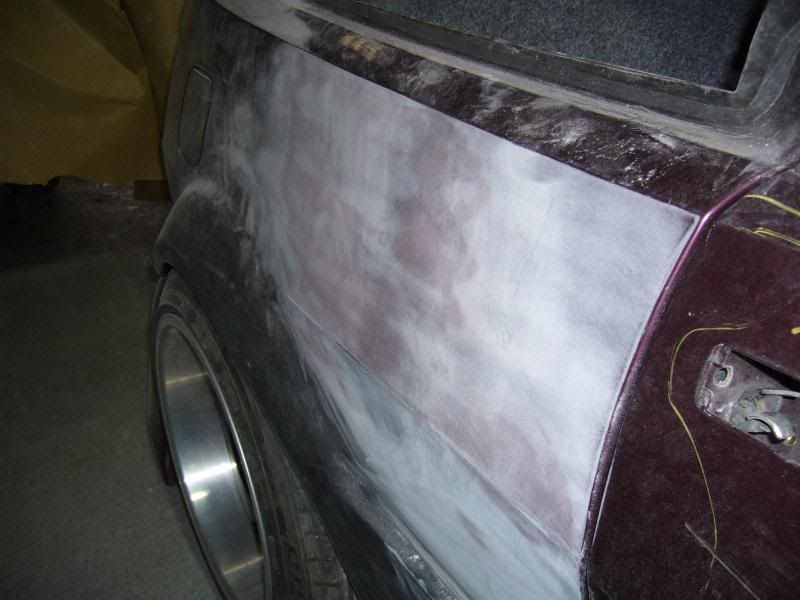
rear drivers quarter being prepped had 3 little parking dents...
doesnt show now though?? weird no filler either?
unless because the paint is flat it doesnt reflect the light the same???
started to strip down the taqil gate today removed the tail gate lights nnumber plate surround and number plate lights
also removed was the wiper arm and mechanism
thats all i managed today, not much i know but apparently they are going to hit it hard from monday... got to weld up the badge holes and side repeaters etc etc
it might start to take shape next week!!
-
dropped past killer paint today and had a look at the second spoiler...
looks good!!
i rekkon it would have looked awesome if i had nearly all of it done in metal plating and just a little paint??
but still ...looks good though eh!
thanks john
very impressed with his work and the price is nothing to be grumbled at at all!!!
-
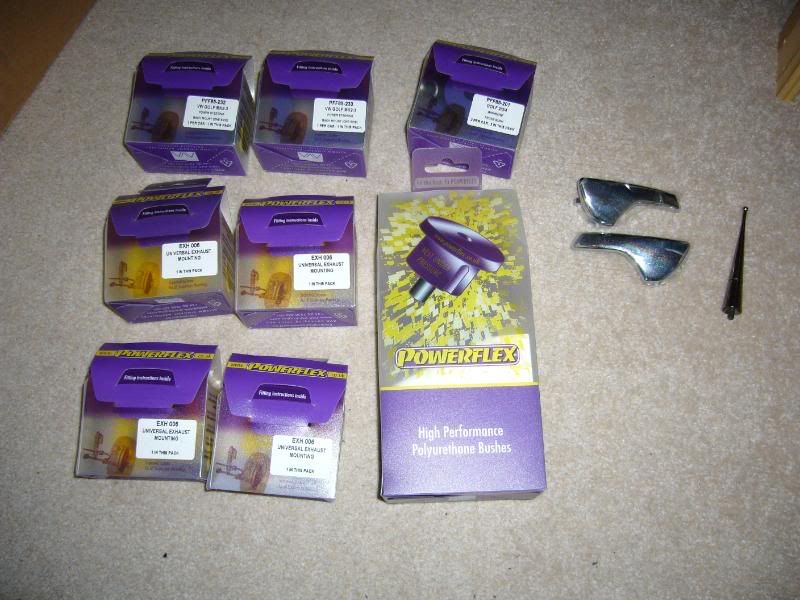
couple little pics of some items i have started to collect...
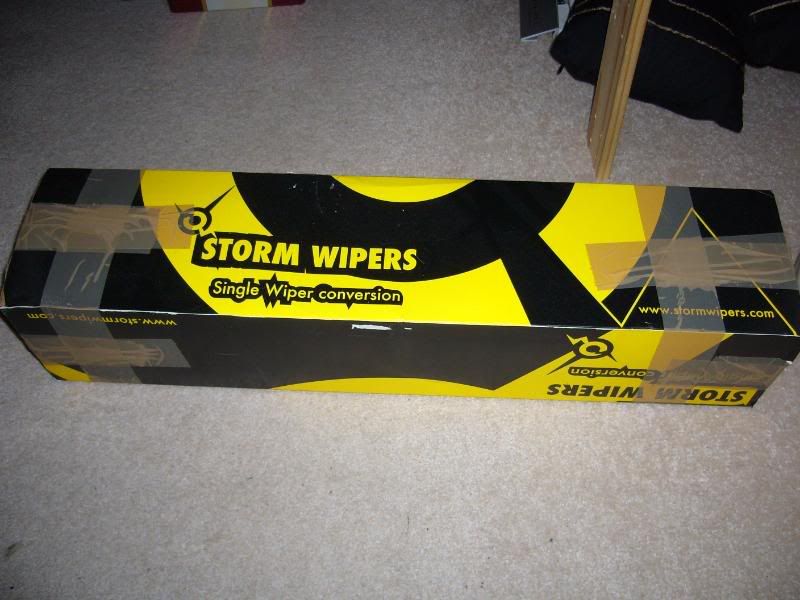
storm single wiper conversion ,looks bloody good quality in the kit, doesnt look to bad to fit either... must get the washer jets that go on the wipers themselves,as im removing the bonnet washer jets
chrome door pulls this just makes the interior look a little more modern and gives it a little extra touch
short black chrome bee sting aerial much neater than the original
some powerflex bushes and exhaust rubbers...
just waiting on
T4 wing vent
auto car bra
bonnet washer jets
DDI dials
-
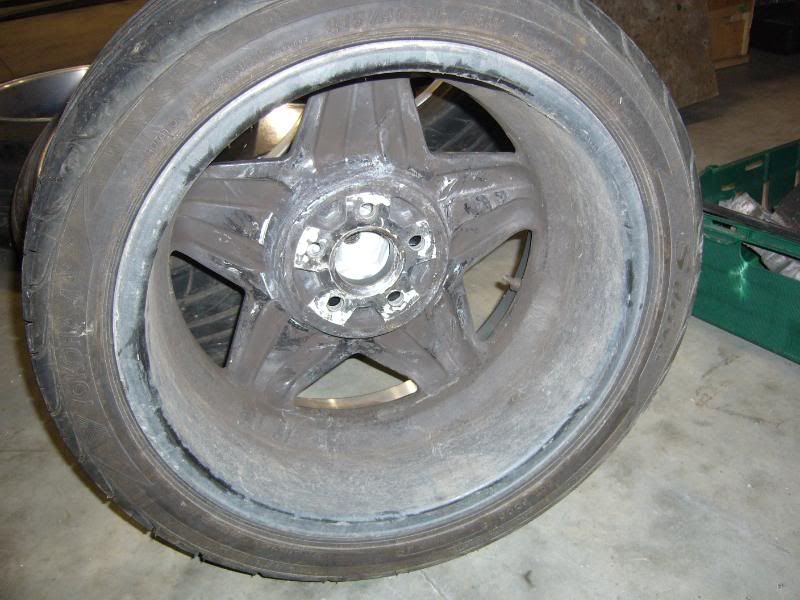
i have also taken the front wheels off, removed the tyres and now they are ready for polishing, im going to have the lips polished and then the wheels painted to match the car ....
i think it will look sweeeeetttt
need to lower the front
i measured it today the rear is
from top of arch to floor 22"
top of arch to centre hub 11"
front is about the same coming in at 22.5" frmo top of arch to floor
i need to drop the fron about 1" maybe 1.5" if i can get away with it...
-
ok folks i just managed to get some updated pics of the arches and thought id update this thread...
-
little update...
took the rear spoiler to john hooper ..KILLER PAINT over in Dawlish he is awesome very well priced and his work is just simply stunning....
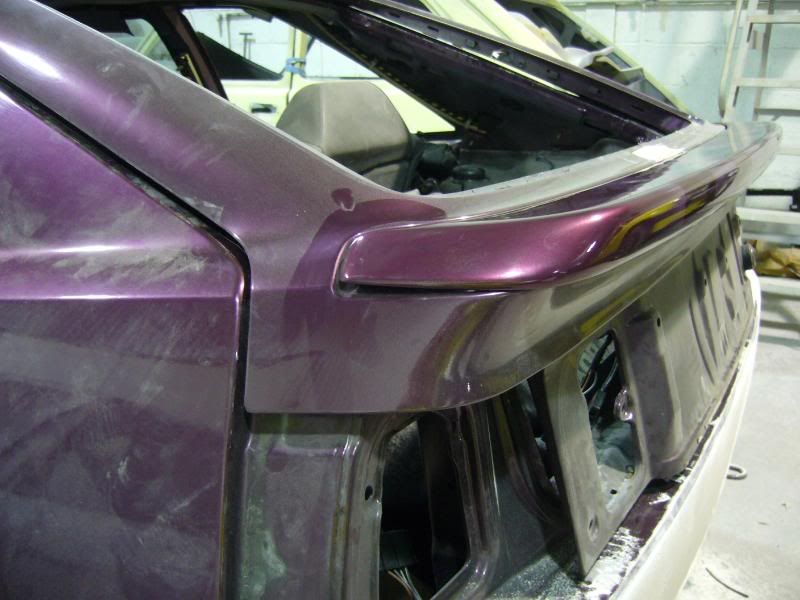
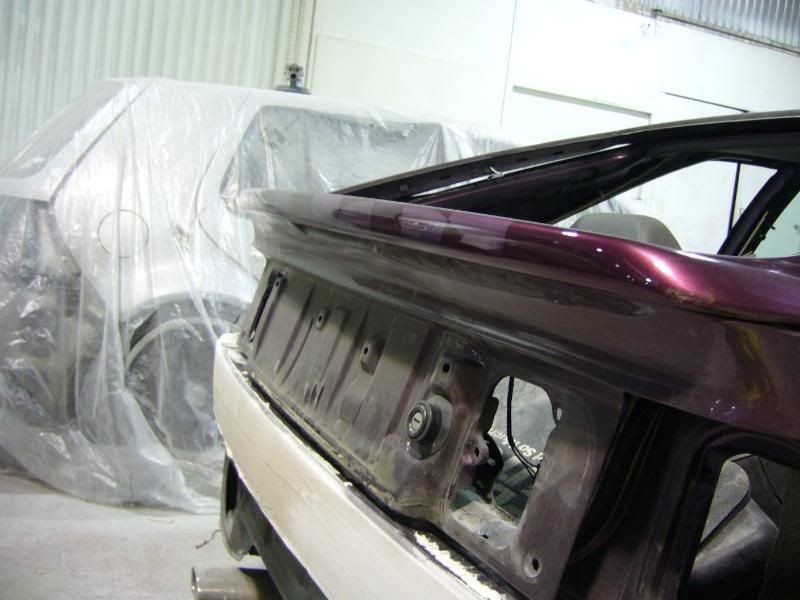
i had an idea that i fancied putting a chequerd flag over the spolier and having it ghosted on and thats what i got!
the pictures dont do it justice at all!!!
these pics are a bit weird it must be the light they were taken in or something...
in some angles and certain lights you cant see it at all but in others it really stands out, but the pics i have taken dont do it justice i had the flash on and it really isnt that white at all.....
it looks like this is most case's.. but does dissapear..
as soon as you add the flash it goes a bit weird.......
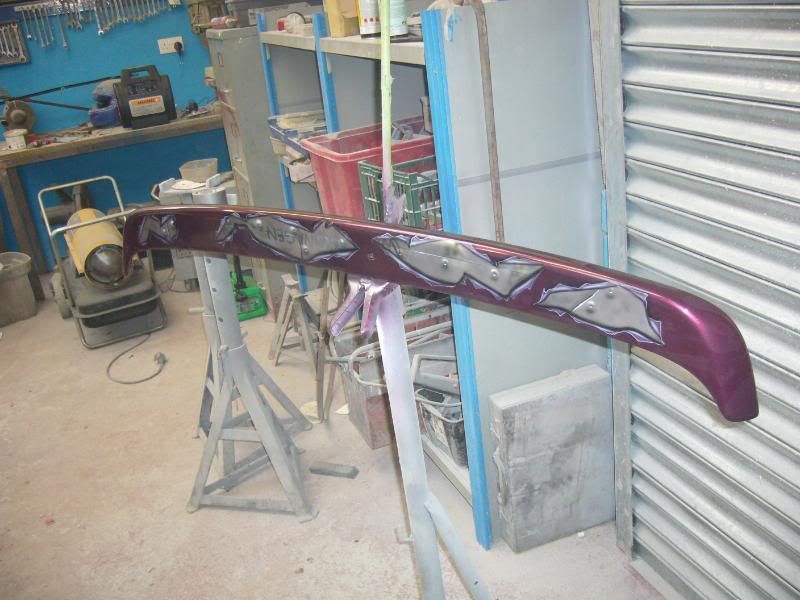
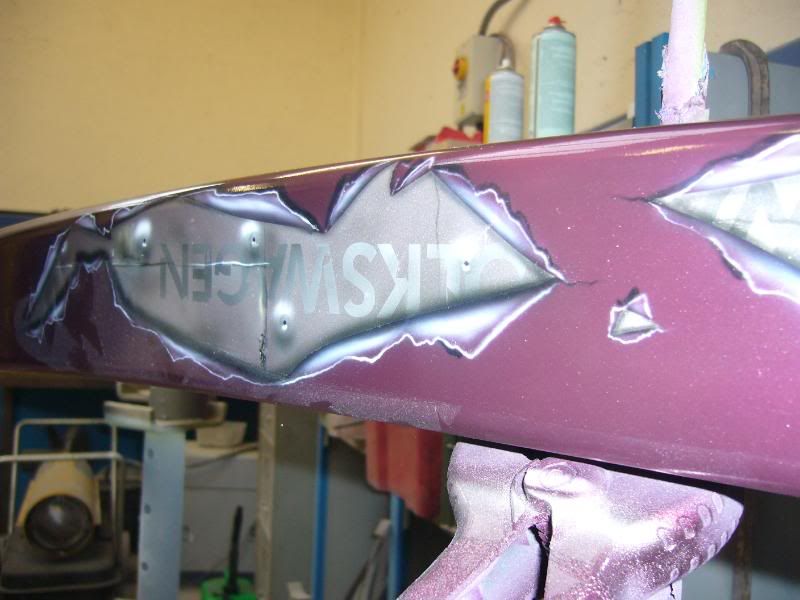
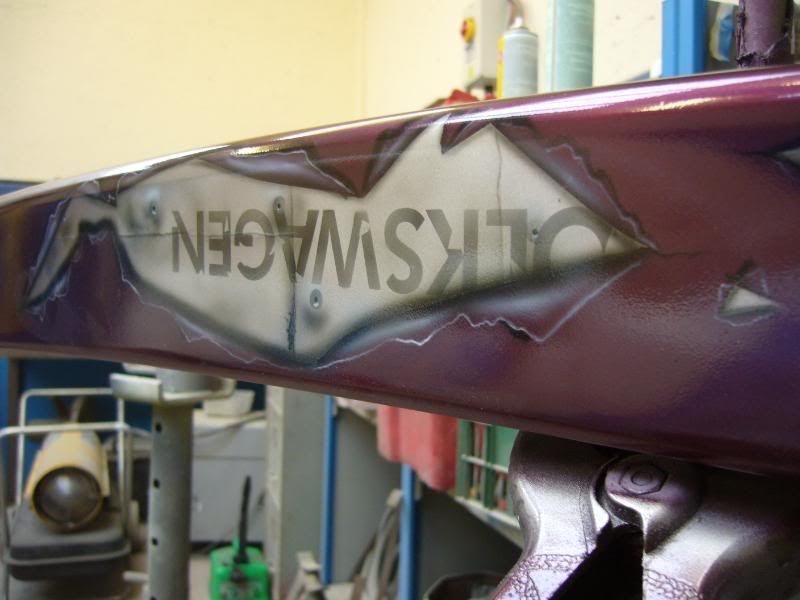
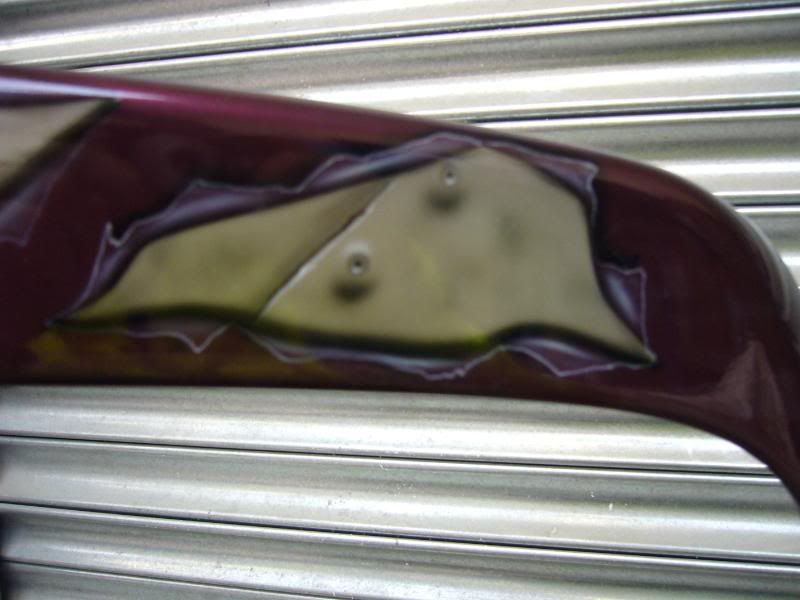
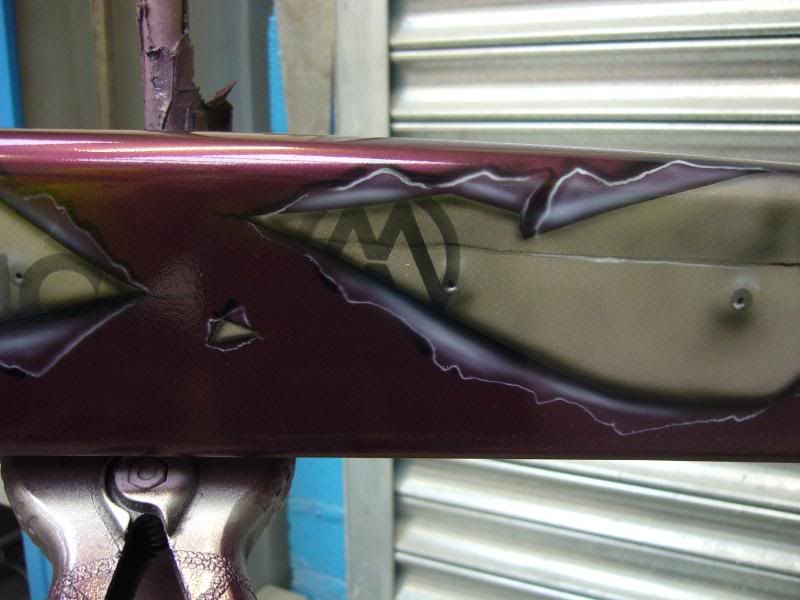
i have another spoiler, and since i picked this up yesterday i have had another idea...(its not the most original idea as peopl ehave had different variants of this)
same colour , blackberry, but in random places the paint flaking off revealing underneath iron/steel plates rusty rivets or the old white washed metal panels showing some old sign writing of some sort they airbrush guy suggested something like old german writing or an old esso or shell sign but making that look old and faded even flaking off in places but not have all of this showing because the blackberry has been painted on the top.
he also said maybe a fun element by writing volkswagen scirrocco with the emblem again all faded or something as the corrado sort of replaced it?? maybe people would get it but im not sure...
any ideas on this peeps as id like some thoughts before going ahead and getting this done.....
john hooper killer paint painted my spoiler nice chap and very reasonably priced....
this costed £75. of the queens finest sterling...... :wink:
-
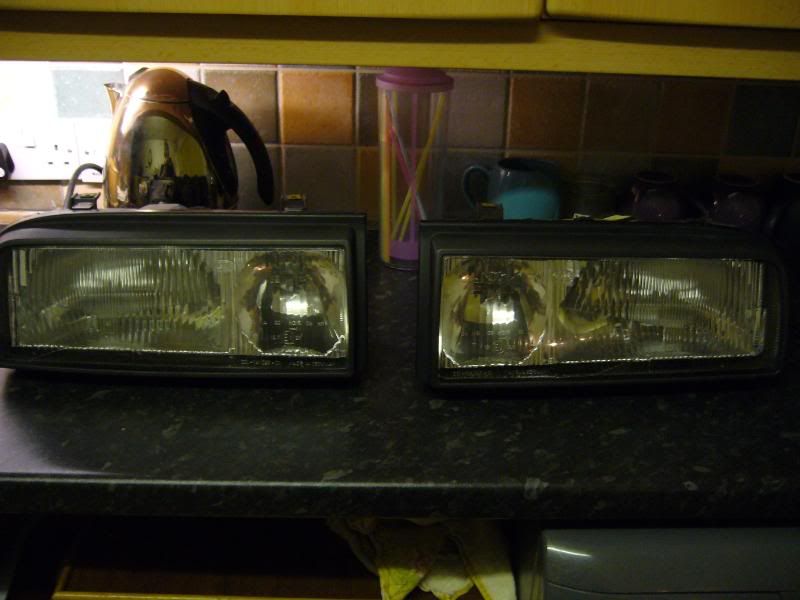
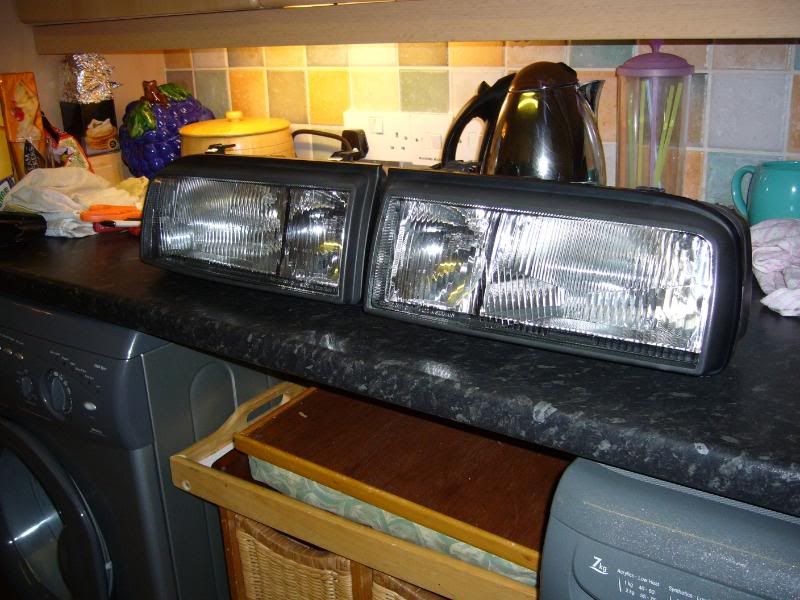
again as im just waiting for bits to be done i cant help but fiddle with stuff so the headlights were taken out as they have to be (these will be replaced in time with projector style lamps)
i thought id give them a clean up and add a slight mod...
anybody who knows corrado's knows there headlights are crap really crap..
these have just been taken from the car
with flash
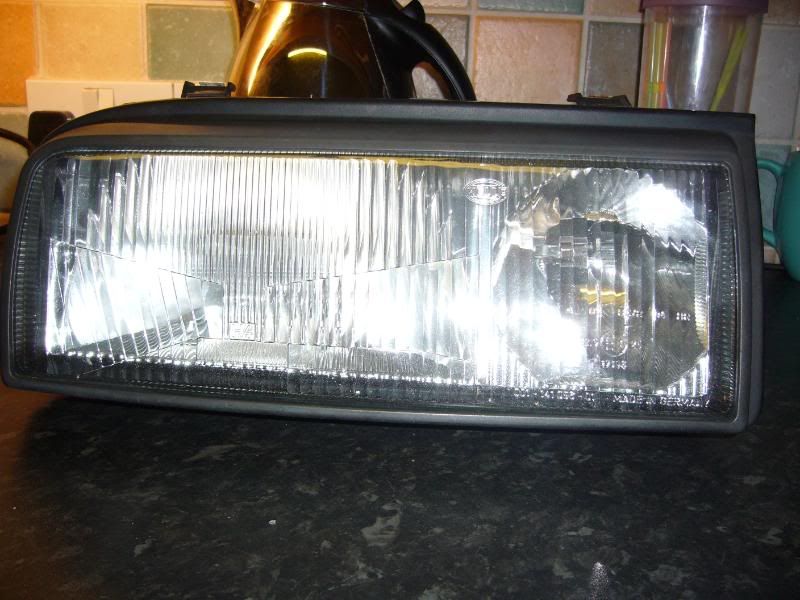
removed lens and glad i did it was minging............
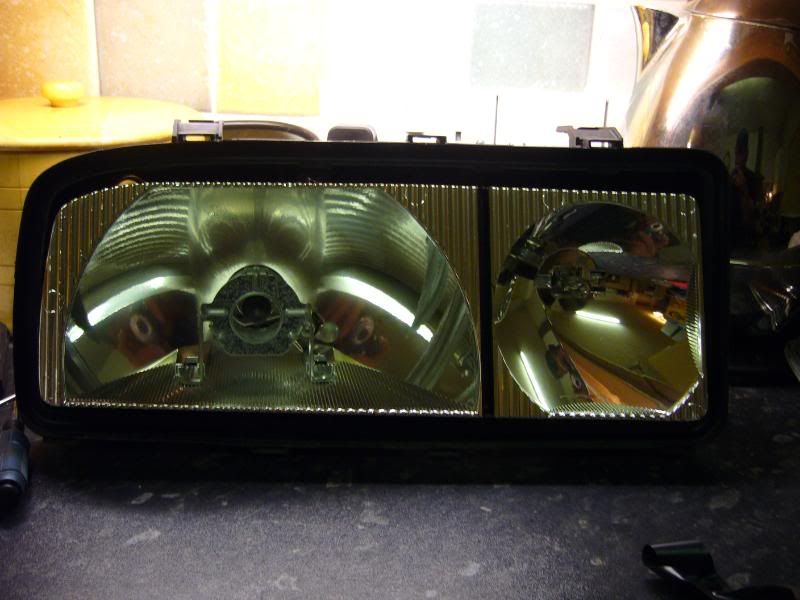
once in side the headlights , the reflectors arnt too bad but they are very fragile.. the chrome stuff comes off by just touching it lightly, so had to be a bit carful here...
the pic below shows the spot beam and part of the main headlight, im looking at the line that goes between to make them look seperate....
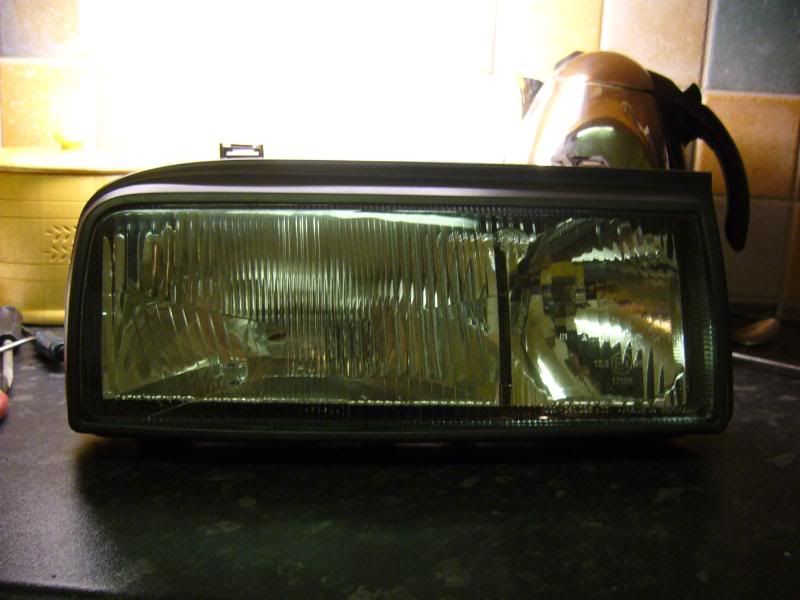
so with a bit of permanent marker jiggery pokery i got a good result...
not much of a mod but it does look different i think it will look smart once on the car....
-
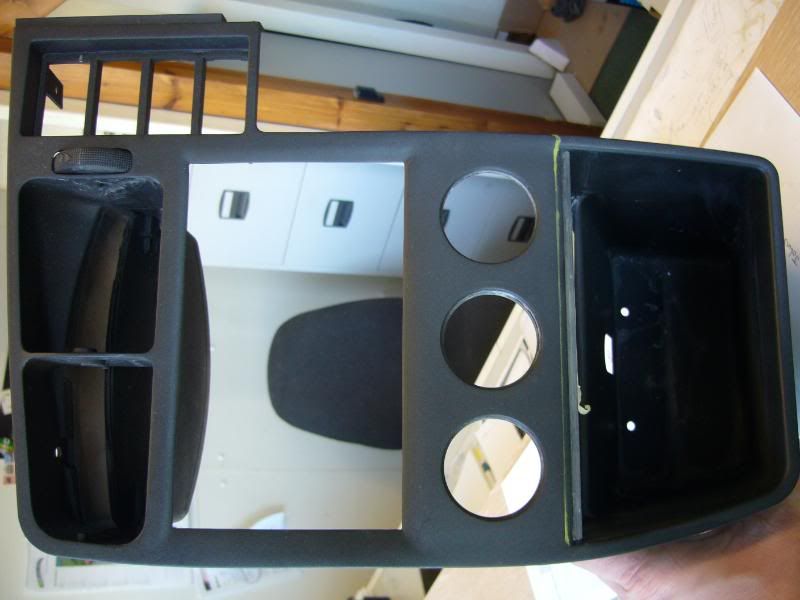
we have an update on the centre console!!!!
this is how it is currently looking... the paint finish is a lot finer and the shape is sooooo much better, i requaested that a perspex sheet be installed just under the heater controls
1) this tidys it up a bit
2)i can put some light in the top to illuminate the cubby hole underneath!!
hopefully the black coating on this is thin enough for me to use EL paper behind the heater controls to illuminate the display....
EL is electro luminessant paper it is what is used on most modern cars now as a form of lighting very bright lasts a very long time and is the thickness of paper....
the console need just a little more work until it is completed but it is getting there!!
-
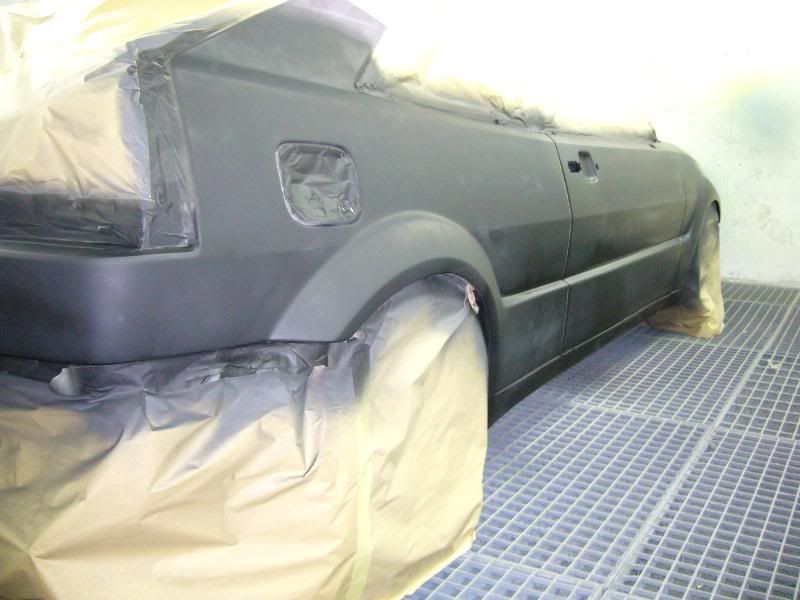
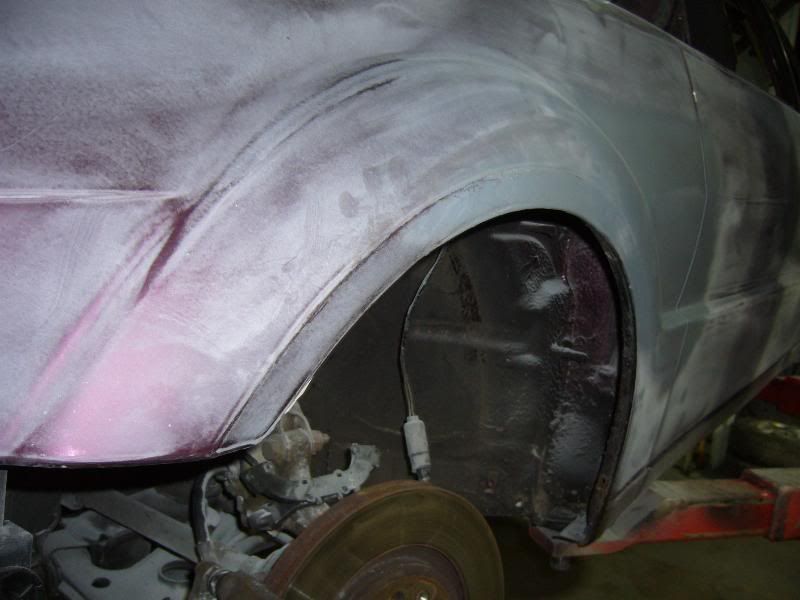
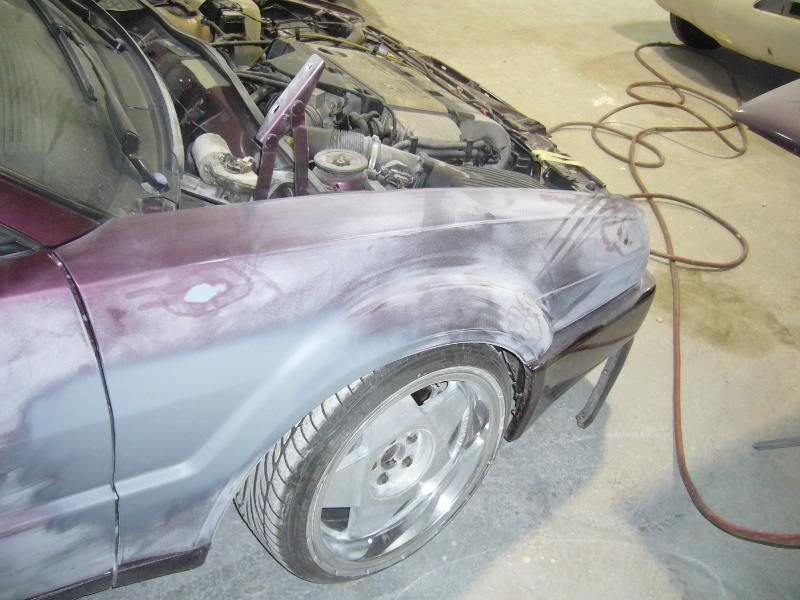
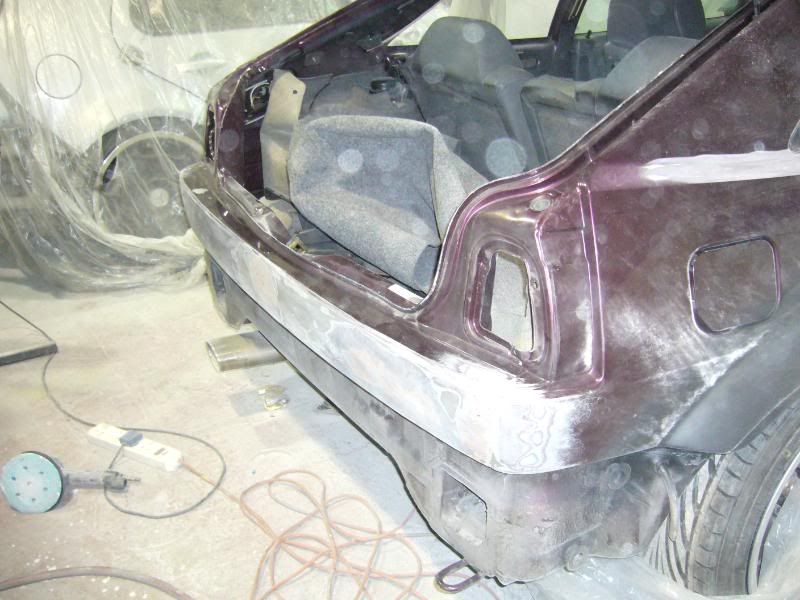
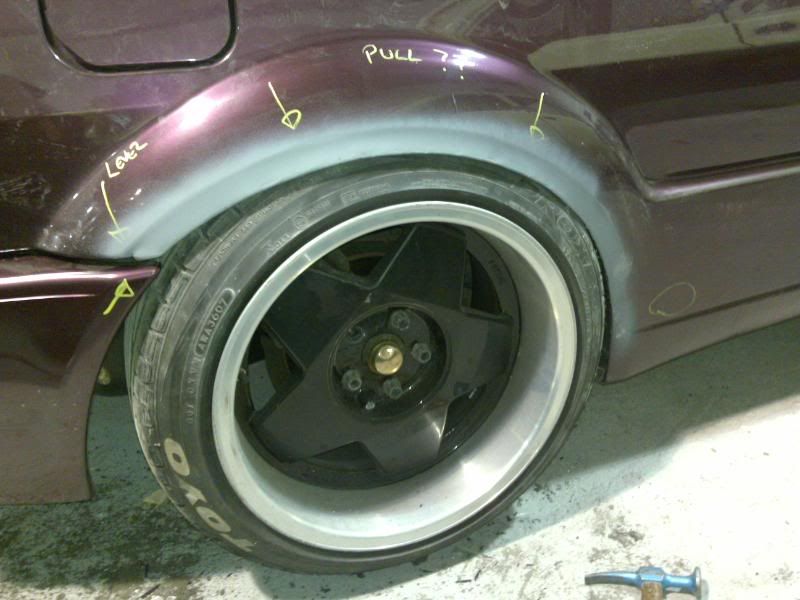
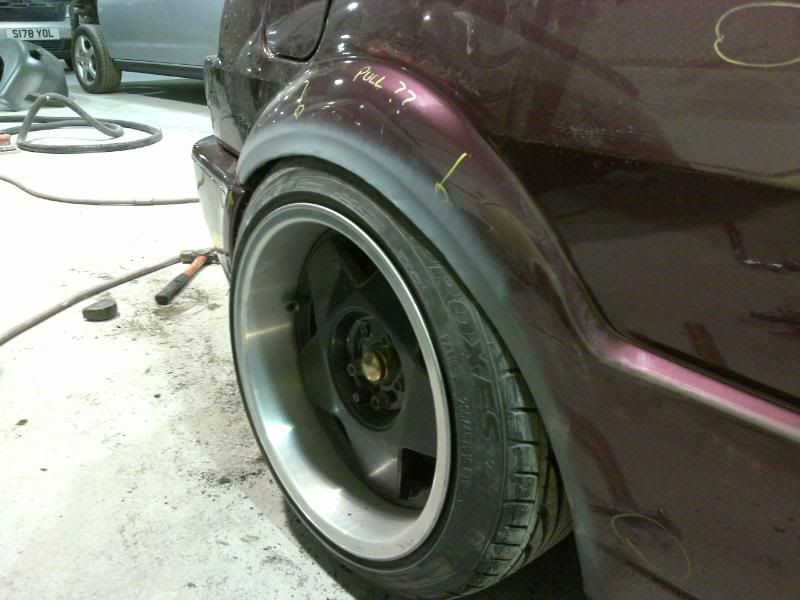
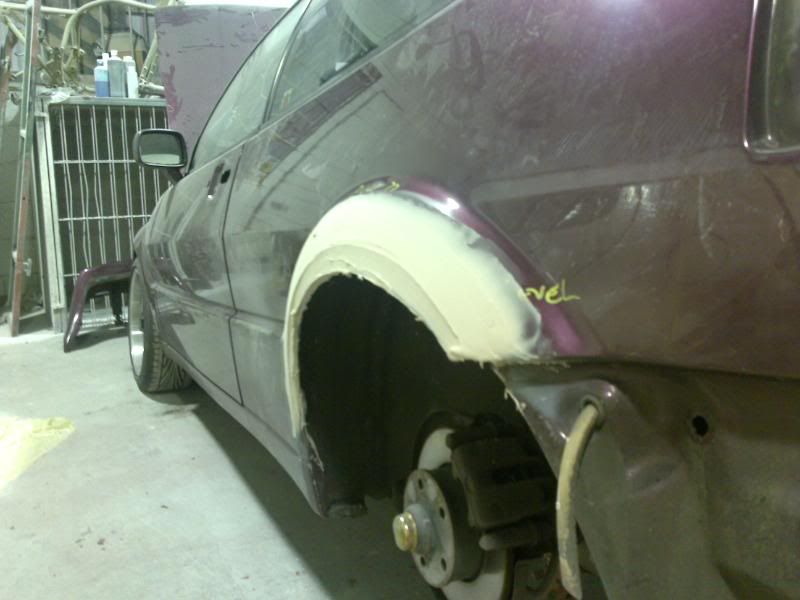
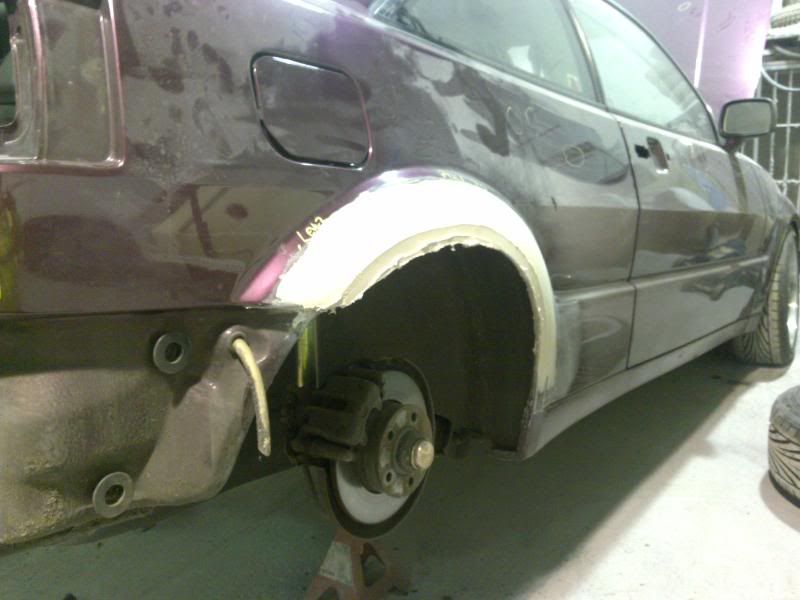
arch pulling was next on the adgenda..............
this was a little daunting as i wasnt sure how this was going to turn out. as it happens Ben at PPI is a kin ledgend!!!!!
we just lowerd the car and he made them fit .............
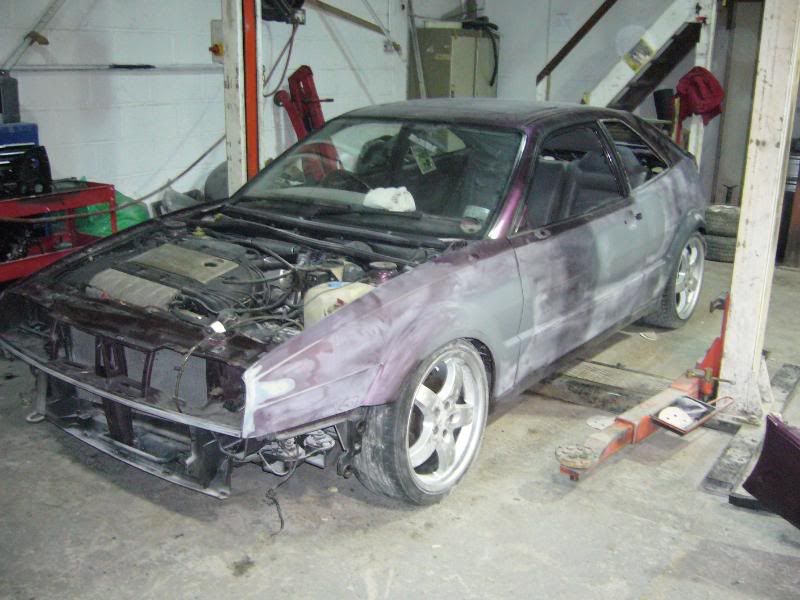
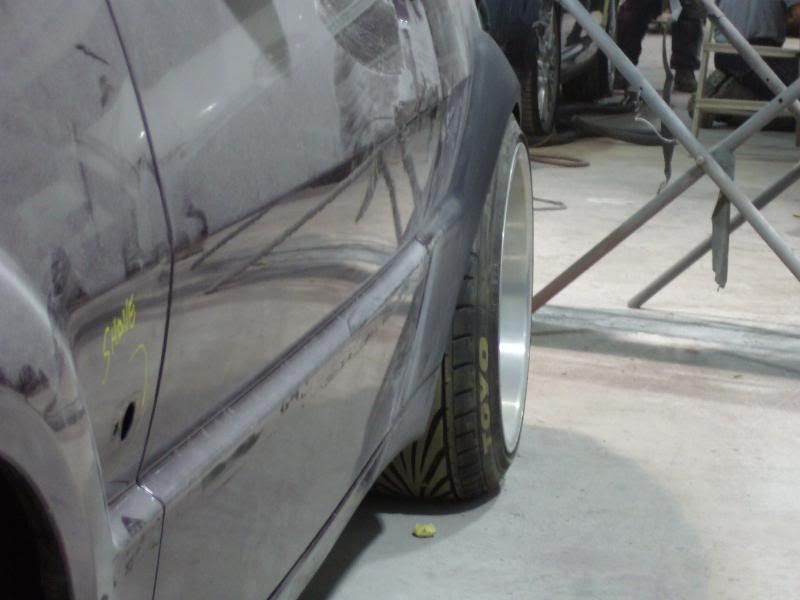
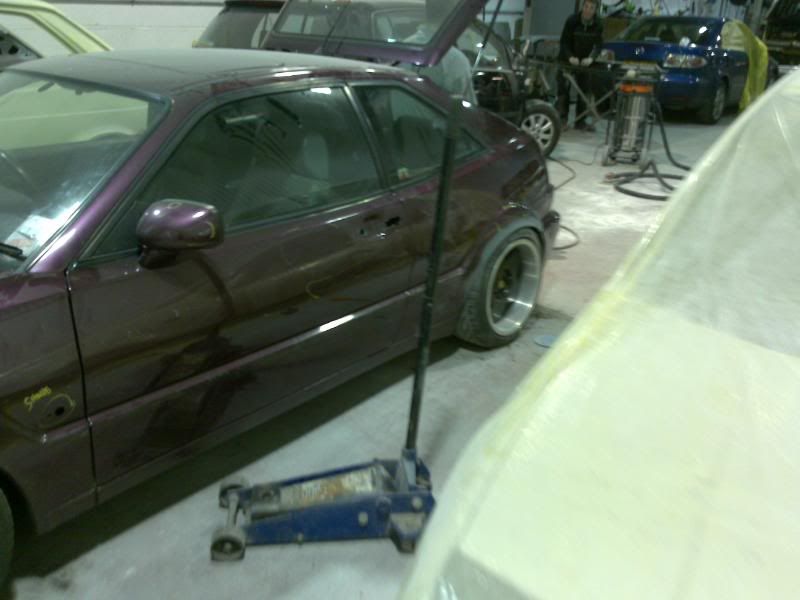
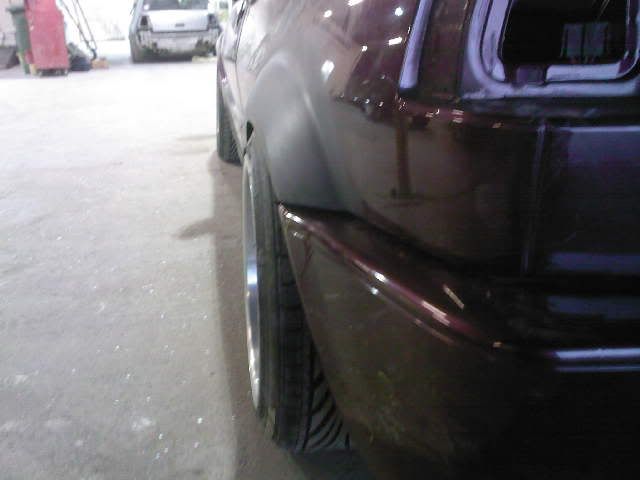
looking mean as hell here just a little worried now as to how low the front is gonna be...............
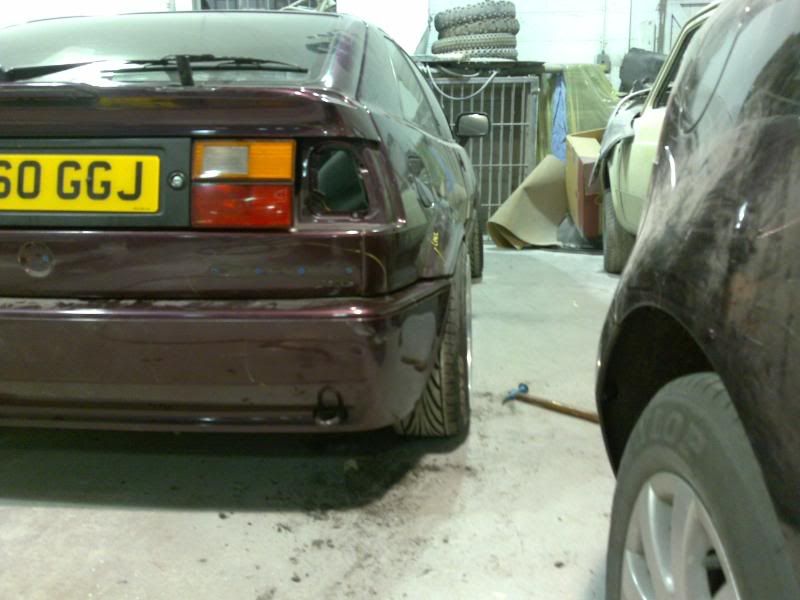
so the idea behind all this is to make it look as stock as possible so this is a nice subtle mod, the bumper actually sticks out on both side of the car at the rear by about 1/2 - 3/4" so it made sence to make the arches flush with this... i can get my wheels on and the car still look cool...........
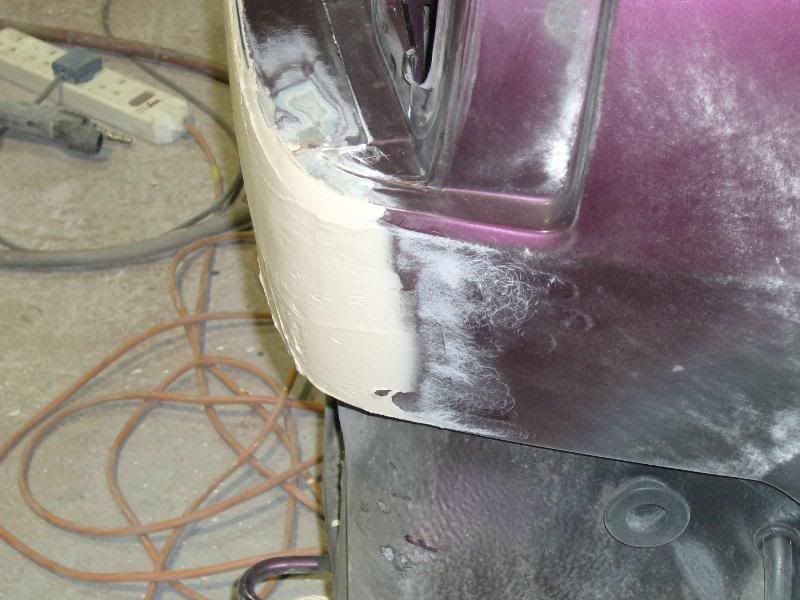
these are the bogging up pics...
**** myself when i saw this for the first time as it looks like there is a lot of filler there.....
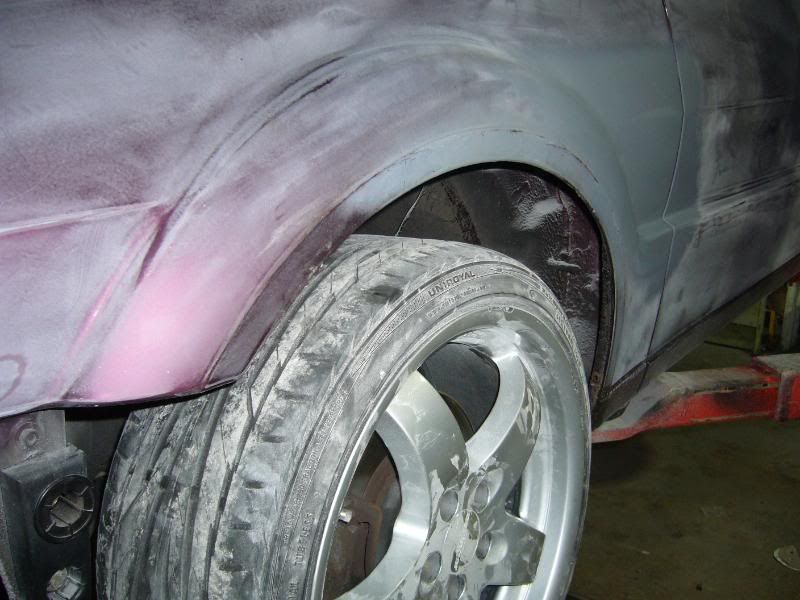
starting to take shape now..
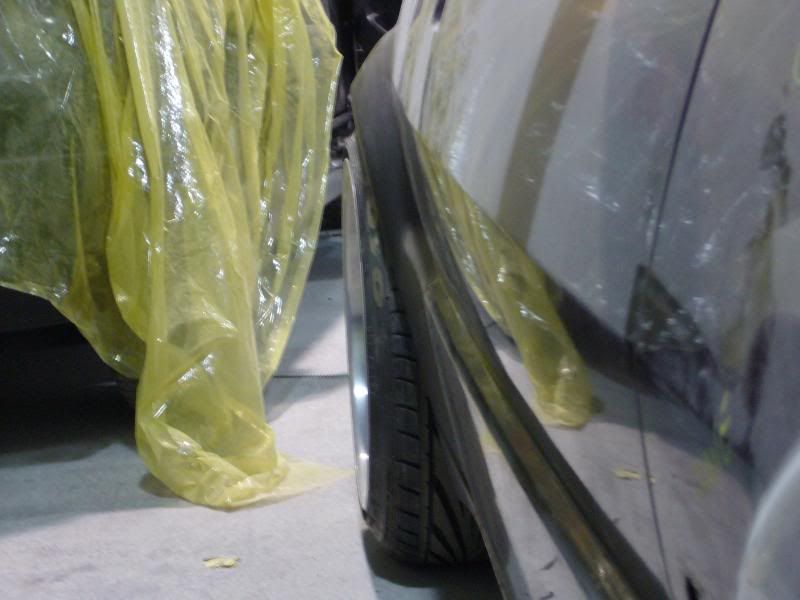
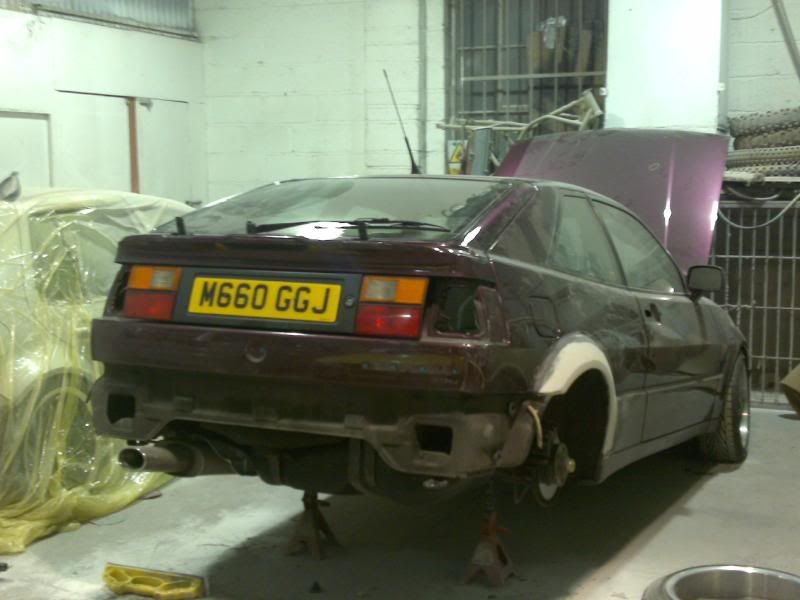
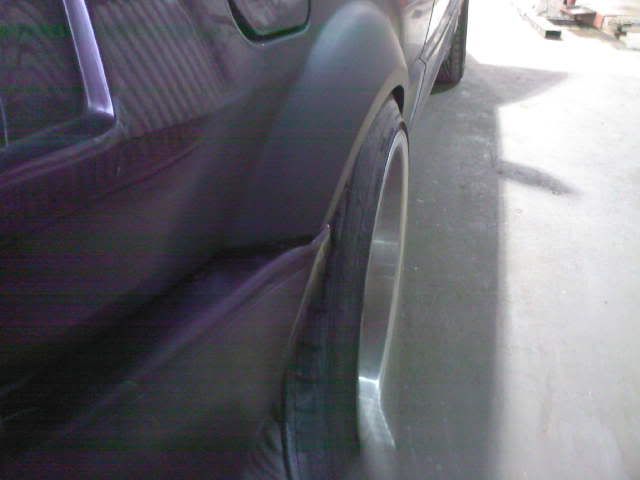
the arches are almost done they are in black primer now as ben wanted to get that bit sorted before christmas...
as you can see the bumper sits flush on both sides and it still looks stock...........
i cant wait to see it in the flesh....


 :thankyousign:
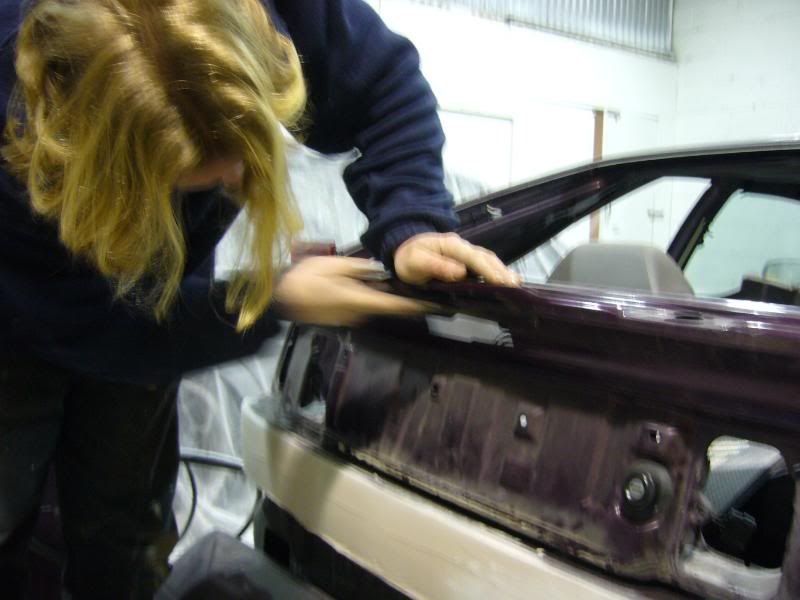


That Rado...........
in C488ADO's Blog
A blog by C488ADO
Posted
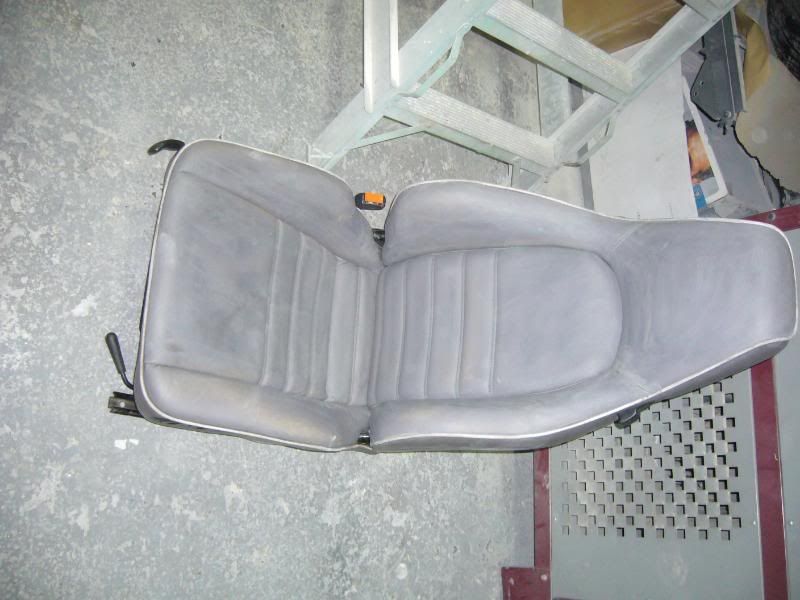
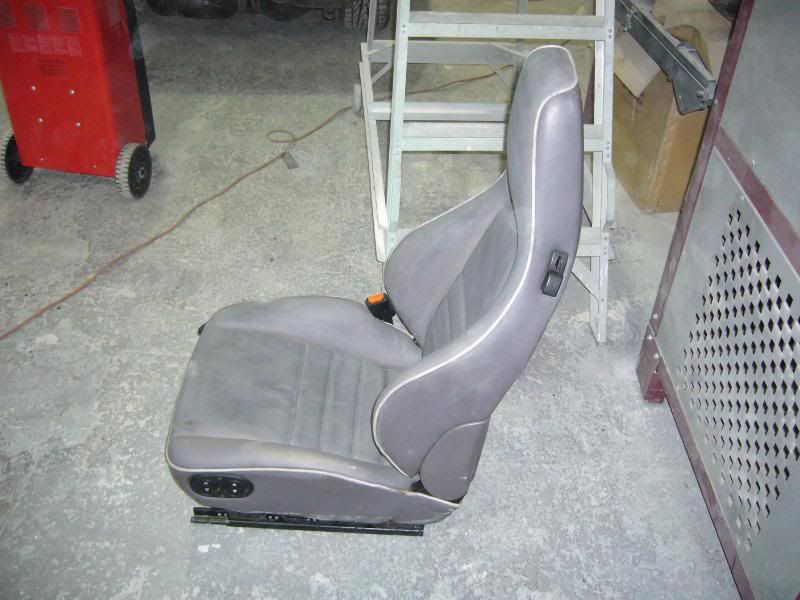
here are a quick couple of pics of the porsche seats still got to be fitted yet but i think they will look awesome!!
this is the one i had to have repaired as you can see they repaired all four bolsters £90.00............bargain!!
yes they are lighter shade of grey but i asked for that as they are being re-connolised......... they also replaced the pipeing...
interior looks very sorry for itself...
another job to do re-trimming the headlining.............
engine bay looks sorry for itself.... need to get some polished bits in there!!
got the paint today brombeer!! (blackberry)
looks wicked even on the lid!!
obviously the paint hasnt even been mixed yet but still it looks nice...