

C488ADO
-
Content Count
1,034 -
Joined
-
Days Won
1
Blog Comments posted by C488ADO
-
-
the list i have decided on is....
remove rear badges and emblems keep it smooth but retain the side panel joins to look original as poss
re-paint bumper
remover side repeaters
colour code door handles
fit T4 vent in drivers side front wing
cut out front number plate surround plastic weld flush and fill smooth front bumper leaving lights indictors and fogs where they are.
remove washer jets off of bonnet.
remove side rubbing strips
repaint mirrors
basically paint the whole car apart from roof and tailgate.
-
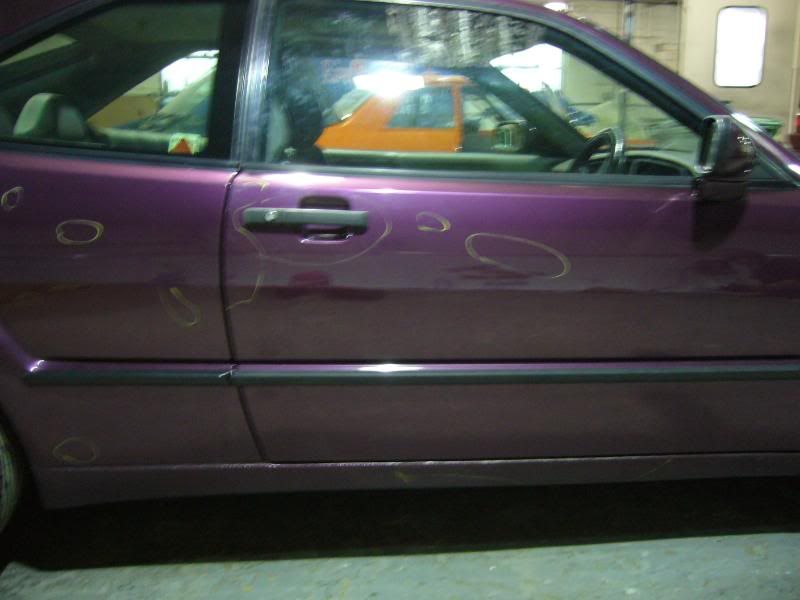
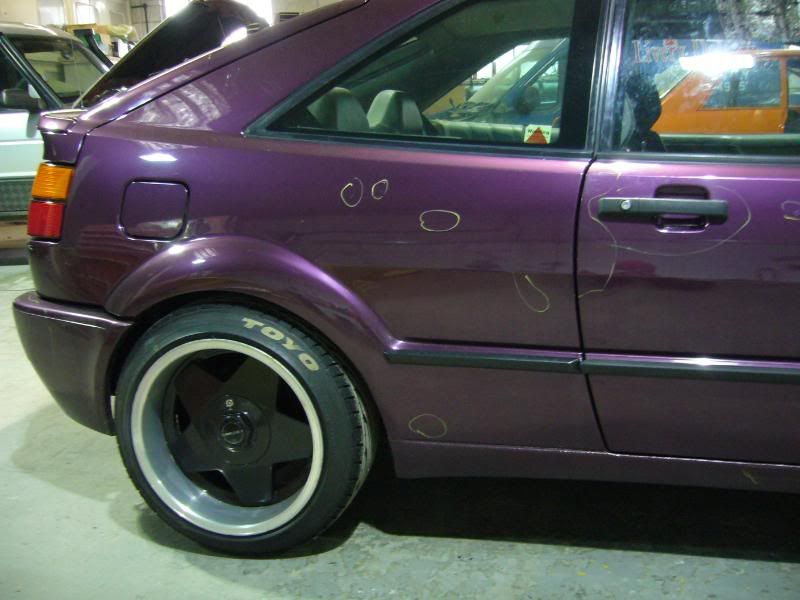
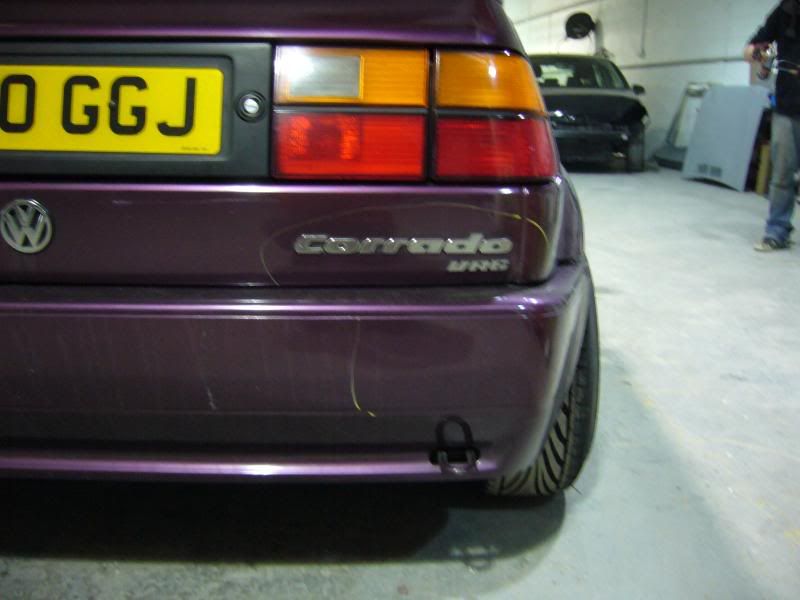
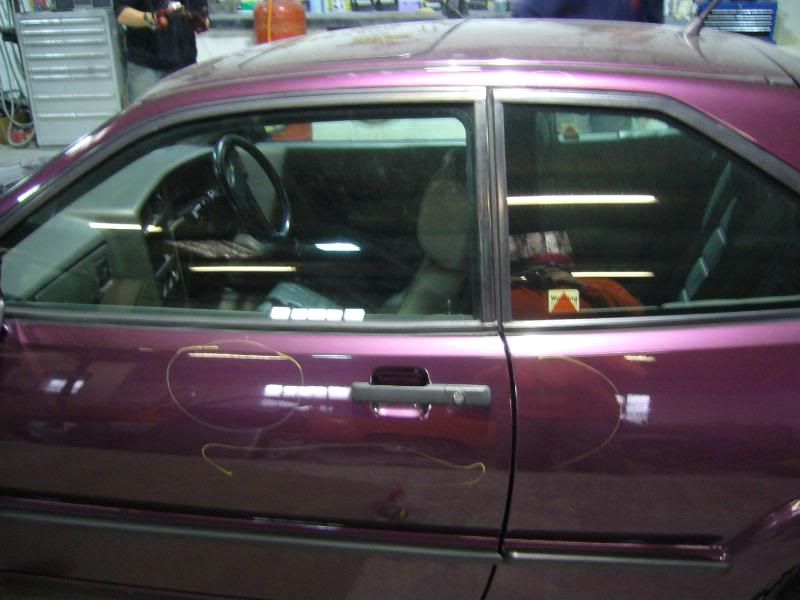
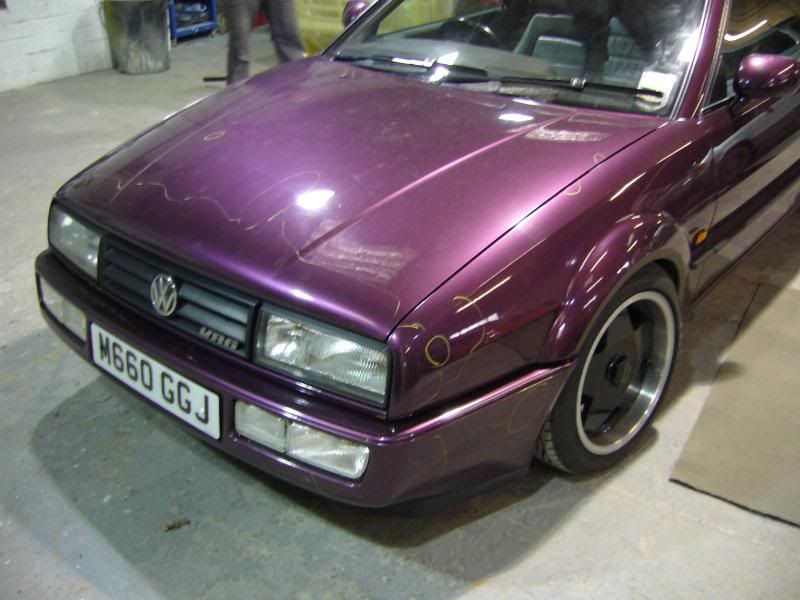
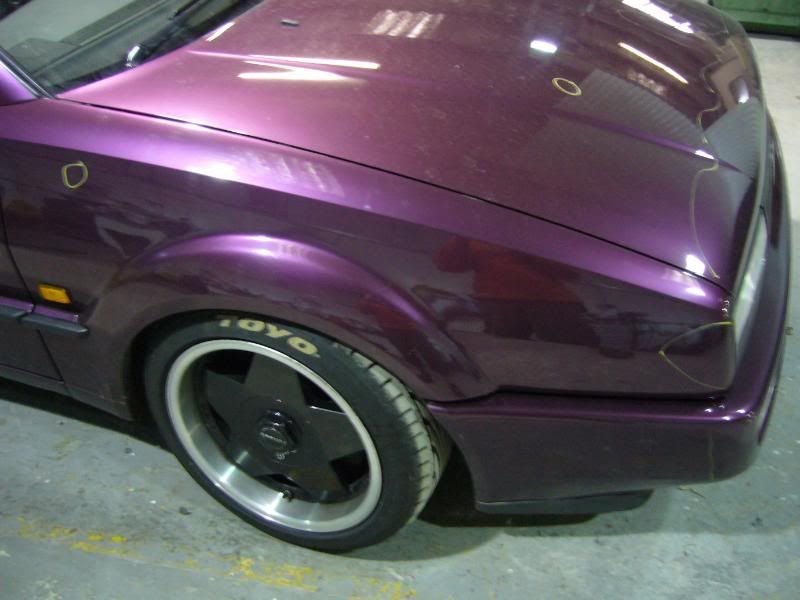
after fitting the wheels i took it up to PPI to get them to have a look at the paint etc just to mint it
this is what they did to the car.....
all the yellow is aera's with either a chip , dent, scratch, or modification....

oh and dont for get the kin roof!!!!!!!!!!!!
-
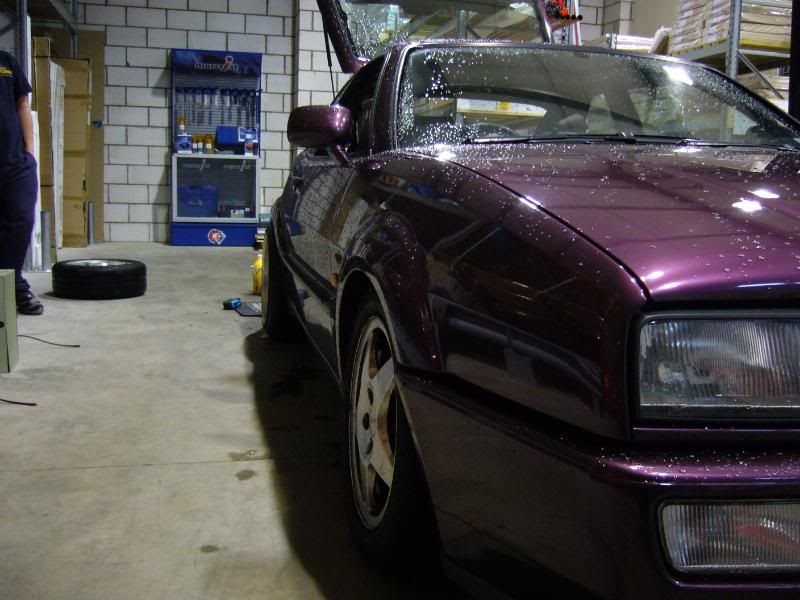
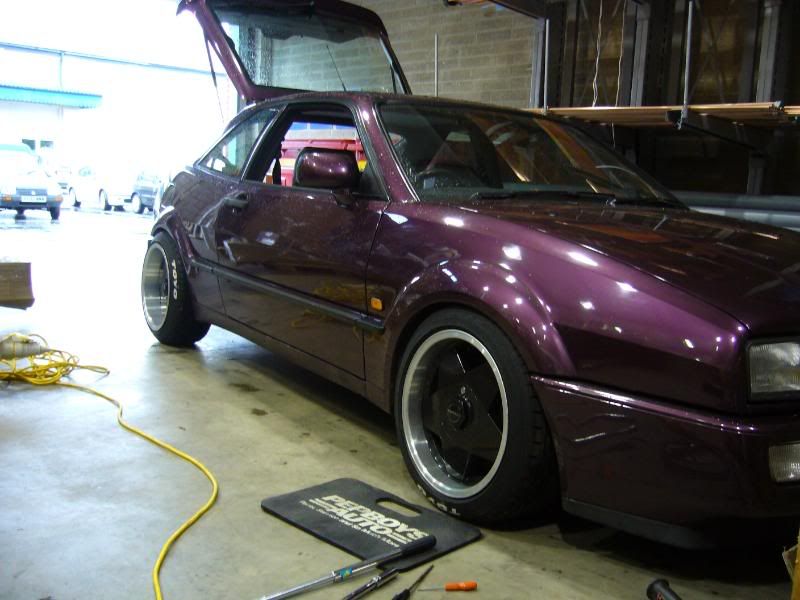
so with the centre console still not finished and all the dash switch gear finished and not really much else going on i thought it would be rude not to lower the car......
took it to work and used the high tec ramp..
a forklift is a handy thing!!!!!
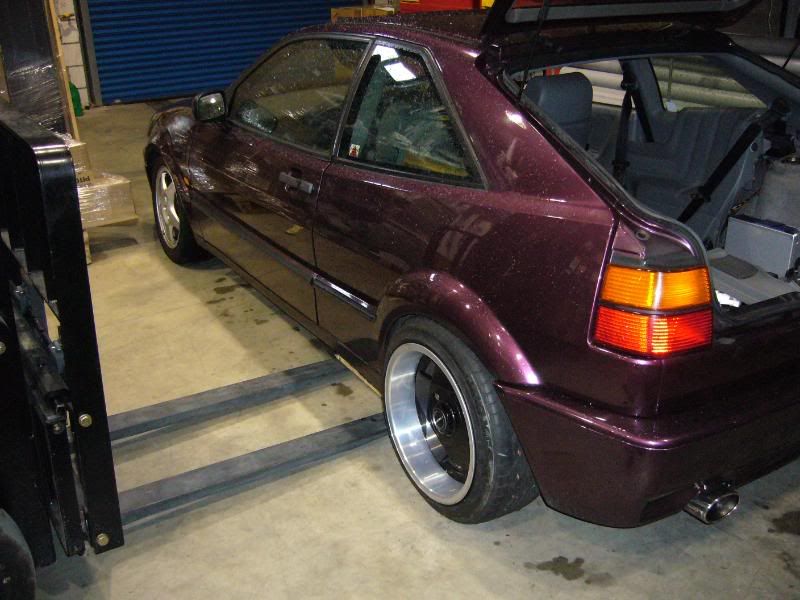
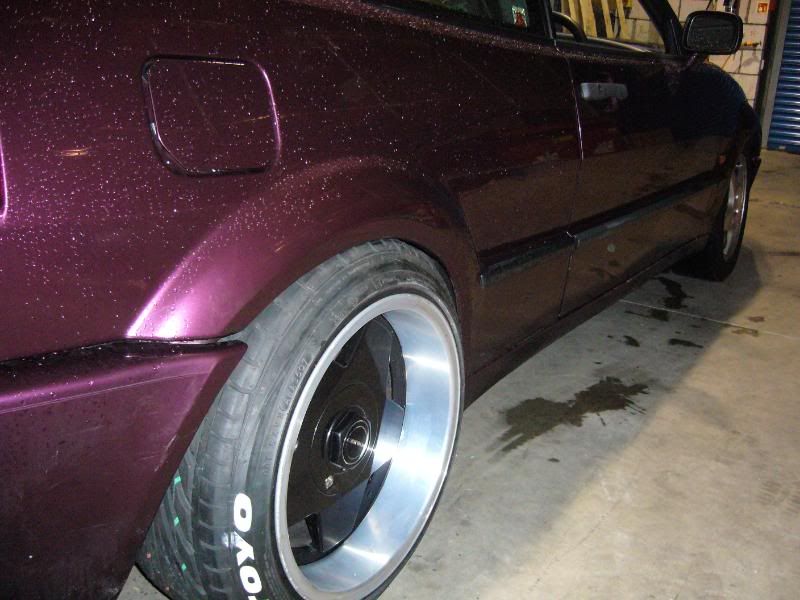
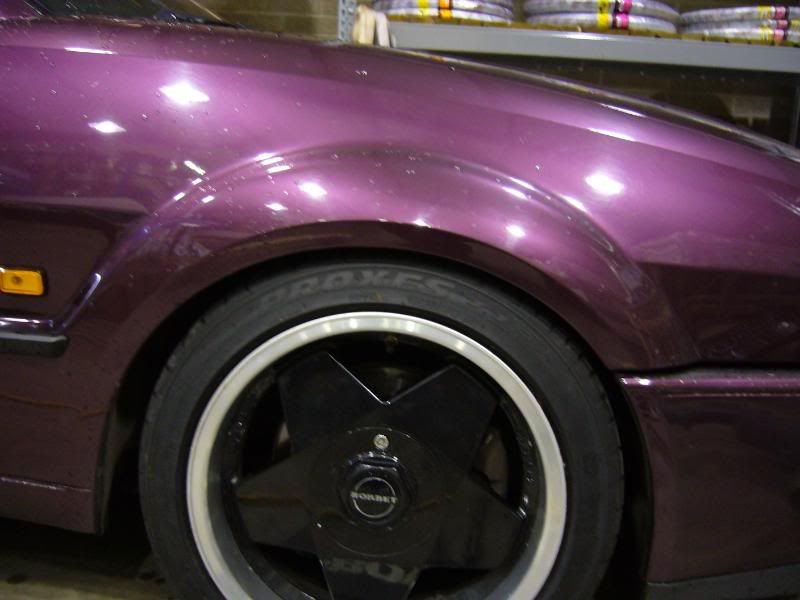
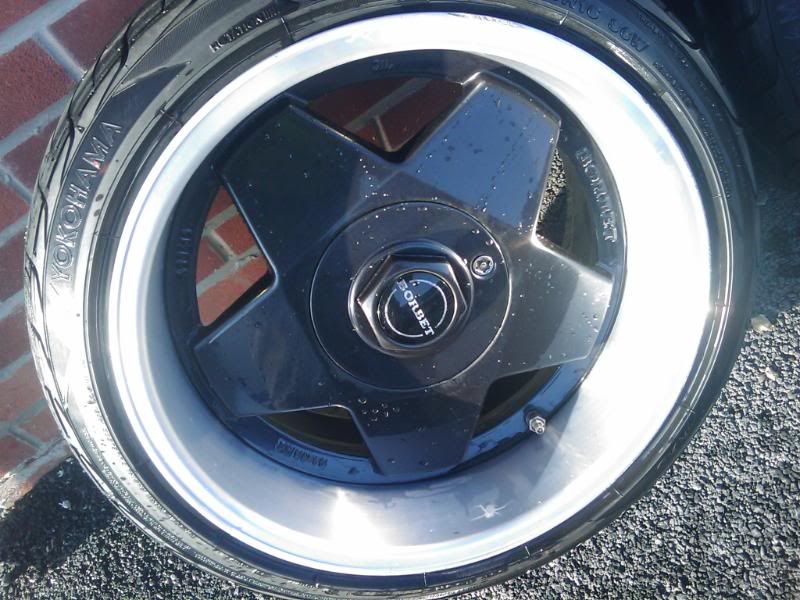
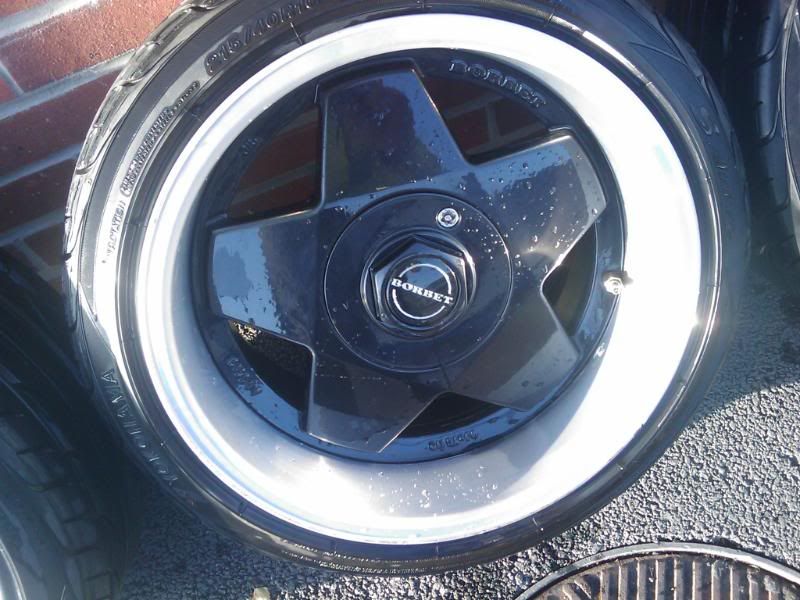
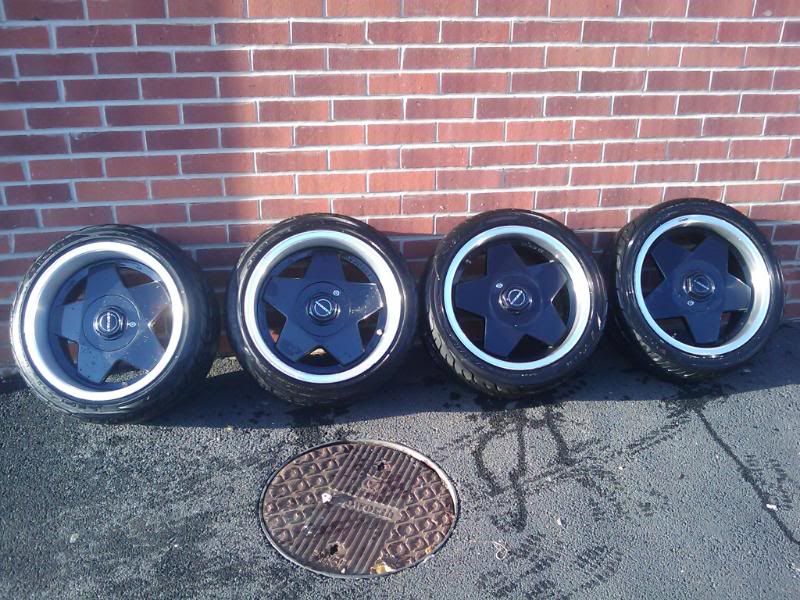
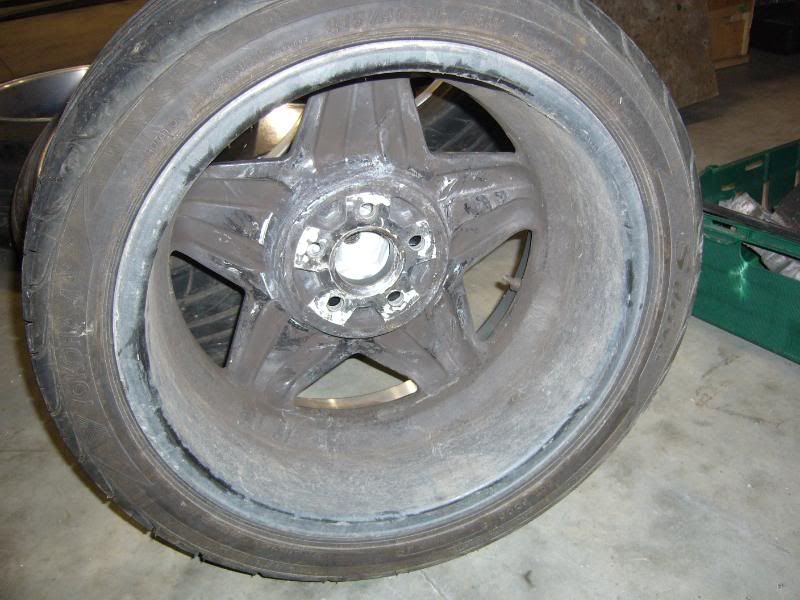
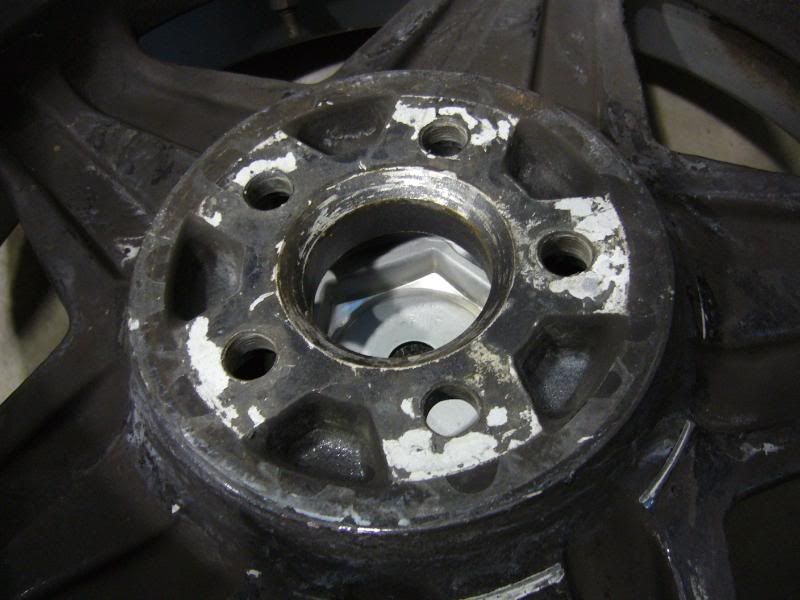
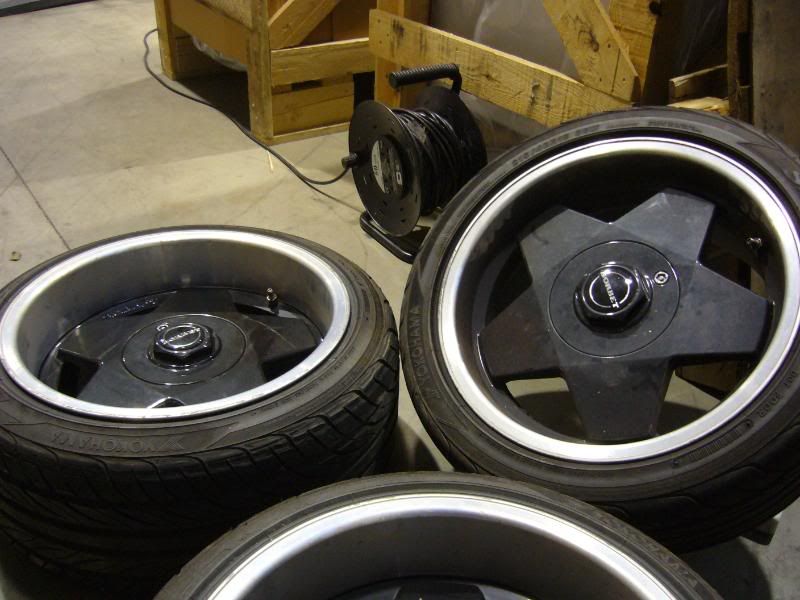
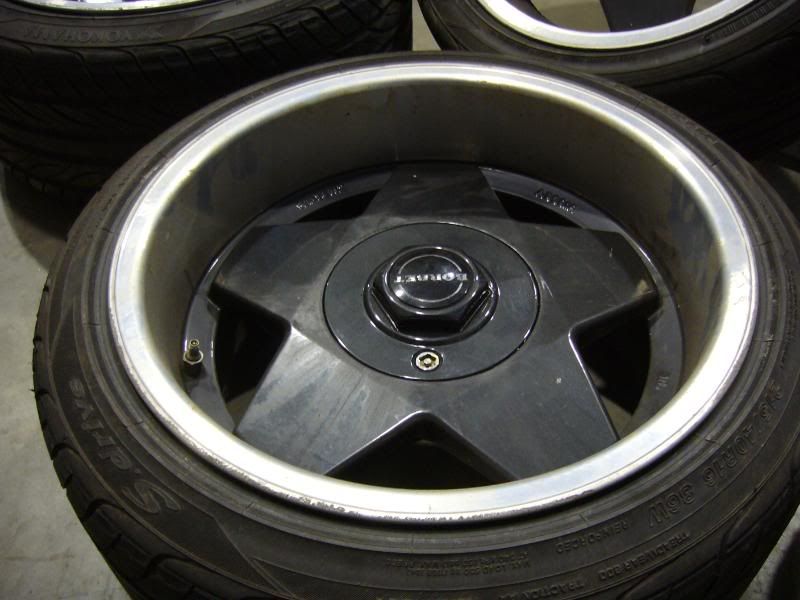
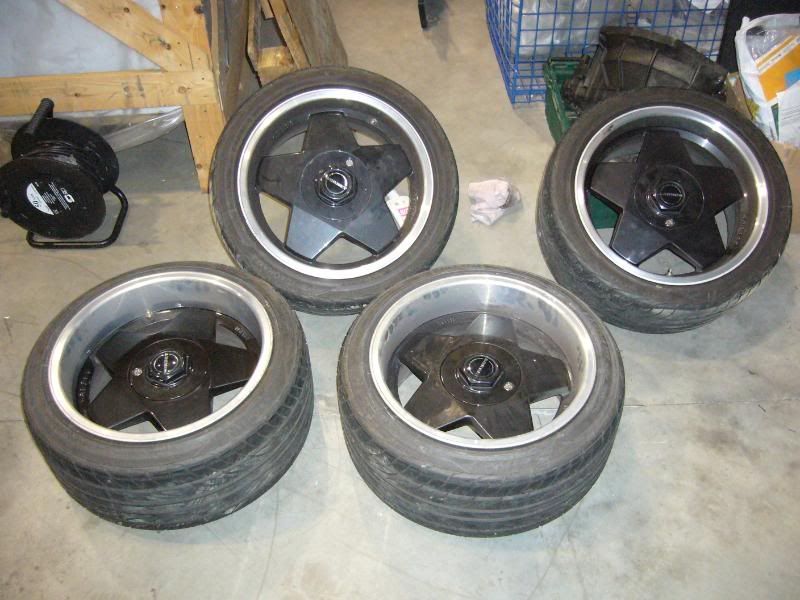
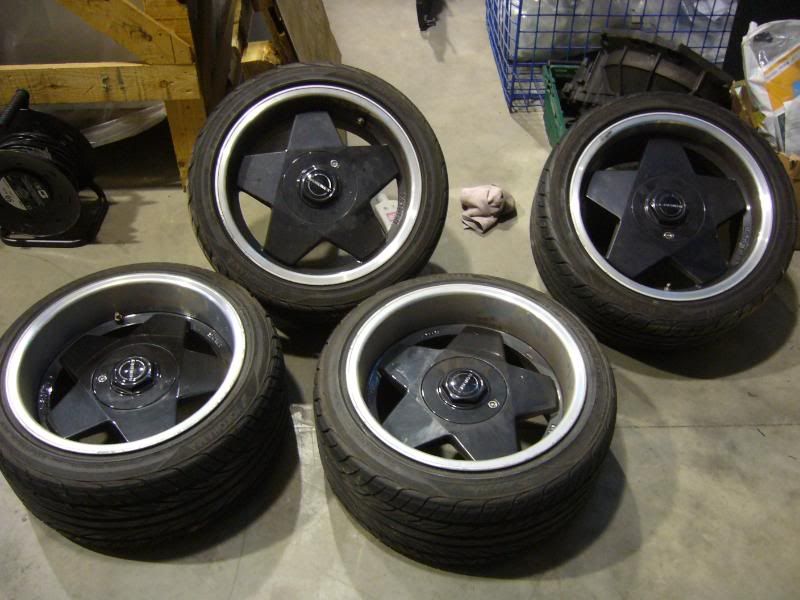
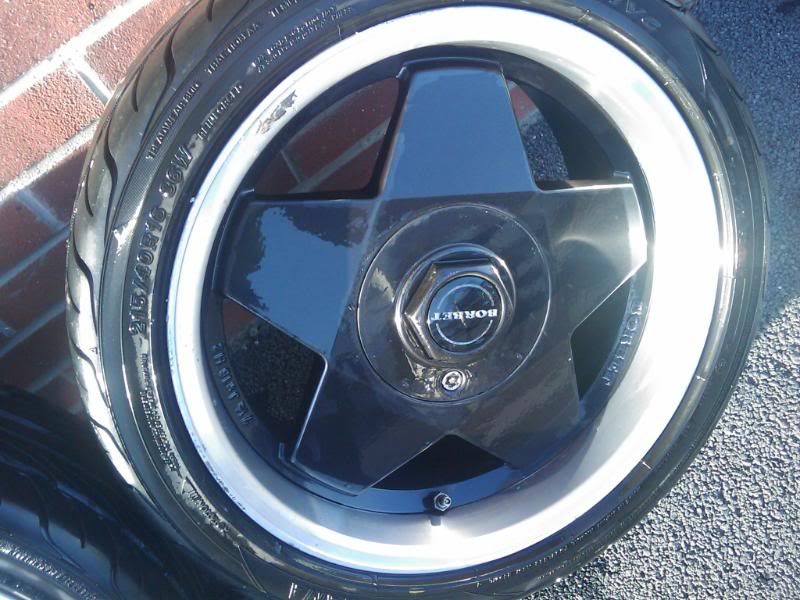
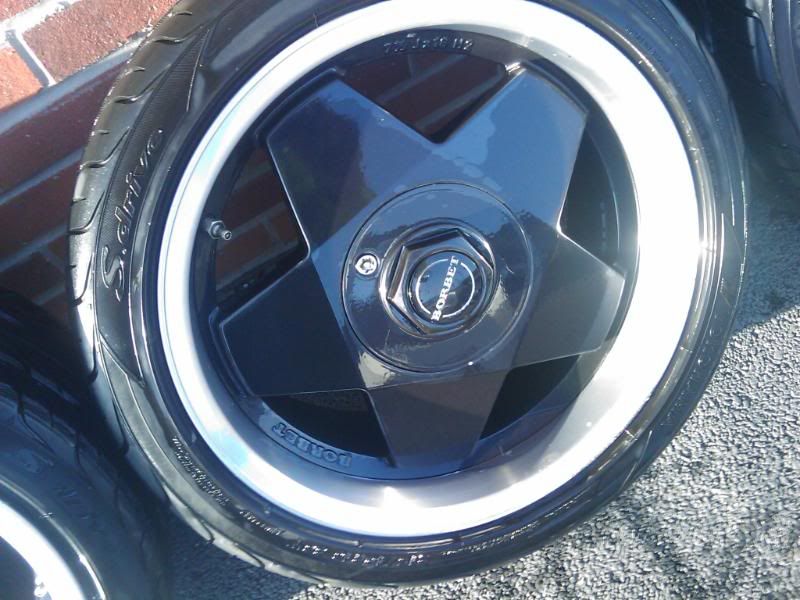
got the wheels on eventually....
as stated before the fronts are 7.5" wide and the rears are 9" wide.......
quite wide in fact got a few rubbing issues but i rekkon i can sort it....
-
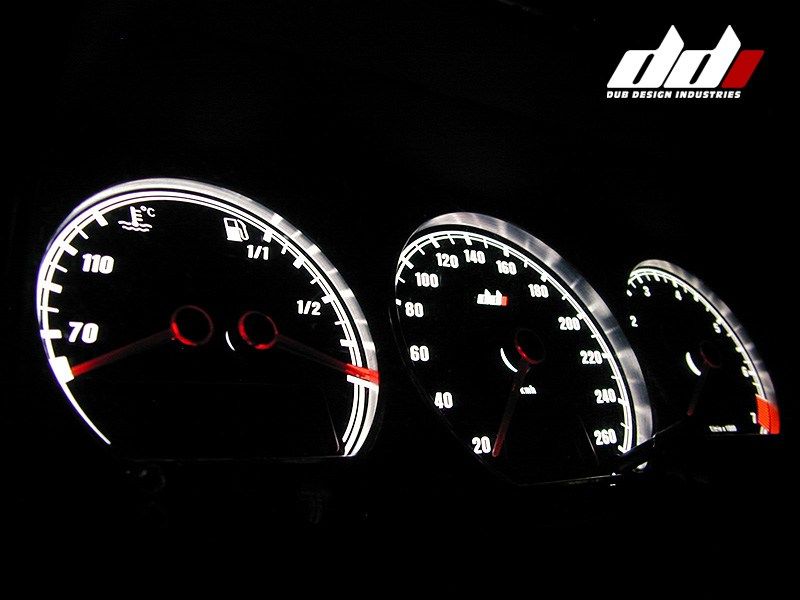
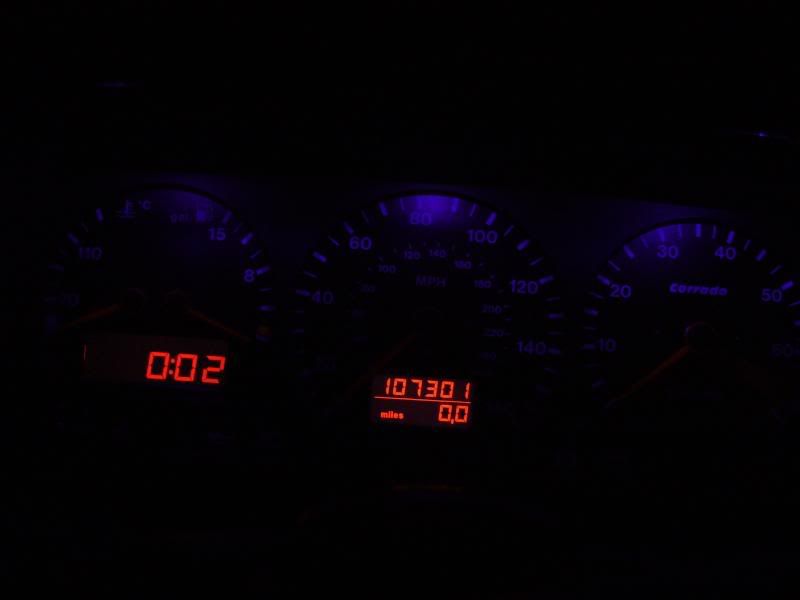
this is what the DDI dials look like
-
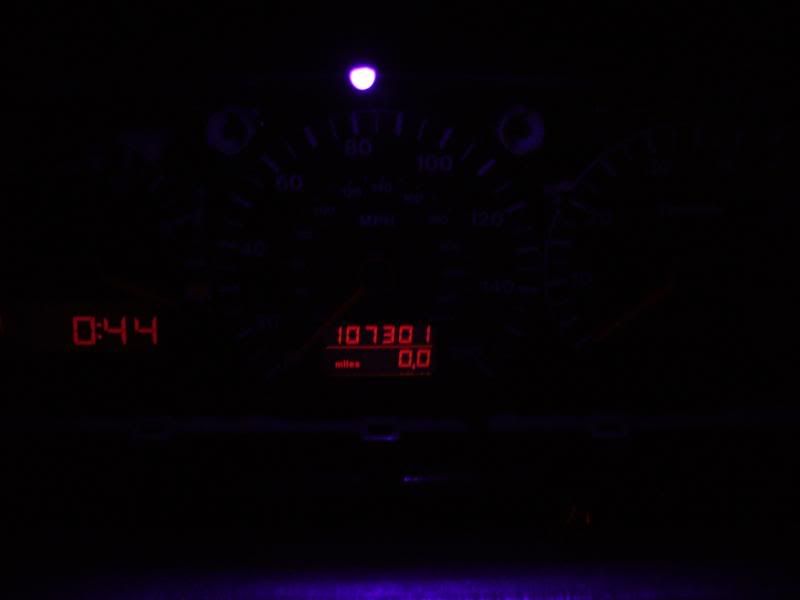
got to say this does look a bit **** in the pics...and well it is.lol it is o.k but need s to be brighter this will shine once fitted with the DDI dials....
-
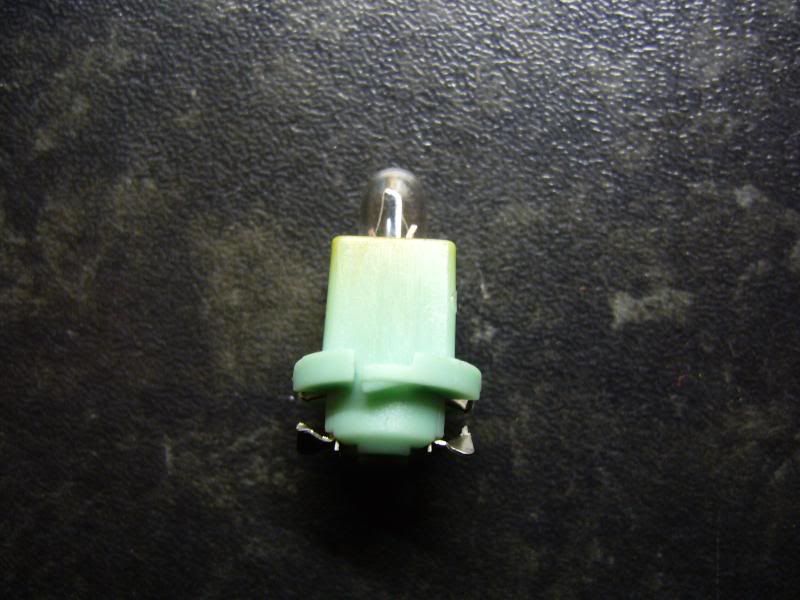
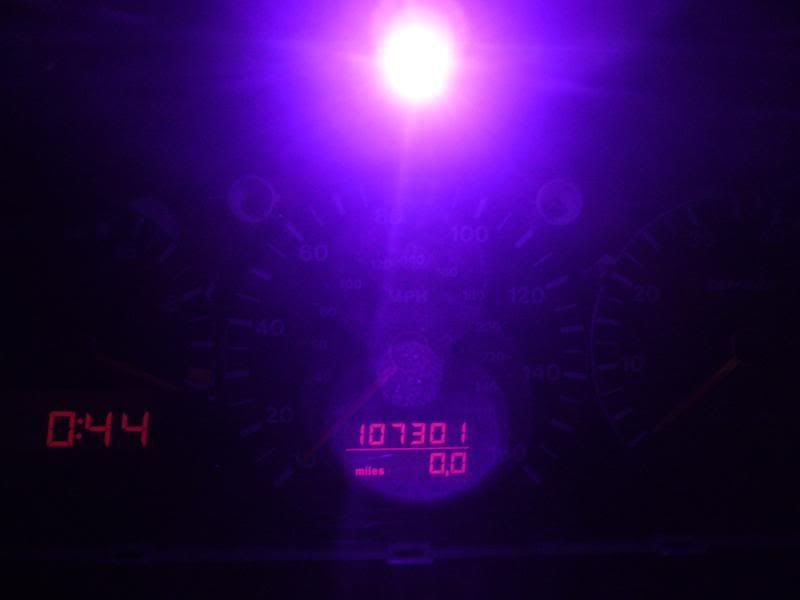
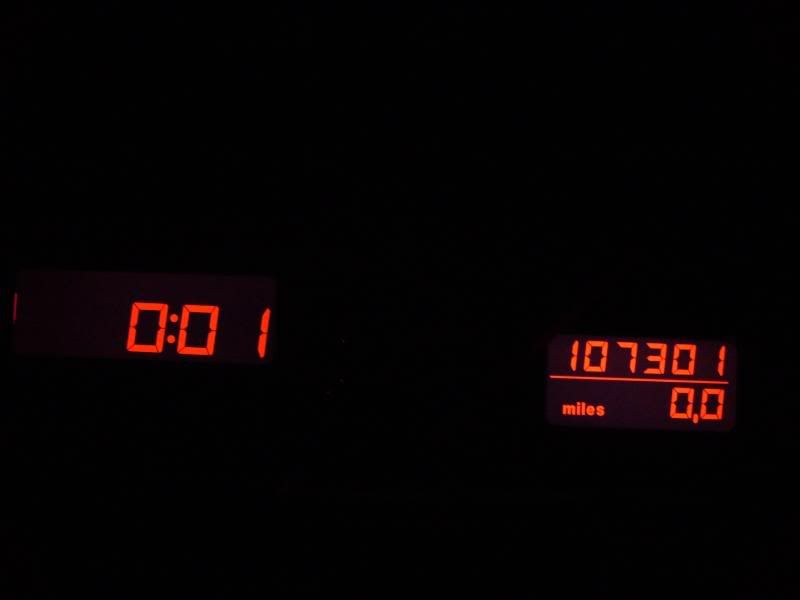
next up was the instrument illumination...
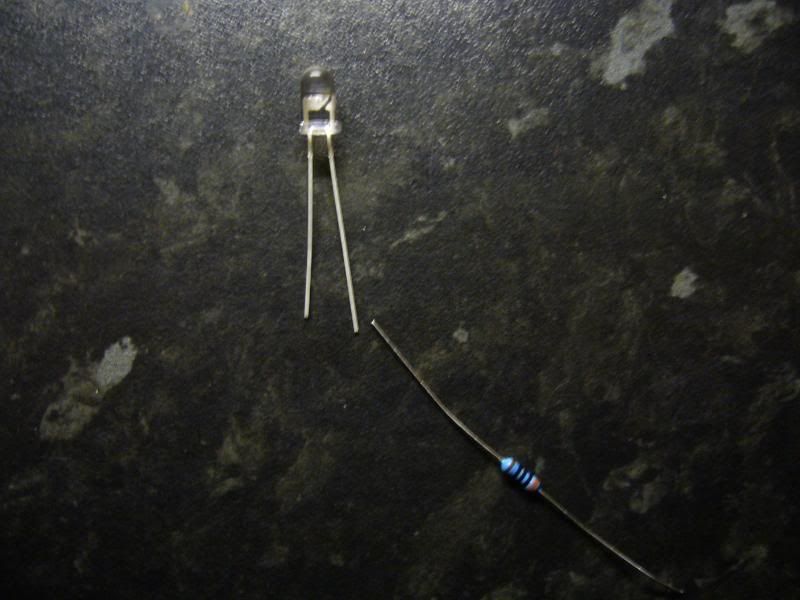
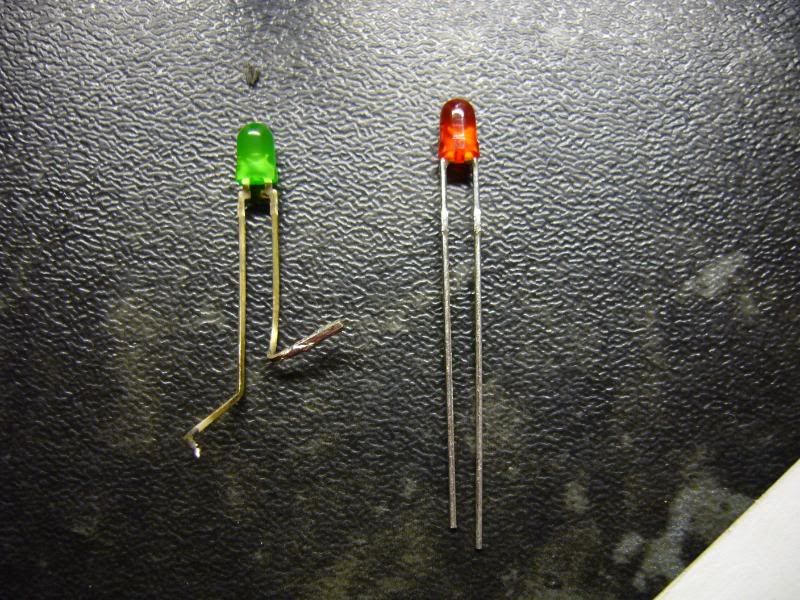
sometime in the future i would like to purchase some DDI dials they are reverse lit speedo heads black white numbers but glow up at night... look good, i have the orange needles in my car they have a white backing and with the DDI dials they look awesome so i thought i would get some UV (ultra violet) led's to show the needles up even more, there are loads of different ways of doing this but i wanted easy so i just got the bulbs and relavent resistors and set about it....
here we have a 5mm uv (ultra violet) bulb and 300 ohm resistor
i then took the original bulb holder out of the pod
i always use the longer leg on the led as the positive leg...
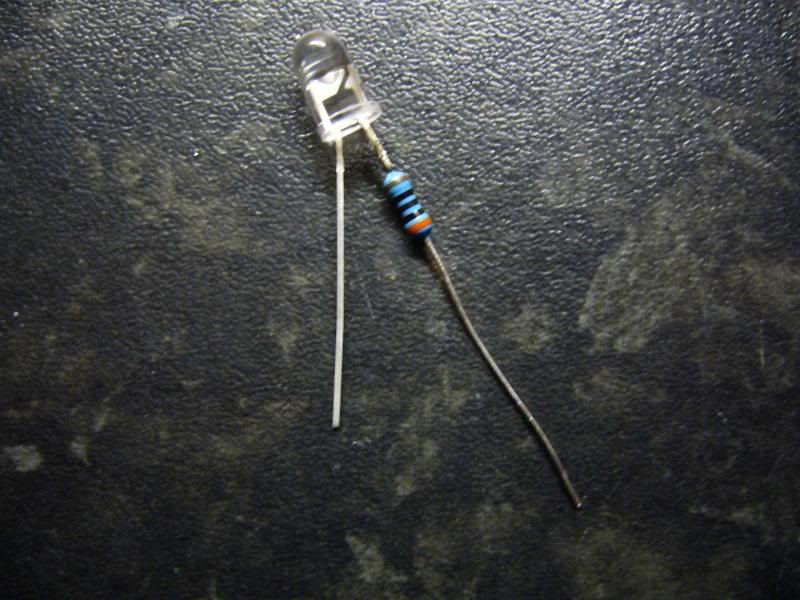
got to keep it nice and tight so it all fits in the original bulb holder
the result is this this is one bulb and it takes three......
-
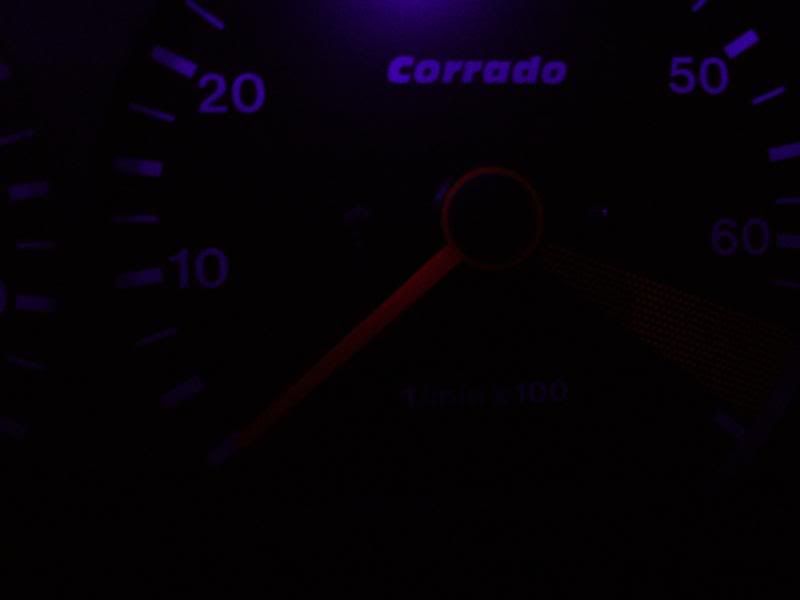
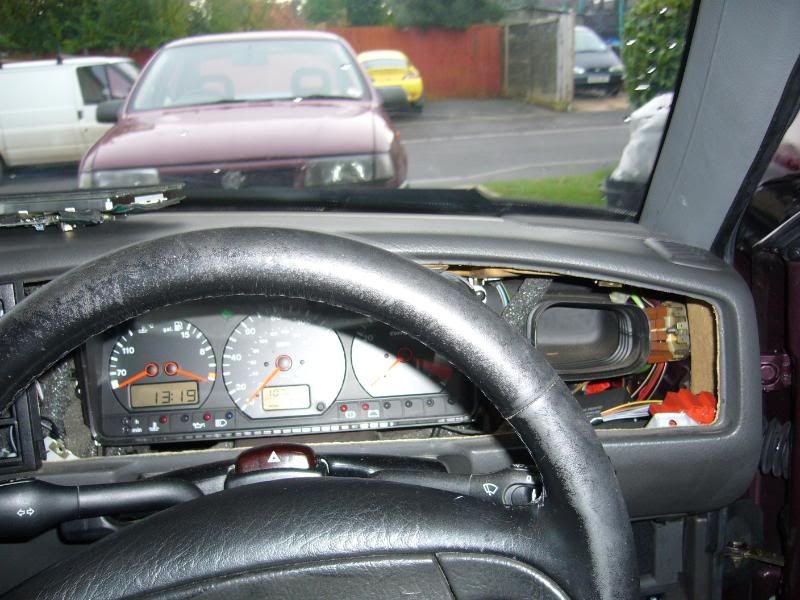
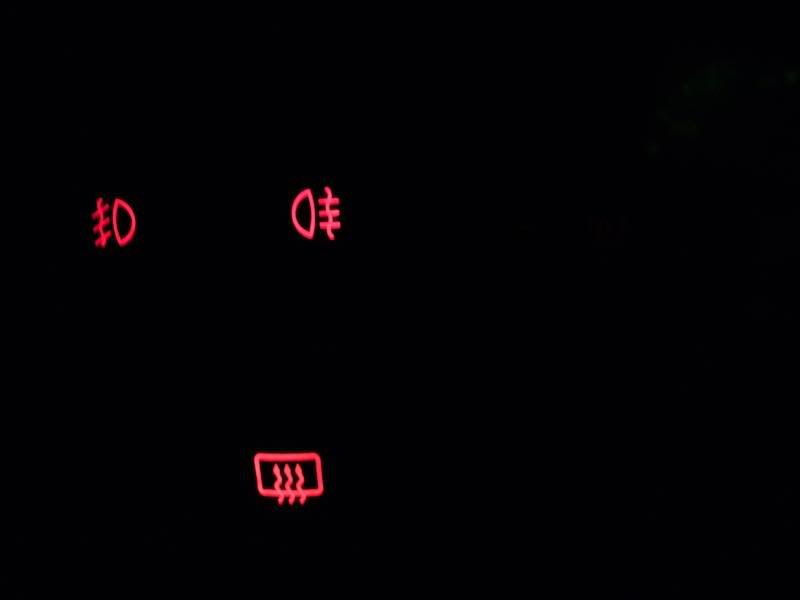
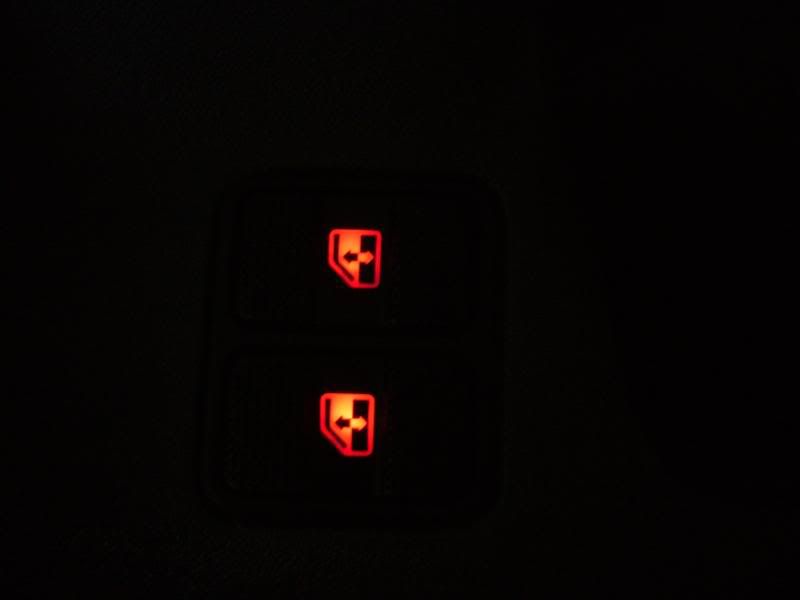
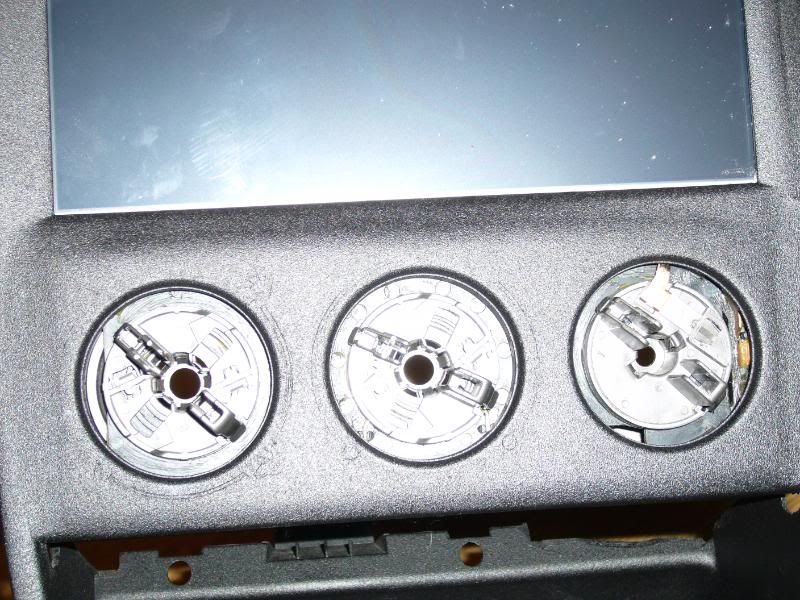
next mod was to sort out the instrument cluster...
i really like the red led's in the switches they are now the same as the newer golf's/polo's audi's etc the next thing is to carry out the reverse lcd mod this is when you change the colour of the lcd and reverse the digits from being black to whatever colour you like... in my case red...
normally the trip computer bit would shine green and the digits would be black but now i want mine to be black but the digits to be red.....
understand???
il show you...
first thing to do is take out the instrument cluster...(note the colour of the digits)
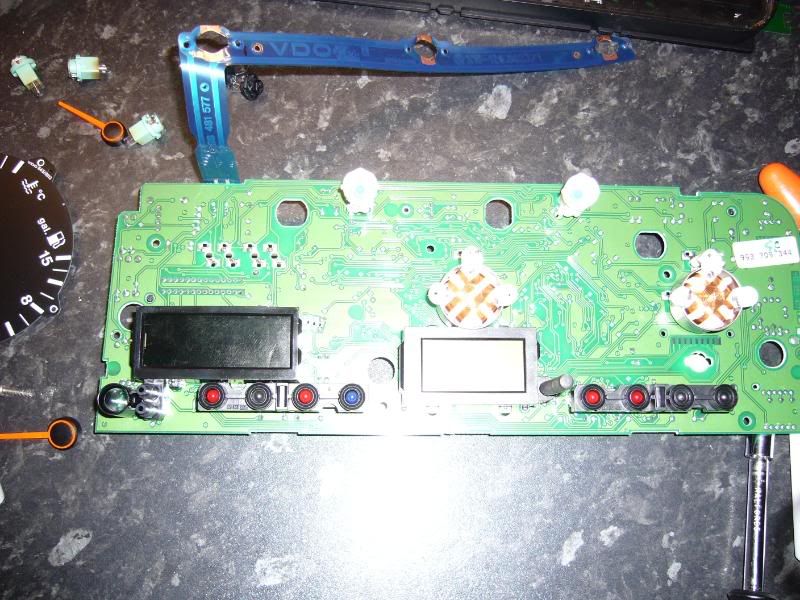
then litterally strip it down take the casing off etc just to reveal the board in side
please note this board has been partially converted, the lcd on the left has had the reversal work done, the lcd on the right is totally standard.
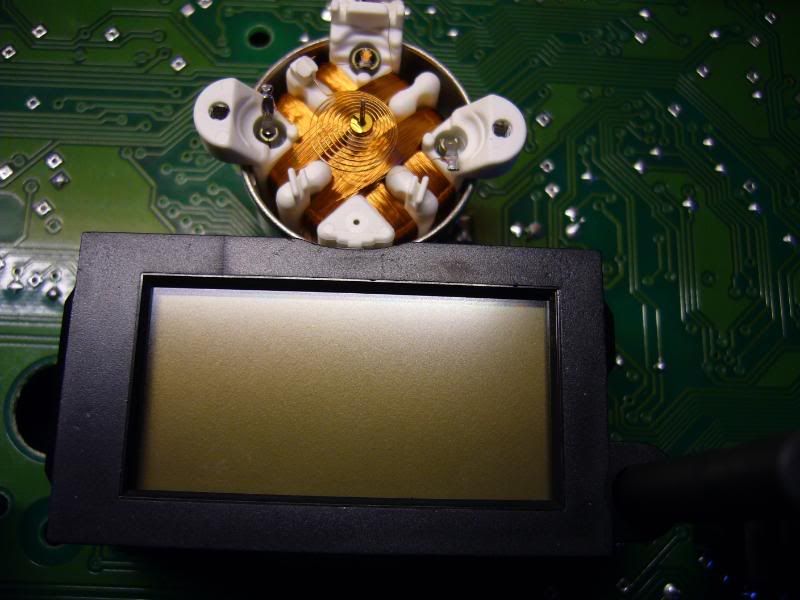
here is a close up of the standard lcd
on all lcd's there is a polarising filter all that is needed to be done is to take this filter off. get a stanly knife blade do not cut or break this filter. gently slide blade under filter and lift off it is quite tough as it is stuck down peel it off and then remove any glue with alcohol based solution make sure this is clean, now with all glue residue removed simply turn it upside down and place on the lcd!! you will see that it has turned black.
like this.
again the difference between the two
underneath the lcd is a colour filter mine was green i just got a plastic red file and cut around the old filter and replaced it with the new one..
with it all put back together it looks like this...
massive differnce i like it and again it is the same as the new audi's etc
this mod cost me £1 for the plastic file and i got 5 in a pack!!!
-
-
i do not like the buldgey line that goes around the out side of the screen i think it looks ASSSSS so i gave it back and see what they could do...
unfortunatly here is where we got our wires crossed and the next version of it i do not have any pics as it didnt leave the shop... the slanted edges that tilt intowards the screen they filled flat!!!!! :shock: i have to say i was gutted due to all the work that had gone into it so i have left it with them to sort...
i did go in and file the edges back down and i have left it to them to sort out the corners as i really want the edges to slant into the screen as it looks so much better than just being a rectangle hole being cut out....
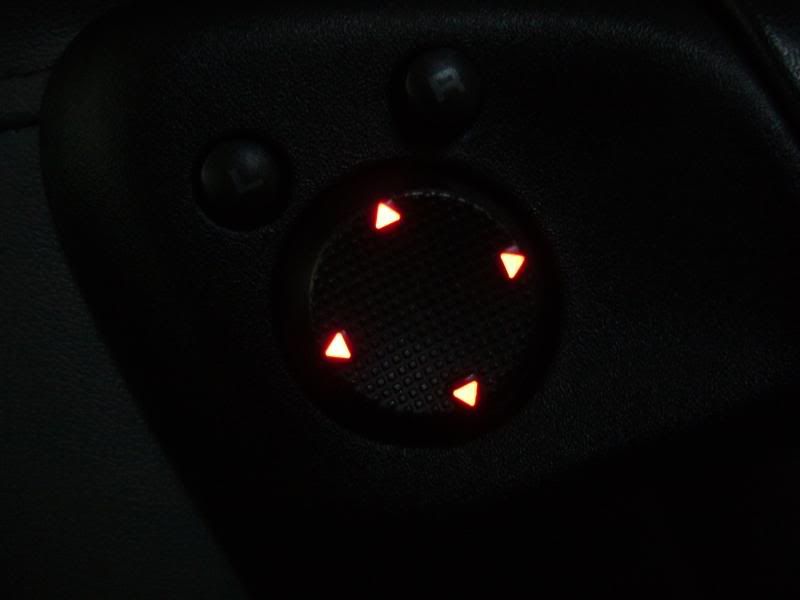
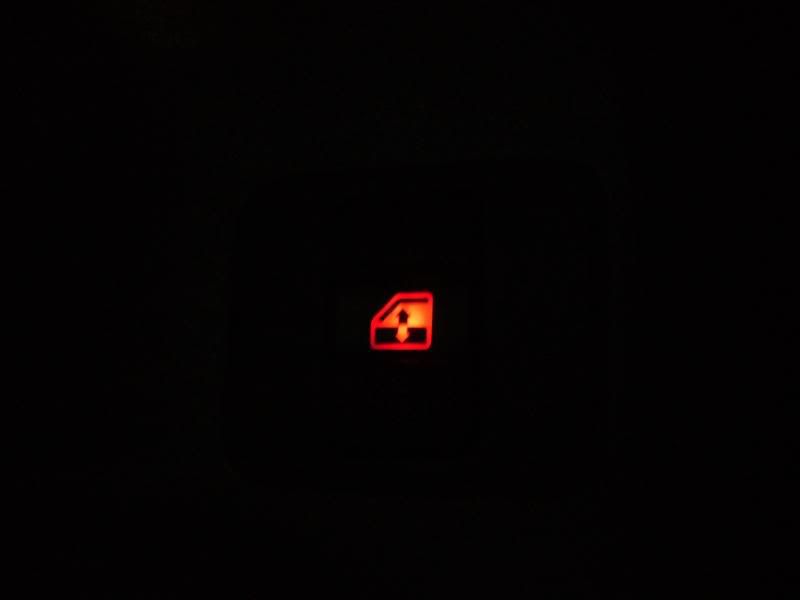
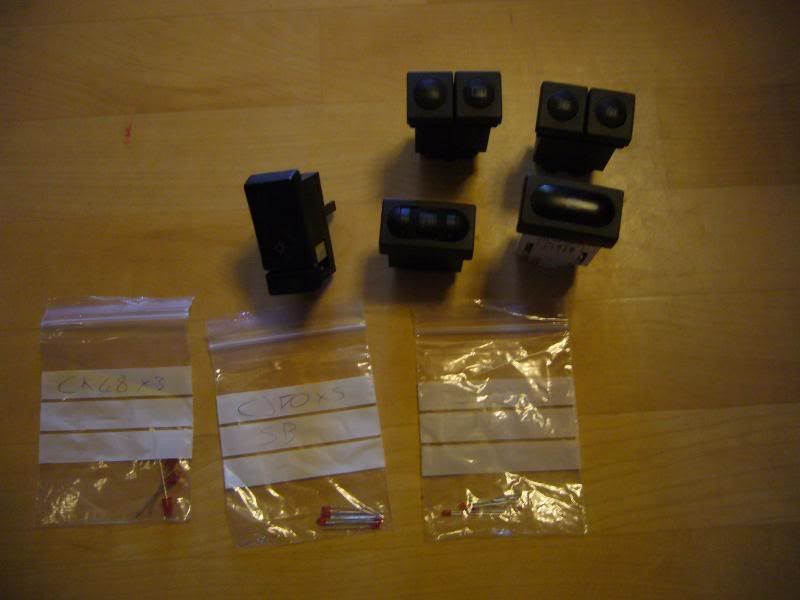
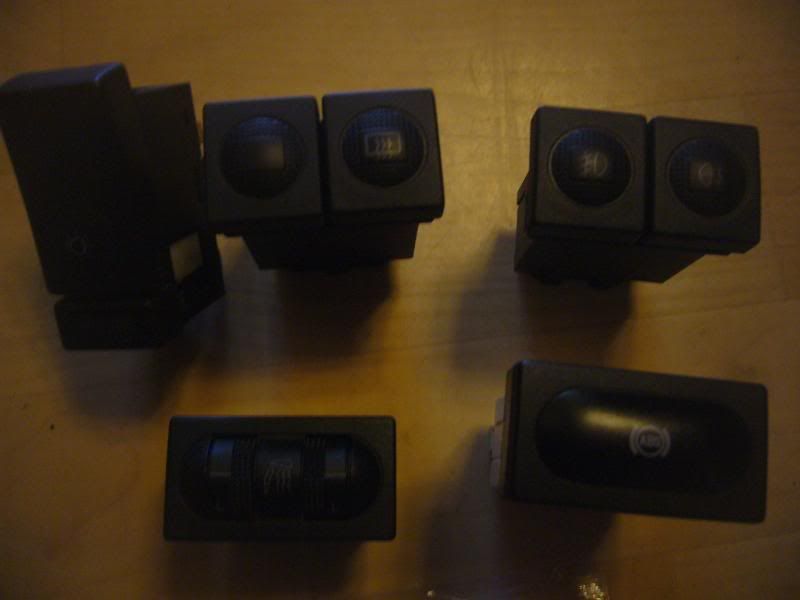
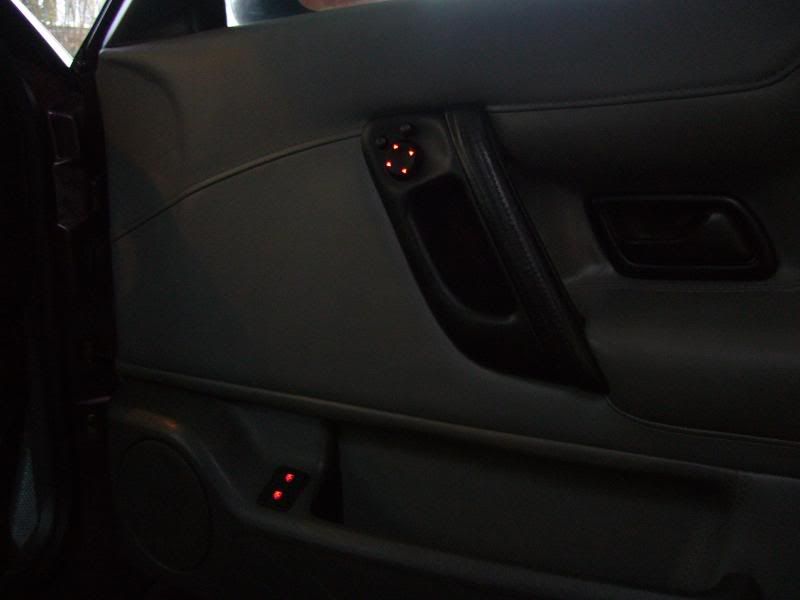
while all this is going on i turned my attention the something else as i had the dash already stripped out i thought i just as well try and sort the switches out a quick trawl around various forums etc and Maplins in Exeter i got hold of some LED's...
out came the **** green led's and in went the super bright red led's
a pic of the inside of the switch
this is a comparison between the red and green led's...
as you can see the green is really ****.
i do have a small probel with the heated seat switch as i cant get it to illuminate very brightly at all no matter what i try...
standard led's are 20 micro candles...
super bright led's are 100 micro candles...
the red led's cost .39 pence each....
so a very cheap but effective mod...
i thought id continue it thoughout the car...
-
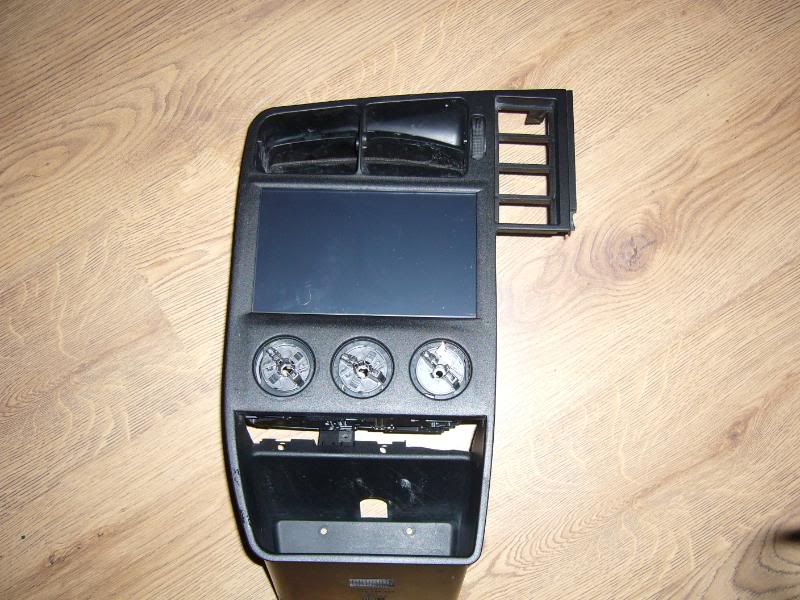
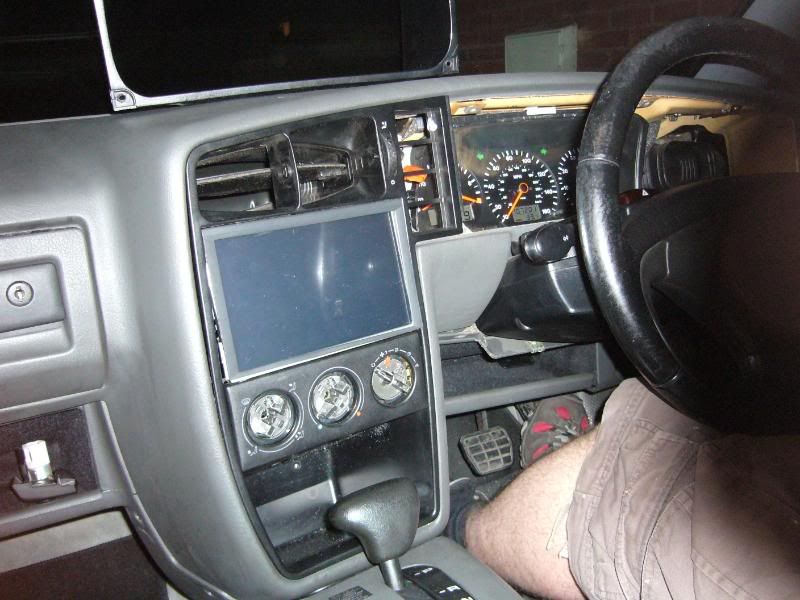
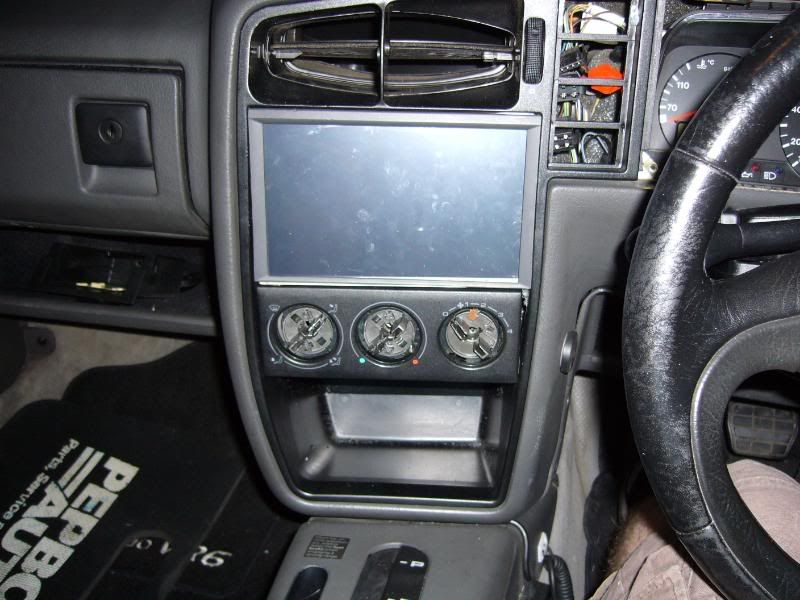
with the screen and heater controls in position
so after getting this back and taking all these pics i decided i wasnt very happy with the way it has turned out......
-
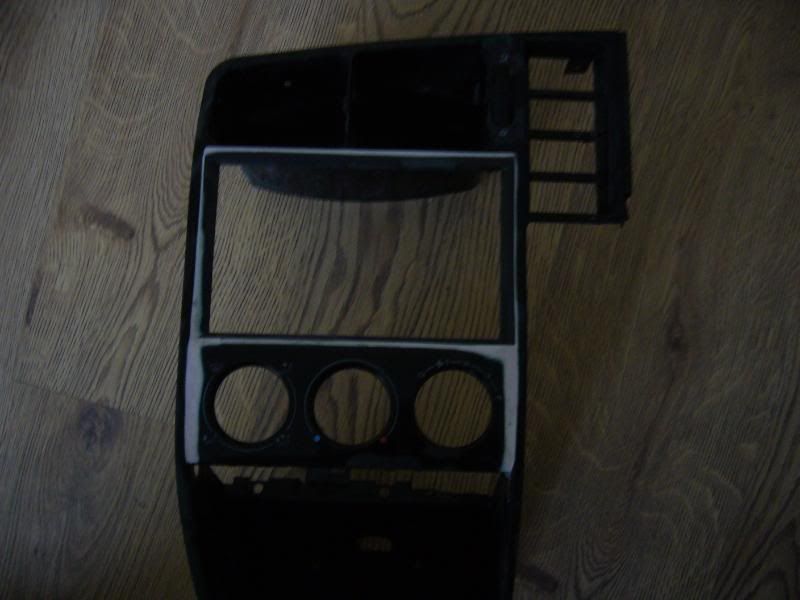
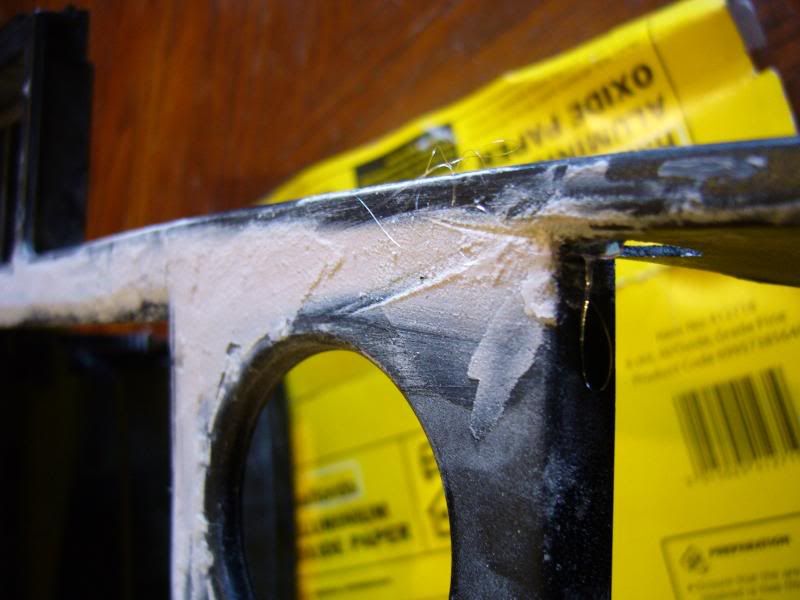
after lots of wet and dry in the bath it now looks like this...
this is the last time i prepped the console i got it as smooth as i possibly could and as im no body work specialist i thought it was ok butr needed perfecting...
i then took it to PPI in milber and got them to textur paint it and colour it so it looked original
here is how it turned out.
-
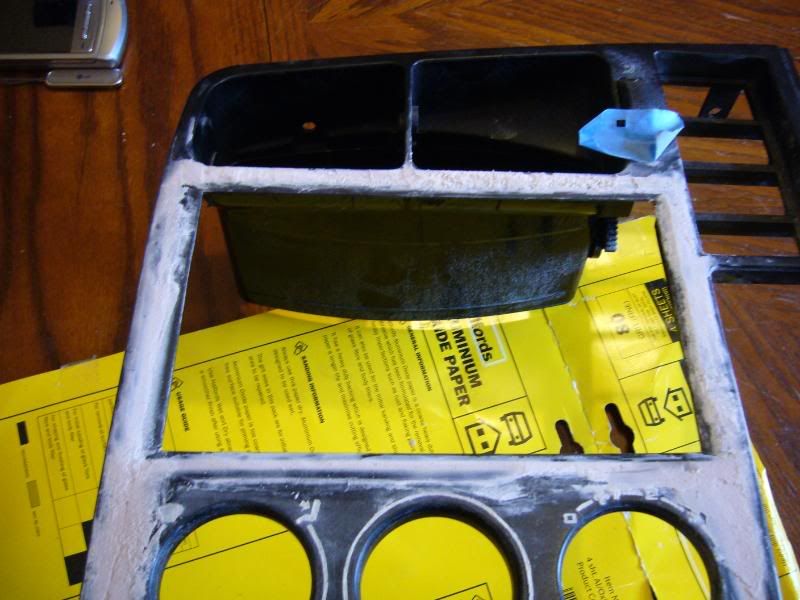
pretty excited at this stage just want to get it in and up and running, now starts the headache of trying to work out how this is actually going to fit together and have some sort of permant fixture in the car.....
after all of about 5 min of thinking about this out came the filler............
as you can see in this pic i have tried to mask out the illumination controls so i dont loose them with all the filler etc etc
as you can see i have come across a problem already...in order to get it all to sit right and be original looking as possible i am going to loose the heater control illuminations............AAAARRRRGGGHHHHH REALLY DIDNT WANT TO DO THIS BUT THINKING ABOUT IT THE HEATER CONTROL ILLUMINATION IS REALLY CRAP on the corrado as is all the interior illumination so i guess il just roll with it and see how it goes il loose the illumination and sort something out later...
-
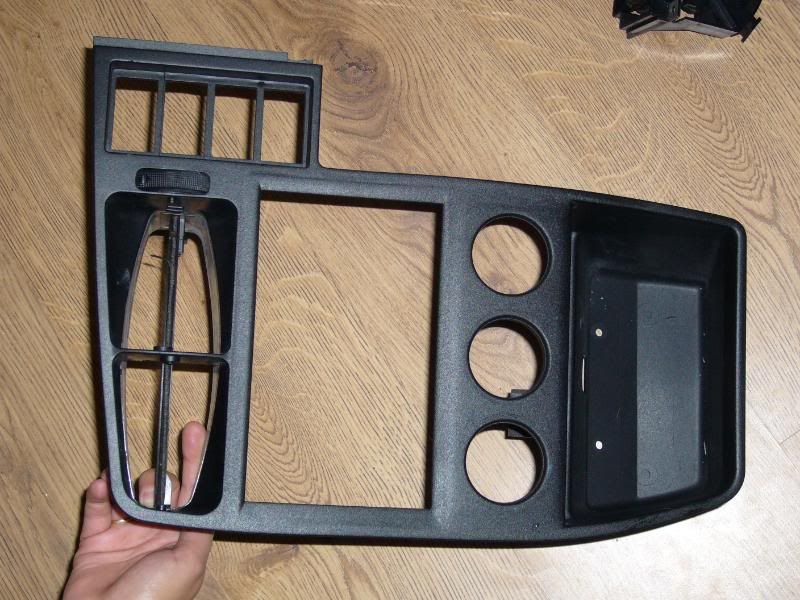
the interior is pretty grubby and needs desperatly a deep clean...carpets door cards everything etc etc etc
i set out straight away cleaning this is how far i got lol you can just see a clean/dirty line just above the interior door pull...
got bored real quick of doing this and thought as everything is going to get dirty anyway due to all the work ive got planned
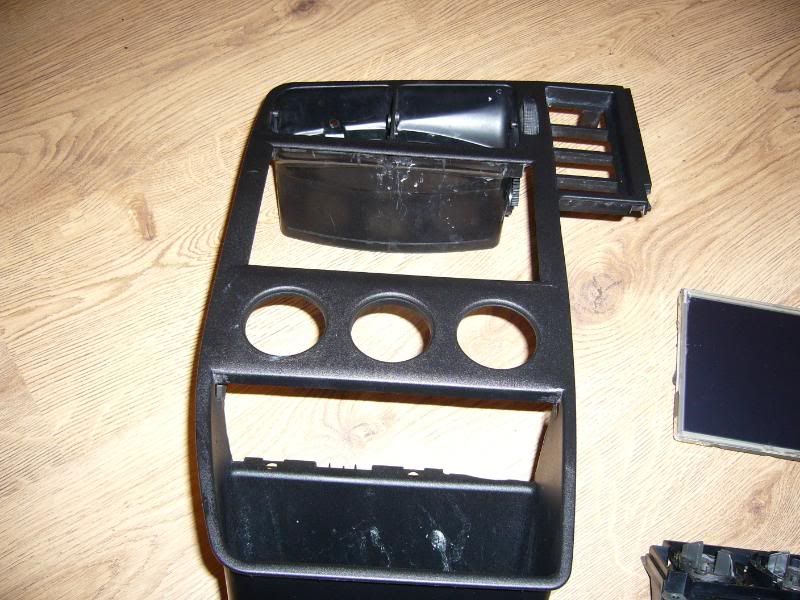
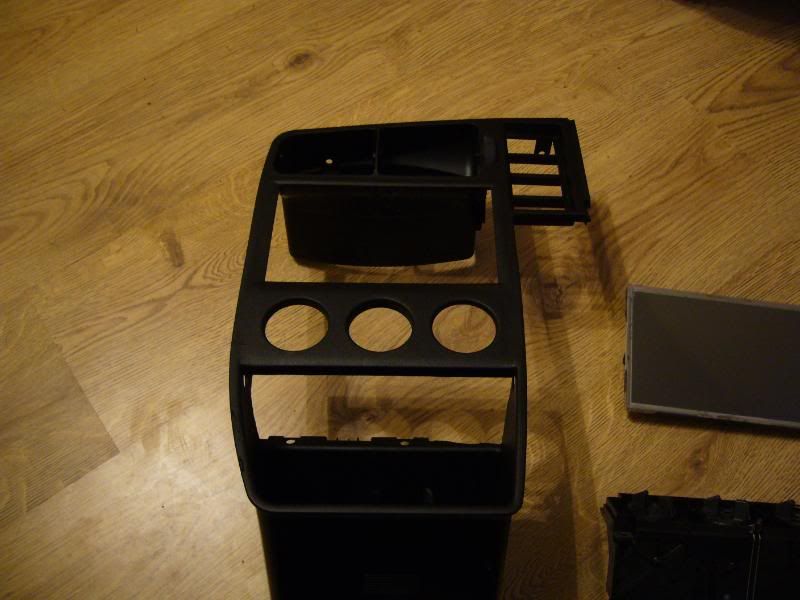
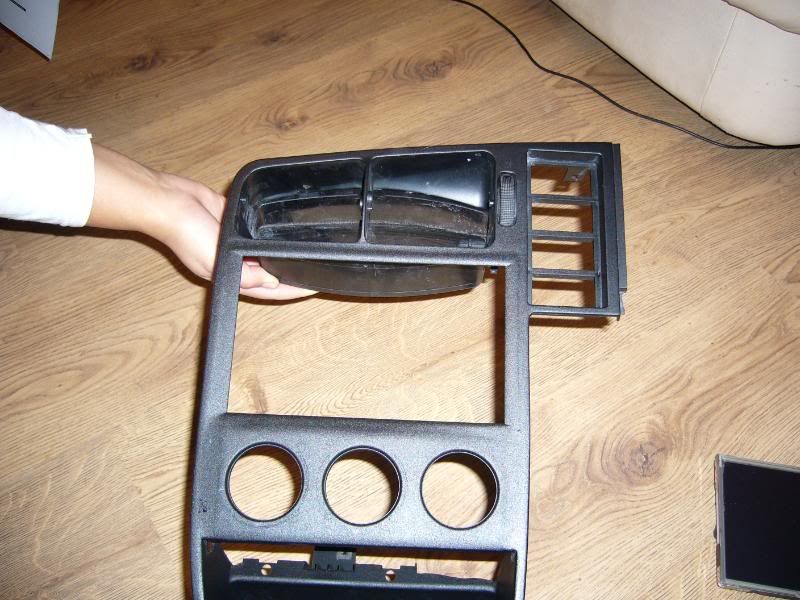
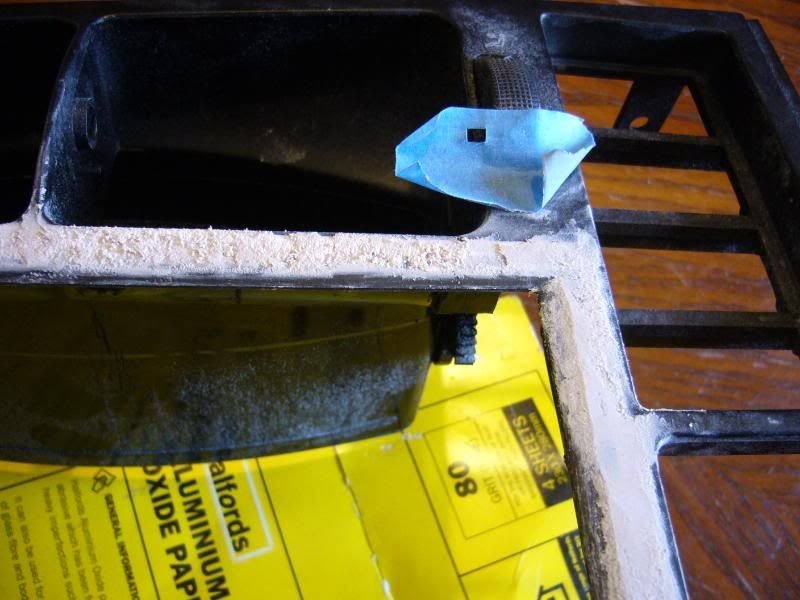
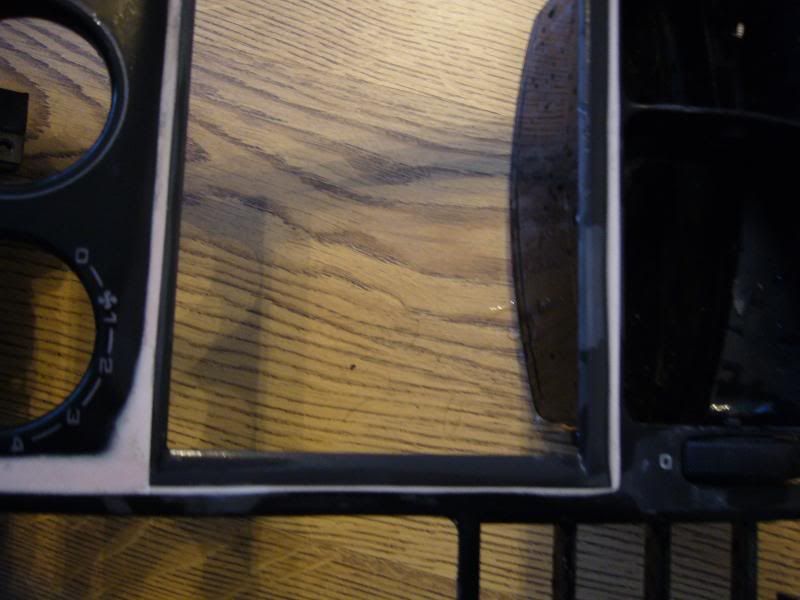
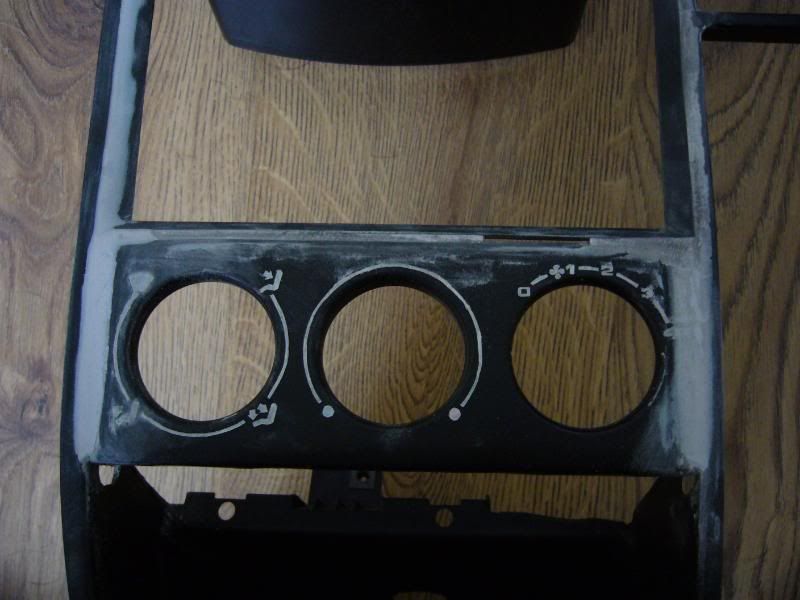
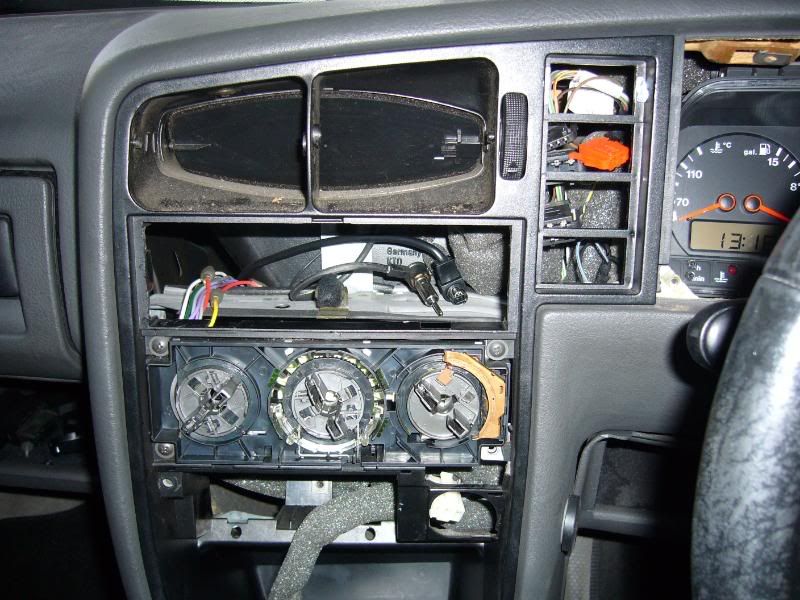
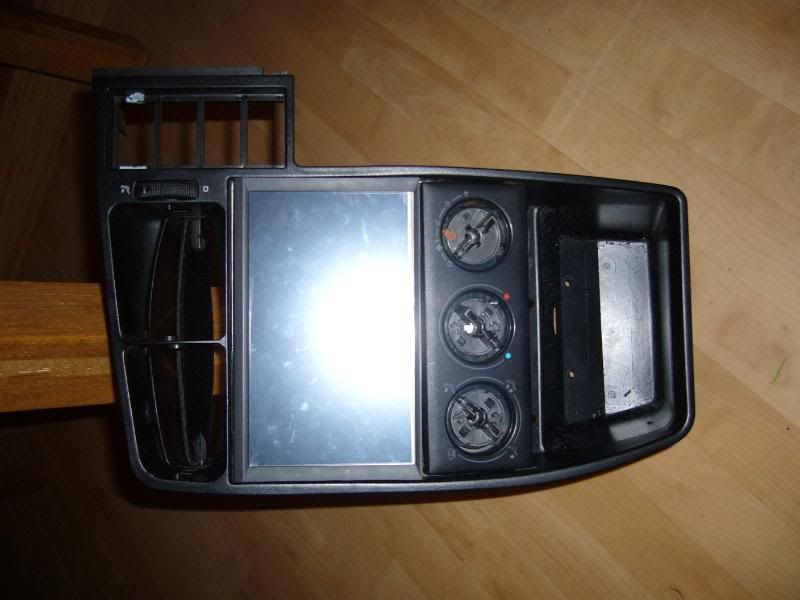
i couldnt wait and started stripping the dash etc so i could see how im going to fit this centre console...
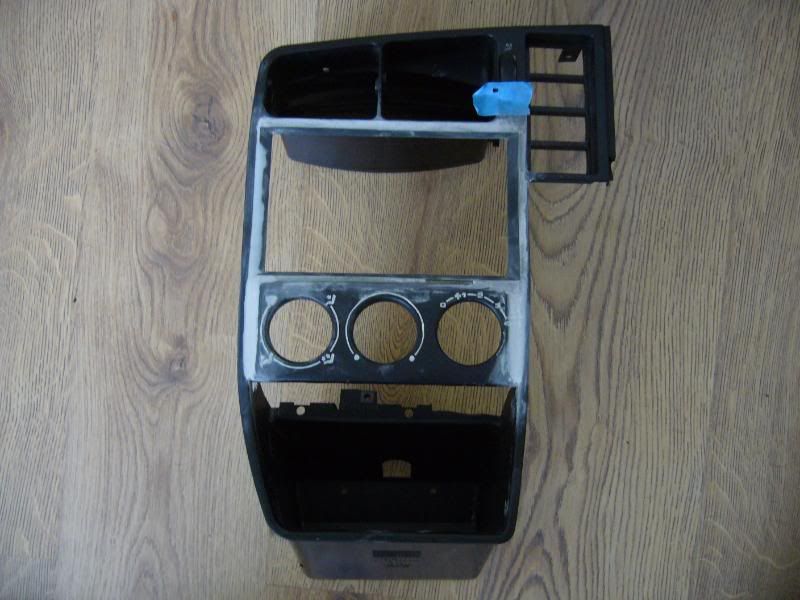
dash stripped of switches
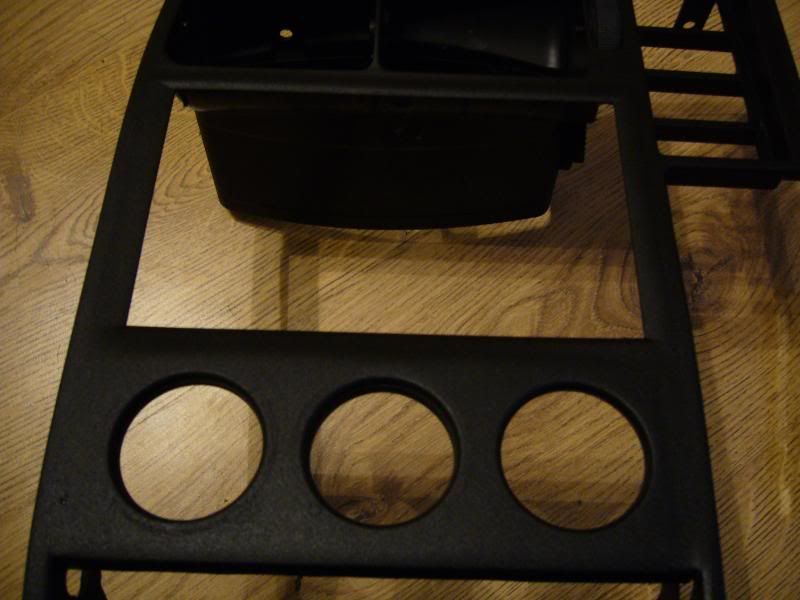
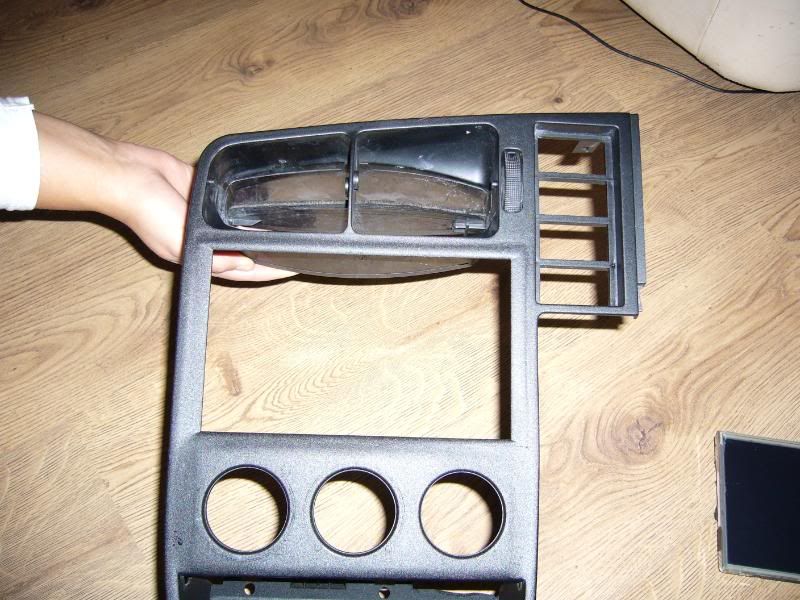
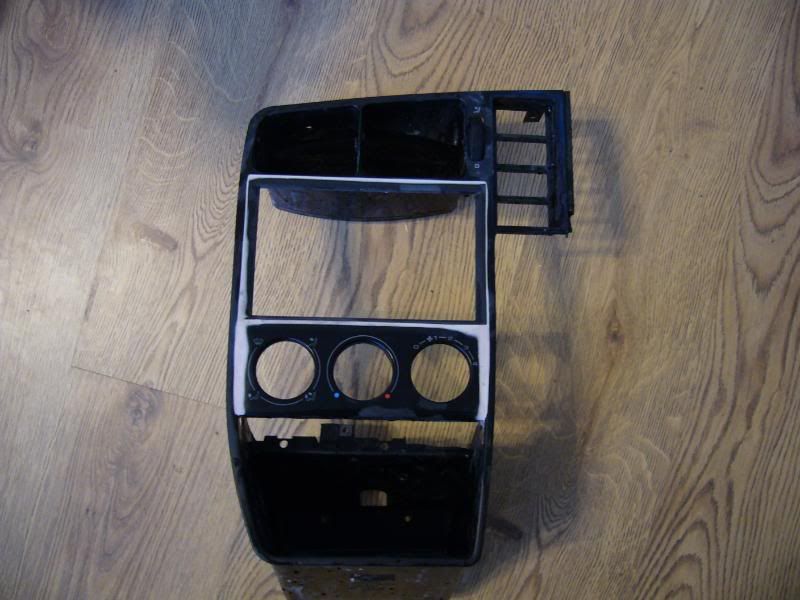
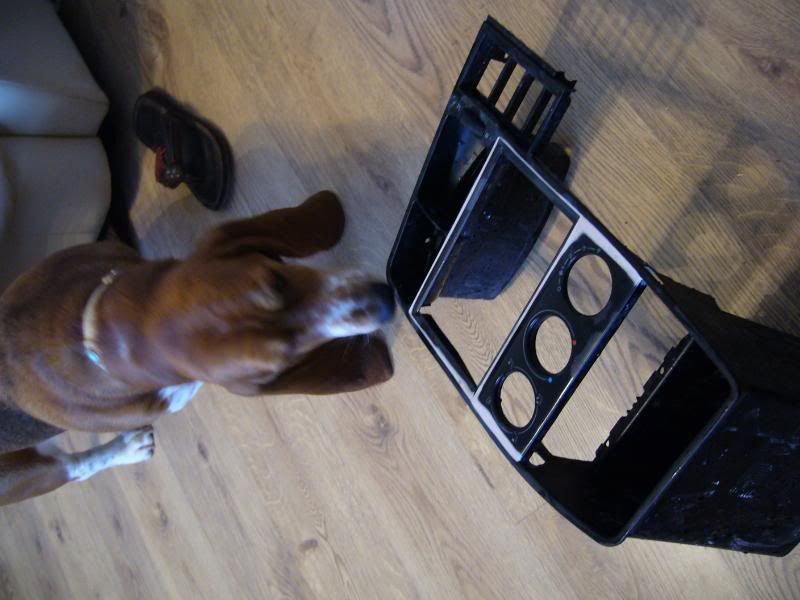
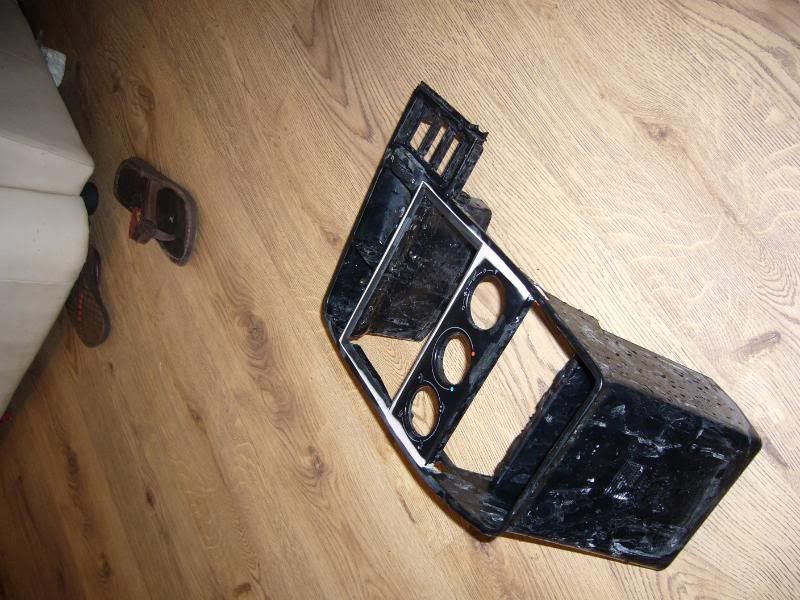
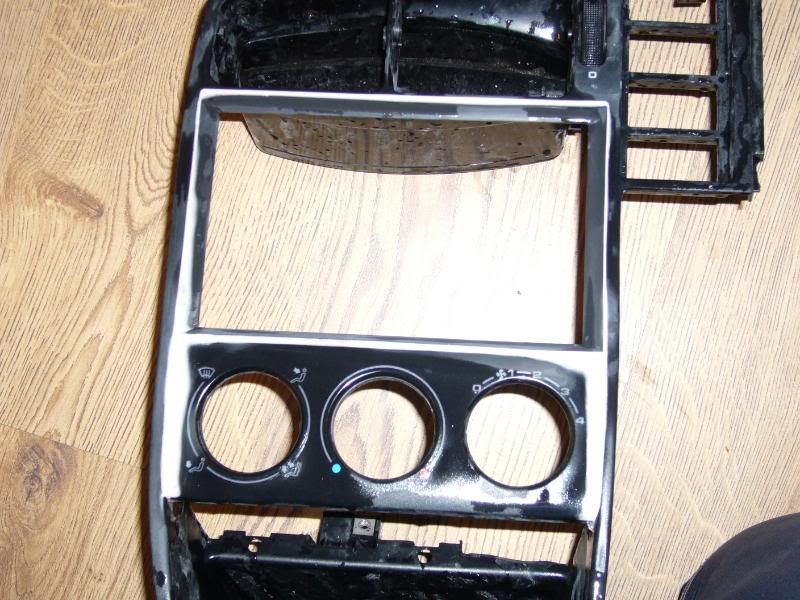
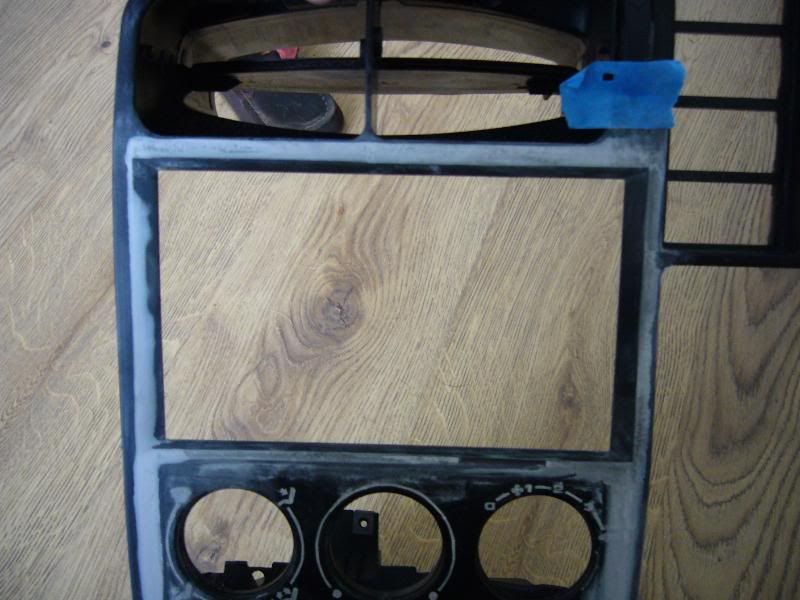
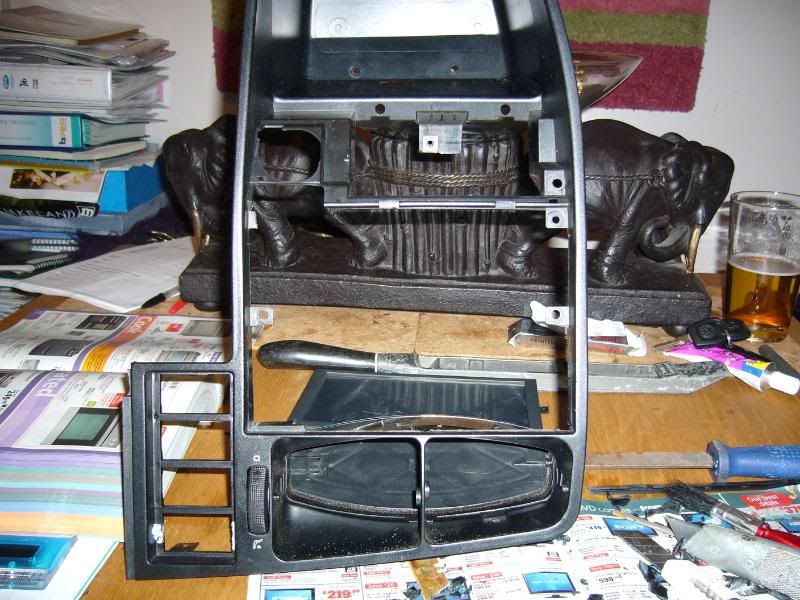
with the centre console removed i started to cut and file it so i could get the screen in
as you can see in this i have stripped a lot of the plastic out i have removed the original radio slot and most of the ashtray plastics the heater controls have been removed and need to be re-located further down.
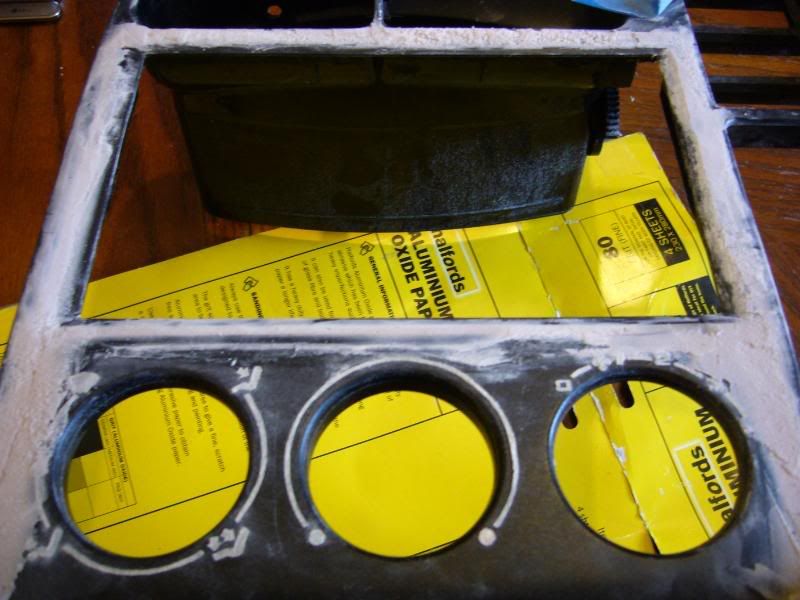
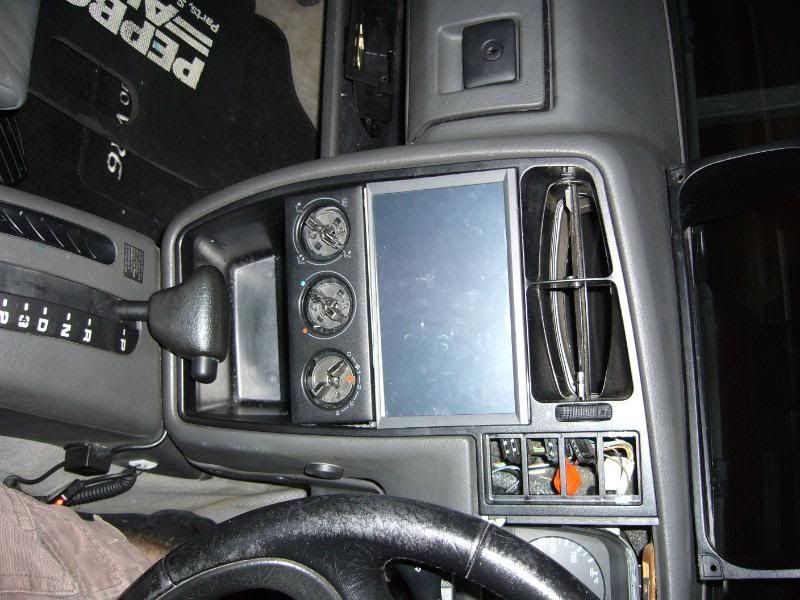
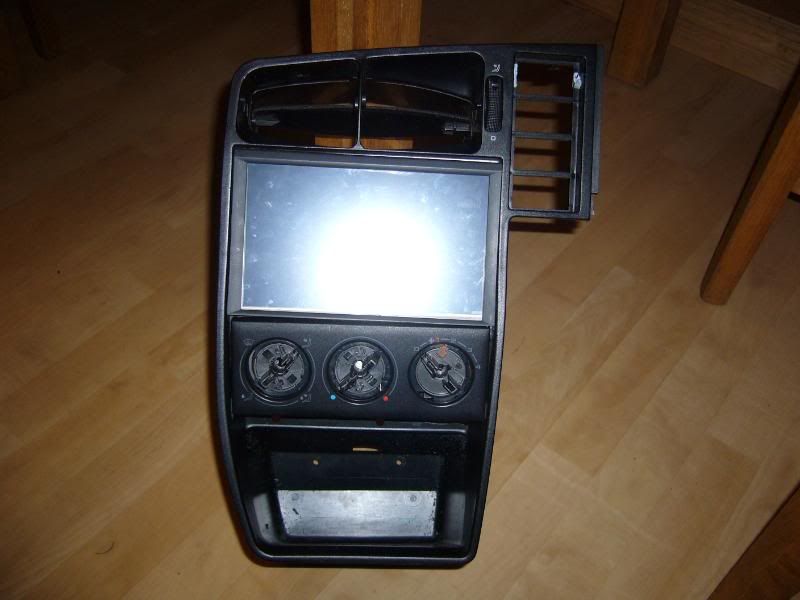
this is the look i was trying to go for
the screen and heater controls are just rested into position
with this knocked up i opted for a dummy run
-
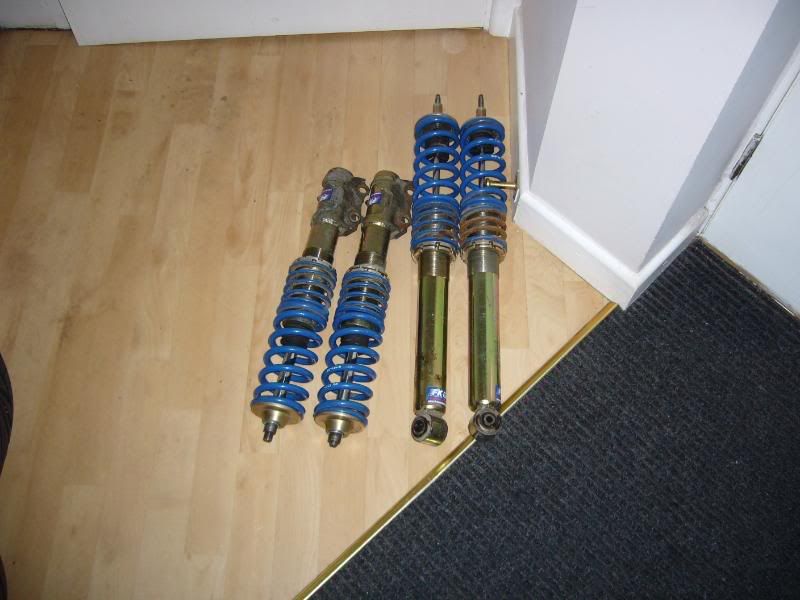
so along with the coilovers i had just purchased
and the wheels...
i have this car p.c to fit...
this car p.c has a 8" touch screen
an 80G Hdd
cd/dvd re-writer
gps
camera
engine diagnostics
etc etc
it is full windows xp operating system and runs street deck software...
i had this installed in my previous car and it really is awesome....
this is the screen..
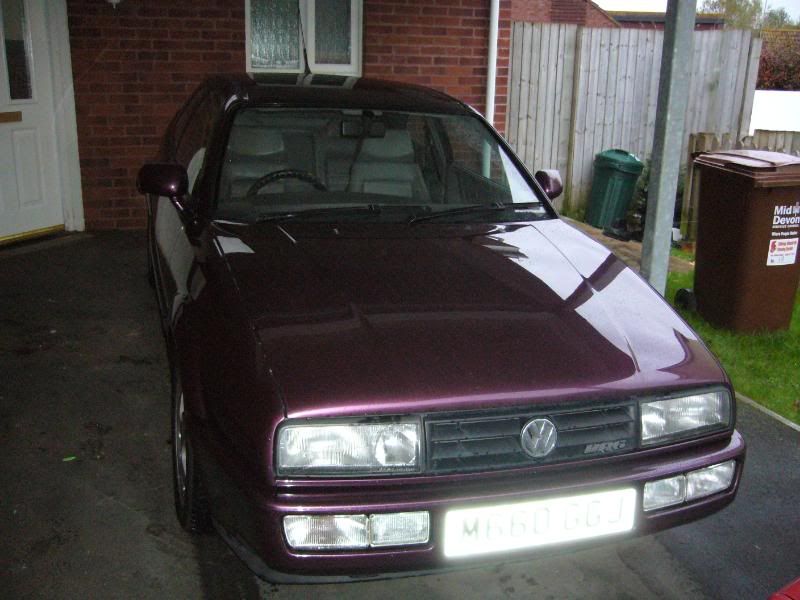
here are a couple of pics of the day i drove it back...
-


That Rado...........
in C488ADO's Blog
A blog by C488ADO
Posted
to get the look im after i had to roll the arches or so i thought.
i hired the arch rolling machine frmo wheel power in torquay £25v for the week, got it home took it to garage and tried to fit it , some numpty bollocks had wound it up so tight to the hub on thier car it had squashed the bolt holes so you couldnt get the bolts in!!!!
what a ****er so i spent ages filing it out so it was useable...
any way this went from bad to worse...........
we love arch rolling especially when it cracks the paint!!
we love arch rolling even more when it doesnt even roll the arch!!! the metal is sooooo god damn thick on the back of the rado it just wouldnt play ball....
the machine left the arches distorted and with cracked paint i was so overjoyed..................
i must say i did heat the metal up it was in a warm garage etc etc it just didnt work for me....
anyway while it was there i decided to get rid of the rubbing strips...
this left loads of ganky **** stuck to the doors and i had to use one of these to get it off
this was all good until i found out that the passenger side had been painted before and whoever painted it once it had been laqured it cant have been left to go hard because the sticky strip had eaten its way into the laquer andc left what looked like blisters all the way down the door plus the laquer had come off too.........
so as you can imagine i was relativly ****ed off by this point......