Jump to content
Sign in to follow this  
  • entry
    1
  • comments
    93
  • views
    1,090

That Rado...........

Sign in to follow this  
C488ADO

58,894 views

WELL..im back new motor and new project....

this one is a keeper i have always liked vw's and i really cant be arsed to buy / sell any more cars.... so this one is here to stay, i do have some long term projects in mind for it , it wont be totally mint like concours but it will be tidy daily driver standard, not sure if it will be good enough to show but il like it all the same....


as with any project i undertake time and money hold them up so i will update this as much as i can along the way....


i have gone for a

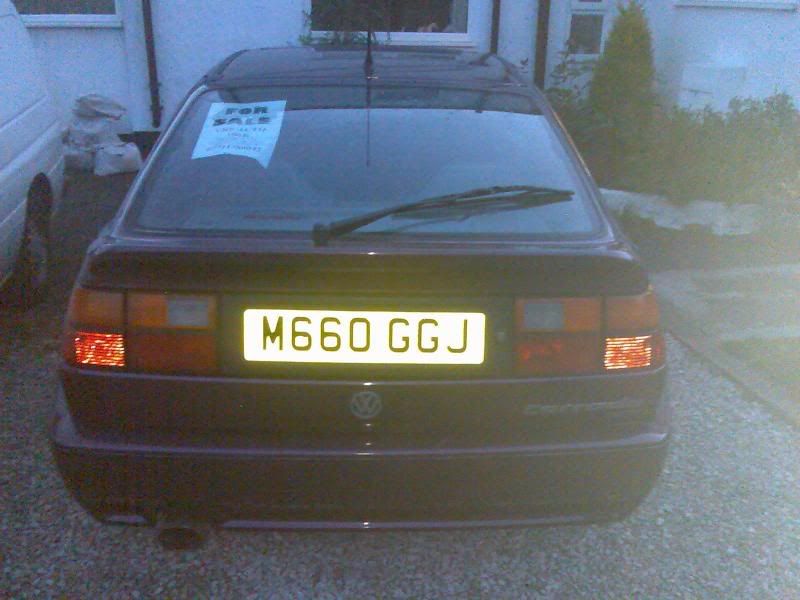
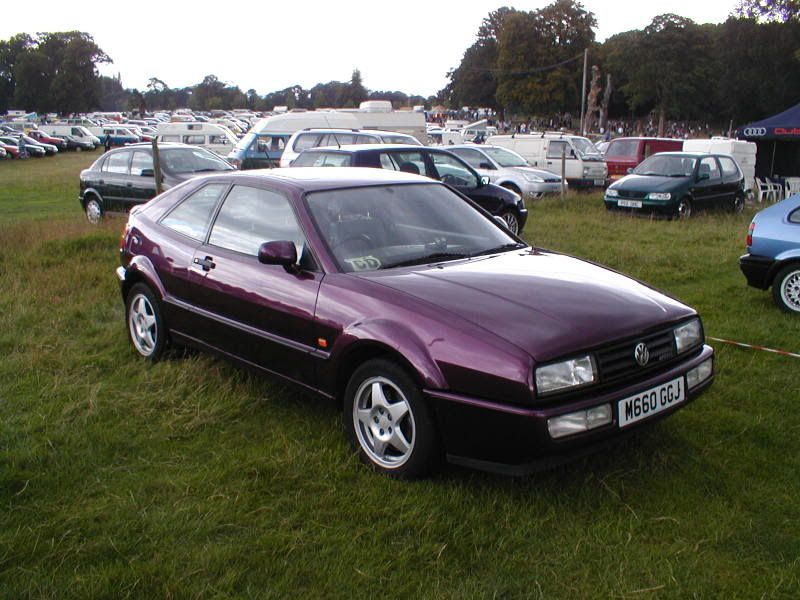
volkswagen corrado vr6

colour is blackberry

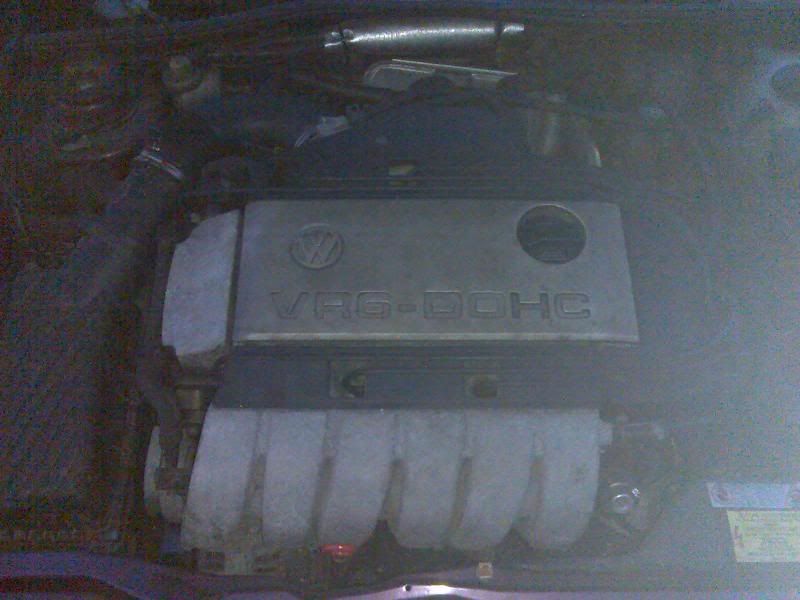
2.9 12v v6

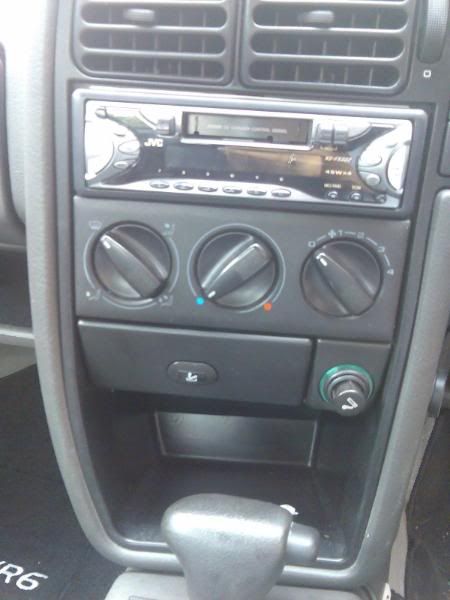
AUTO!!!!!! (ahem this will change in the future..)


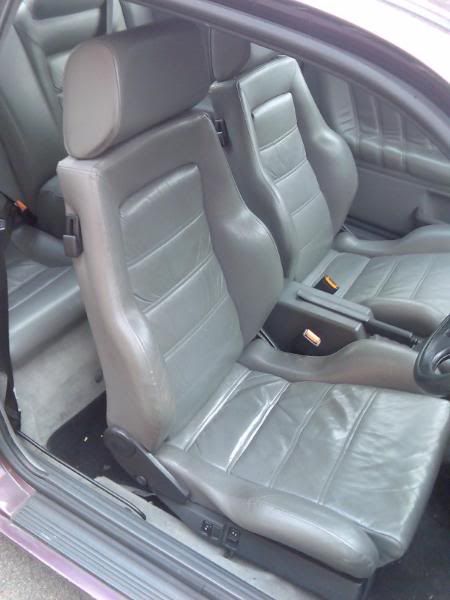
it is quite special really as it has electric heated leather recaro's from new...optional extra im lead to believe at the time i have also heard storys of insurance claims writing the cars off due to them being £4000 each to replace!! lol


it has the same spec as the storm model but it is a nicer colour and has the nicer interior... so in my opinion a better and nicer buy than a storm...


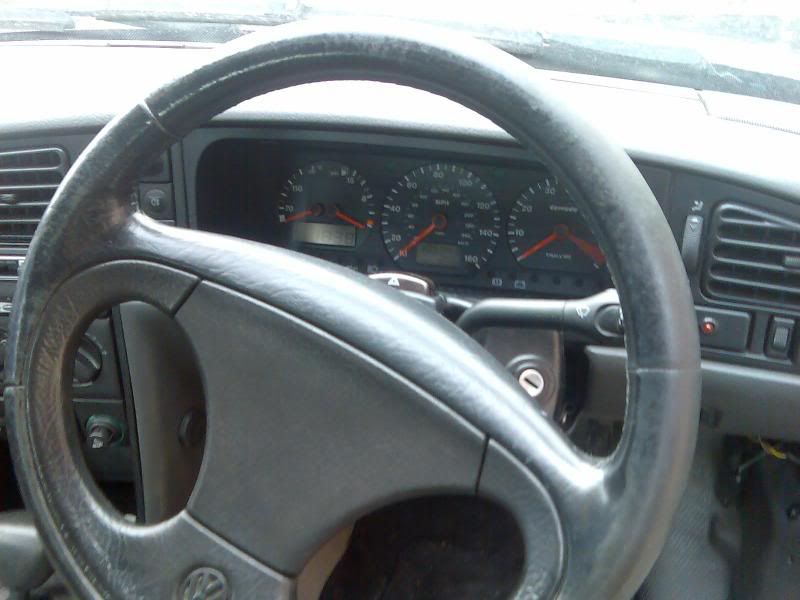
its just coverd 107,000 miles and has full anally retentive service history with a box binder abosolutly bursting with recipts etc etc


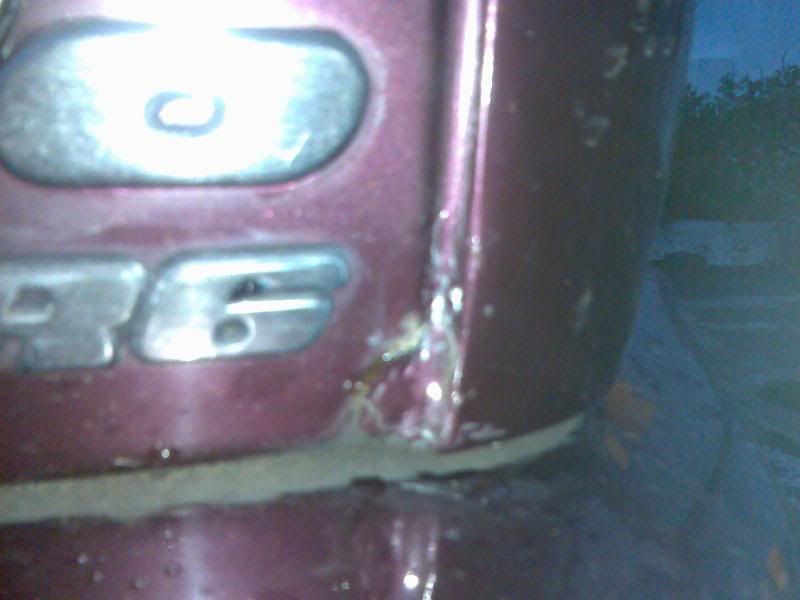
the body is quite tidy for the year and mileage and the interior again is tidy , i would like to spend some time on this later in the project getting it how i like it...


il post some pics up later on so you can see what its like cheers


nate


anyways here are a few pics of the sale adverts...
 

Corrado20VR620Auto.jpg


CorradoInterior1.jpg


CorradoInterior2.jpg


CorradoInterior3.jpg


Image015.jpg


Image016.jpg


Image022.jpg


so that was the sale pics not great but you get the idea.....


i guess at this point i could tell you the difference between my car and the storm.


as i believe it the storm was a limited edition run of 500 cars, 250 were blue and 250 were green...

the blue storm had black leather while the green had beige leather


both cars were heated leather seats and that is the main difference... the only other spec difference is the strom badge on the rear of the car and a storm badge on the centre console.....the vr6 badge on the fornt and rear were chrome.


that is the complete difference between the corrados standard models and the storm...so it is possible to get a better specced corrado than a storm!! weird huh?


anyway.....


i like the way the standard car looks it has unusual lines and i think it is quite definitive in its age, there arnt too many around now and you really dont see them very often on the road, it is said that the corrado never really took off and was a vw flop but many many people disagree it handles superbly and the quality of the doors shutting and bonnet the interior really is very good, esp for a car of this age, the dissapointing factor of these cars is the performance... ok they are old they are fairly quick nothing like most cars of todays standards, they have a 2.9 12v v6 engine you would expect more horse power.... these only push out 190 bhp?????


crap really, they should of had a (schrick) vsr inlet manifold from the factory but volkswagen moved to opt out of this due to manufacturing costs so they sold the rights to schrick hence the name... this is basically variable valve timing for the vw!! similar to hondas version... this improves horse power and torque across the rev range and makes a very nice difference


on all models air con and headlight washers were optional....


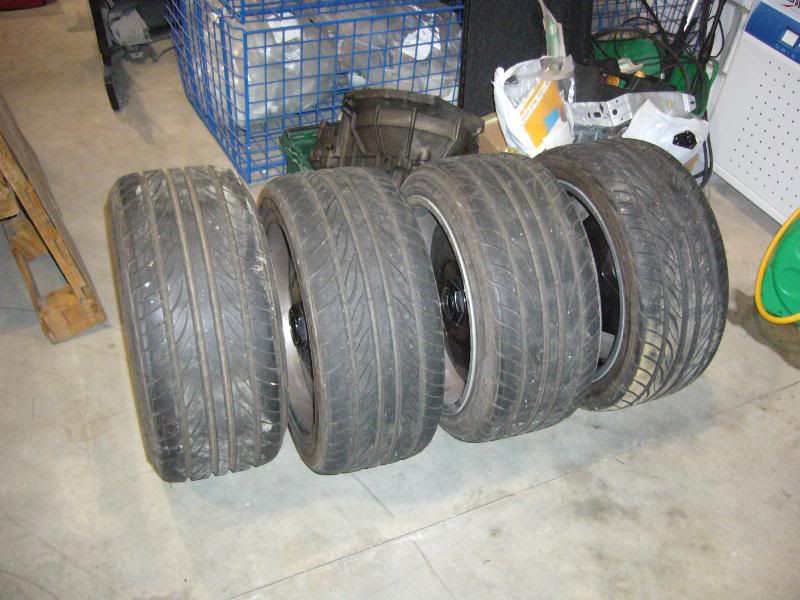
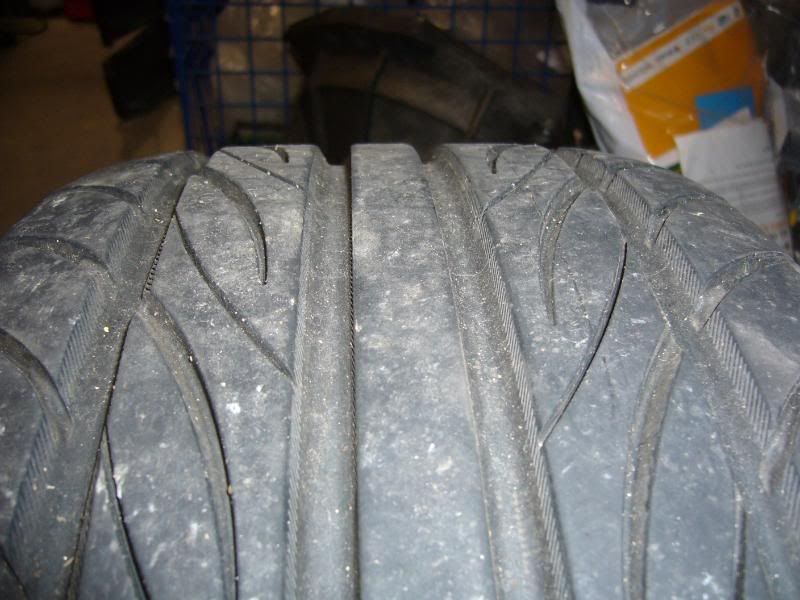
i bought these wheels before i picked the car up and i still think they are old but kinda cool looking.... retro cool....


these are also supposed to be quite rare as they are 5 stud fitment for vw.


Borbet A's


fronts are 16 x 7.5

rears are 16 x 9


P1030270.jpg


P1030269.jpg


P1030268.jpg

Sign in to follow this  


93 Comments


Recommended Comments


riiiiiiggghhhhhttt so it started like this , this is how it looked 3 days after it was last cleaned :shock: ,

P1050029.jpg

pretty god damn filthy as said before lost the love but getting it back not getting it back getting it , you get the idea,

P1050030.jpg

P1050031.jpg

P1050032.jpg

P1050033.jpg


this is how it looked after the forst wash asa laways the 2 bucket method....


P1050034.jpg

Share this comment


Link to comment

lol just re reading some of this im sat at home watching the first startwars digitally remasterd i love it, upping the hen right now so feeling a bit ****shed!!

P1050035.jpg

no one likes a dirty end piece

P1050036.jpg

P1050037.jpg

P1050038.jpg

i use a wash mitt and i love it you can pick them up from asda for £1.99 so i bought 3!! you can get them in all the lush colours of the 80's flourescent green , orange, blue, yellow......

P1050040.jpg

P1050041.jpg

Share this comment


Link to comment

my pictures are just as ****e as bens they were taken in johns garage so ****e light ****e photographer etc etc

i will get some in daylight ,.....just when is the problem...

lol


DSC00620.jpg

DSC00621.jpg

DSC00622.jpg

DSC00623.jpg

DSC00624.jpg

Share this comment


Link to comment

rado's been a very lucky lady this weekend..... picked up a genuine complete full beige leather electric recaro heated interior!!!


of course is grubby as fcuk but il do me best to clean it up and make it presentable....

made a start already as you do , but it is a massive job and im disliking it already!

got a couple of before and afters no particular order and only of a few bits i think il give it the once over then il spend time later perfecting the parts need a couple of localised areas sorting esp seats but il get round to that... all works so very happy...

just now as its beige its got to be clean....

DSC00760.jpg

DSC00761.jpg

DSC00762.jpg

DSC00763.jpg

DSC00764.jpg

thats it really those 3 items were a bitch to clean and the muck that came off was pretty believeable.... haha

going to go over the plastics a few times i think and if still not happy then il recolour them ...hmmmmm cant be arsed but i might have to but we will see, the door cards have a few marks on the edges looks like black oil type stuff il get the meths on very easy though just enough to take the crap off dont want to strip them back totally, plus it stinks real bad.....


cant even be botherd to look at the carpets they are shagged...

DSC00765.jpg

i have a pile of **** in the front room and im getting a little knawing in my ear......

DSC00769.jpg


well two piles of **** lol

DSC00770.jpg

i took the carpets to the garage tonight and pressure washed them off..............


and this is how they came out bearing in ind they were completly minging before.... lol

DSC00774.jpg

DSC00775.jpg


as you can see they are really dirty still so ive put them in the bath and washed them by hand as im not allowed to use the machine anymore....

so bold and lenor and a scrubbing brush it was rinse was rinse i left the spin bit out as that would have really ****ed her off ,

ummm yeah the bath water is dirty..

DSC00776.jpg

DSC00777.jpg

got the little ones hanging up drying now as i havent got a wet vac anymore!!! arghhhh

DSC00778.jpg

DSC00779.jpg

DSC00780.jpg


very pleased with the above , now if the main carpets come out as good as that il be very pleased indeed!!


il update soon......

Share this comment


Link to comment

Hi chris il pm ya!

the main carpets are just hanging up to dry

DSC00781.jpg

DSC00782.jpg

DSC00784.jpg

DSC00785.jpg


there are a couple of dark lines on them but that is water , when you squeeze it down it goes light .....so when they are dry they will look 100% better....

there is 2maybe 3 little tiny grease marks the camrea hasnt picked up on but tar and glue will remove them ,


i used tar and glue during the washing process to remove the grease form the centre of the carpet from the seat runners and catch at the front where it must have rubbed etc

when they are hoovered up itl show all the pile and just look all fresh and nicey nicey

Share this comment


Link to comment

got a bit more done today...

got all the interior plastics and chucked them in the bath and started scrubbing.....what a boring job that is doesnt look like it makes much difference until its dried but like i say itl do until i build a shed and the summer comes i can then colour match the whole lot so it looks fresh and spanking.....


DSC00799.jpg

DSC00800.jpg

plastics during...water is a much dirtier in the flesh

DSC00803.jpg

at least they have benifitted slightly

DSC00802.jpg


sunroof trim even had a go

DSC00801.jpg


the carpets came up nicely here they are dry,

DSC00787.jpg

DSC00788.jpg

DSC00789.jpg

DSC00790.jpg

DSC00791.jpg

hmmm its like a disease the parts are now spreading to the bedroom....

DSC00792.jpg

the sunroof panel on the beige interior is also beige i didnt know this so i thought id better fit it this one is minging....


DSC00793.jpg


so that went in the bath too..... lol

i **** myself a bit as i had no idea what would happen to it


this is during the washing by hand with bold again and a soft scrubbing brush...

DSC00794.jpg

i then thought while im at it i might as well try the headlinging as that too is beige in colour... and very dirty

DSC00795.jpg

DSC00796.jpg

again during this time not using as much water as i didnt want to distort the backing card

DSC00797.jpg

DSC00798.jpg

back to the sunroof panel and this is it nearly dry

DSC00804.jpg

and a coule of the headlining you can see the water in the corner of it still dripping out..

DSC00805.jpg

DSC00806.jpg

as you can see been on a mission ive fitted the door cards but not taken any pics

Share this comment


Link to comment

just a quickie before i leave for work got up early (ish) and thought id better strip the sunroof panel out now as it might turn into one of those 'il do it later' type jobs haha so out it came easy

old sunroof panel and this by the way looked mint in the car!! lol how wrong was i!

DSC00807.jpg

took out the headlining stip from the windscreen area i wanted to do the full conversion to beige so it looks factroy, and this piece was a ******* to remove...it was held in by metal spring clips and black window sealant!! thanks......

DSC00813.jpg

got a blade and cut it out gently not managing to damage it

put the new one in and yes its beige!

DSC00814.jpg

sunroof panel in had a good look round it to see how it works very simple bit of kit once you get inside it

DSC00815.jpg

DSC00816.jpg

re stuck this packing to the roof with carpet tape should hold nicely... im going to get some new black duck tape and place over all the clips etc to reduce rattles and hopefully make for slightly tighter fixings.. , plus going to tidy the cables up while im about it

DSC00817.jpg

DSC00818.jpg

got the next panel stripped ready to take the original heater loom for hte seats the relays sit in here...

DSC00820.jpg

bought a new boot reaease and found a suitable location for it just need to make a braket up and wire it in and it should do nicely

DSC00821.jpg

fixed the god damn annoying sunroof seal as it had dipped in both corners not fitted correctly after painting...

DSC00823.jpg


even out the car it was a bit of a pig the seal is so not flexible.....

got the door cards fitted they look quite good actually...

DSC00811.jpg

DSC00812.jpg

i noticed that using as a daily is killing my wheels...

DSC00822.jpg

so i had a quick go to see how bad they really are


DSC00824.jpg

DSC00825.jpg

i think they will come up fine..

stipping all the boot carpets out going to rebuild the boot install and spend some time on it this time..

got my eye on some kicker 100 si amps old skool but i love them

DSC00809.jpg

cars looking a bit of a mess!

lol

DSC00808.jpg

Share this comment


Link to comment

didnt get chance to update before work this morning,


got the headlining in and the sunvisors..

DSC00827.jpg

DSC00826.jpg

DSC00828.jpg

im starting to see that it is going to look good!

it does look weird though seeing part grey and part beige in it lol

DSC00829.jpg

DSC00830.jpg

got all the rear boot plastics in

DSC00834.jpg

Share this comment


Link to comment

thank you to rob for coming and getting the old interior bits and pieces today and thank you to matt for helping t=with the dash etc

what a bloody day not really a good idea to strip the dash out on a late sunday afternoon.... done it though and got some of it back in!

i hate looking at this its just where the hell do i start now.... lol

DSC00836.jpg

DSC00835.jpg

removing the p.c

DSC00837.jpg

bllocks lets take the dash out ...............what a good idea that was..

DSC00838.jpg

rob are you scared yet! hahah

DSC00839.jpg

DSC00840.jpg

i had to pick the missus up so i chucked the seats in and off i went..

DSC00841.jpg

got the black dash in now so itl look better when finally converted all to beige

DSC00842.jpg

quick piccy of the seats before any cleaning commences..

DSC00844.jpg

also got the b and c pillars in so the headlining etc all finished and looks very good...

DSC00845.jpg

Share this comment


Link to comment

cheers guys yes they are the same as what i had before ..... but in beige...i always wanted the beige but they were either tooo much money or they never turned up , ive gone back to the recaros only becasue they are a more desirable seat , they are certinaly not as comfortable as the porsche recaros......


anyway ive got my kit to dye the leather and plastcis yesterday so today i thought id tackle a little bit1 as it happens i love doing it and its turning out absolutly amazing!!!


i thought id try my luck with the gear stick centre console bottom layer as it was quite grubby and i needed to practice on plastic first rather then staright into the leather.....

you will have to excuse the pics as they dont pic up just how dirty the plastics are even after the wash ive given them....

you might just see faintly top left of the plastic its a bit dark well it is and in the flesh a bit grubby looks tierd...

just stripped the black material off that stops the squeaks and the foam.

DSC00903.jpg

cleaned with leather prep, yes leather prep

DSC00904.jpg

cleaned with alcohol solution

DSC00908.jpg

painted leather finish high gloss

DSC00909.jpg

lol painted leather finish satin effect scratch resistant

DSC00911.jpg

DSC00912.jpg

as you can see (well maybe ) lol it looks fresher but theres not much telling between the pics not sure if its the light etc

to say im pleased with the result is an understaement....

i am attempting the centre arm rest next..............

DSC00913.jpg

DSC00914.jpg

i still have bits of the black fabric i took off but i would like to try and source a similar material so i can re trim the edges to reduce the squeeking...

i have some spray glue and some carpet tape im sure something can be made up...

il try and post up as and when

cheers

Share this comment


Link to comment

prepped the arm rest and then did the same process with the leather as i did with the plastics,its turned out very well but...............................

the colour is different!! lol not bad really in the flesh it is the same colour but its just a lot fresher obviously looks new and clean the only problem is it really shows how tierd the rest of the interior is so i kinda expected it realy im going to go the whole hog and do the rest.... bit of a mission i know but i have a week off next week and il give it a shot to complete it then!! fingers crossed....

DSC00915.jpg

DSC00916.jpg

DSC00917.jpg

DSC00918.jpg

DSC00919.jpg

DSC00920.jpg

DSC00921.jpg

DSC00922.jpg

DSC00923.jpg

DSC00924.jpg

bit gutted about this only becasue it means ive actually got to pull my finger out and get it sorted sooner rather than laer...

DSC00925.jpg

Share this comment


Link to comment

got the compressor this evening and wow what a difference... so much quicker.

got some more plastics done this evening

DSC00927.jpg

and this is for the possible non belivers... lol

here we have my original GREY auto gear shift surround

DSC00928.jpg

prepped and masked up

DSC00929.jpg

first coat of colour as a base coat

DSC00930.jpg

first spray coat

DSC00931.jpg

finished article..

DSC00932.jpg

old beige surround just bought verses new colour changed one.

DSC00935.jpg


so there you have it possibvle to change any colour to any colour and in the flesh it looks just like new and extremly good...

Share this comment


Link to comment

well started on some more interior plastics this morning took out all of the boot plastics i have prepped them and sprayed them all i need to do is put the satin top coat on then they are finished....

i took a chance and ripped out the passenger side recaro seat today and thought bugger it im gonna go for it and see what happens.... , now they look ok dont get me wrong they are clean is not tatty but the leather is good,

they have the useual bolster problems....

P1050121.jpg

P1050123.jpg

P1050124.jpg

P1050122.jpg

you can see hte ground in dirt you just cant get it out......

also in the above pics on the bolsters you can see the PAINT cracking i always used to think that this was the leather cracking and therefore shagged and need a re-trim, read on....................

P1050104.jpg

P1050106.jpg

P1050110.jpg

P1050097.jpg

P1050099.jpg


you will have to excuse some of the pics as i wanted to try and picture it in natural light no flash the flash just makes everything look white!! you might be able to see on the varying photographs the different stages of the leather being prepped, you will notice that the cracks have almost dissappeard and the leather looking a lot lighter, thats because when you prep it it takes all of the **** off the leather revealing the colour uinderneath, even after the prep they looked good, in some areas i took all the paint off (by accident ) but it doesnt matter, on the upper part of the seat bolsters on the left hand side the leather had cracked just a small crack about 5mm long i used the repair filler and now its gone totally!!!

i cannot stress enough how good this stuff is to use i really cant and easy wow ,so easy............

P1050100.jpg

P1050104.jpg

P1050109.jpg

P1050108.jpg

P1050111.jpg

anyway the pics dont do it justice and it looks something like this....................


P1050117.jpg

P1050118.jpg

P1050119.jpg

P1050120.jpg

Share this comment


Link to comment

P1050116.jpg

P1050129.jpg

P1050127.jpg

P1050134.jpg

P1050133.jpg

P1050135.jpg

P1050136.jpg


even the back after cleaning is still grubby so i did the back as well!

before

P1050140.jpg

il stick the after ones up when i find the lead!!

Share this comment


Link to comment
gave it a clean....

washed it as always the 2 bucket method didnt have chance to polish it today though too damn cold.....

whe we get a space heater or something that keeps us warm il have a go then it doesnt look too bad at the moment but you can tell when washing it the wax is wearing off not bad at all though been on there since the end of the summer!!!

P1050003.jpg

P1050006.jpg

DSC00581.jpg

DSC00582.jpg

DSC00583.jpg

DSC00584.jpg


Where did you get the carpet from ?

Share this comment


Link to comment

Join the conversation

You are posting as a guest. If you have an account, sign in now to post with your account.
Note: Your post will require moderator approval before it will be visible.

Guest
Add a comment...

×   Pasted as rich text.   Paste as plain text instead

  Only 75 emoji are allowed.

×   Your link has been automatically embedded.   Display as a link instead

×   Your previous content has been restored.   Clear editor

×   You cannot paste images directly. Upload or insert images from URL.

×
×
  • Create New...