

nmahi
-
Content Count
359 -
Joined
-
Last visited
Posts posted by nmahi
-
-
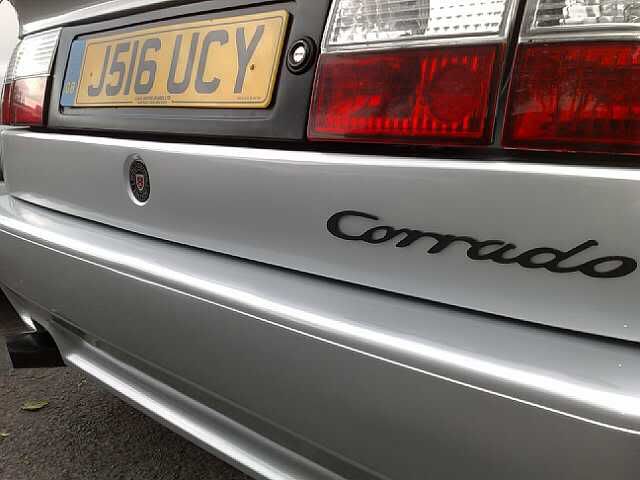
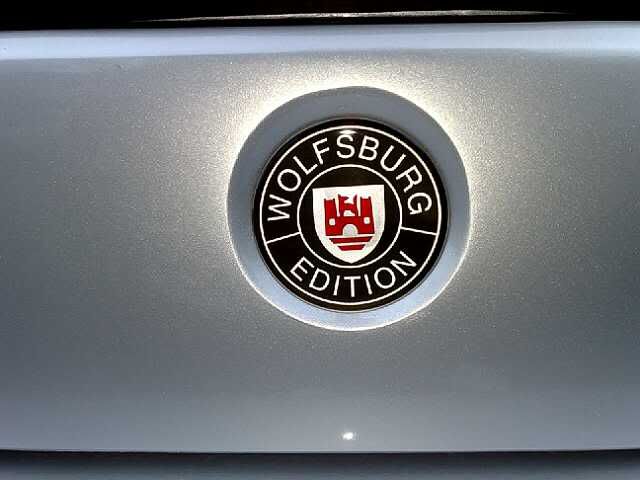
Awesome build thread, an inspiration.You gotta ditch the Wolfsburg badge though - Corrados were make in Osnabruck :wink:
yeh i sure there thing everyone would change......if you can find me a badge with "Osnabruck".....i'll change it.....if it looks good.... :lol: :notworthy:
-
Great build thread, car looks sweet. :clap:cheers dude....i thinking some new wheels.......i have something rare and special ...... :norty:
-
:notworthy:Unbelievable amount of work! Absolutely awesome stuff mate! Superb to see one saved so spectacularly like that! :)
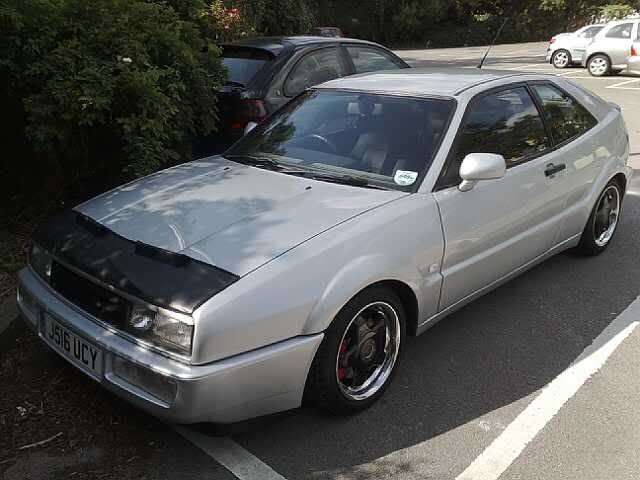
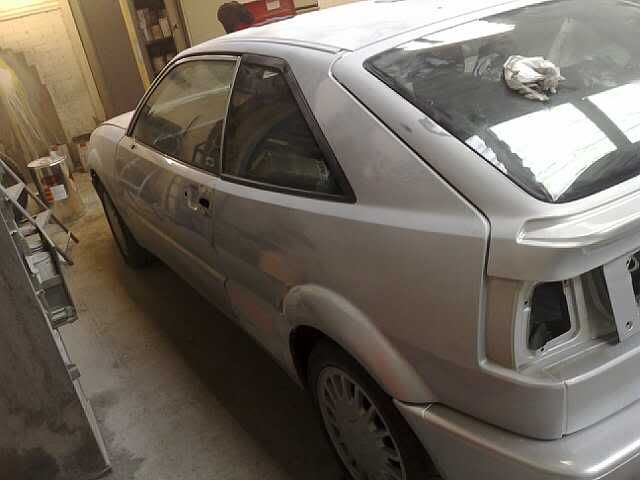
thanks Jim, yeh gota admit....non sunroof silver corrado...rare as chips....i didnt have the heart to kill her....when i got it home and my brother saw her for the 1st time.......he said "i like it, build it"....alot of time and money went in to her......all i need is the sun to enjoy her now. :lol:
-
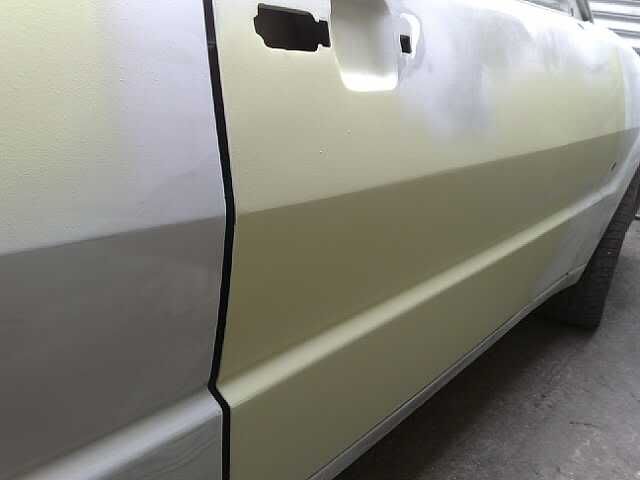
ilove corrados in silver, how much was the spray job if you dont mind me asking? looks a goodun!its wasnt cheap .......it was at "mates rates".....you got remba this is my daily runner...so i wasnt bothered with minor bits and bobs .....
-
looking good mate, silver always looks soo nice when its fresh paint! :)thank you mate 8)
-
Hope you kept hold of the original wheels, they are in demand at the moment with more people looking for a factory fresh look.oh yes, i have 5 alloys too.....all in good nick! but anything is for sale 8)
-
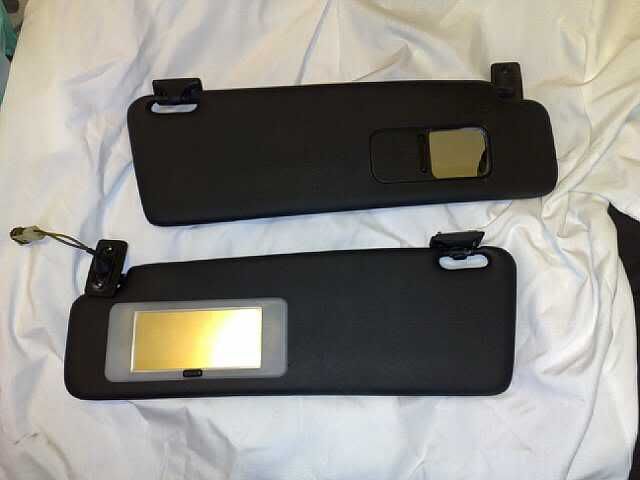
:shock: :shock: :shock: :shock:did you upholster the sunvisors, or you painted them?
incredibly nice work. go on :notworthy: :notworthy:
thank you, the guy who supplys me with the roof lining material, gave me this "special spray can" no name on it, but it does is sinks into the plastic and makes it look like factory finish, cant tel you how impressed i am with them.
-
this should do it 8)
-
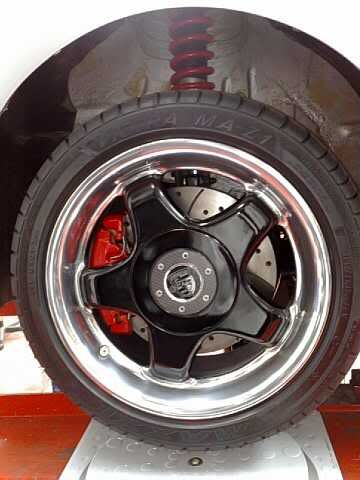
just some pics

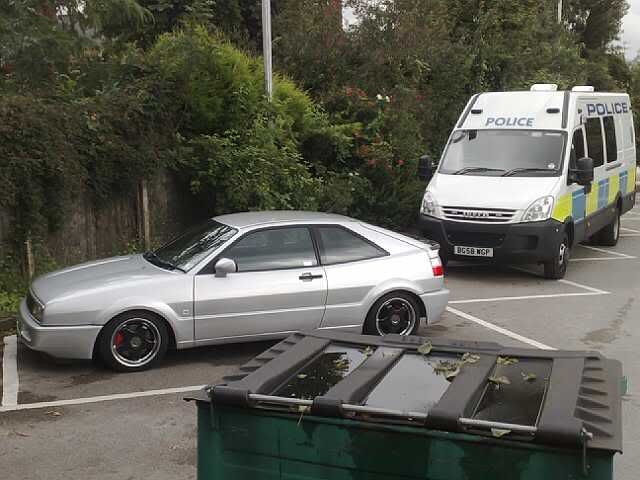
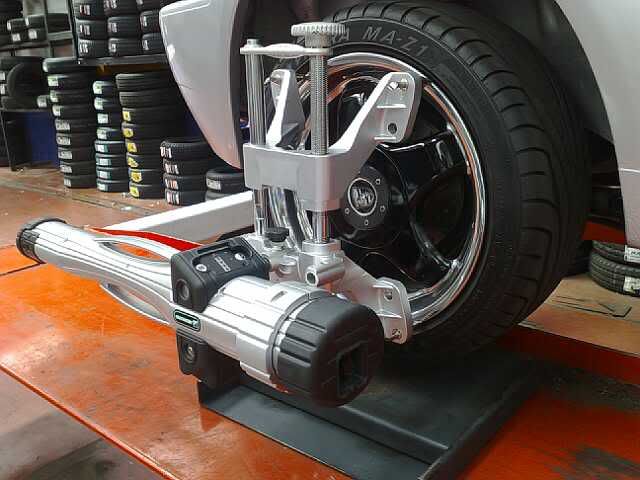
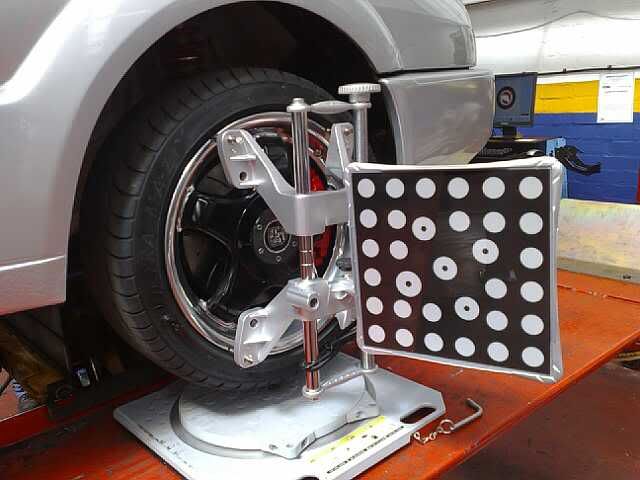
can you guess what i do for a living? .....no not a rubbish collector....lol
4 wheel alignment, camber setting and tracking....
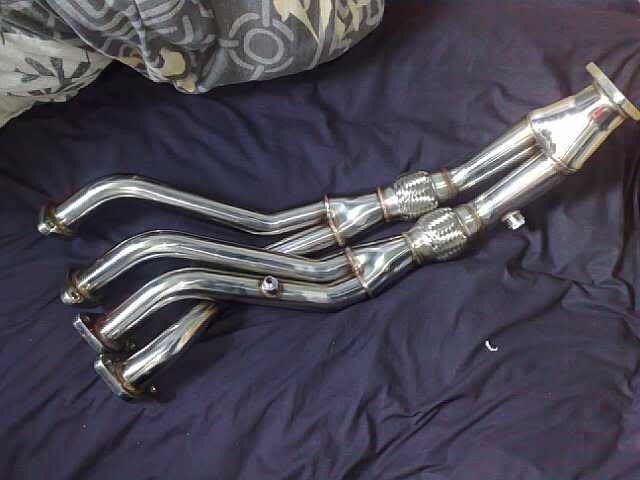
few other bits still to go on:
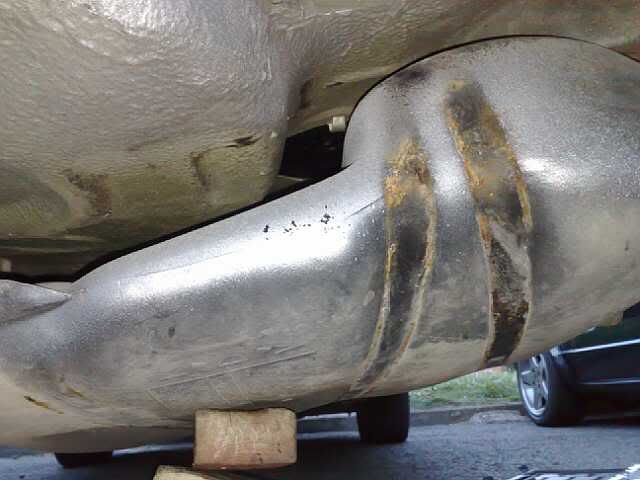
custom down pipe 4-2-1 with built in flexes brought off ebay....
also got a full miltex system to mate up will the down pipe...no pics at moment....
and will be building a race spec 16v engine and then stealth racing for a tuning/rolling roads....
Shout out to all that helped build this,esp My Brother "DEL-MONTY" and everyone whom ive brought bits off....cheers.......like every car...."I'm not done yet!!!!!"
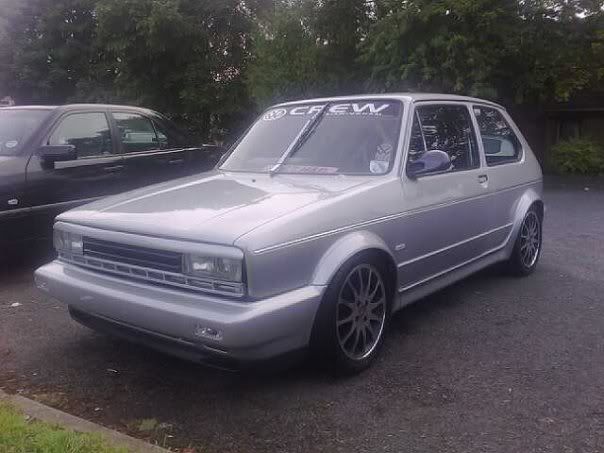
few other pics of the topic:
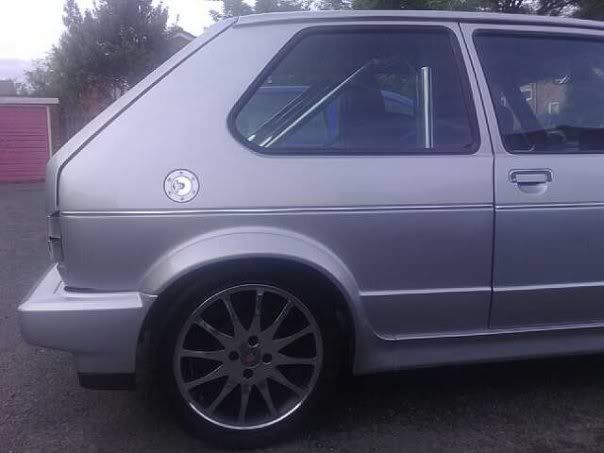
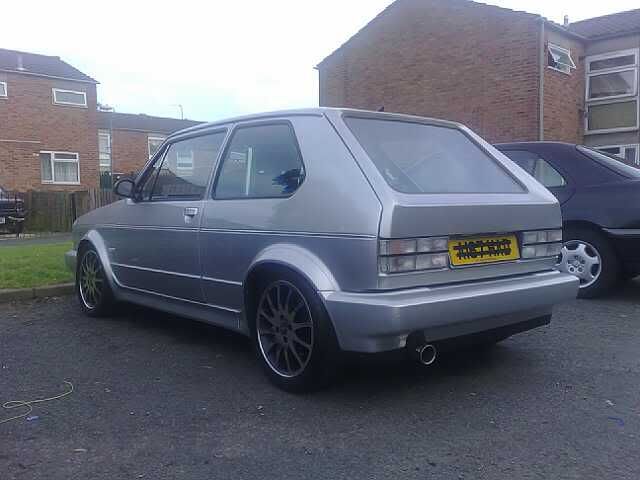
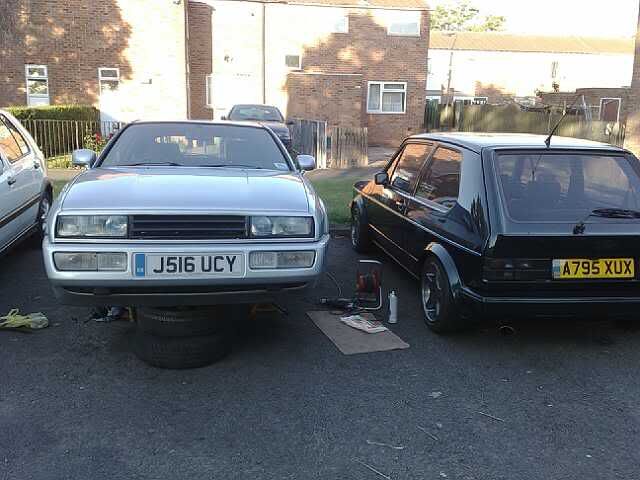
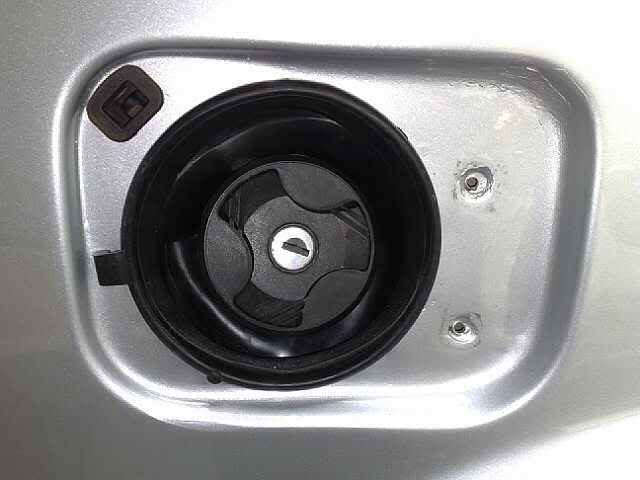
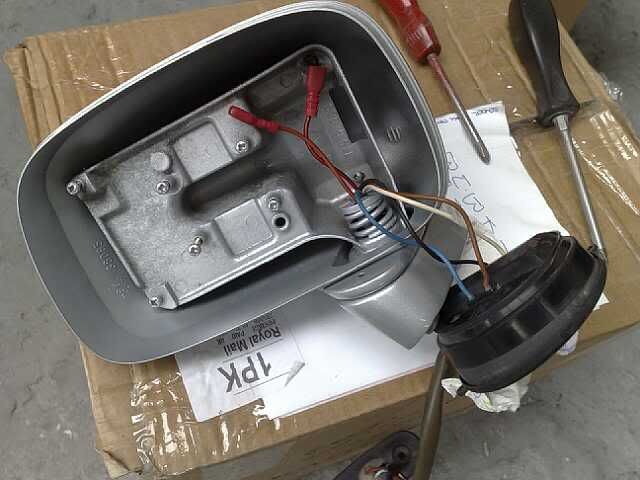
my mark1 golf: rallye front, evo 8 recaros, custom roll cage, caliper kit,noble petrol cap, audi 80 handles,16' ronals.
build thread:
My brothers mk1...one of many...corrado 2L 16V....tuned and race spec
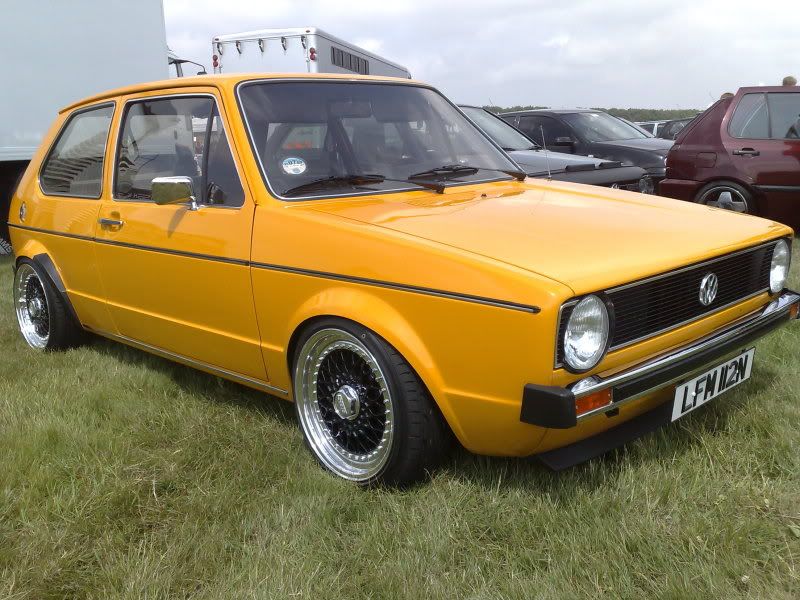
My mates mk1 1.5 standard old skool....winner best of show at Santa Pod
-
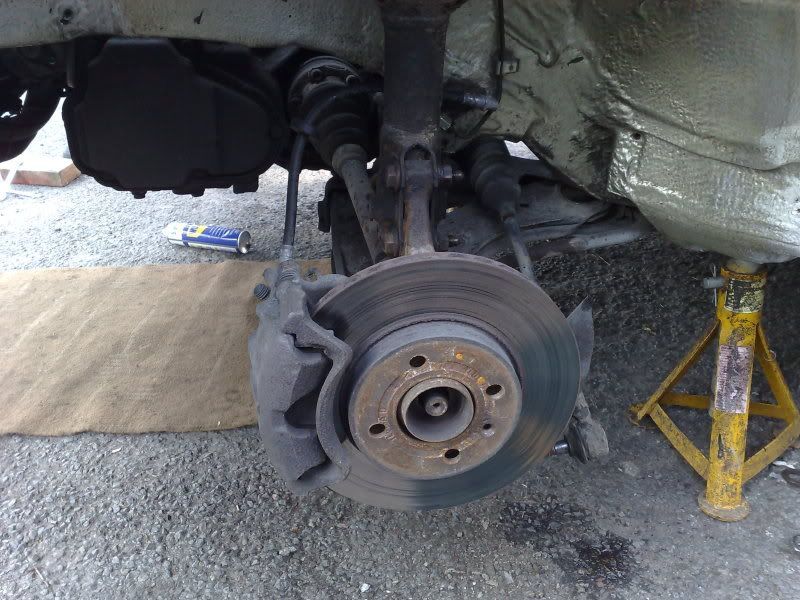
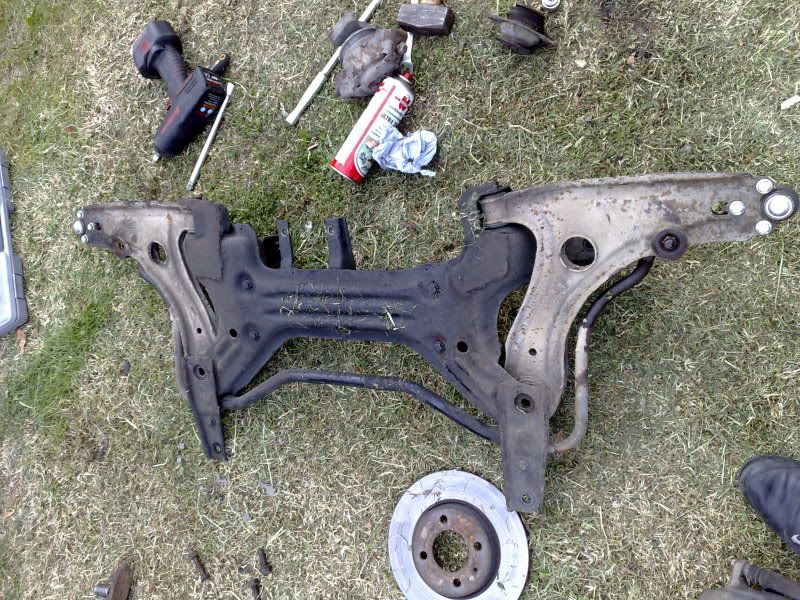
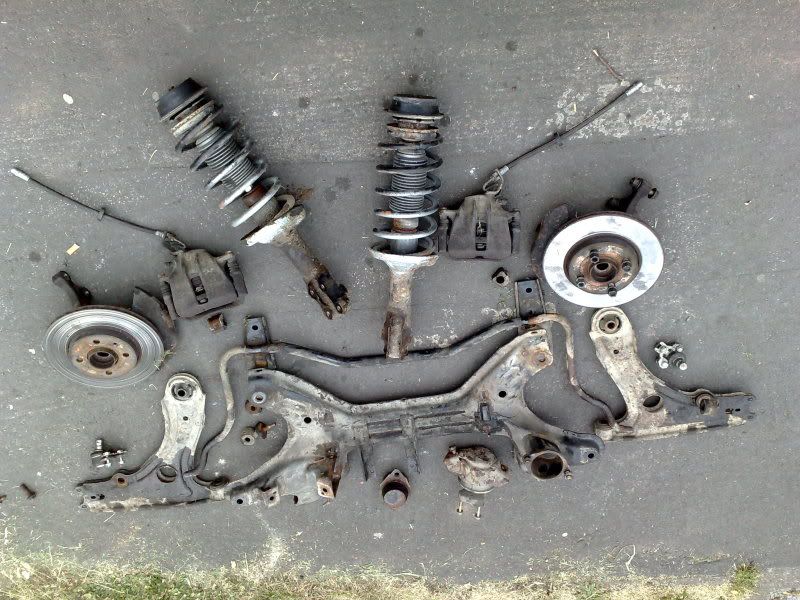
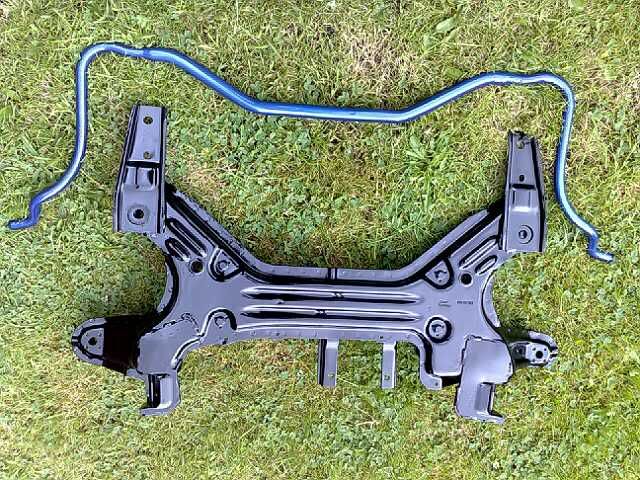
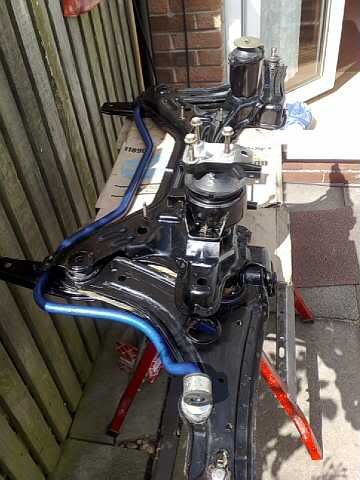
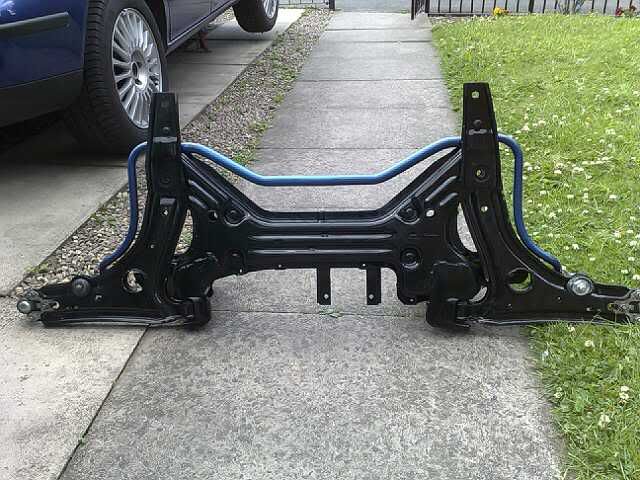
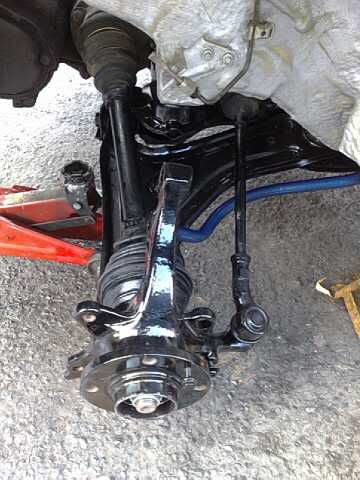
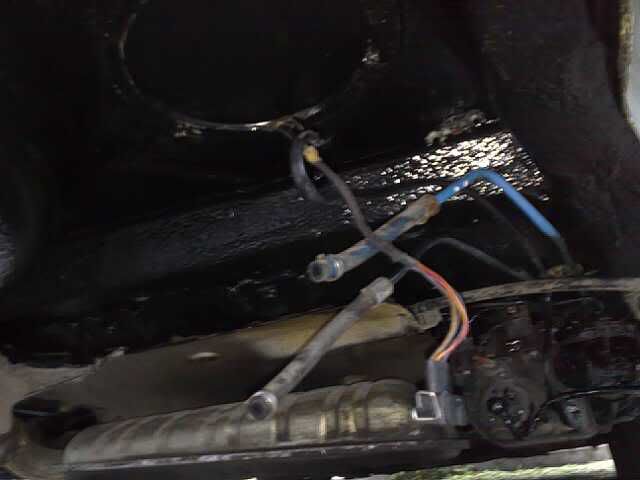
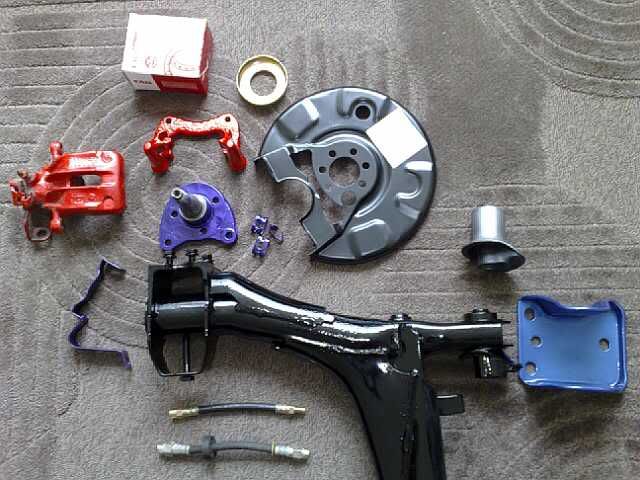
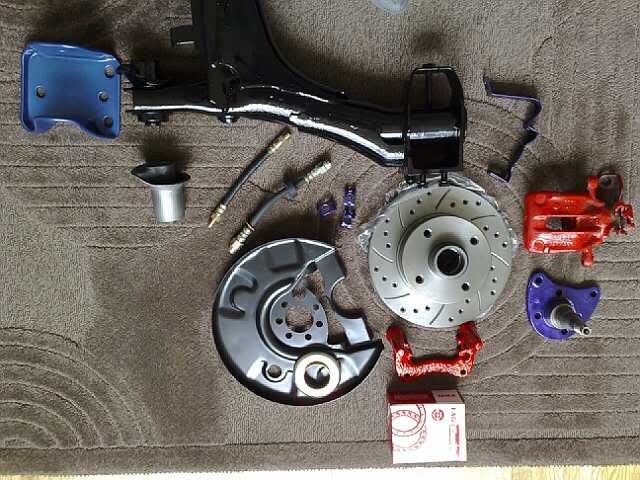
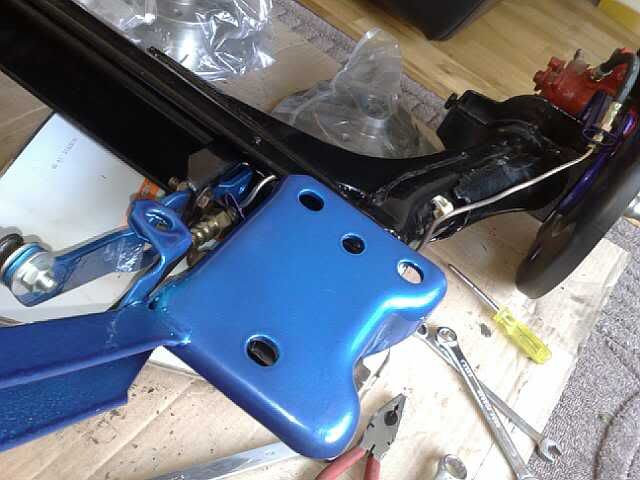
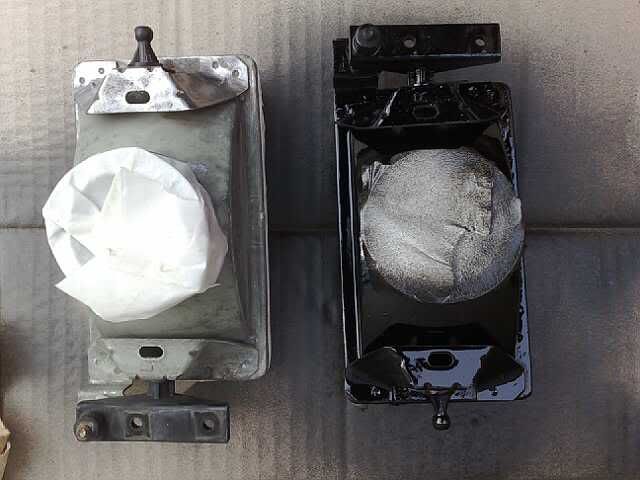
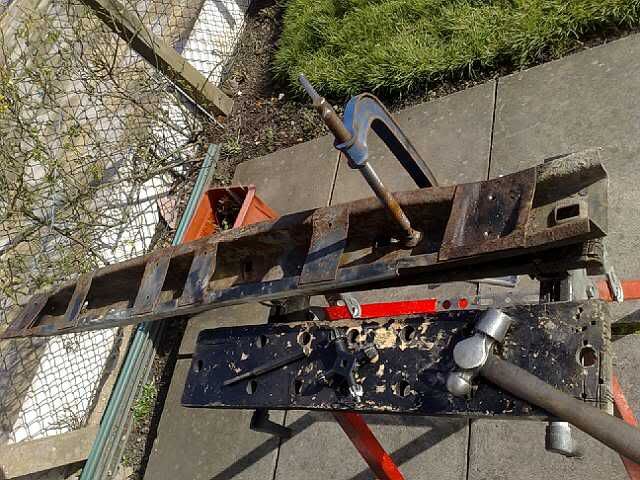
ok now for the front subframe.......
started striping it down...
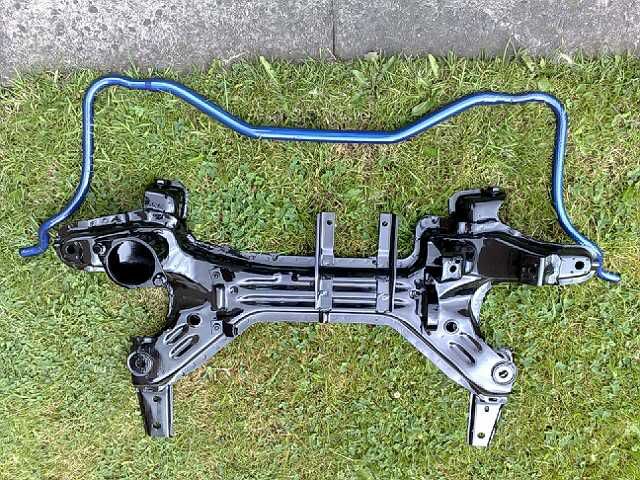
ok so away to power coat and this is what i got...
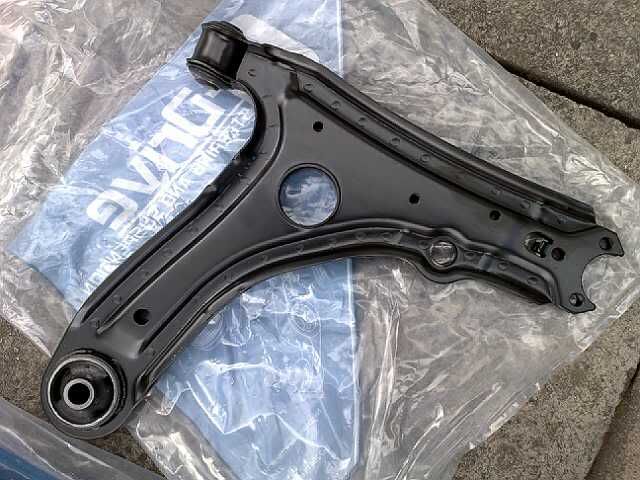
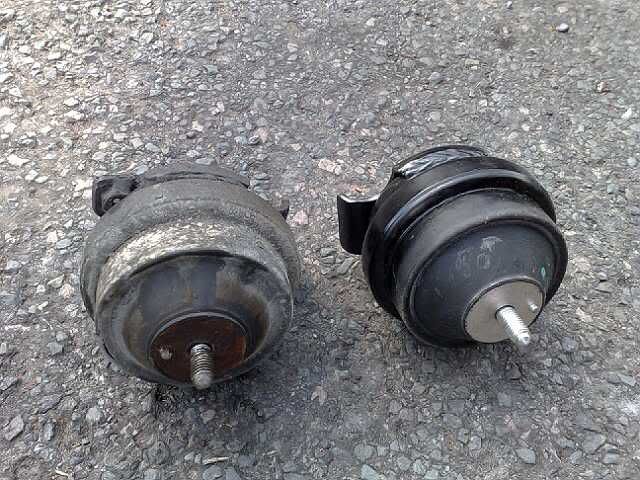
new wishbones with bushes, new engine/gearbox mounts,drop links, anti roll bar bushes,ball joints.
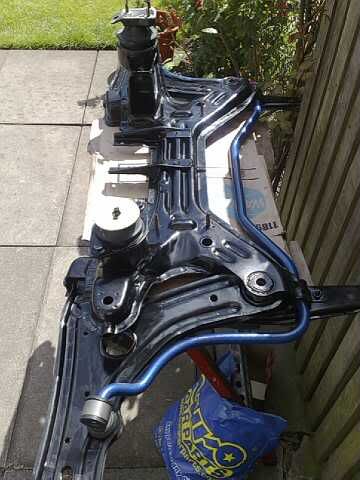
the subframe and wishbones were hammerited for extra protection, then all cavities filled with wax oil, and a light covering over the tops.
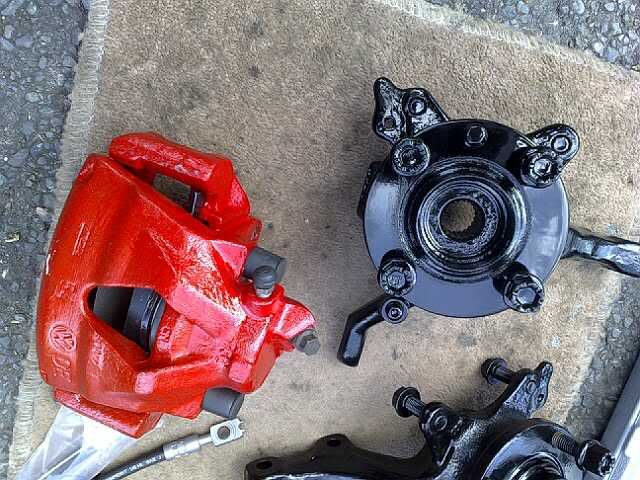
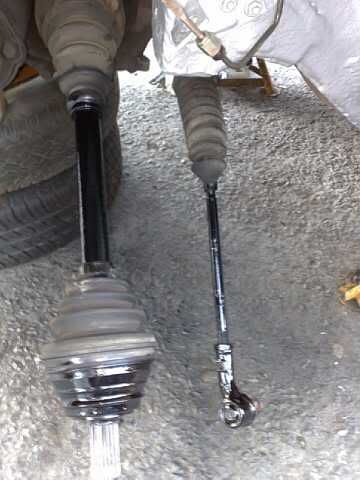
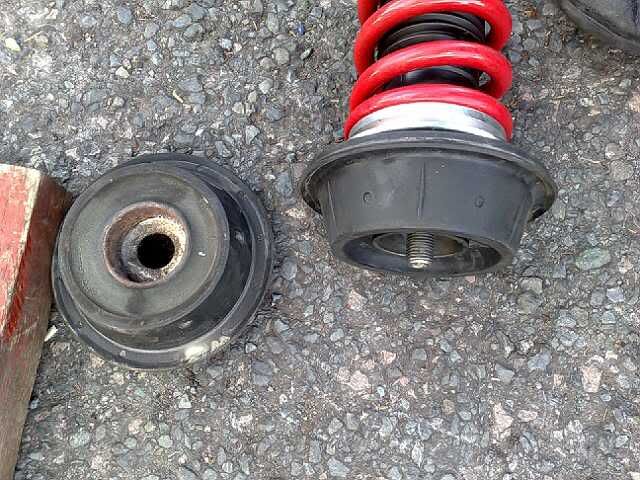
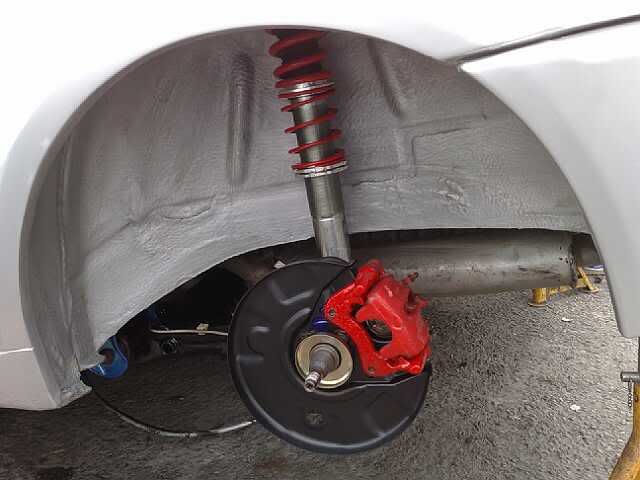
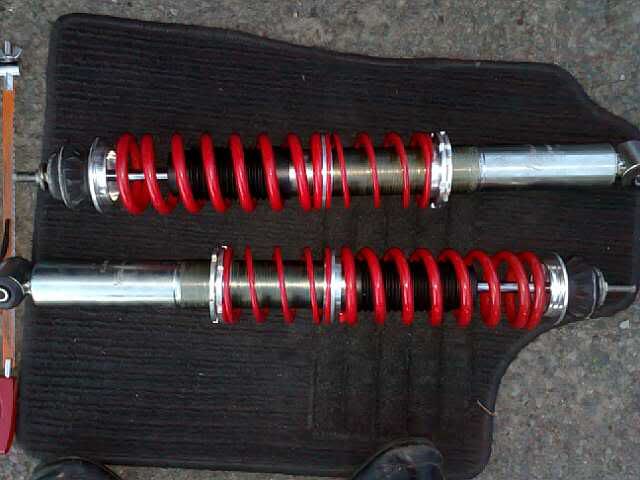
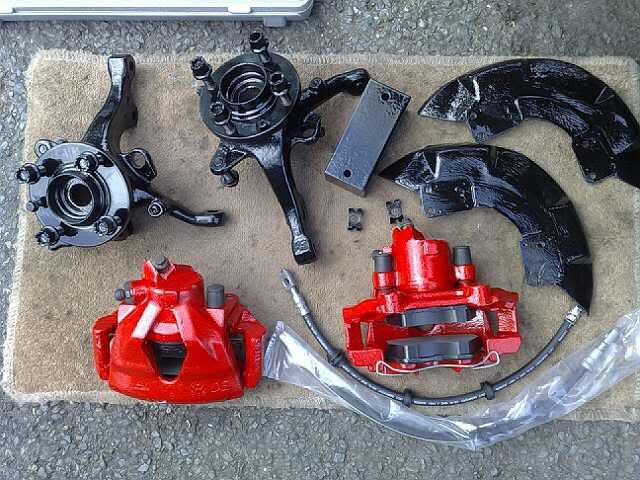
New brake hoses, VR6 calipers, New pads,New discs 280mm, New top mounts, New steering Rack bushes,CV boots and Coilovers.Hubs, backing plates and counter weight all Power Coated.
Rack recond...
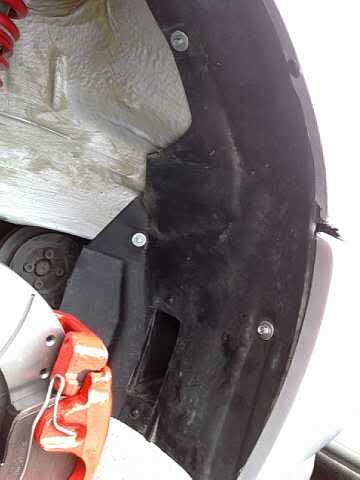
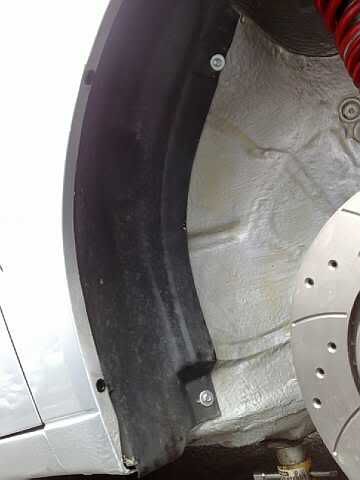
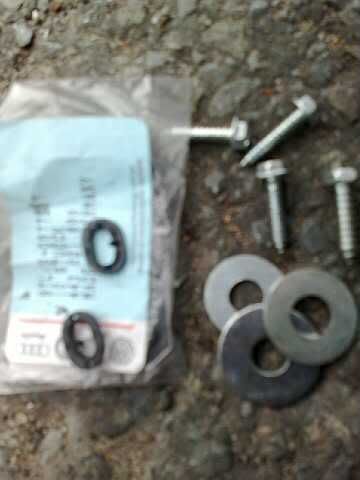
wheel liner and new bolts/washers
-
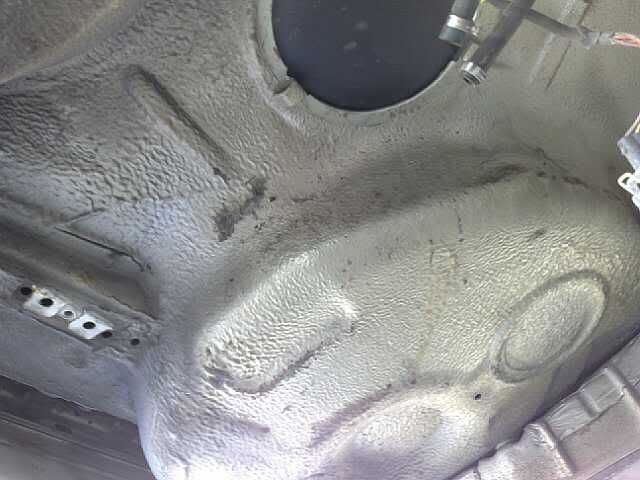
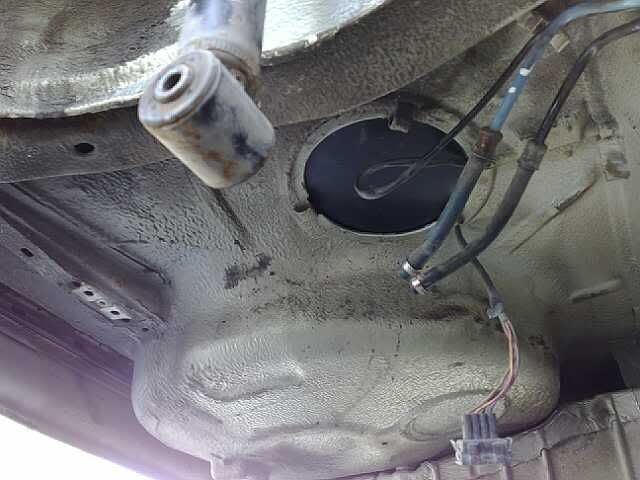
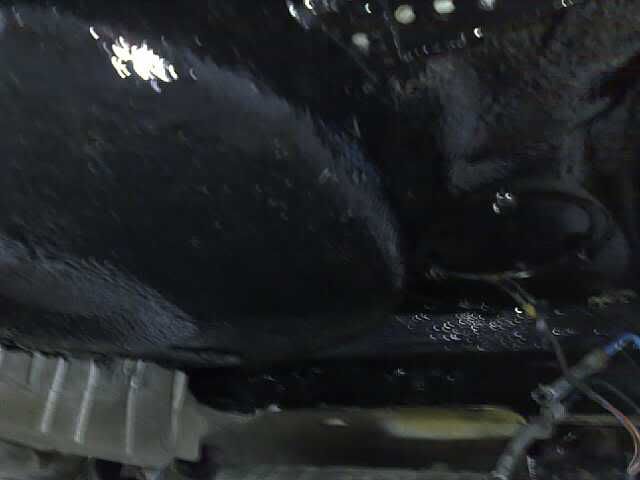
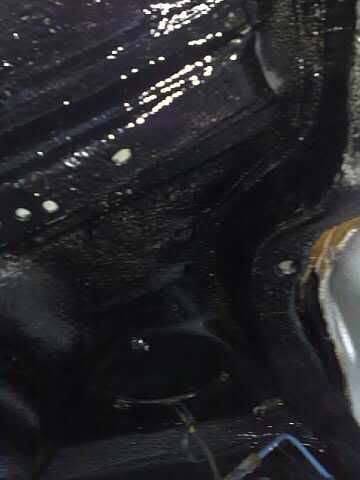
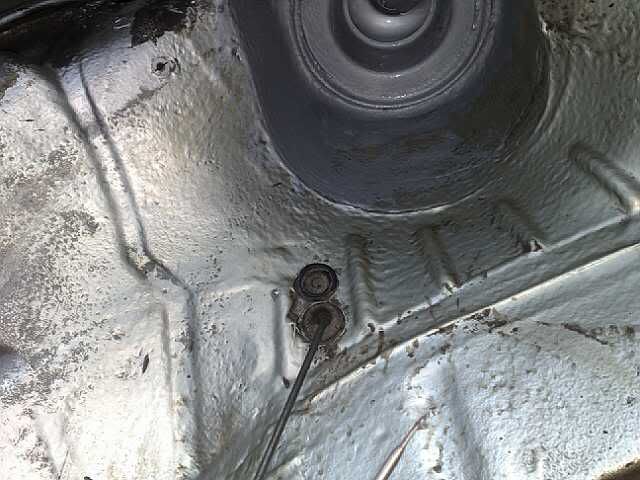
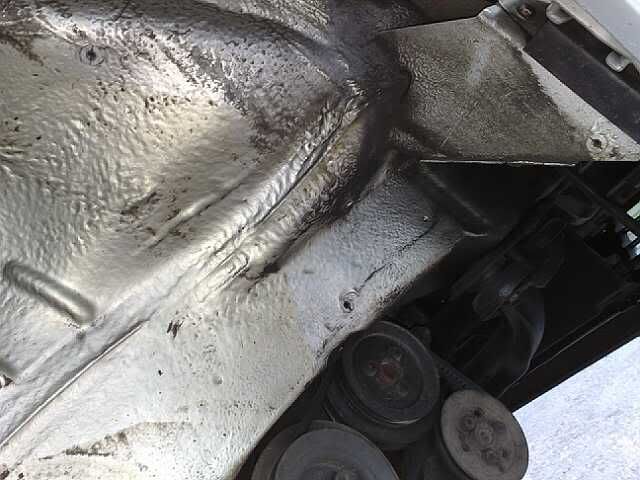
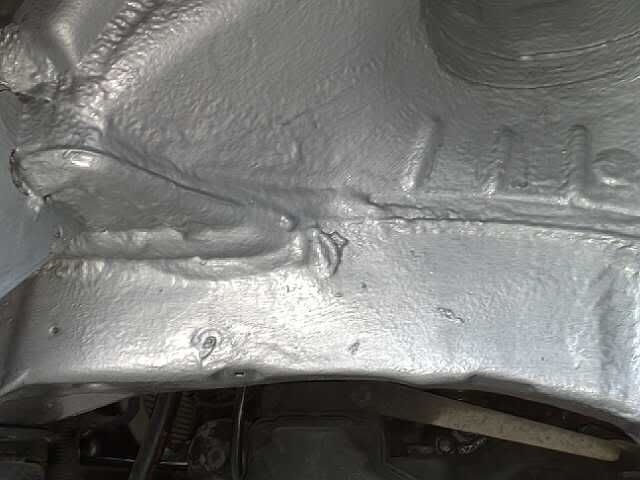
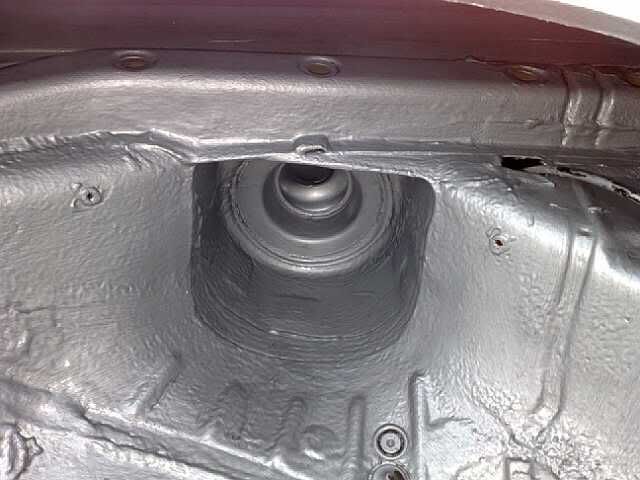
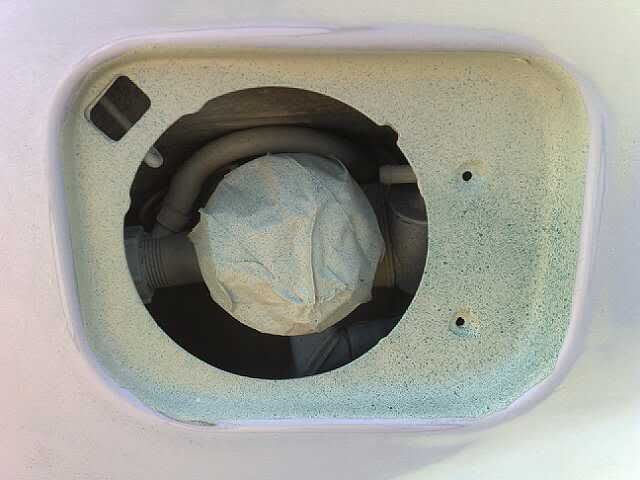
car was then jacked up and both rear beam and tank removed.......floors cleaned and a few bits of surface rust treated......all the floor was then painted gloss black, then heavily wax oiled.
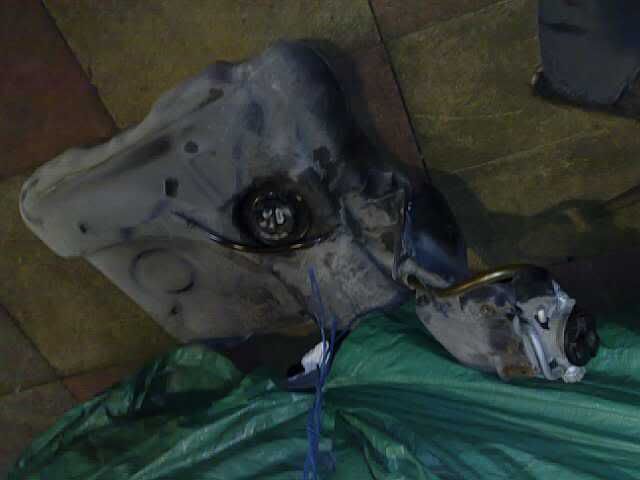
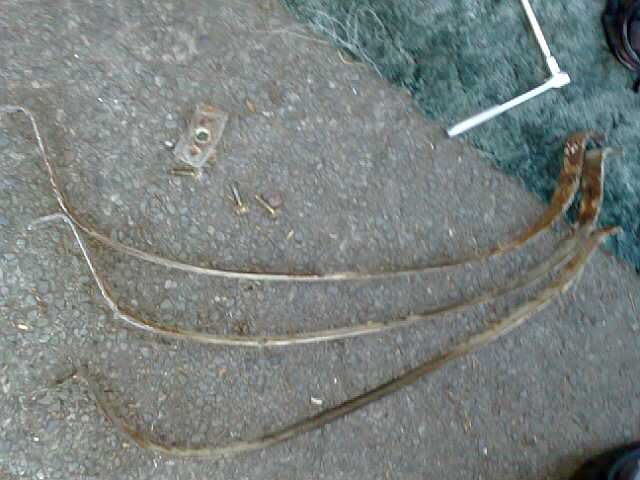
tank and tank straps....
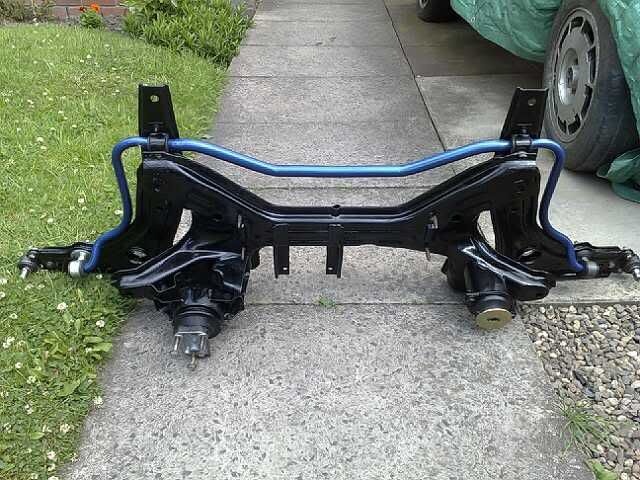
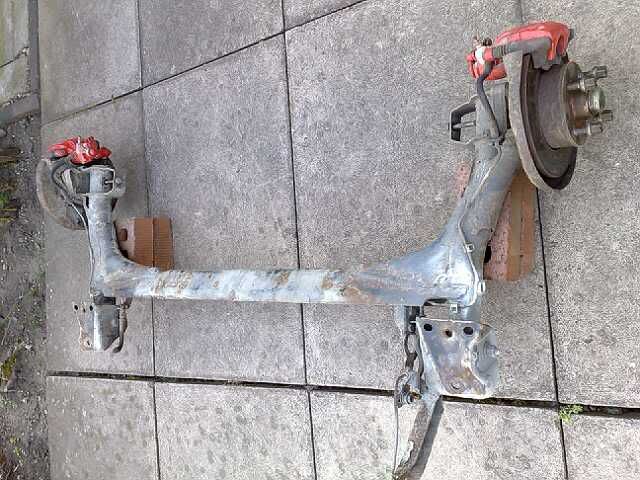
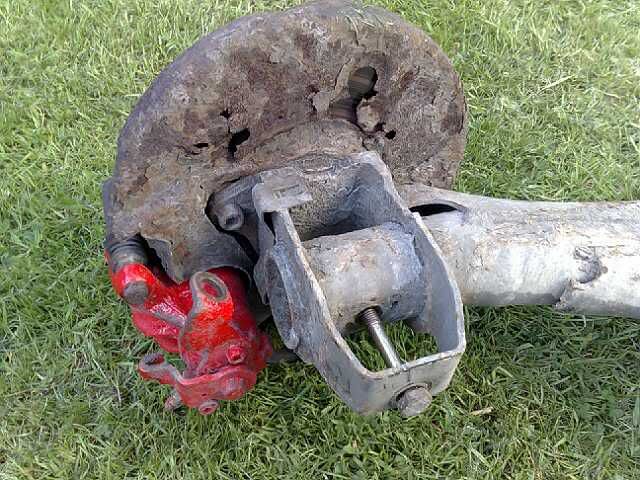
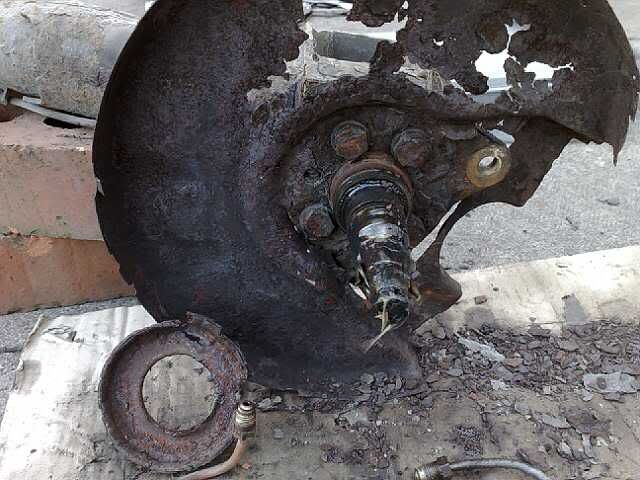
rear axle....
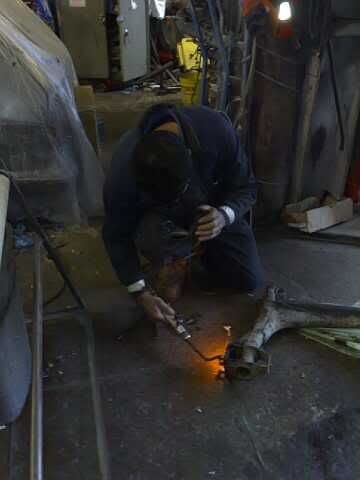
broken bolts.......heated out.....thanks MOTORZONE
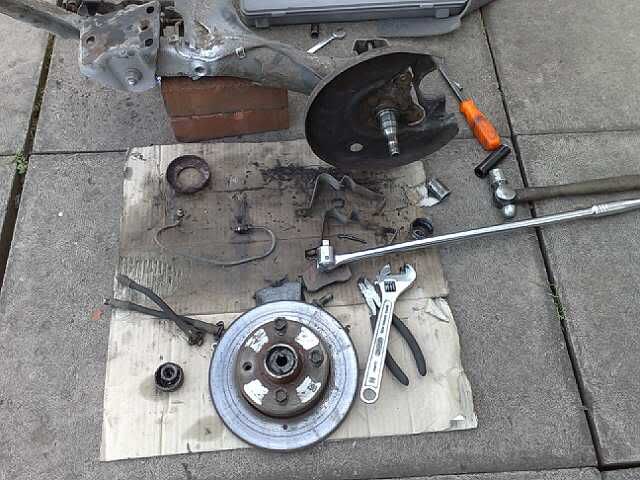
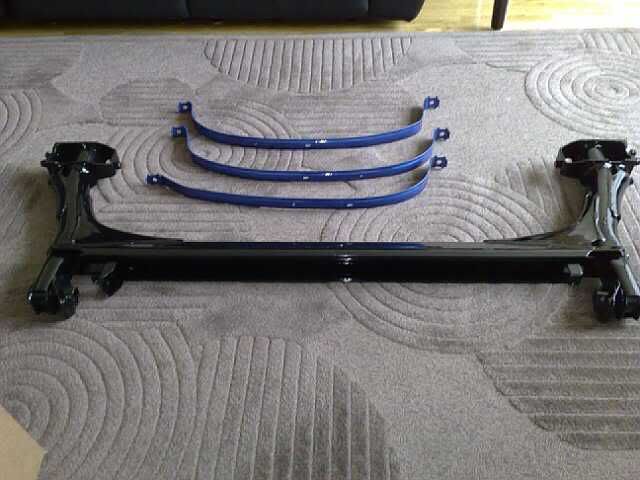
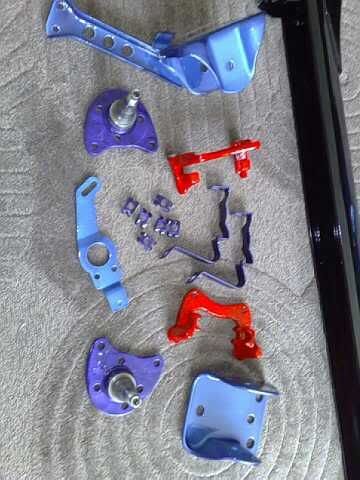
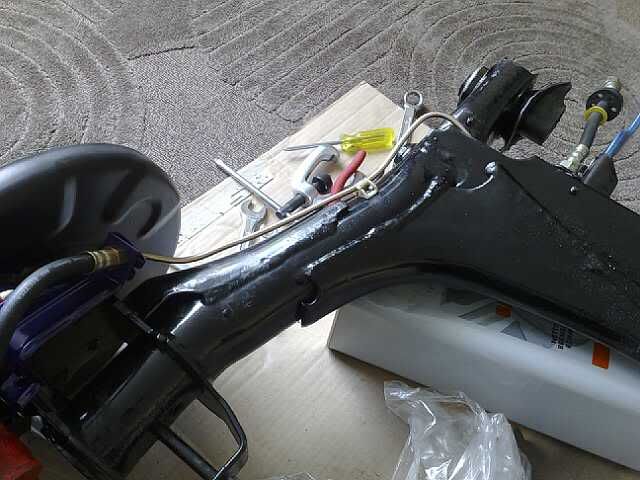
ok heres the best bits.....the axle rebuild....
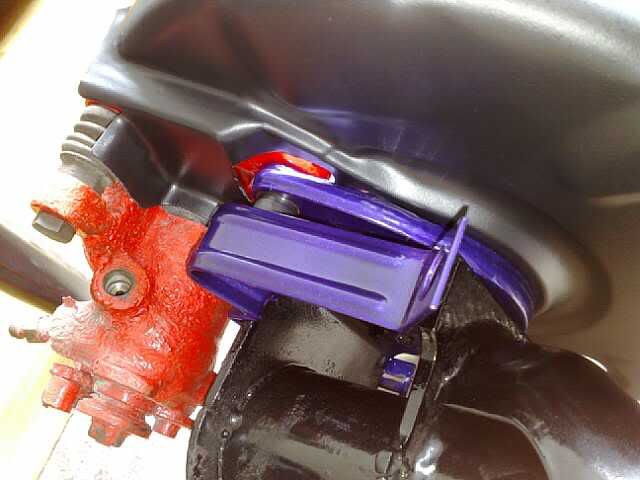
tank strips, rear axle, stub axle, hose brackets, axle mounts, carriers and brake hose spacers all power coated.
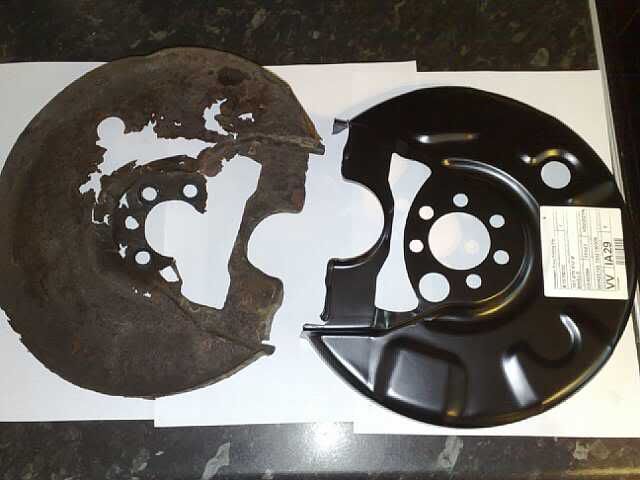
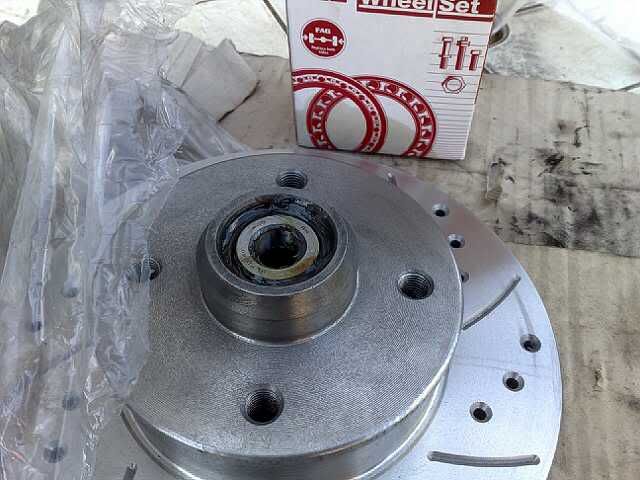
backing dust guards and inner bolt covers were replaced, new brack hoses, new discs and bearings, axle mounts(VAG)
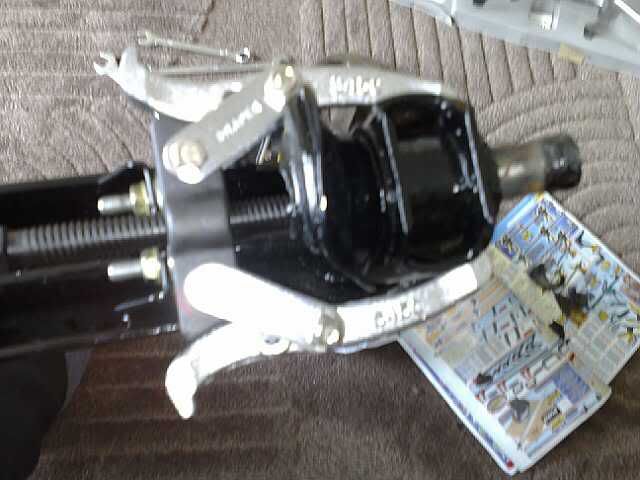
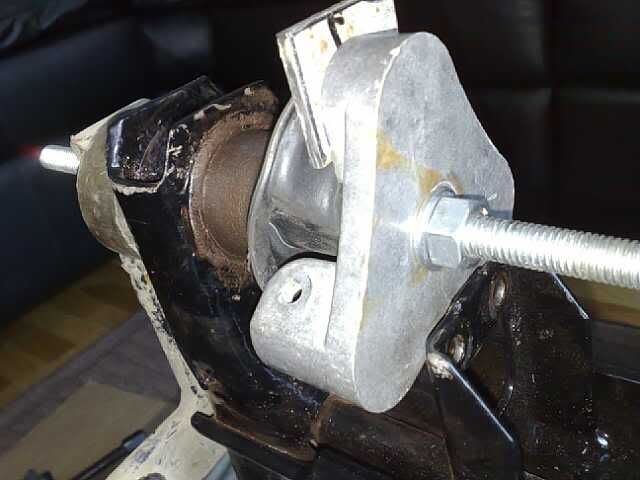
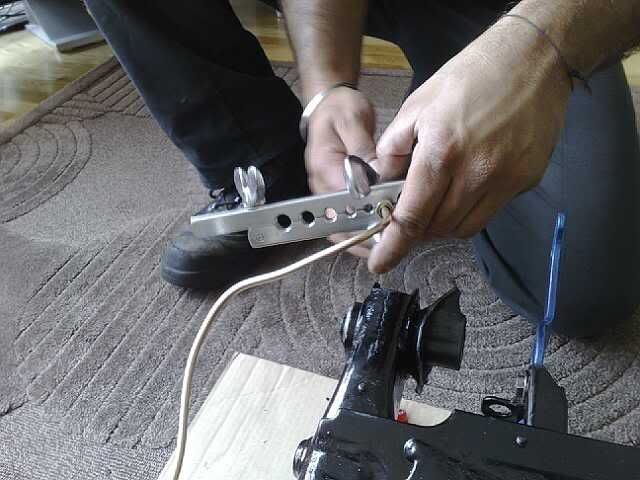
New rear bushes (VAG) fitting them........was a nightmare....
first push out the old brush with a pulley puller.
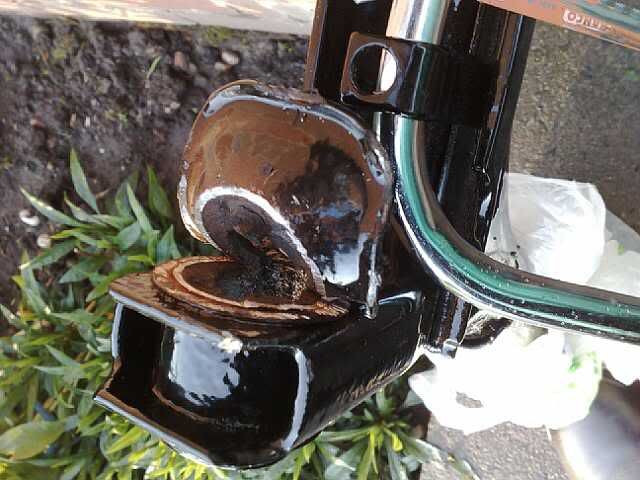
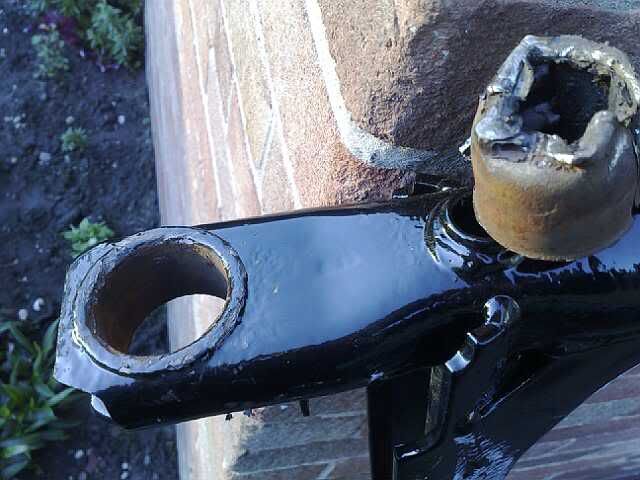
then cut the metal sleeve.
then slice the inner sleeves so it take the tension out of them
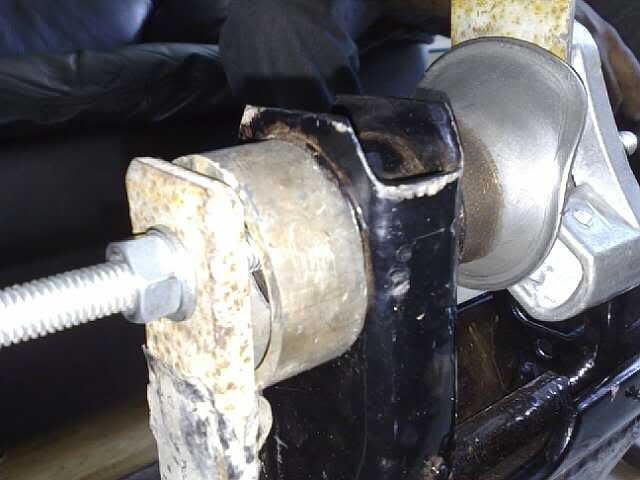
then a little hammering out.....and there out..... :censored:
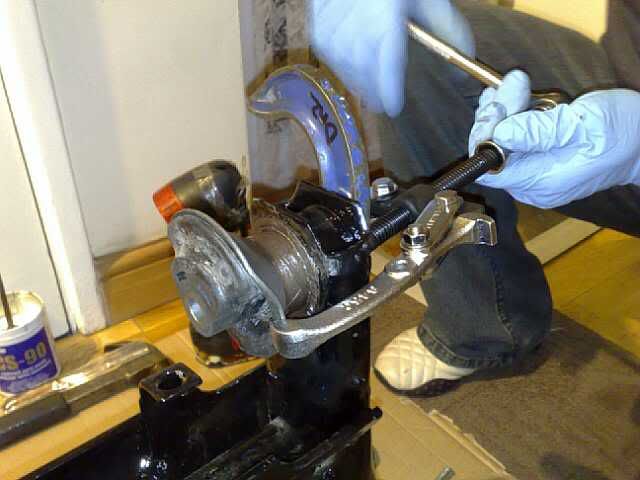
time to press the new ones.....i made up a tool....two chasers, thread, few bolts, and plates.
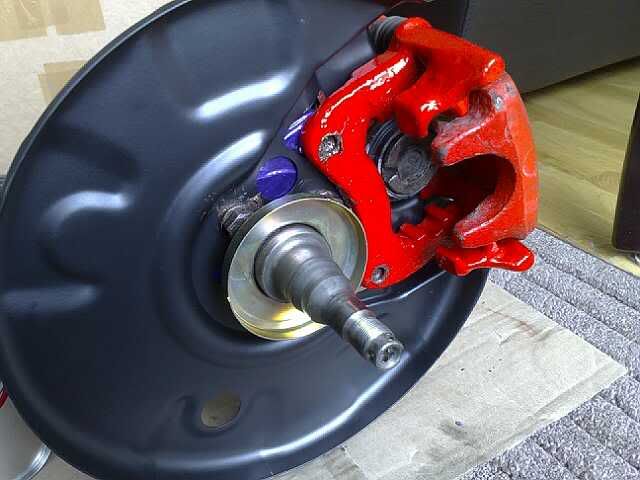
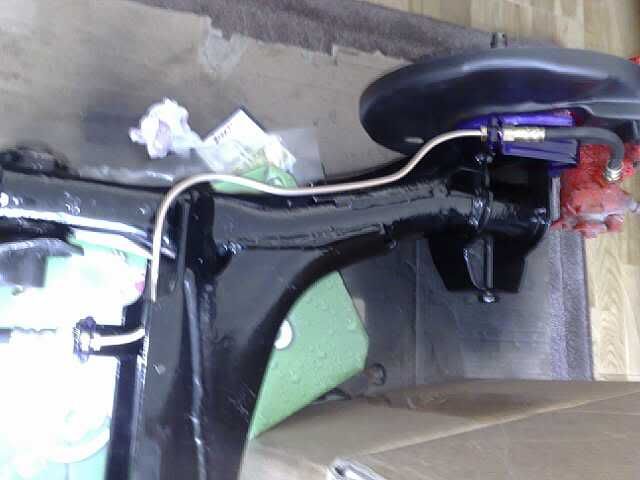
now for the rebuild...
new coppernikel brake lines..
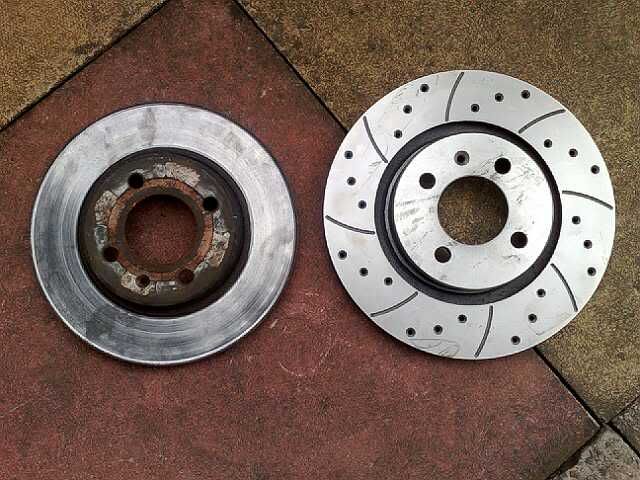
Upgraded Discs will new bearings fitted...
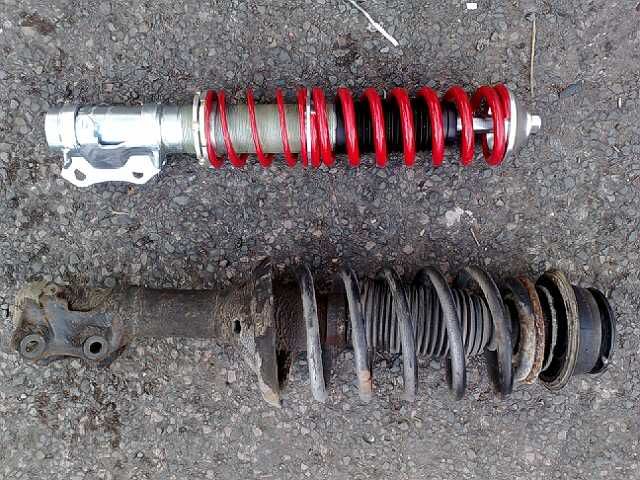
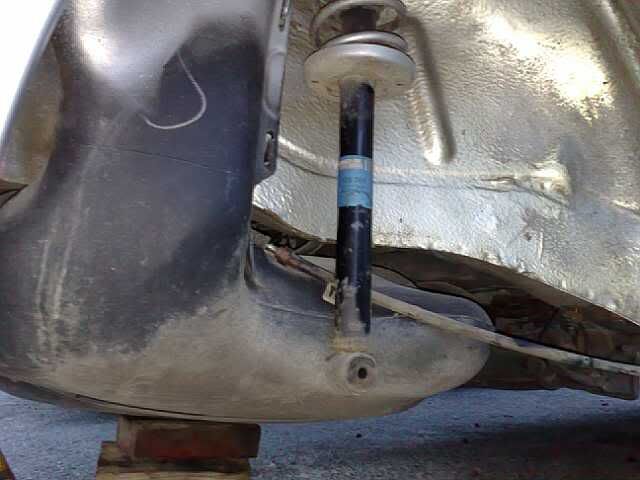
coilovers fitted with new top mounts
-
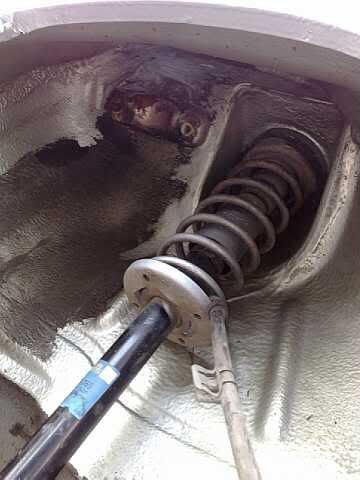
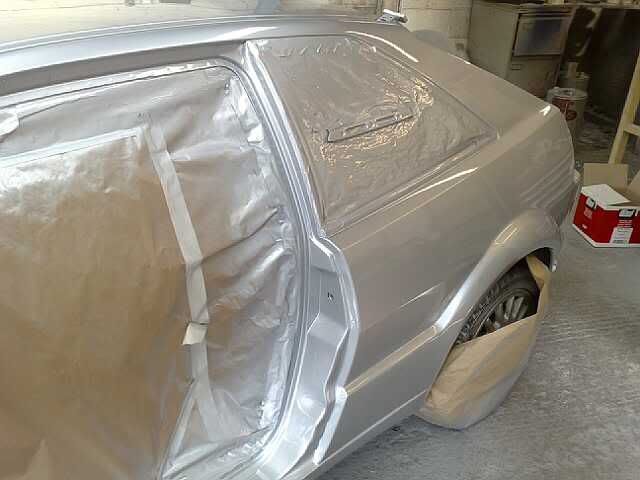
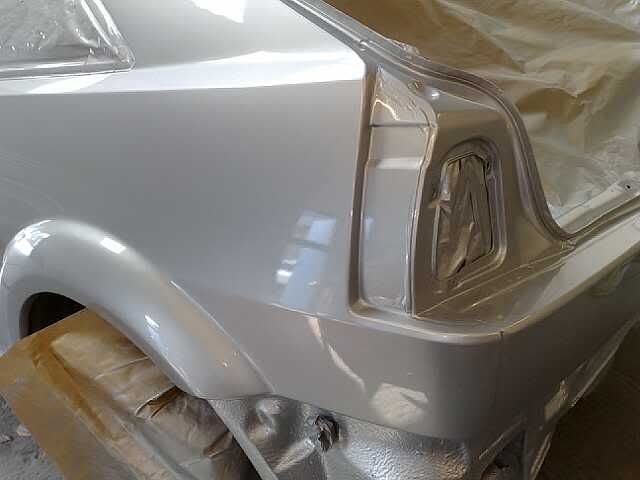
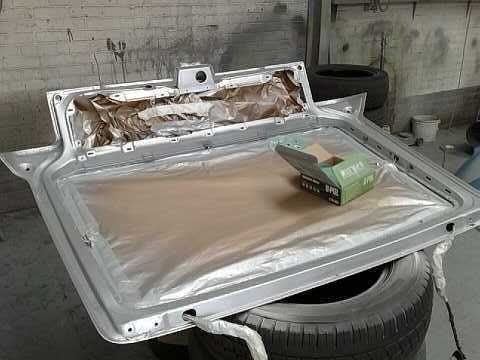
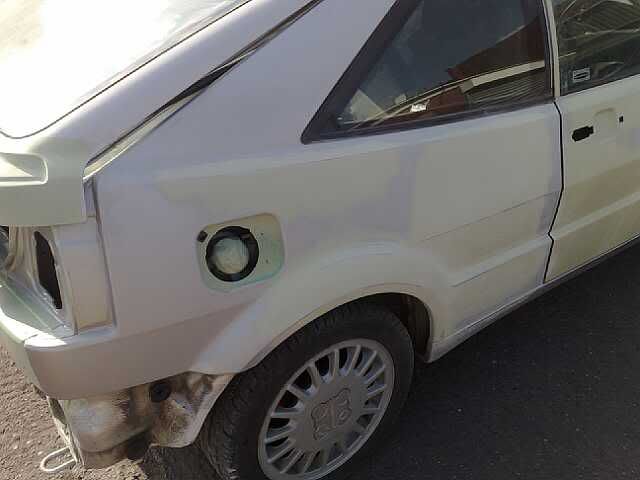
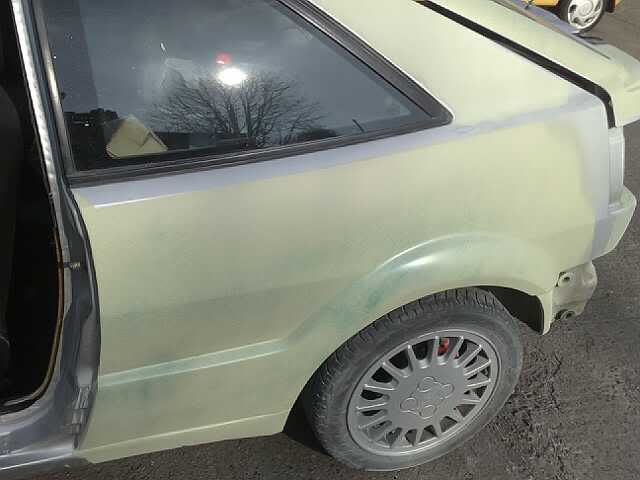
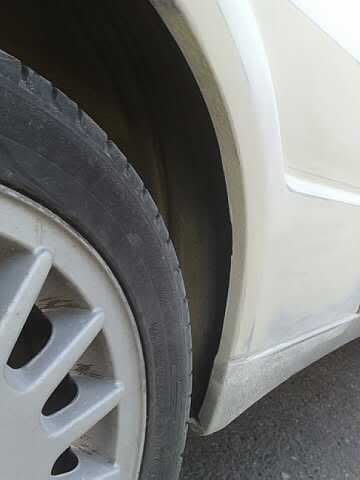
i missed out a few pics....before the car went to paint, i clean all the arches out and painted then a fresh silver and then wax oiled them heavily after it return from paint.
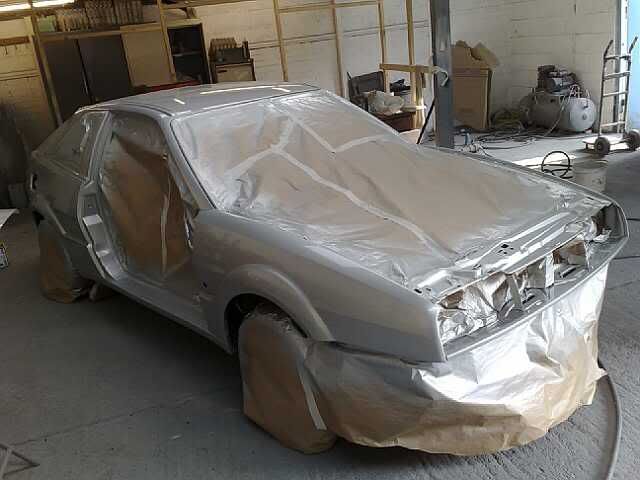
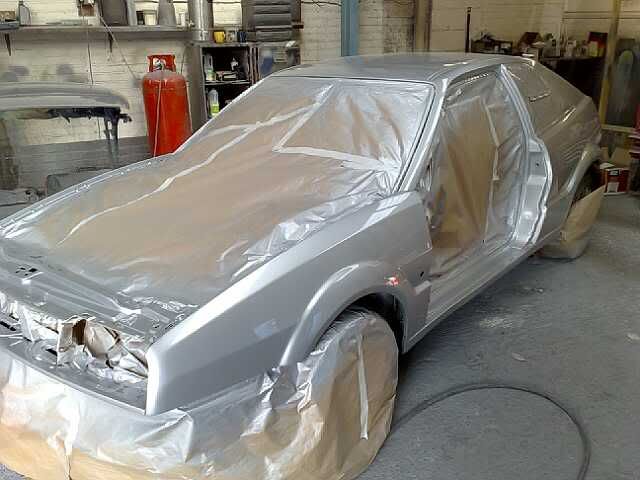
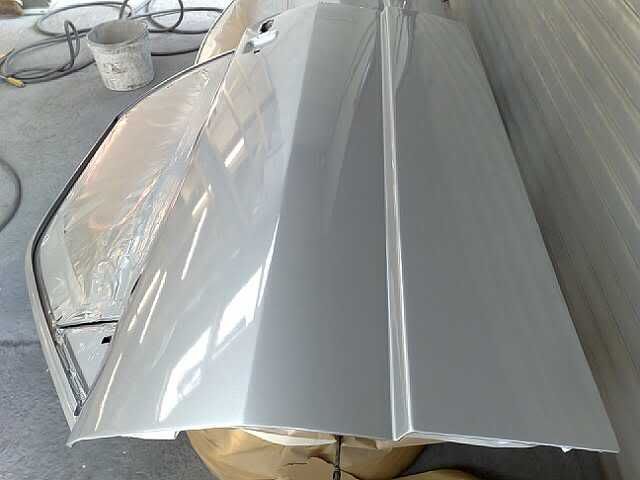
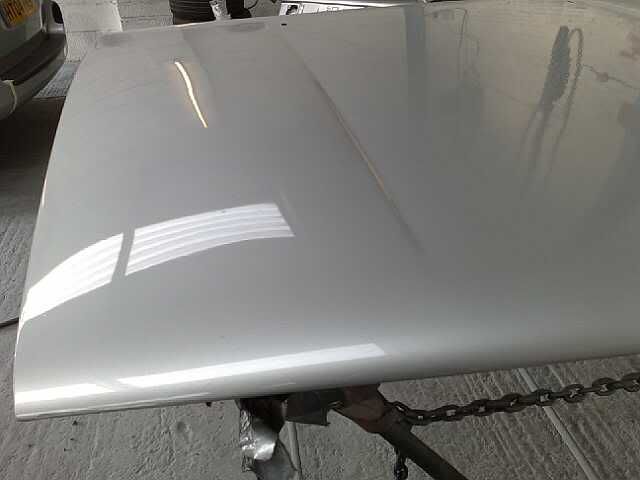
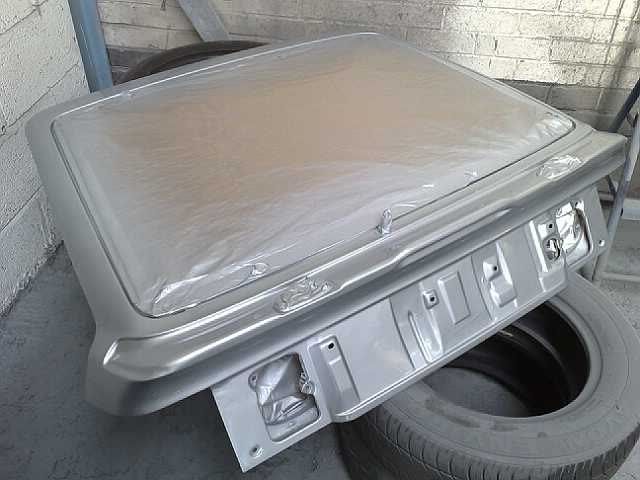
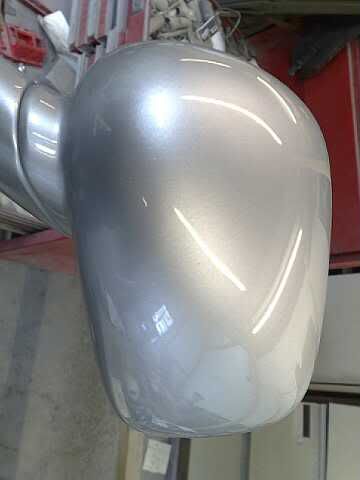
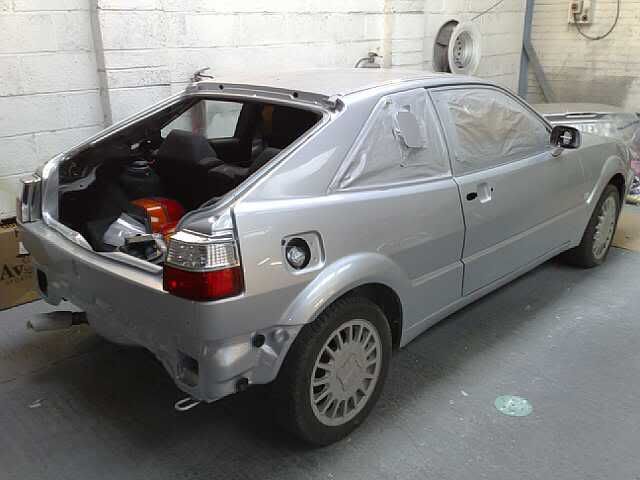
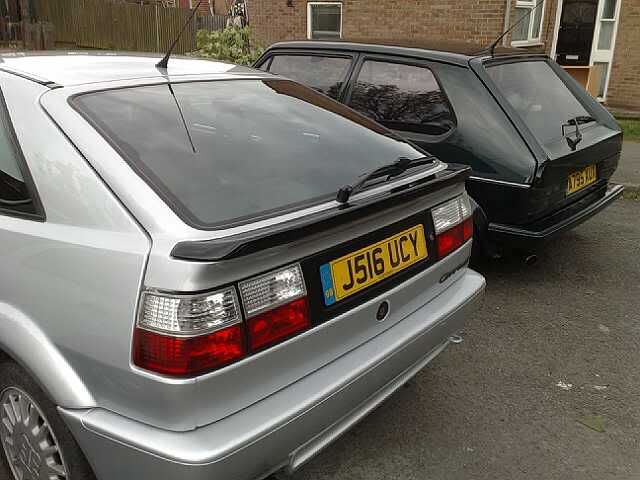
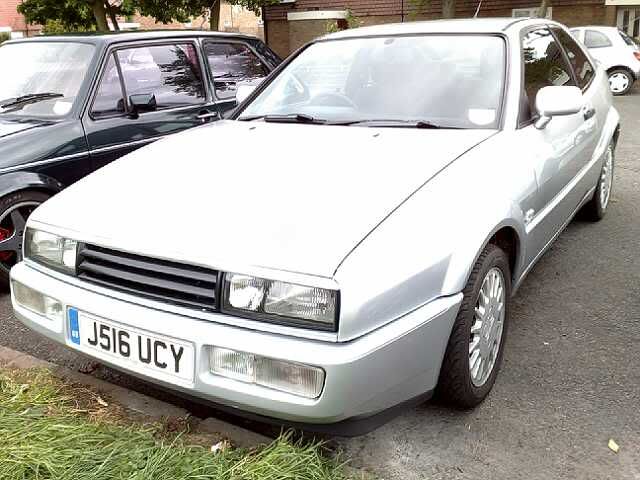
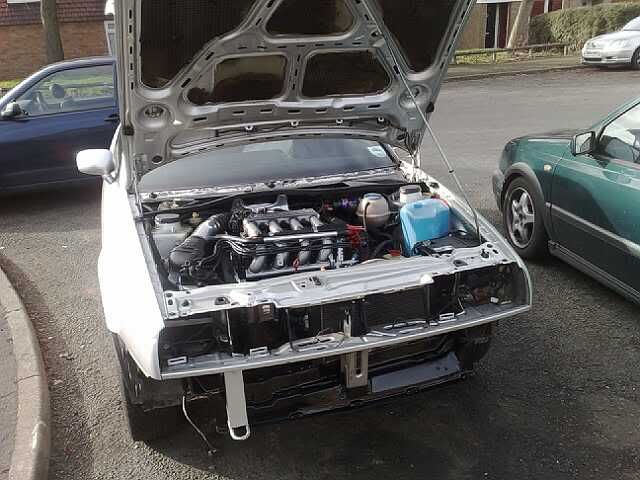
ok, so time for the paint work pics..... 8)
and here comes the rebuild.......
had a spare spoiler paint black..
-
ok a few other bits done while car was at the shop:-
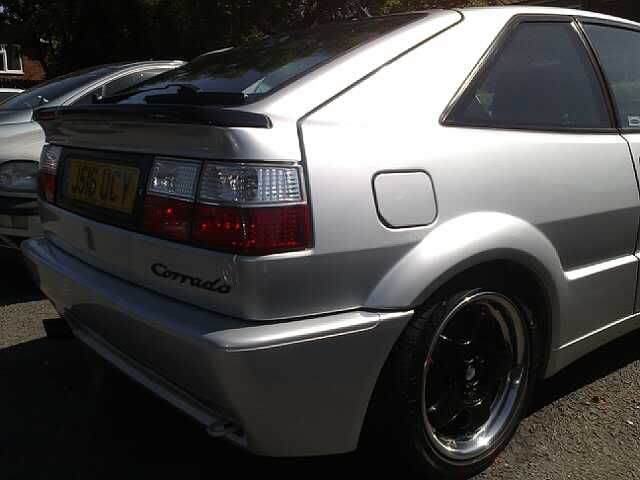
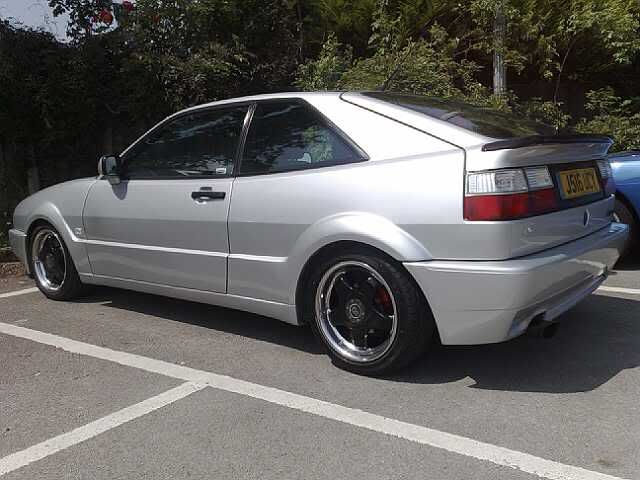
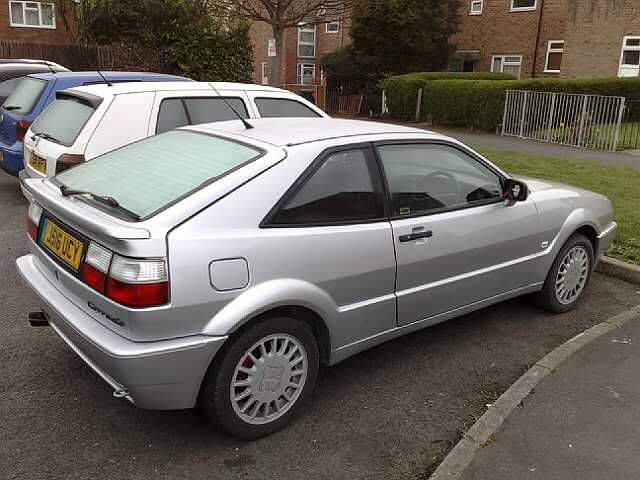
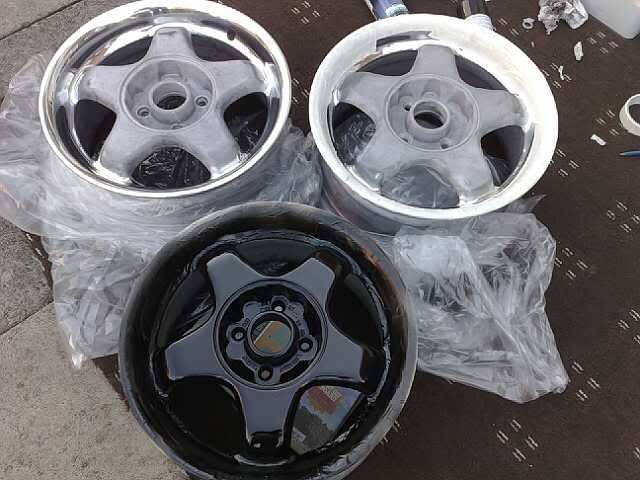
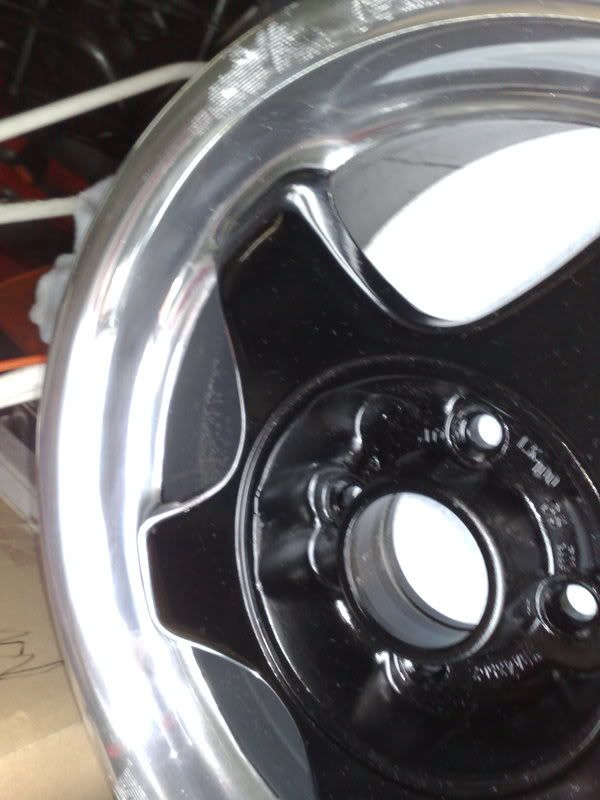
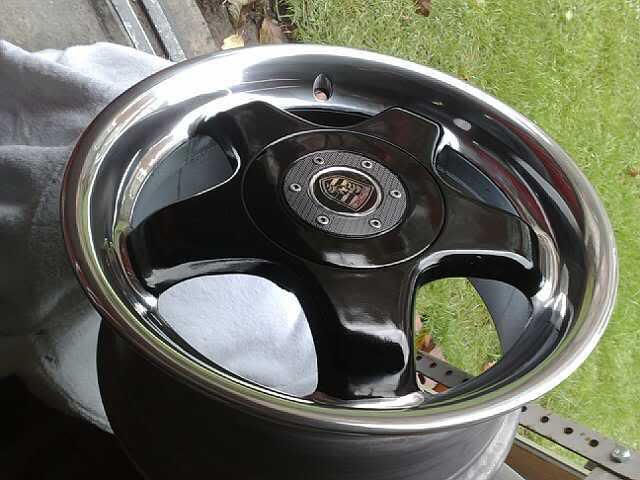
alloys- i had these for about 7years 15' 4x100 7.5J Rial. chemical striped, dish polished and inners painted.
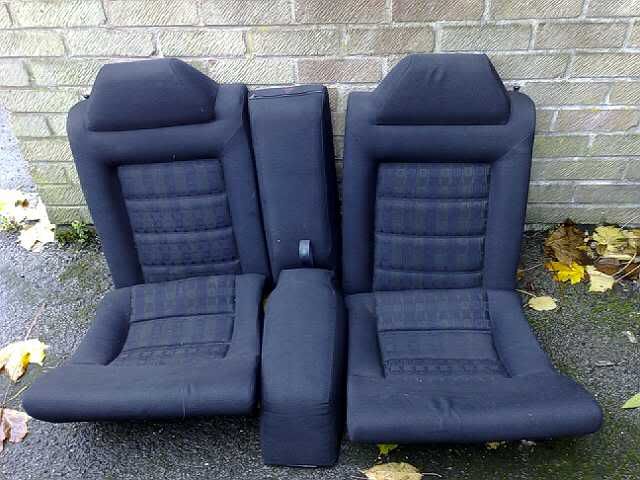
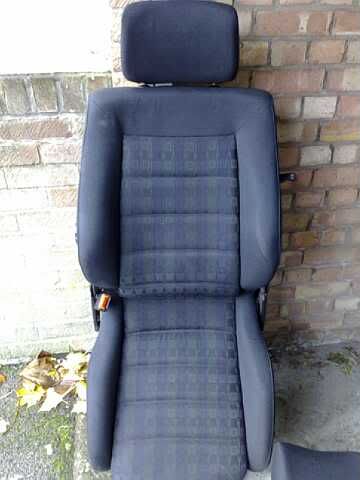
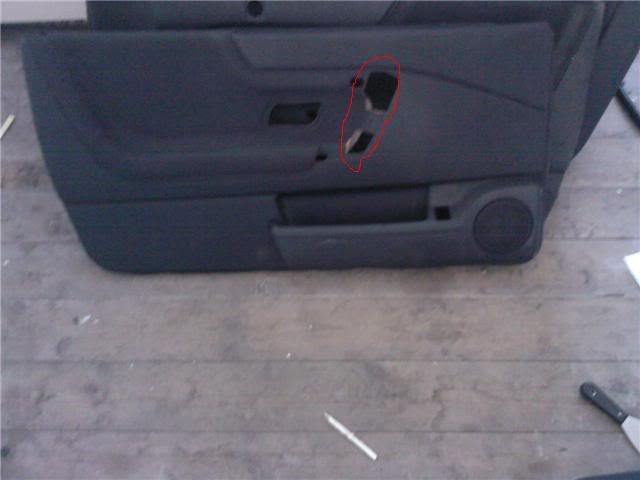
interior taken out and swap for late VR6 cloth interior,inc door cards, electric windows were also fitted and late mirror switch.
mores pics later
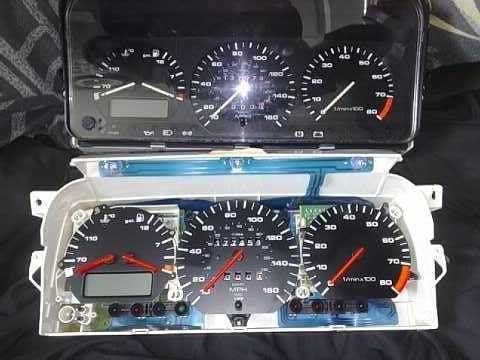
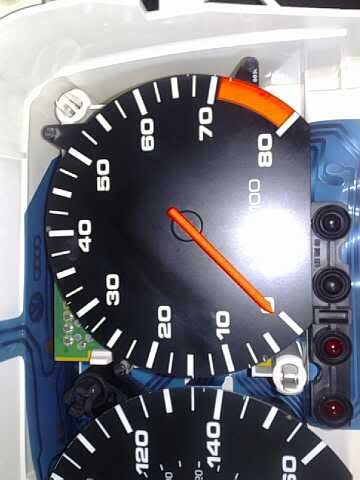
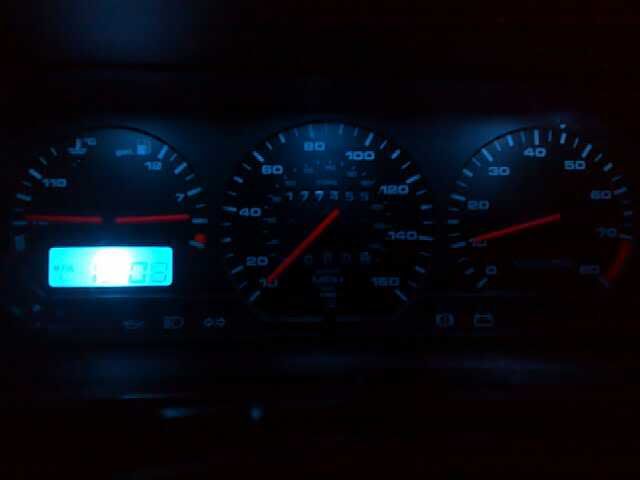
clock needles painted and blue LED's fitted:
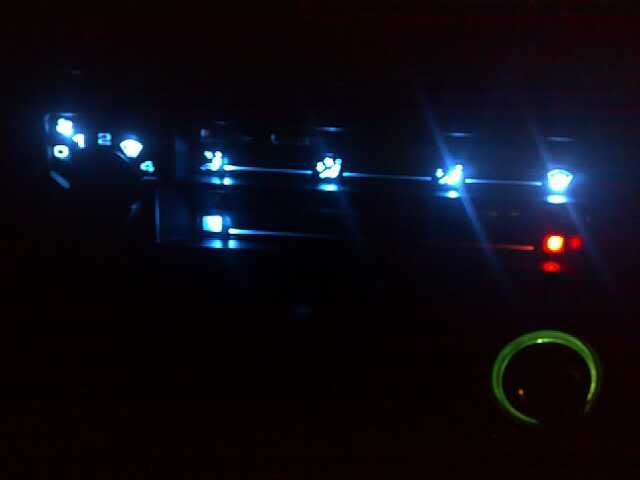
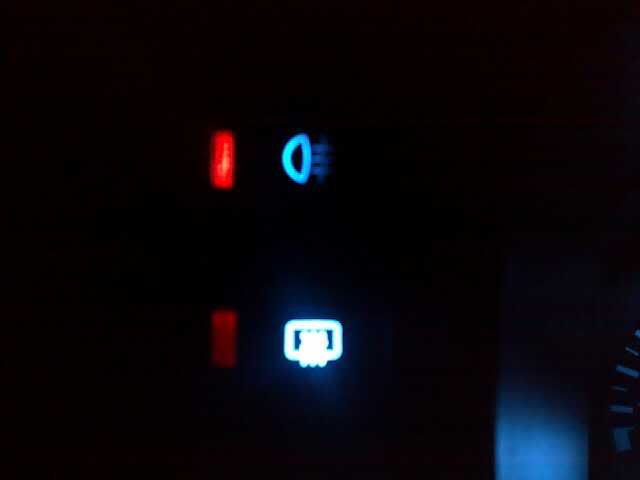
SHOUT OUT TO JMC for led convo for all switch and heater panel:
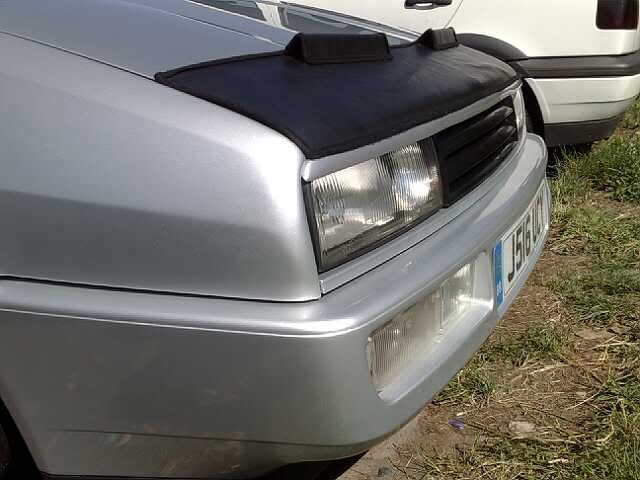
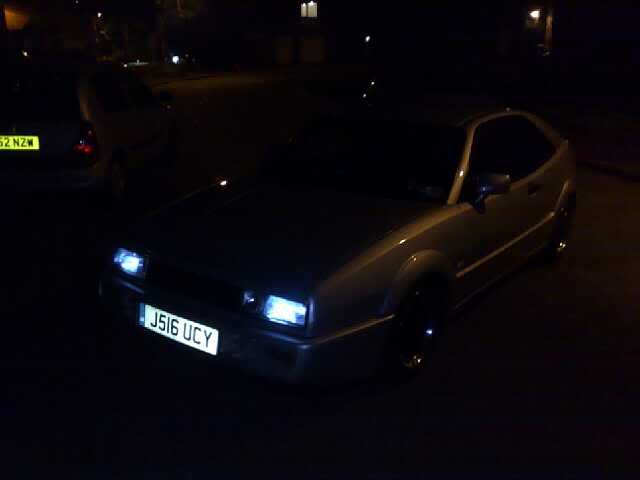
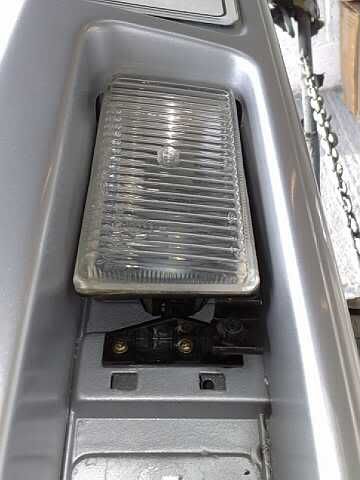
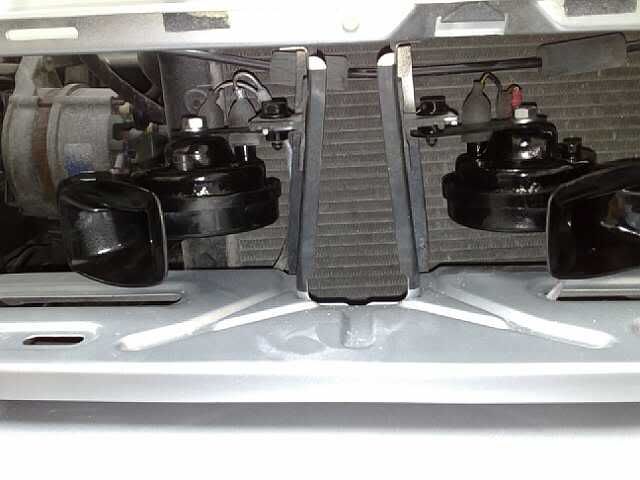
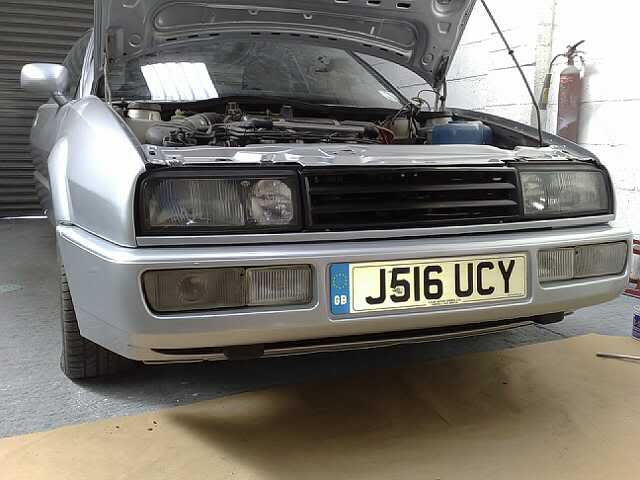
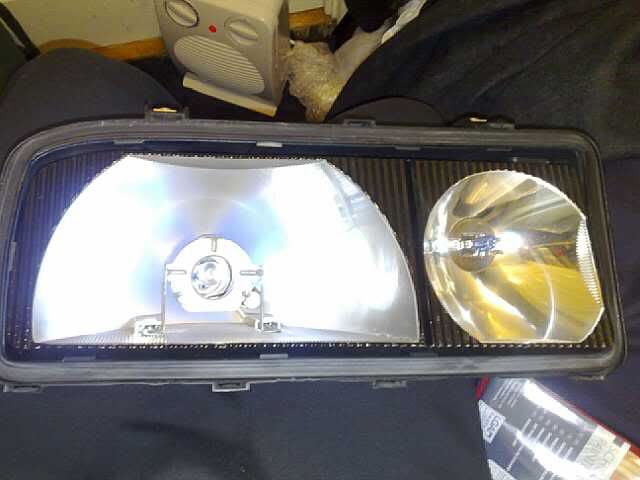
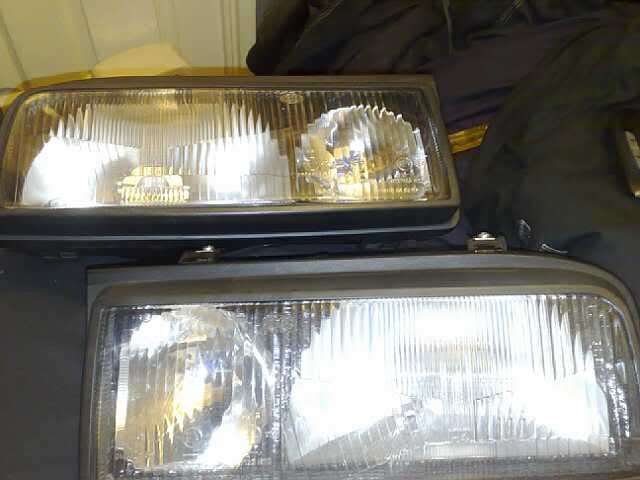
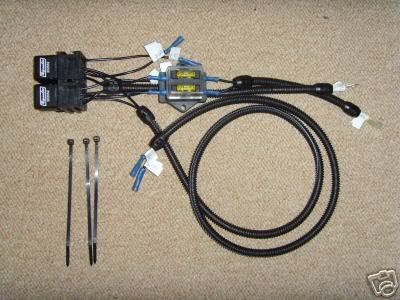
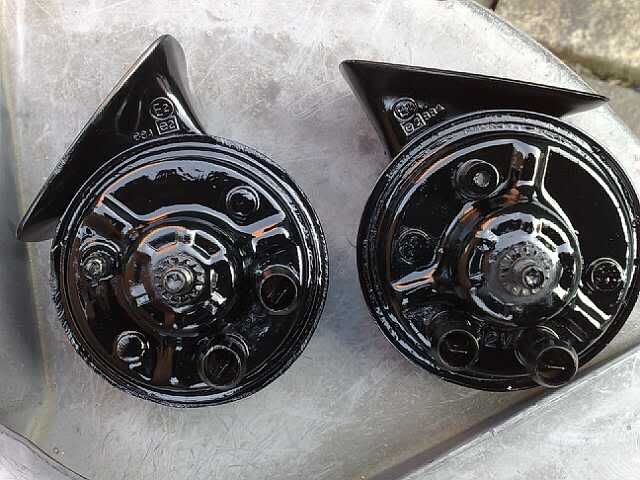
headlights, horn and fogs cleaned and painted + upgraded headlight loom
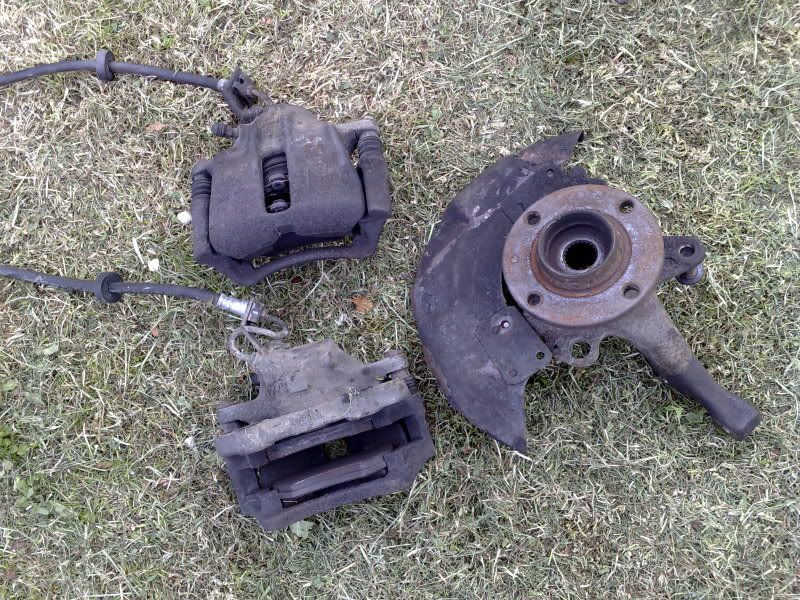
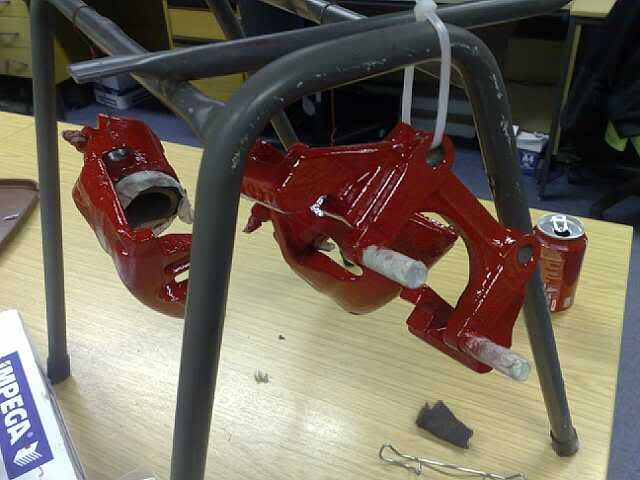
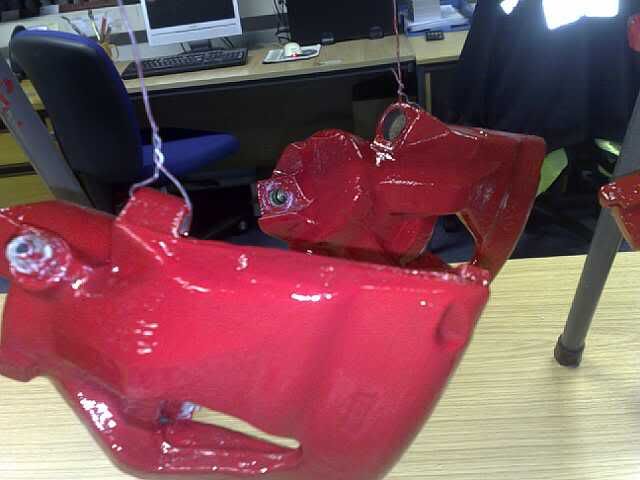
VR rear calipers and mk3 front 280mm calipers- striped, clean, rebuilt and painted
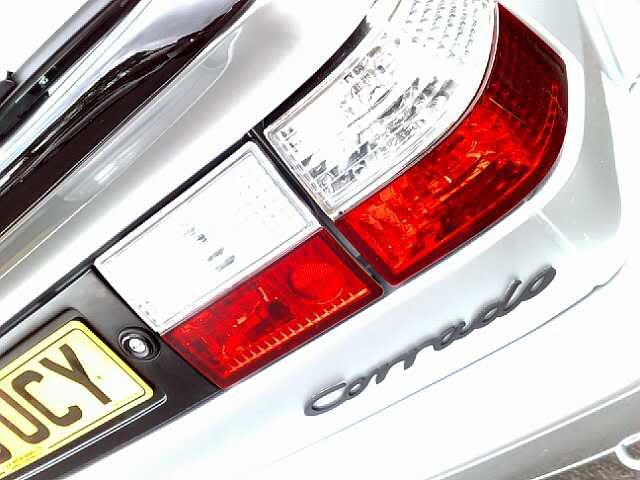
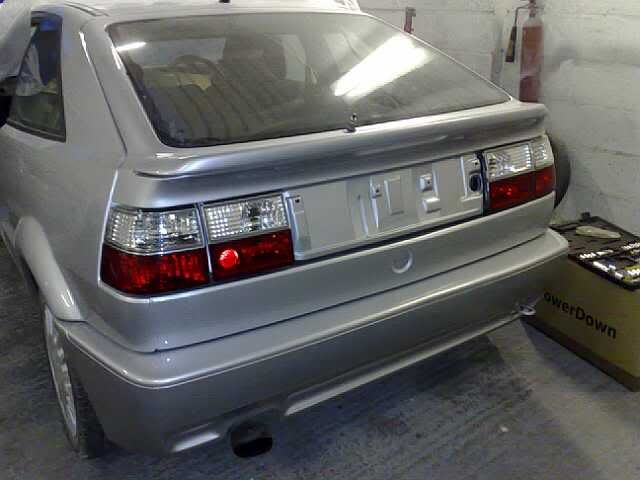
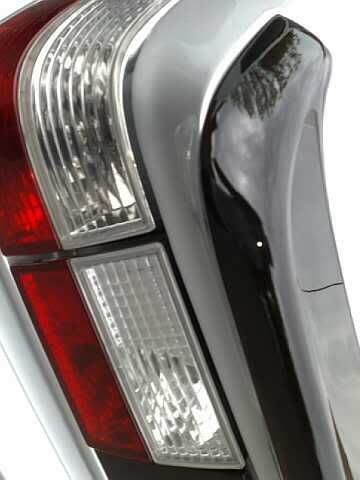
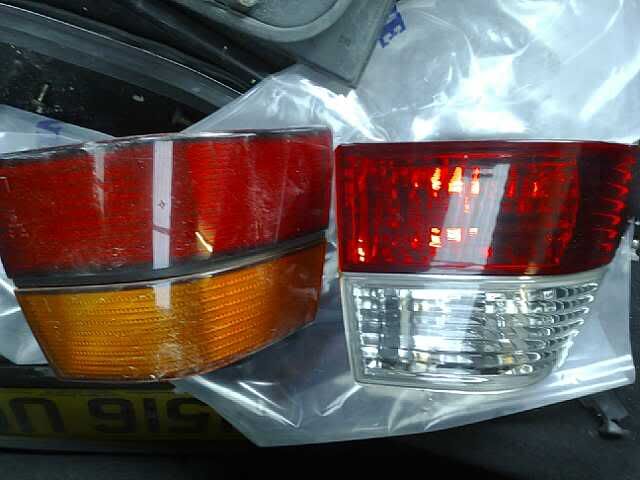
some new smoked red/white rear lights:
-
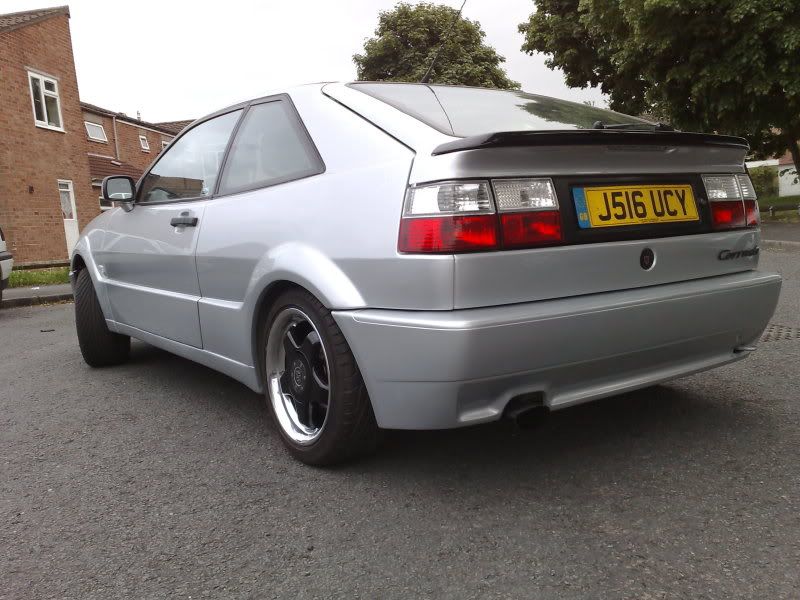
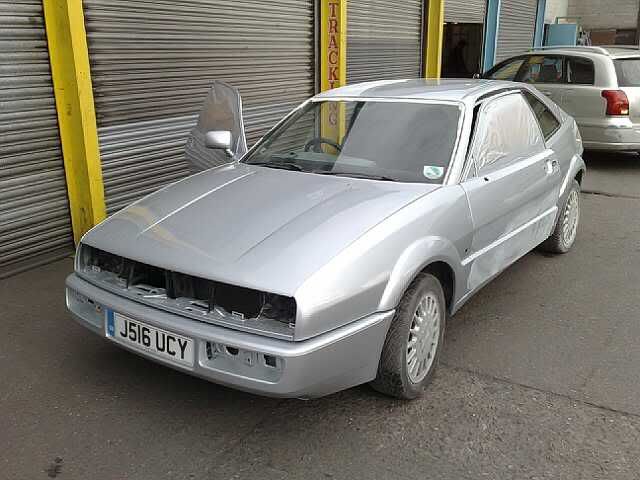
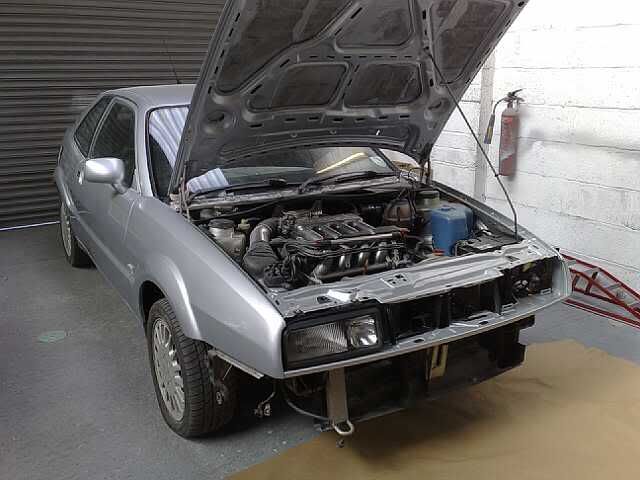
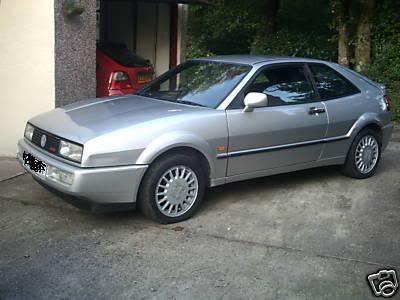
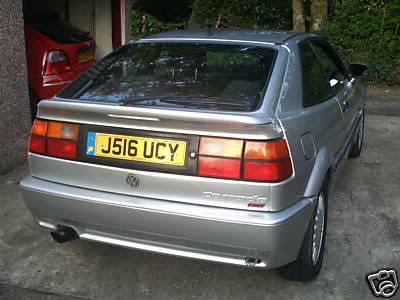
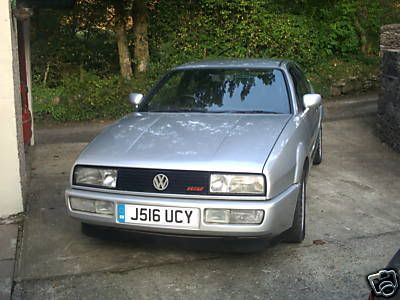
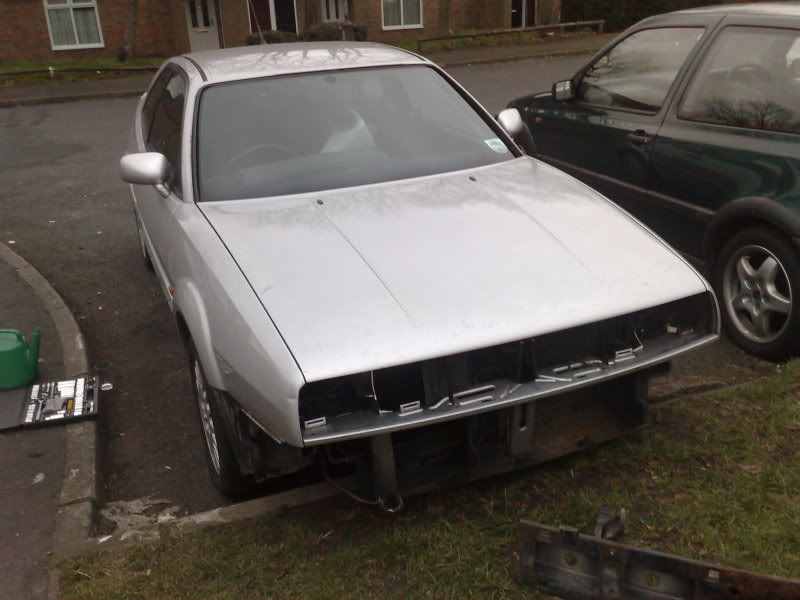
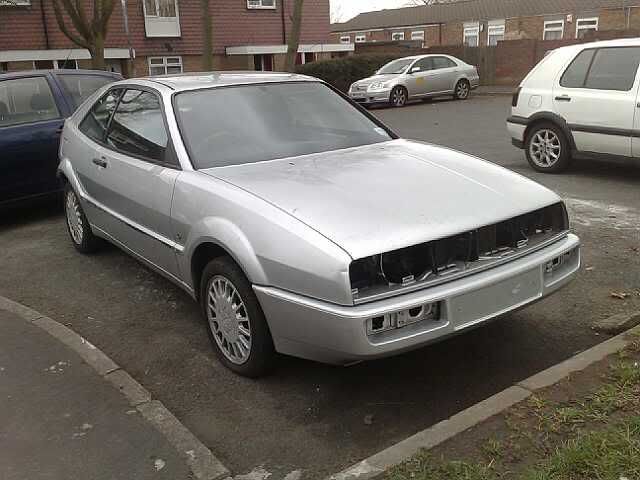
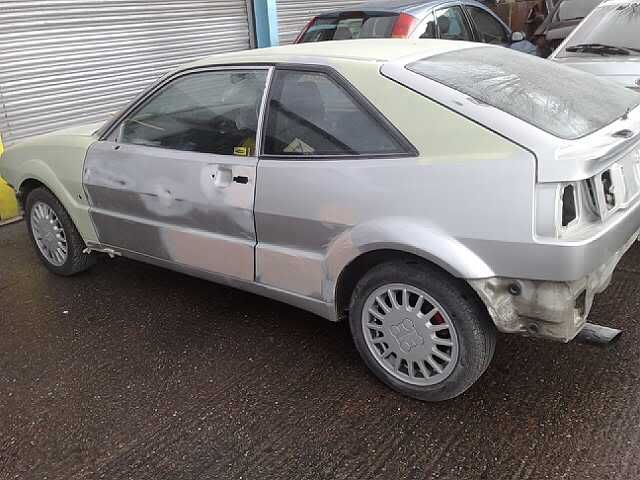
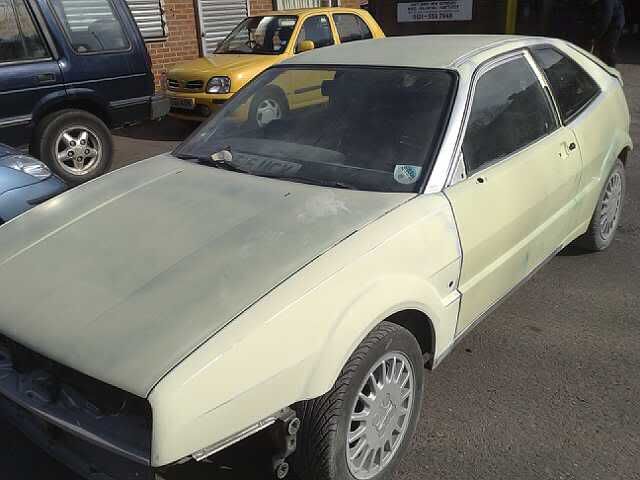
It all started with a sliver non sunroof corrado 1.8 16v brought for £400 from Wales as a non runner...brought off a FARM!
First pics via ebay
brought for a everyday car......if not broken for spares.
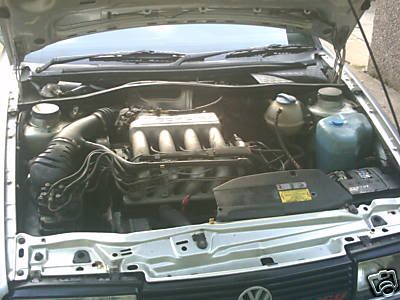
After accessing the engine, it was discovered:-
1.The side plastic water flange was leaking water,
2.Thermostat was seized
3.Water Temp senor Broken
4.Matrix's was blocked too
once all this was sorted, she fired up fine.......bargain.....so the dilemma do i break her for spares or not?........i think NOT!!!! :clap: :norty: :notworthy: :nuts:
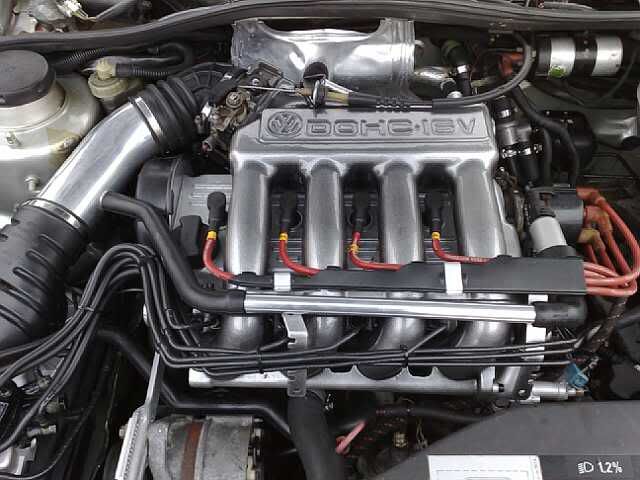
Ok, so well im in the engine bay, why not clean a few things up and modify bits and pieces.
1.K&N Panel filter
2.Stealth racing warm up reg and cold start.
3.Power roah tubes
4 power coat manifolds
5.clean and paint metering head
6.Upgraded leads
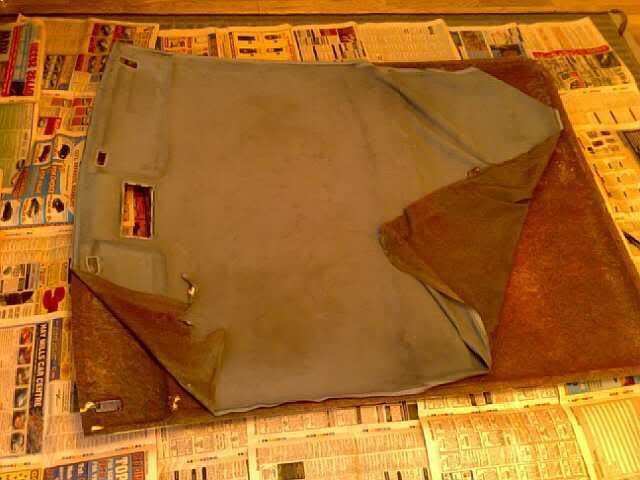
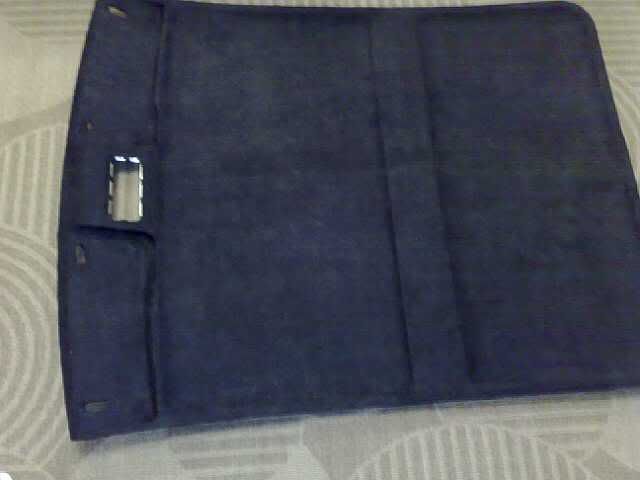
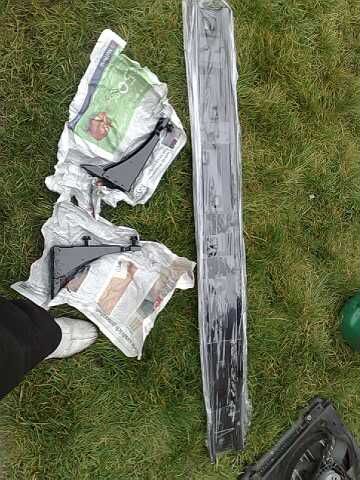
i kind got pee off with the sagey roof lining so out it came for a re-trim..
why not have some black sunvisors too....
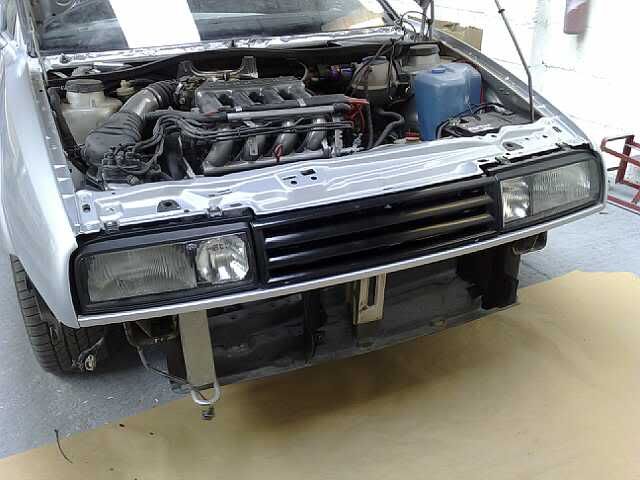
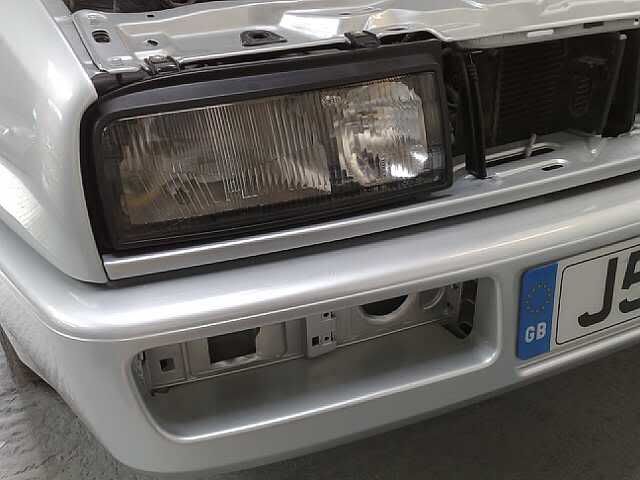
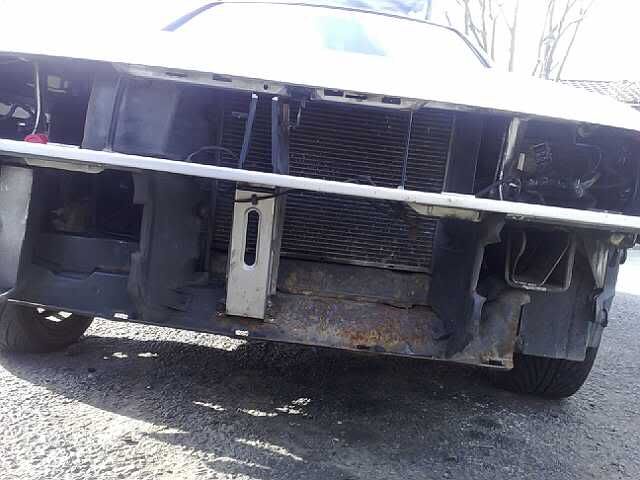
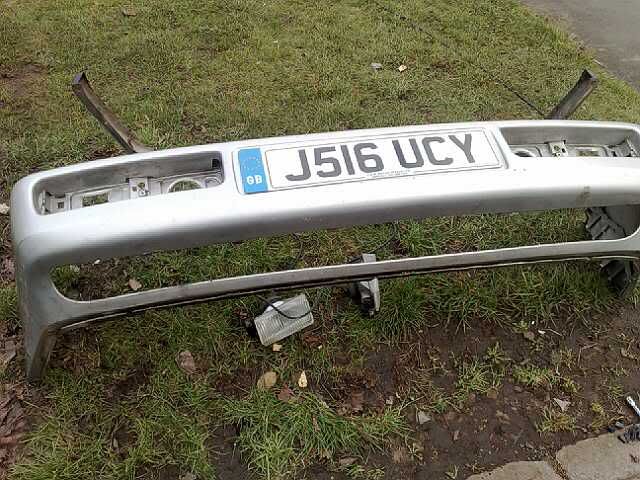
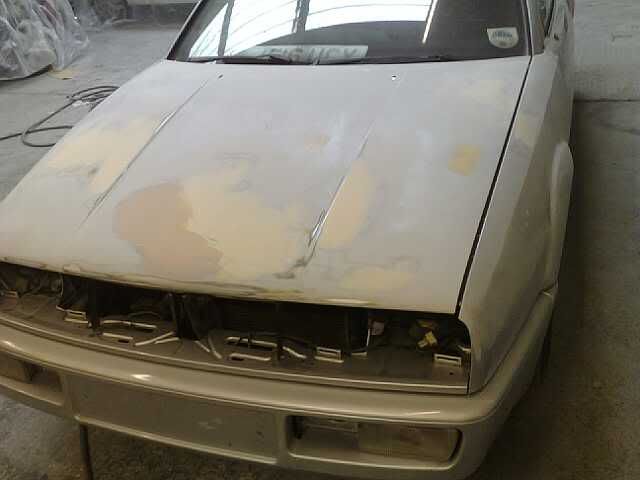
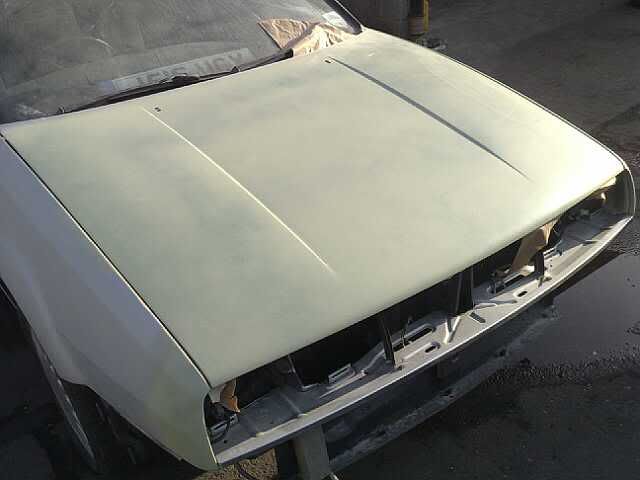
ok then, time for the strip down before paint...off with the front bumper......then oh no....what have i found..... :brickwall: headlighs and grill also removed
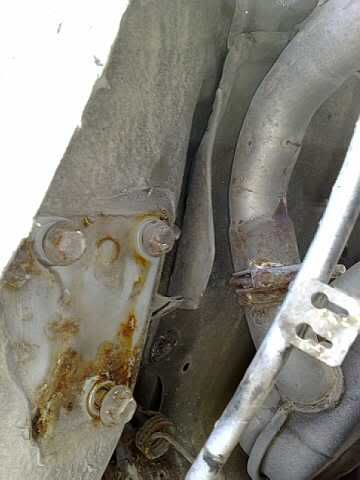
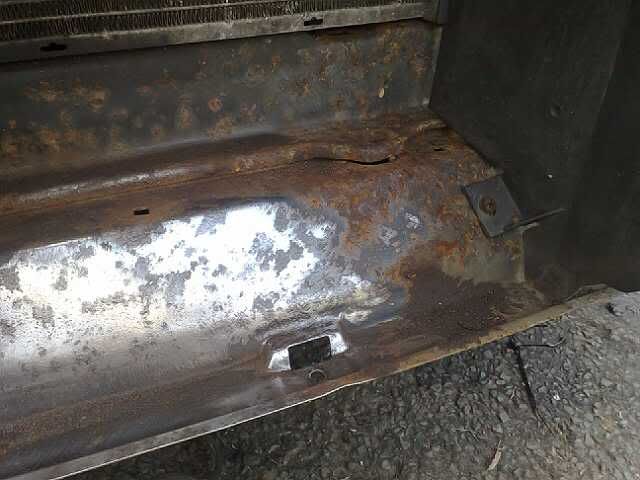
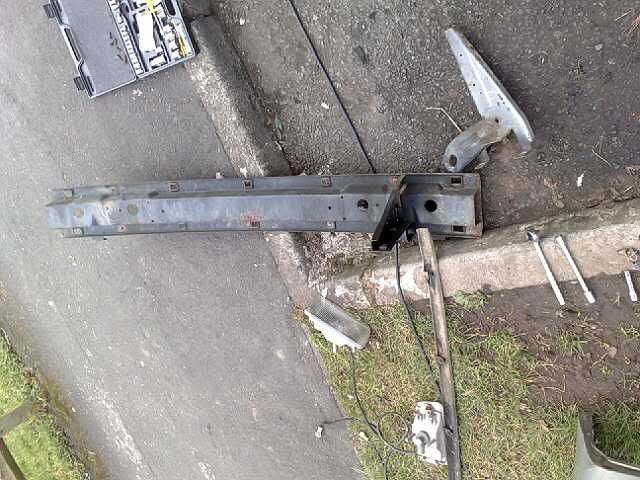
rust lower valance...
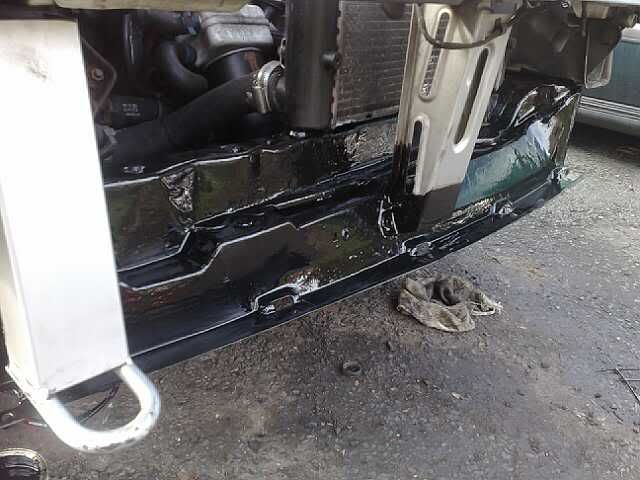
metal then strip back to bare metal, rust treated, etch primered, then paint ...then stone chipped.
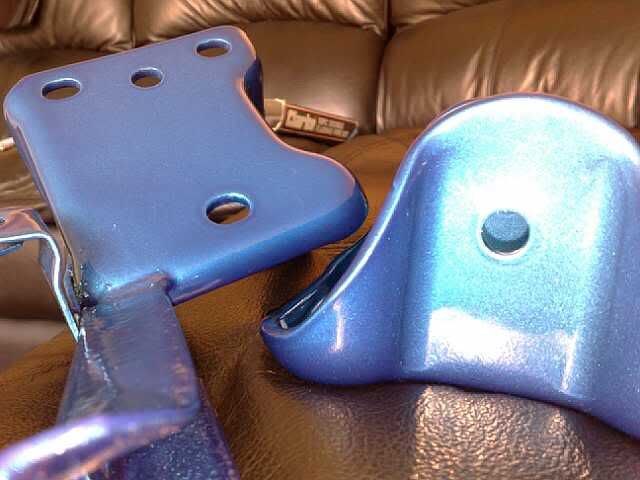
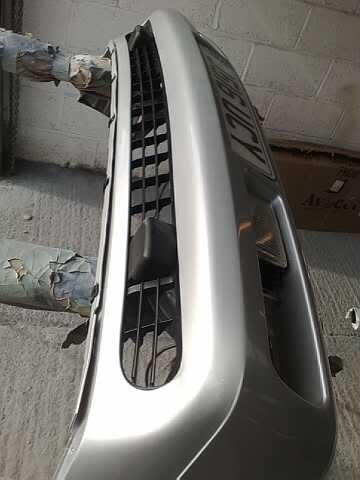
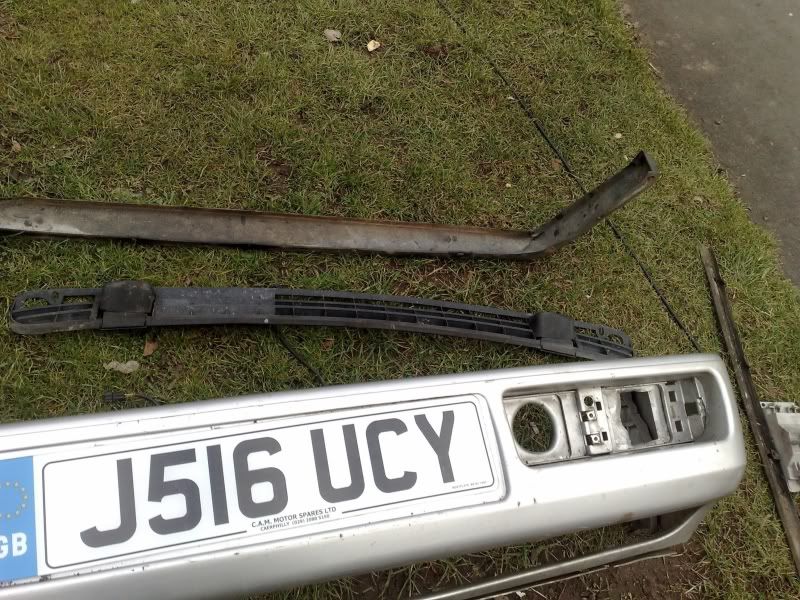
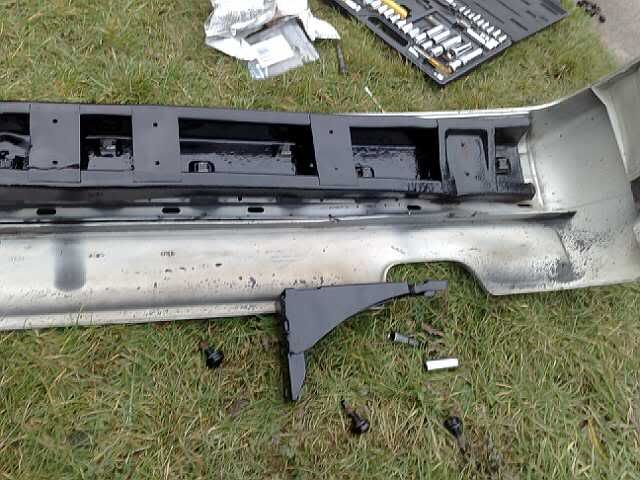
time to strip down the front bumper....bumper brackets were rusted too.
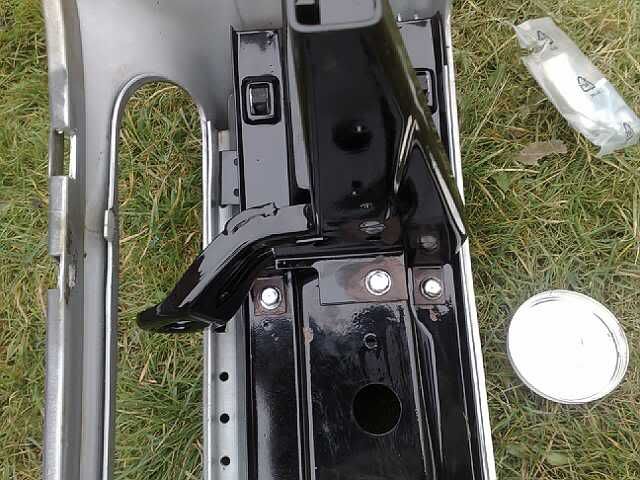
brackets send for blasting and power coating..and refitted....new bolts/washers. while at power coaters, bumpers were washing in and out to remove all dirt.....
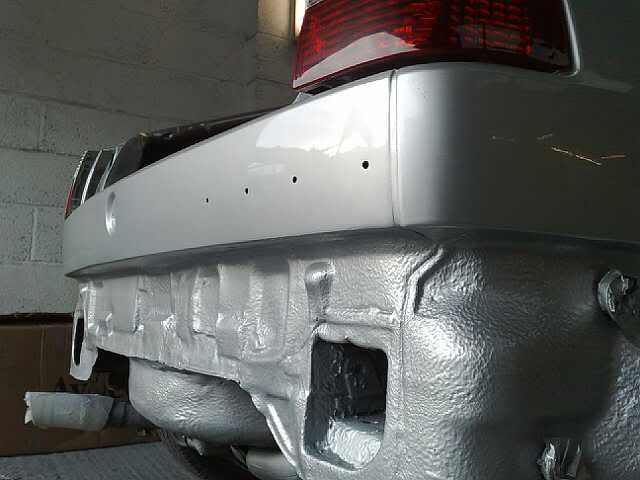
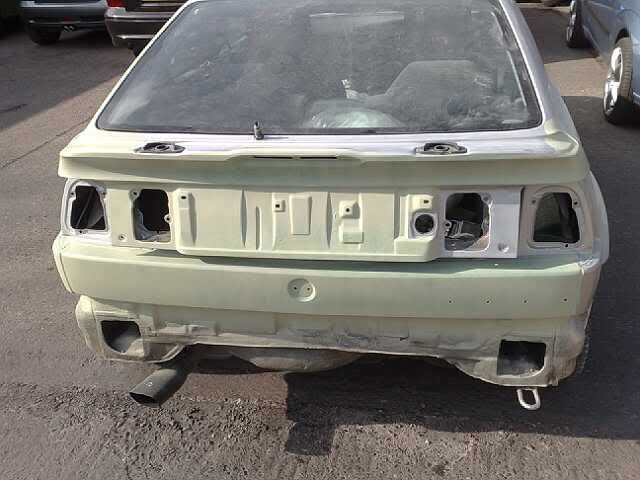
same for the rear bumper too....
a few rust blots snapped off in the bumper iron.....so redrilled out and tapped.
back from power coaters and refitted,new bolts/washers, again bumper washed out...
some other random pics...
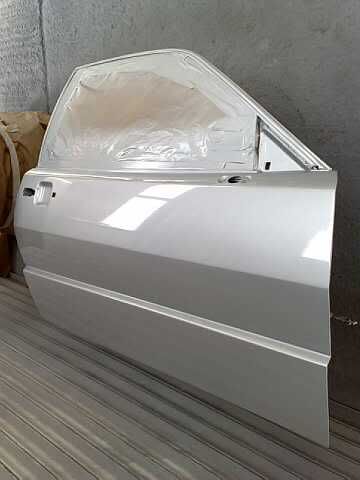
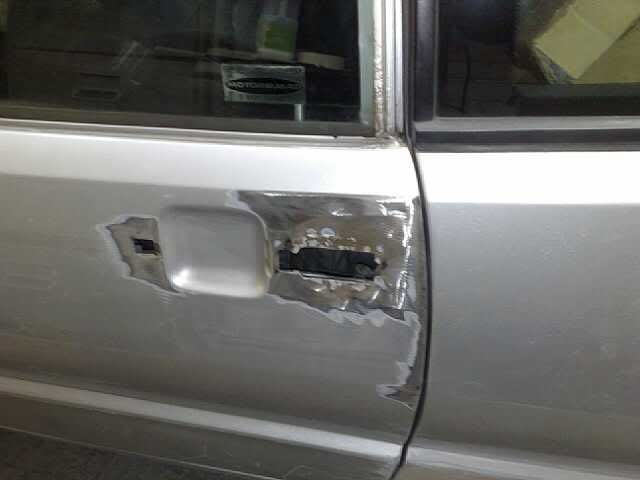
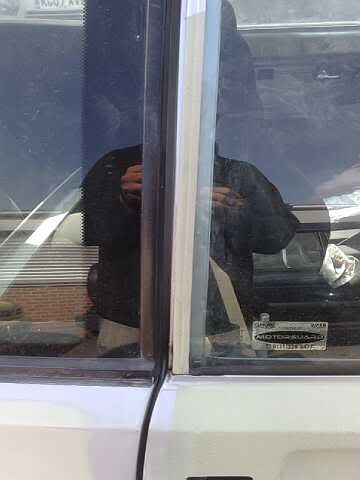
rest of car then strip down, rubbers removed, handles, mirrors, badges,side mouldingetc
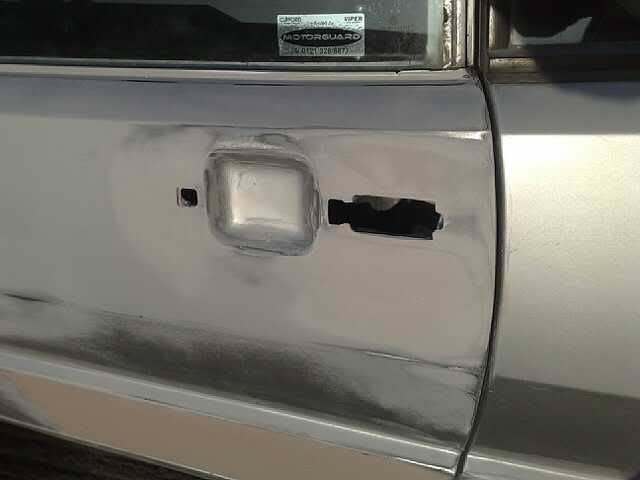
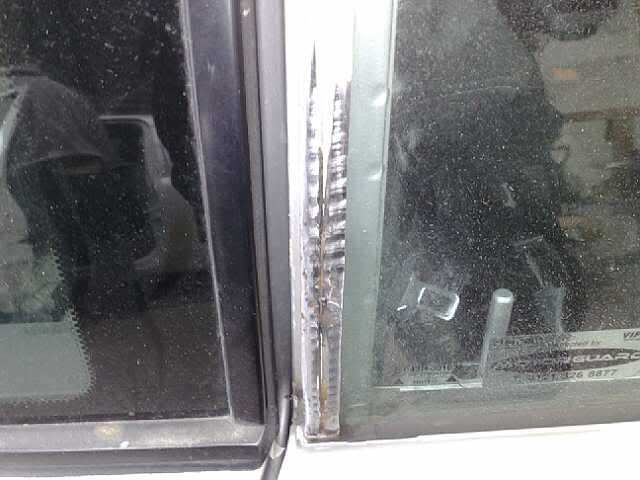
door had been screwed before and hidden behind different rubber window seal
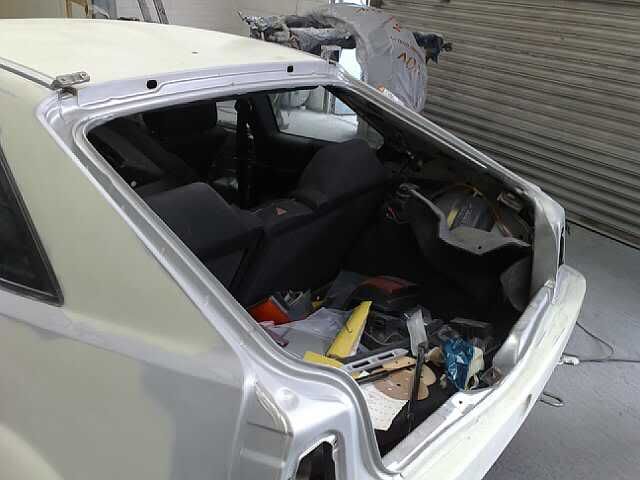
right of to the body/paint shop.....the chap whom paint and did the bodywork repairs Porsche's for main dealer....so worth a go, after all it was a cheap quote too...car had dings all over the place.. :shrug:
door repair, where previous screwed......metal cut away and new piece welded in
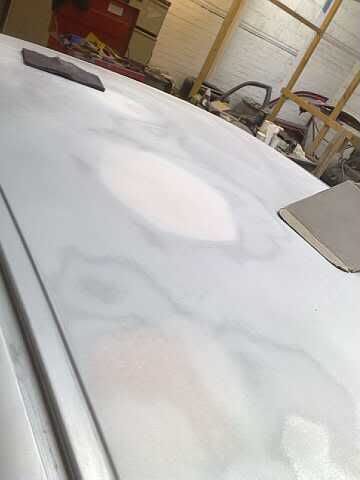
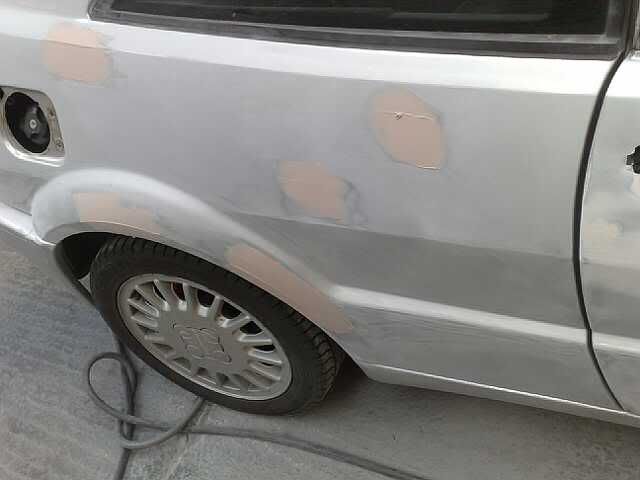
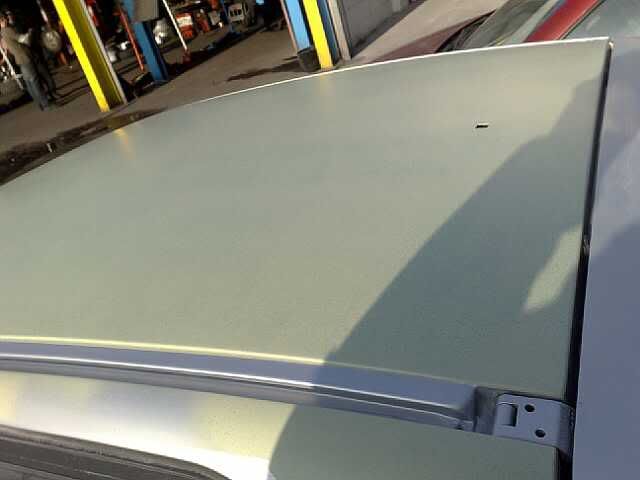
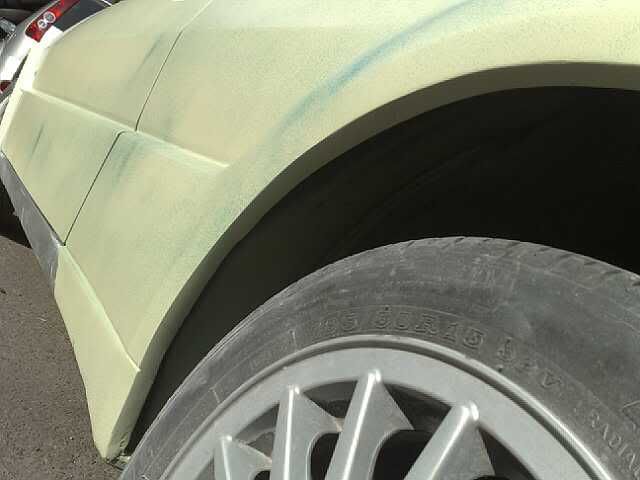
primer time....
all four arches were fine, no welding .....abit of surface rust, cleaned and treated..
-
blood and sweat......= projects 8) :D
-
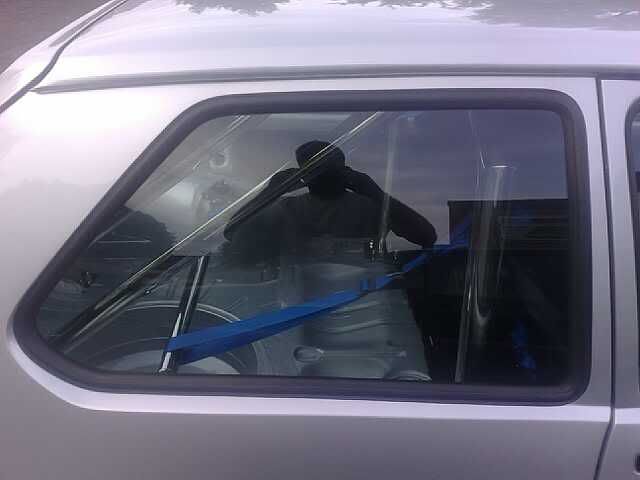
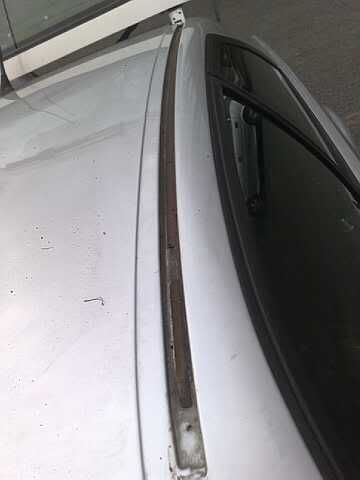
if im right with wat you have described, they just pop of will alittle force....get a screw driver or pile bar between the bottom of window metal strip and roller,abit of force and it pops off :)
-
i like it .......its cool 8) ......wouldnt be it though
bob
-
i brought one, neva worked...
-
yes u can remove it,u need a thin screw * driver. u got tilt the mirror glass to the side and u'll see the screw (undo them) there should be 3/4, then remove the glass by pushin in the tabs and thats it.....
bob (was awhile since i did mine thou)
bob
oh yeh, u can flat and paint the black it or get texture paint
-
I'm already on the case guys..........I'll get something together and post it up 8)
me 1st!!!!!!!!!!
-
Thanks guys. Might have a crack at that 8)seeing i gave you the link, if u get urs done u can do mine :)
-
-
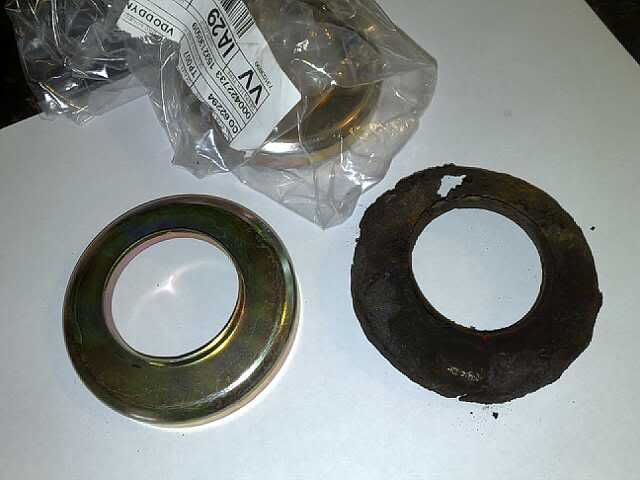
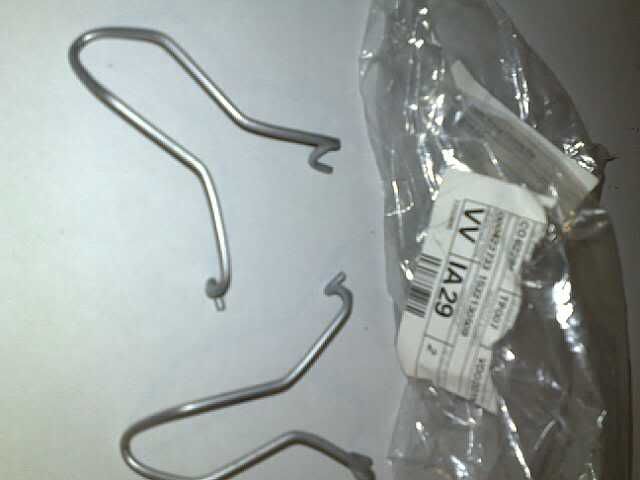
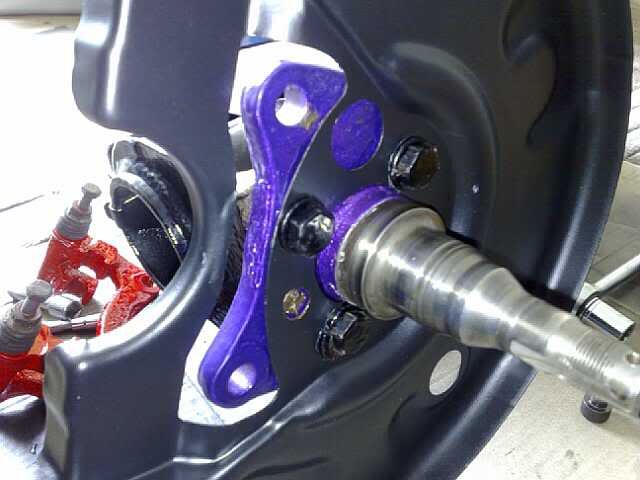
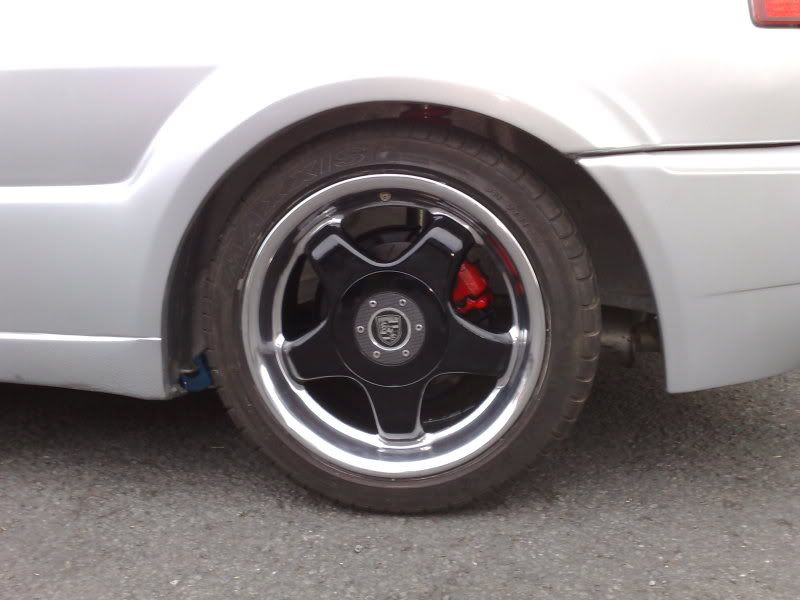
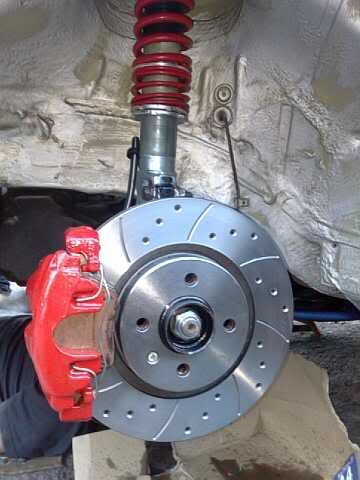
no, prefect fit.......
mk gti calipers
G60 drilled/groved/vented discs
mk 3 gti hoses
mk3 golf pads
alot of blood, sweat and power coating....... aint tested them yet but they clear fine when spinned and bleed up fine too. I also used mk3 VR6 rear calipers.
-
hi mate, ive just done this convo yday ......mk3 calipers do fit and i used 280mm disks......you need mk3 gti brakes hoses which screw in.
heres some pics 8)
enjoy, bob
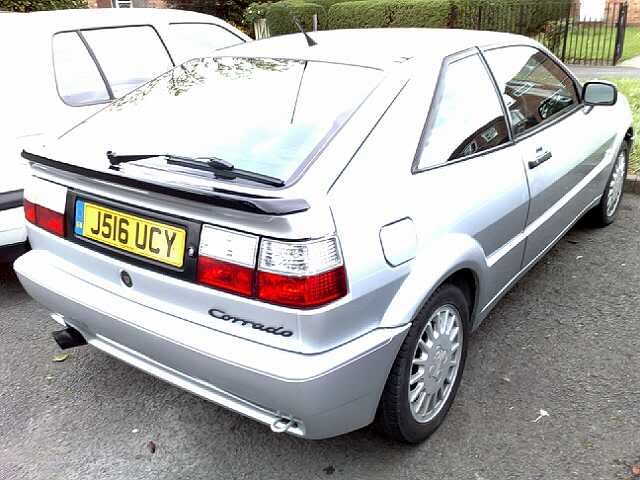
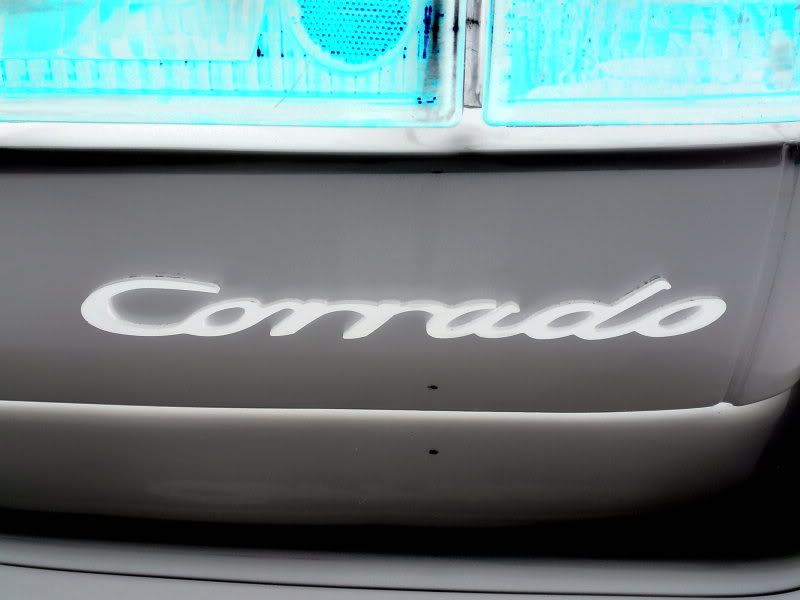


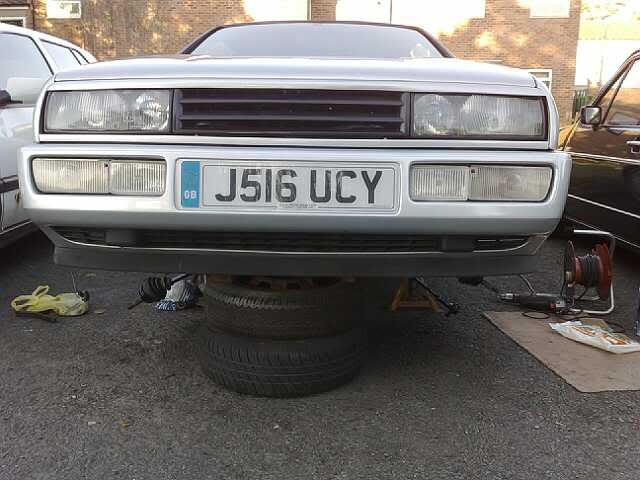


JUICY REBUILD THREAD - sliver corrado FULLY UPDATED NOW
in Members Gallery
Posted
time + effort = money........ :clap: