-
Content Count
1,563 -
Joined
-
Last visited
-
Days Won
16
Content Type
Profiles
Forums
Blogs
Calendar
Articles
Gallery
Downloads
Store
Everything posted by 1xshaunx1
-
Aren’t those rear callipers in the photo from a mk4 golf? Although the carriers are the same
-

What 80's - 90s cars for sale have caught your eye recently.
1xshaunx1 replied to Keyo's topic in General Car Chat
132.5k Miles in 2009 and hasn’t had a mot since that ran out in 2010. Makes you wonder why it ended up in bits in a lock up for 10 years. Looks like it was loved just prior. -
Happy New Year everyone. I wish for an end to covid at some point and not to need both inner cv joints again this year. 🤞
-
🤞
-
My fan part number
-
My oe fan has the same part number as yours. plug on the back of the fan
-
I’ve been looking and it does list 3 different powers as you say and a few say it cross references your fan part number but I can’t he my head around the plug only having 3 pins on the drawing, unless it means 3 power pins and one earth. I looked into this as was worried running a 30 year old fan on a turbo set up as it comes on more often, I gave up in the end. From what I can read about it you should be good Keyo, you are correct in it is your fan plastic they have broken so I suppose you don’t have much choice but to roll the dice. good luck with it mate, it’s a good find if it works out 👍
-
Pretty sure that’s a two stage fan unit. Also pretty sure clips are on the wiring. I’ll go in the loft in a min and check for you and it’s front end off or scratch your manifold etc
-
You do right waiting a while, it can’t hurt, I’ve done the same. The paint was still a bit “soft” after a couple of weeks, that’s why I held off for a bit
-
Definitely not the same seal, they are handed. There are two mushrooms for clips close together at the front of the door. I saved money and cleaned mine up with Gumi Pflege, after all they are under the door.
-
There are 5 clip things and double sided adhesive as Cressa says. Beware the clips are fragile as is everything. They pop over a mushroom thing to secure. Used normal black foamed double sided tape to refit, about the same thickness as I took off the seals
-
Cheers for that but a bit too late. The door is officially finished, bar the card.
-
Thanks Cressa that’s it. I was right then but didn’t want to risk it. It looks like it should go that way because of how the flappy bit curves, but I’ve learnt to take nothing for granted with Corrado design 😂😂
-
Can someone please post a pic of the rubber strip on the underside of the door just to make sure I fit it the right way round. Get that done and I can move on. Fitted the kick plate off of Sprinter, very nice.
-
Double sided sticky membrane. Got this in 2012 by the looks of it. It’s like a super sticky membrane that is really useful for things like rubber bits as in the door jar and hatch
-
Welcome back to ownership and the forum. Get some pics up
-
It’s a lot easier when the bolts aren’t rusted solid. I’m sure you’ll be fine mate.
-
Why don’t you have a go at doing your own sunroof. Mine looks lovely
-
It’s the metal inside the rubber that needs shaping, the only thing that’s going to help is pre shaping, Vince avoids sunroofs like the plague, it’s the only thing they won’t mess with
-
It fits great once you’ve wrestled with it for two hours and made the ends of your fingers numb. But I suppose it’s got to grip it good as it’s no good coming loose and falling off. Yes at it today, been doing the drivers door and come in for a bit as I’ve lost a bolt and was going mad looking where I’ve put it. Just that bolt to put back and the kick plate and I can turn it around and start the other side.
-
Definitely looks like something is going on now. 😇
-
I’d advise anybody who’s fitting a new sunroof seal to get an old sunroof panel and run it around that first and then fit it to your sunroof panel. You have to pull and push that hard to get it to fit properly that there is very large chance of damaging your sunroof panel. It fits a lot easier once it’s shaped.
-
Next up. Put some brood together. OMG. Decided for the best to have the cassette in the closed position and drop the lid onto that and then put the screws into that. Open it on full tilt, then replace the interior sunroof cover from the back. Make sure the interior panel goes over the hooks on the cassette or it won’t close fully with the roof panel and the rain gutter won’t line up properly. It need a good push from the back in the closed position. What a lot of messing about. The sense of achievement when I got that set up and working was unrivalled, definitely deserves a beer going through that. below the hooks the interior panel must go over to secure or brake loose finished and relax
-
Put this gutter strip on yesterday as the first bit of rubber to go on. Bit of a faf and nerve racking.
-
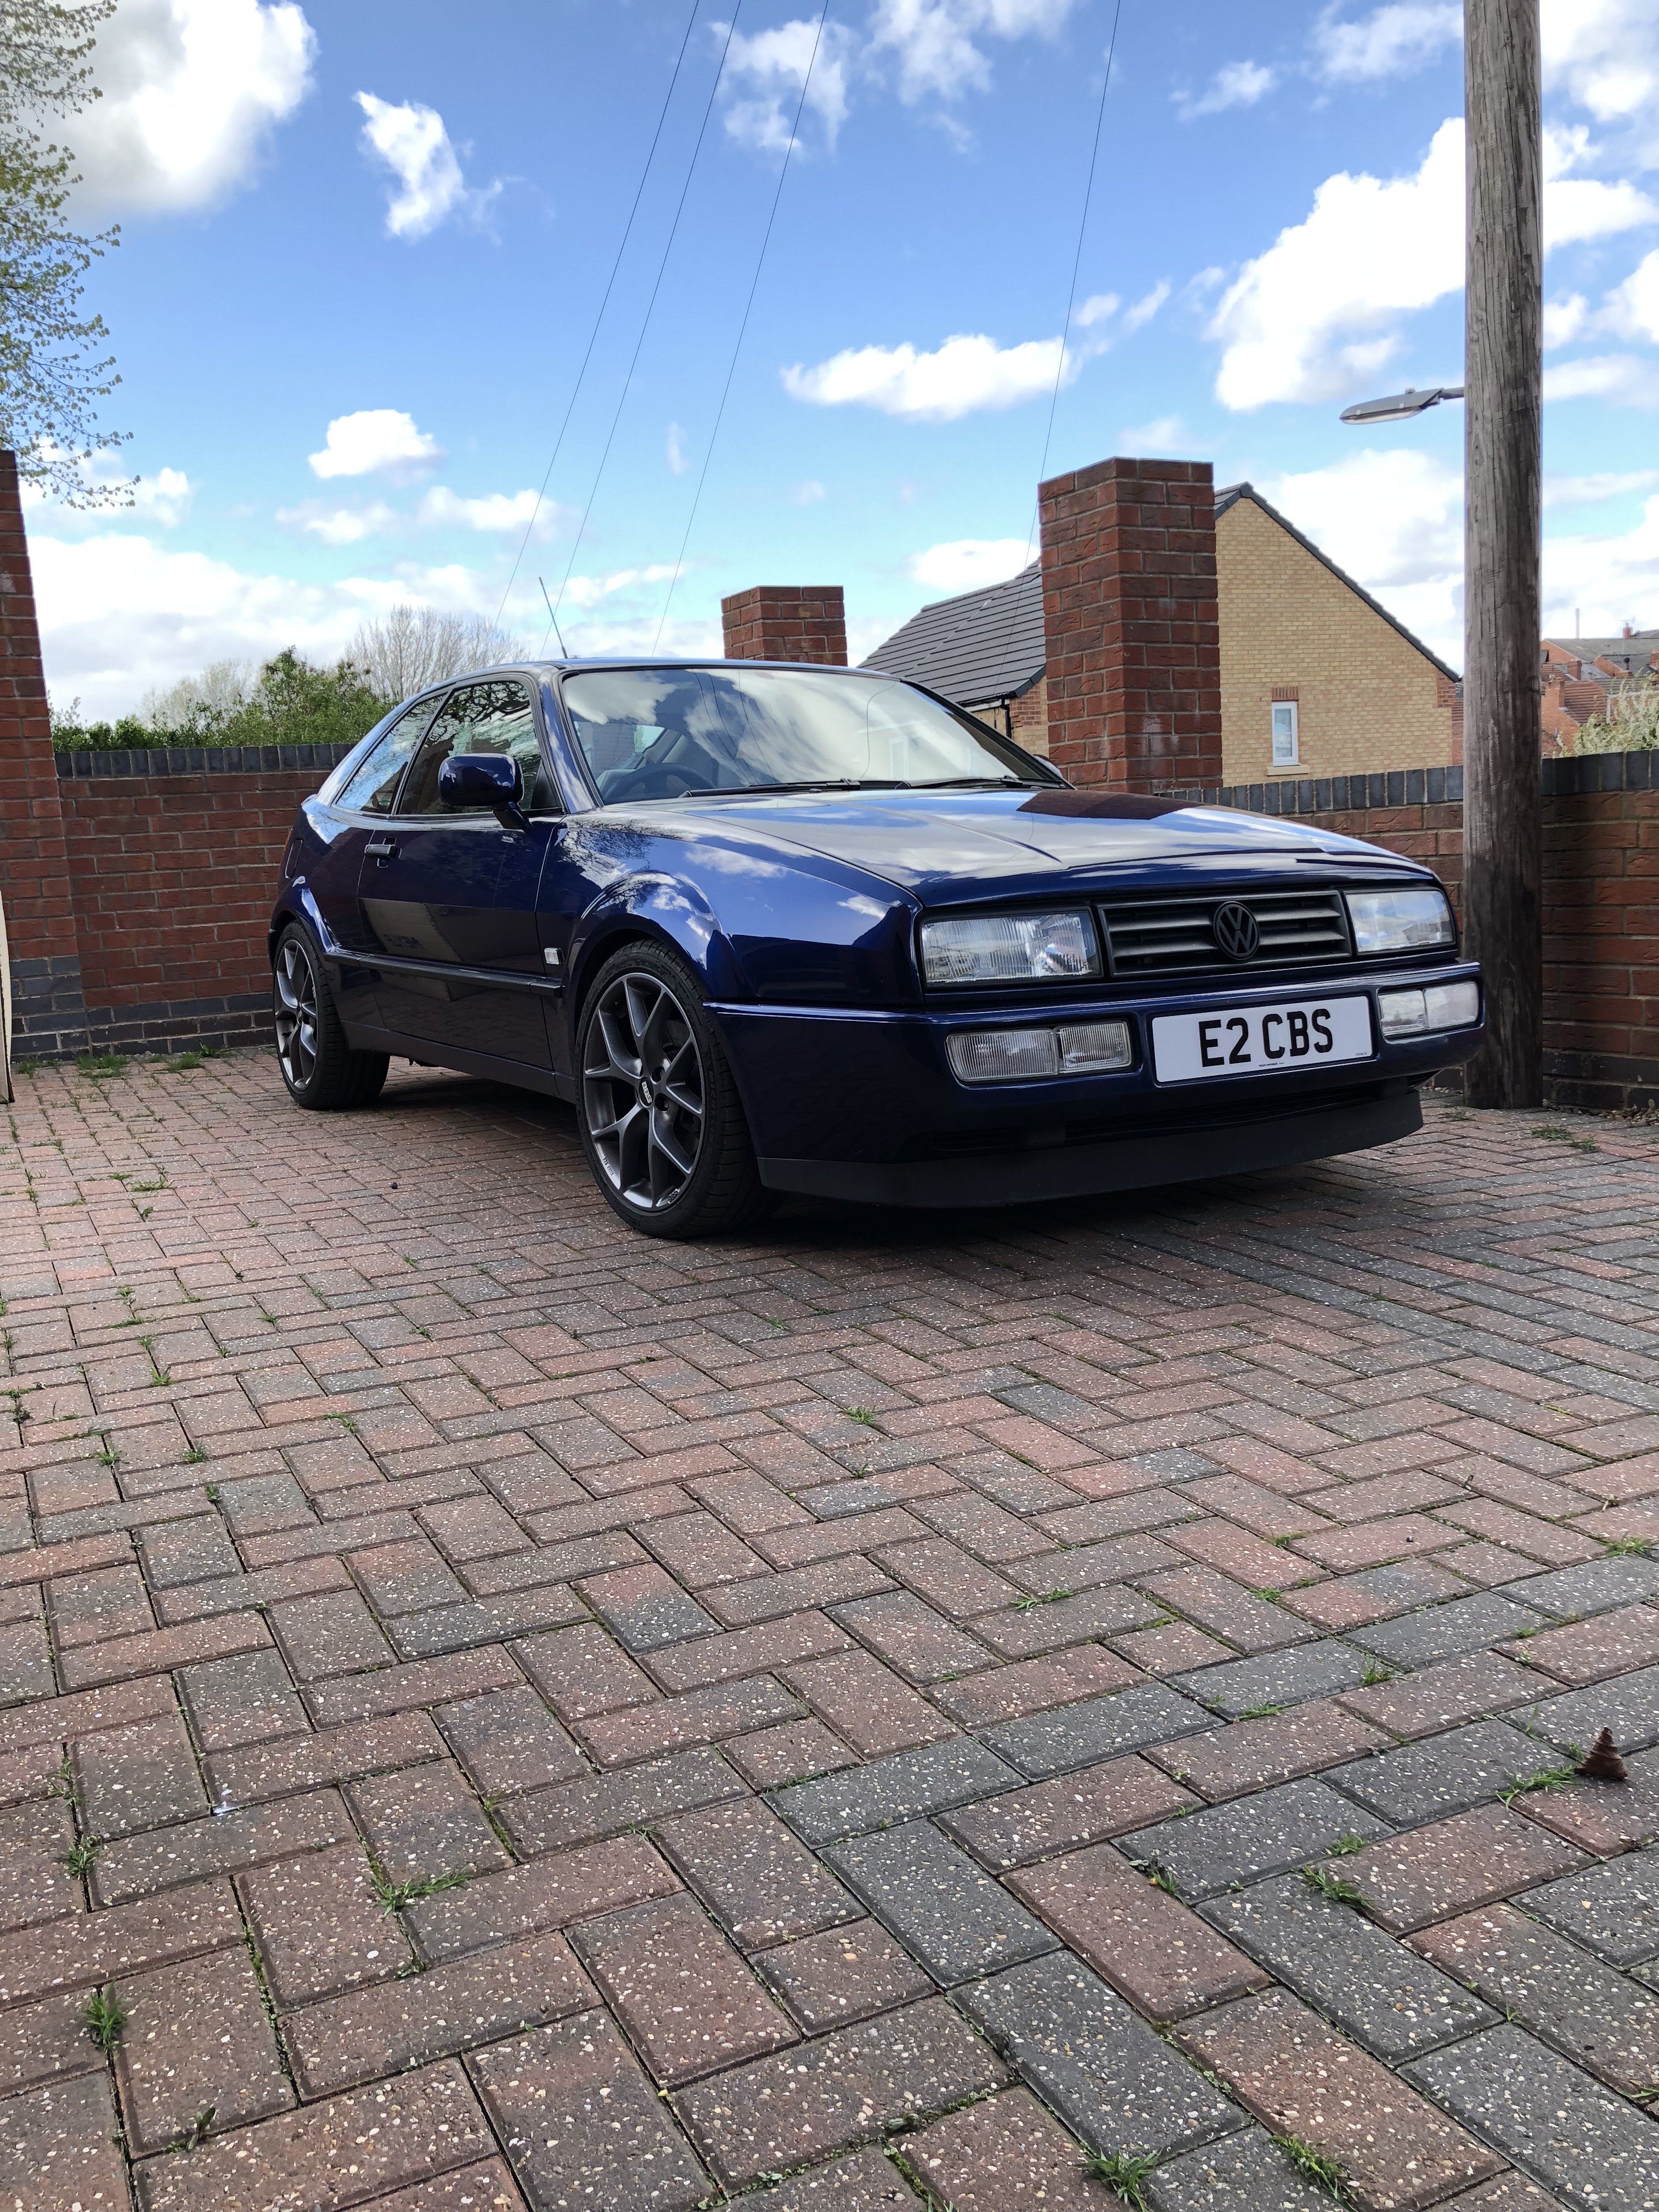
Wheels look good and so do the brakes. logos in silver are a nice touch. Shows them Brembo runners what class is.

